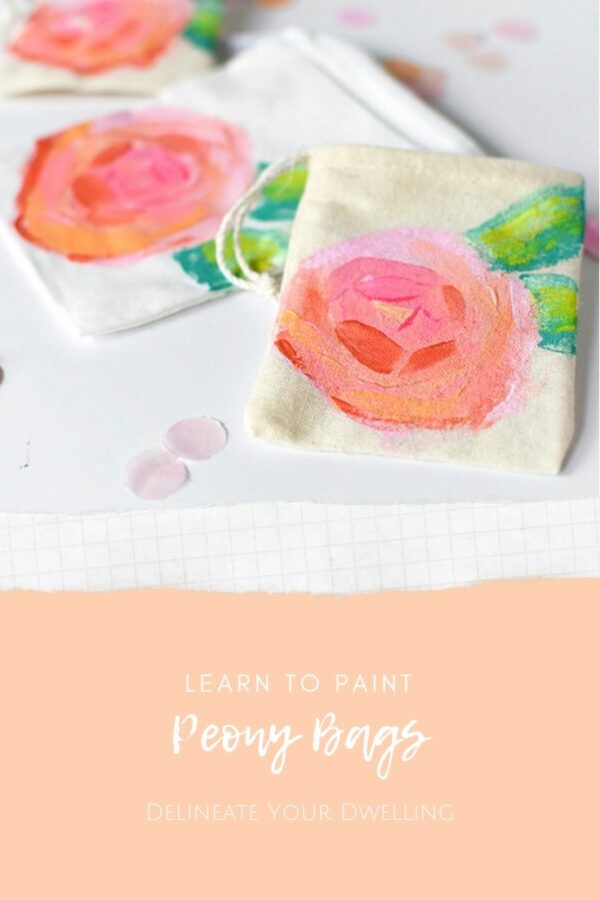
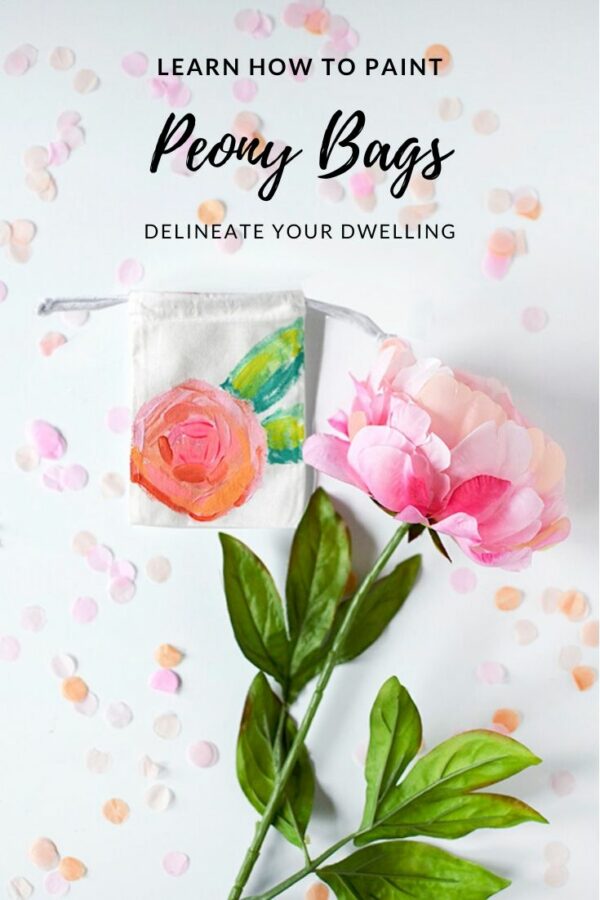
Mini Peony Painted Bag
INSIDE : Learn how to make colorful abstract Mini Peony Painted Bag with a few simple painting techniques. They are perfect for holding sweet treats this Spring.
Looking for more step by step How to Paint tutorials? People have really resonated with my simple, step by step instructions on how to draw and paint all different types of art. Here are some that I have done –
—Succulent and Cactus – whoa you all LIKED that one!!
—Paint a pumpkin
—Paint colorful Fall Leaves
—Peonies
—Watermelon
—Lemons
—Pumpkin bags
—Peaches
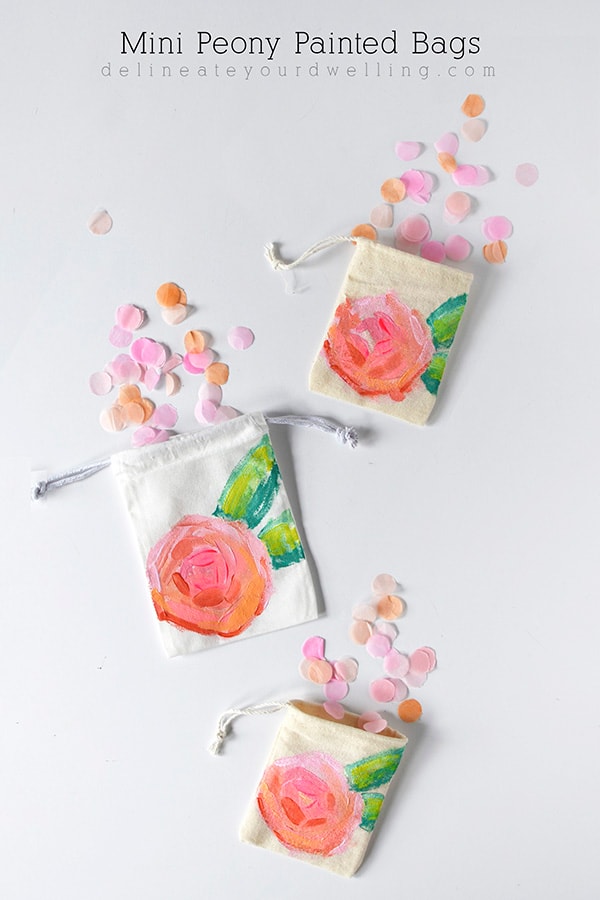
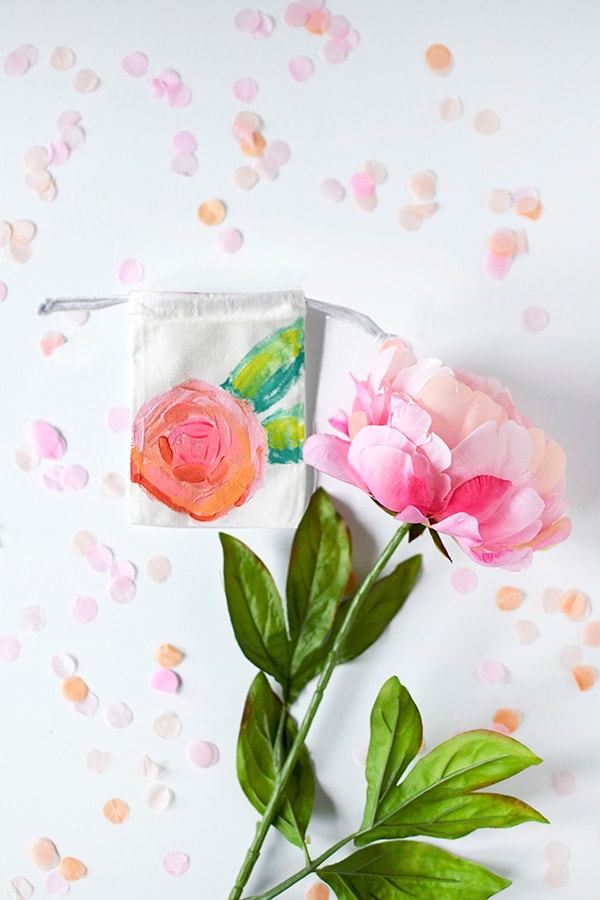
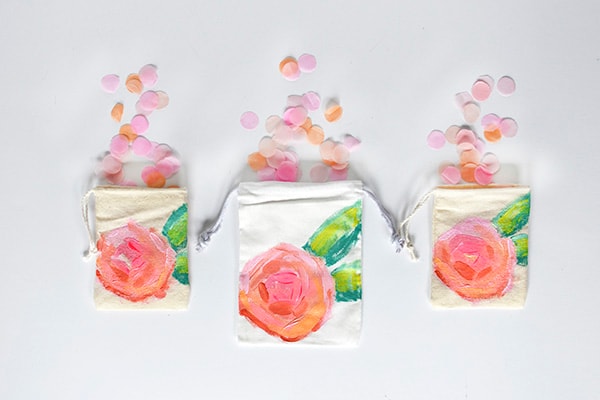
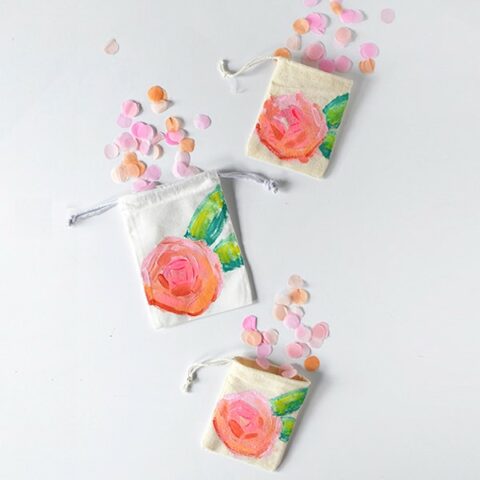
Come mid Spring and all my mind can focus on is the gorgeous blooming flowers outside. One of the show stopping ones that seems to be a widely popular one is the Peony… and can you blame it? Big beautiful petals in lovely cheery color, ah! Today I’m sharing my version of a Mini Peony Painted Bag so we can keep peonies around longer.
This post may contain affiliate links. See full disclosure here.
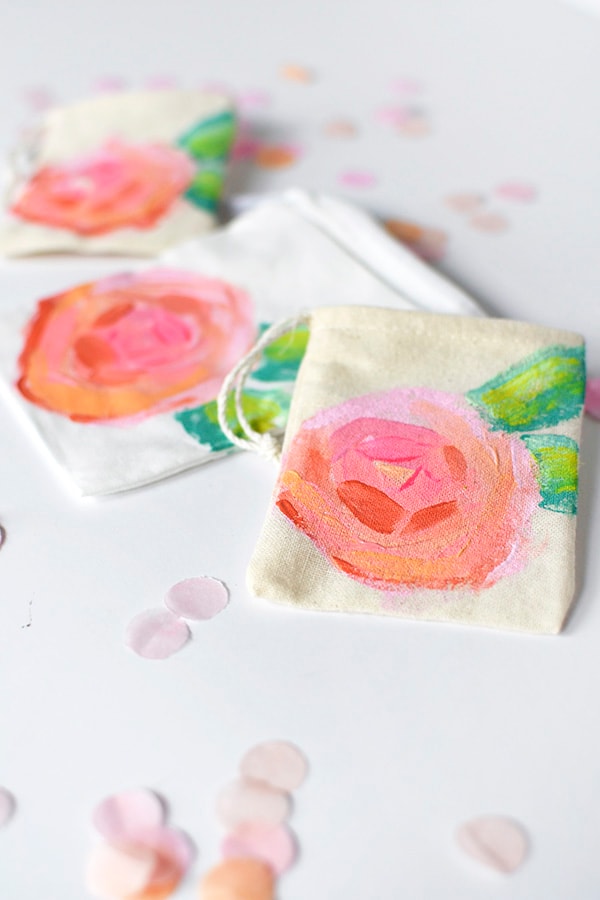
I love these little bags and think they would be perfect to send home as gifts filled with goodies! I’m already secretly planning little teacher gifts with these.
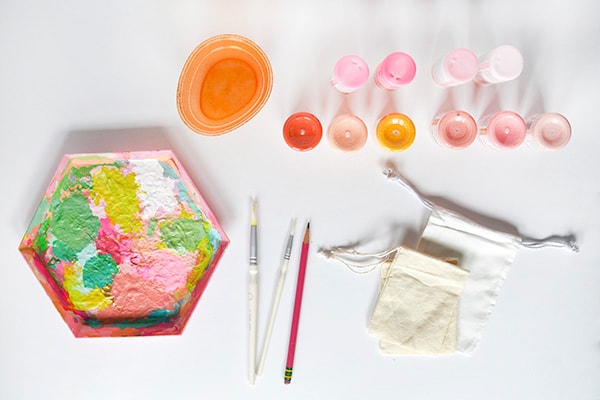
What supplies are needed to paint Spring Peonies on bags?
Acrylic Paints
Small Muslin Bags
Paint Brushes
Pencil
*note I used two different sizes of muslin bags*
Last year I created Mini Watermelon Bags and they were CRAZY popular! So in keeping with a similar more abstract feeling, I hand painted these bags… but I’m here today to give you step by step directions on how you can make them, too!
How do I paint Spring Peony flowers on bags?
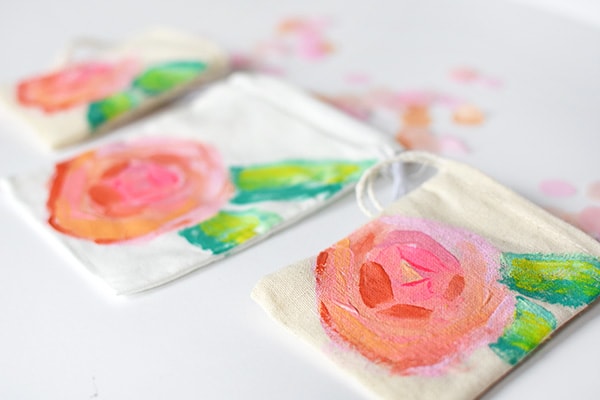
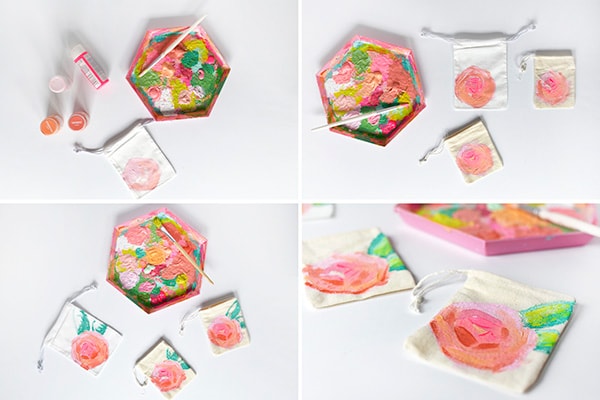
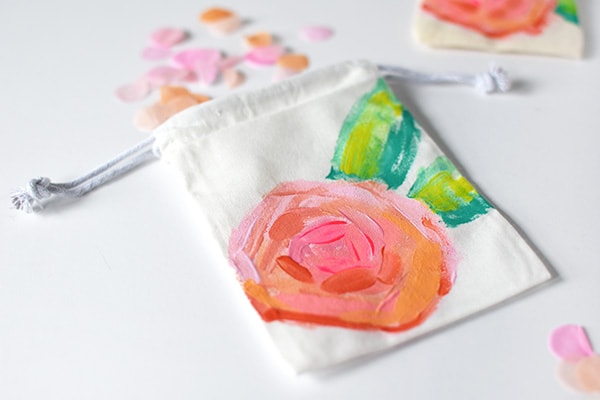
I like using the 1/3 rule when it comes to painting. So, starting in the lower lefthand corner, paint in your lightest pink a circular shape. Note, don’t make anything perfect for this abstract look.
Keep layering different shades of pink on your flower. I recommend going from the lightest colors to the darkest. Keep the lighter colors on the upper side of the flower and use the darker colors for the bottom portion. This helps give dimension and shade your flower appropriately.
For the leaves, I used three shades of green and kept with the darkest color on bottom and lightest color on the top.
If you are interested in all my mini painted bags, you can check them out here! SO CUTE, right?!!
I think in total I used 8+ shades of pink and orange for these mini peony bags… but I was excitable and just kept adding more! You could certainly use less and still get the same lovely look.
Mini Peony Painted Bag
Learn how to make colorful abstract Mini Peony Painted Bag with a few simple painting techniques. They are perfect for holding sweet treats this Spring.
Materials
Tools
- Pencil
Instructions
- To paint this fun peony mini bag, start in the lower left-hand corner of your muslin bag. Then paint in your lightest pink in a very loose circular shape.
- Continue to keep layering different shades of pink on your flower in rough circular shapes. Try going from the lightest colors to the darkest. Keep the lighter colors on the upper side of the flower and use the darker colors for the bottom portion. This helps give dimension and shade your flower appropriately.
- For the leaves, use three shades of green acrylic paint. Keep the darkest color on bottom and lightest color on the top.
- Enjoy your new bag and fill with coins, little chocolates, erasers or even peony seeds to give as a gift!
Notes
Don’t worry about making anything perfect for this abstract look.
Want to see all the other things you can paint on a bag? Check it below.
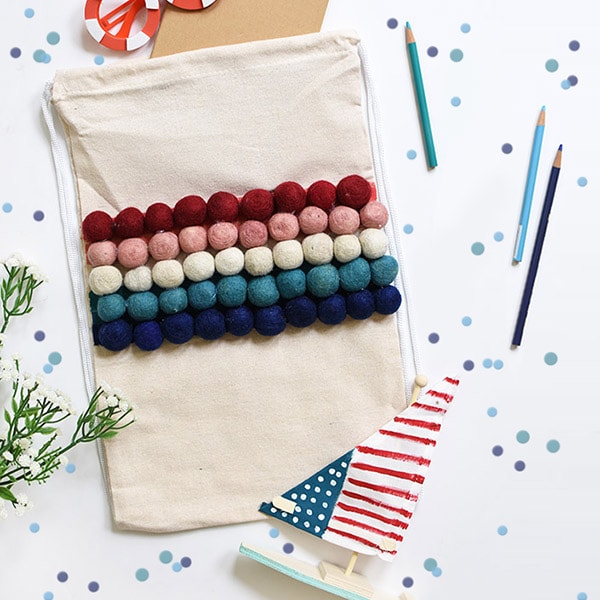
DIY Pom Pom Tote Bag (Perfect for Summer & 4th of July)

Thanksgiving Menu Iron On Tote Bag
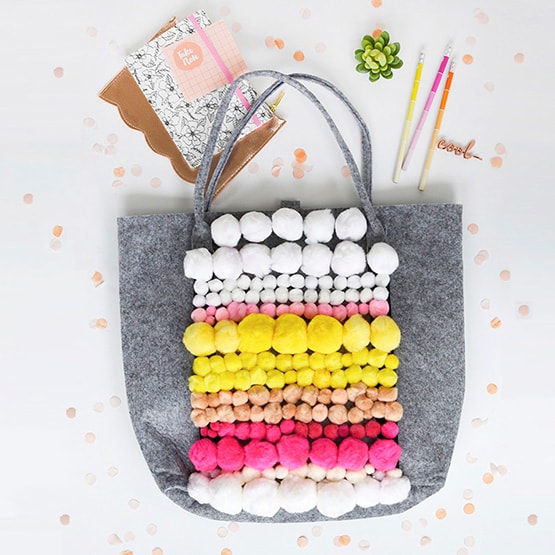
Pom Pom Patterned Tote Bag
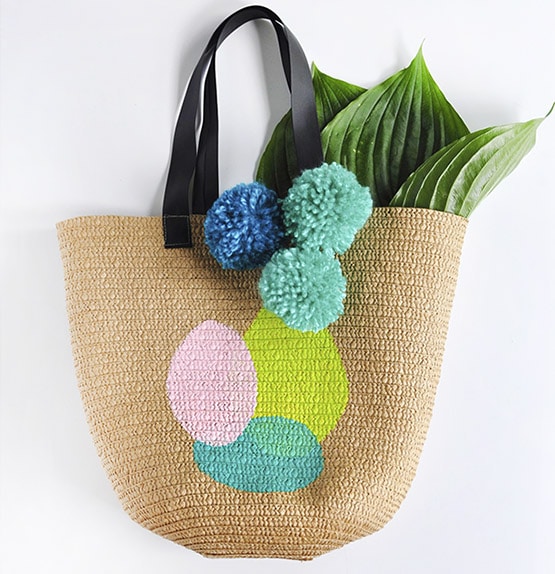
DIY Painted Circle Summer Tote
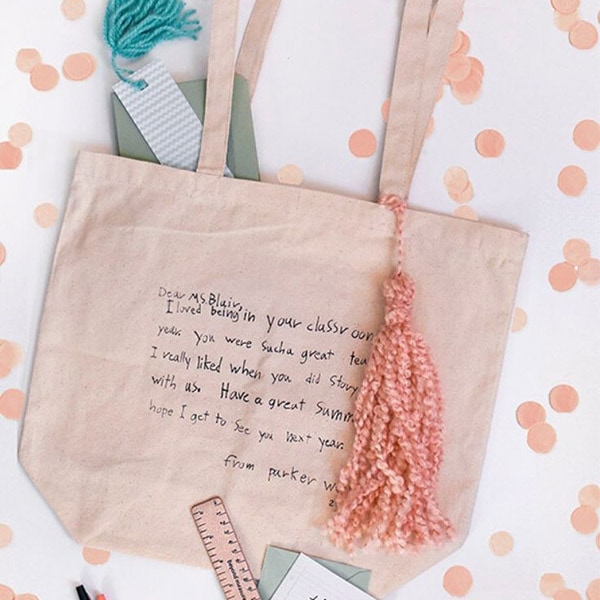
Printed Letter Tote Bag
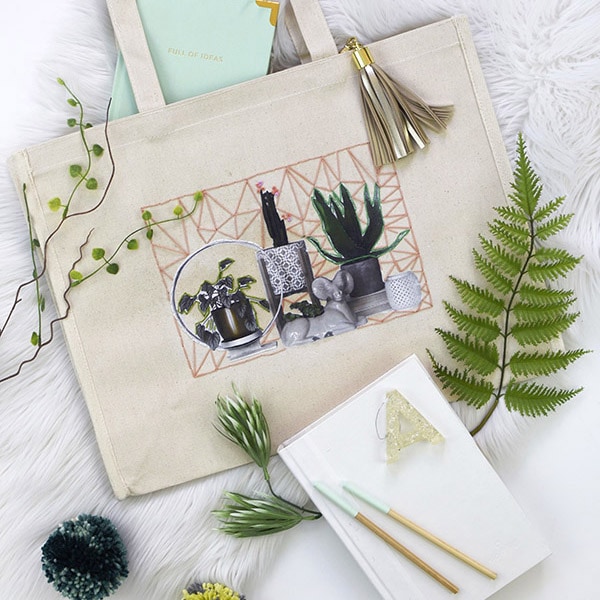
DIY Photo Embroidered Tote Bag
Amy! These peony bags are so adorable!! Thanks for sharing!
So glad you like them!! 😉
You are a talented painter! You should do more art like this.
very cute! You know I love a good painted floral and this is no exception!
I OWN one of your floral beauties!! 😉
These are seriously just the prettiest little things — you need to make giant ones and FRAME THEM! 🙂
Ah, thank you Lindsay!! That’s a great idea… I should paint a big one!
“But I was excitable” ??? They’re lovely!
HA. You know my “excitable” ways!!! 😉