Tips to draw and paint a colorful Pumpkin


INSIDE : See the easy step by step instructions to create gorgeous artwork for the Fall. Tips on how to draw and paint a colorful Pumpkin for Autumn in just a few simple steps! You can become your very own artist!
This post contains affiliate links. See my full disclosure here.
This post has been updated from it’s original 2018 publish date.
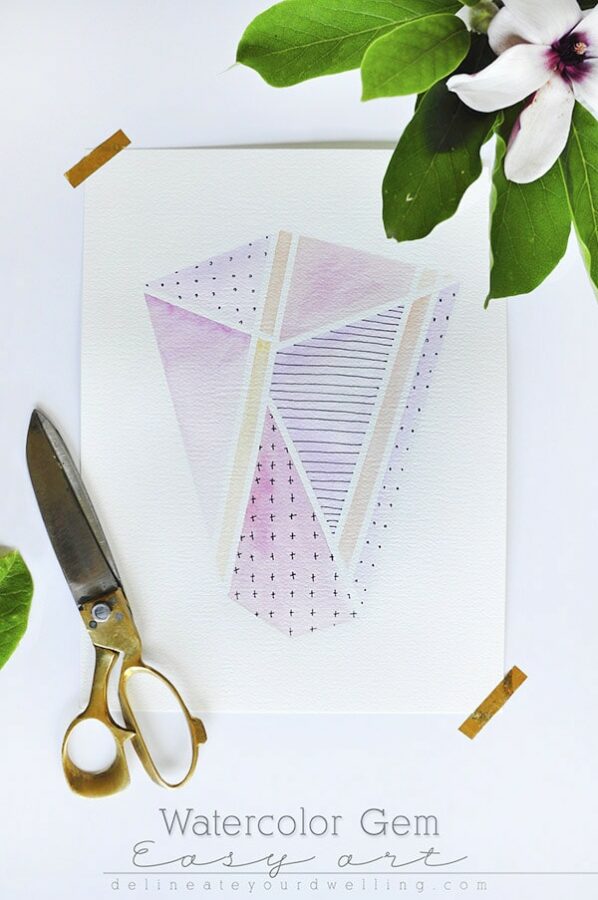
One of the things I love doing is painting and drawing simple objects. A few years ago I did an Easy Art in 1.2.3 mini series of art work. People really enjoyed the easy step by step instructions on how to draw and paint all different types of art… especially my Tips to draw a Succulent and Cactus – whoa!!
Today I wanted to share tips on how to draw (and then paint) a simple and easy Fall Pumpkin! And you can also see how to make painted pumpkin bags.
What supplies do I need to making a pumpkins drawing?
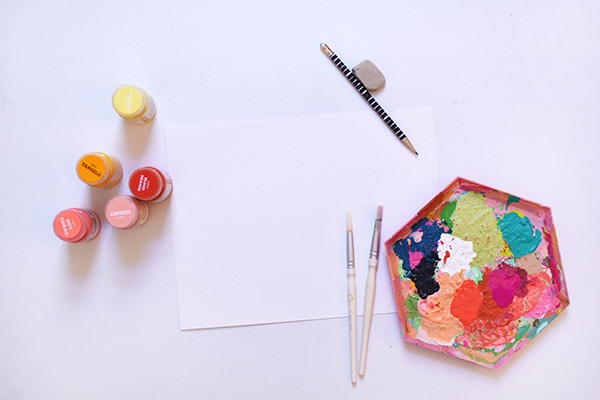
- Watercolor Paper
- Various Acrylic Paints in oranges, pinks and yellows
- Pencil
- Paint Brush
- Paint Palette
- Black Brush Marker
How to draw an easy Pumpkin
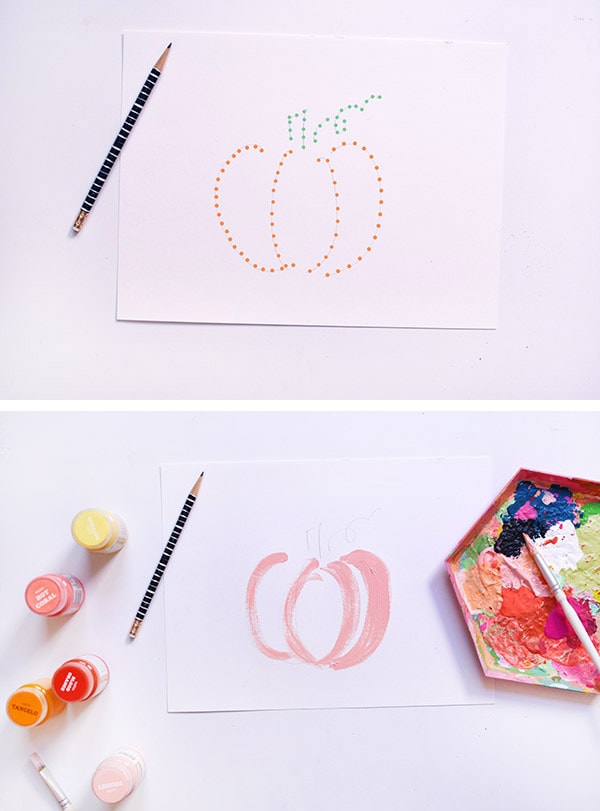
When drawing an easy pumpkin, you will start with the basic shape first. Make sure to use a light pencil sketch. This will allow you to erase and make changes as needed.
**Note, you can see my line work highlighted below in orange polka dots for ease of viewing.
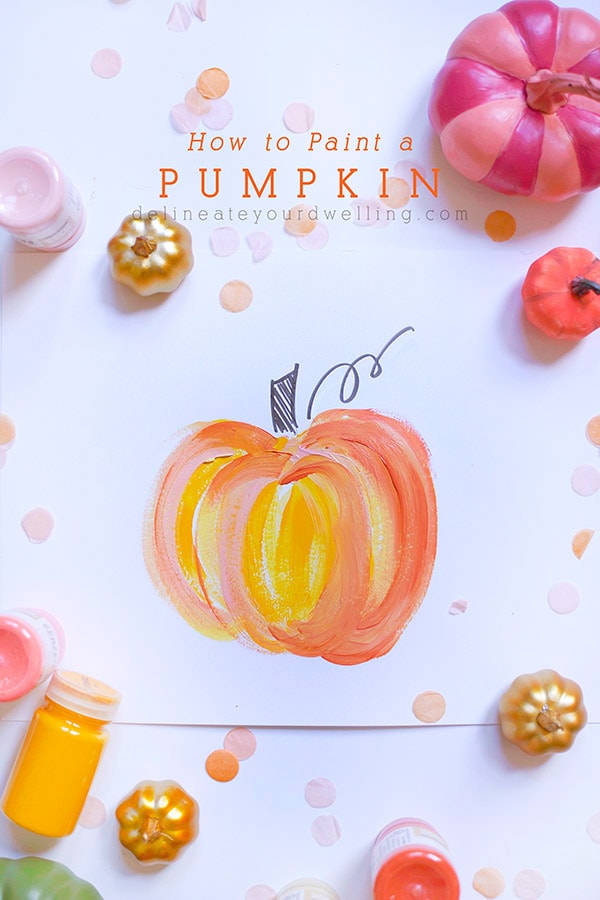
To start your pumpkin drawing, create two narrow “C” shapes that mirror each other. Remember, just like real pumpkins, you don’t want these “C’s” to be perfect or your pumpkin will look too perfect. And don’t be afraid to experiment with different shapes and sizes. Pumpkins come in all sorts of different shapes and sizes, so there is no right or wrong answer. We are going for loose and easy. See below image.
Next, create another set of “C’s” inside your main pumpkin shape but these should be even more narrow looking. You are now drawing the ribs of your pumpkin.

Looking for adorable Pumpkin Decor this Fall? Check these out…

How to draw a Pumpkin Stem
The last step for your Fall pumpkin drawing is to add some details to the pumpkin, such as leaves on the stem or vines around the base.
Drawing a pumpkin stem is a simple way to really finish off your drawing. The stem of a pumpkin can take many different shapes and sizes. Some pumpkin stems are narrow and curly from when they were still attached to the pumpkin vine. Other stems are wide and short. There really is no wrong pumpkin stem!
For my pumpkin drawing, I went with a fairly traditional narrow stem shape. I drew an oblong rectangle shape and then added an additional curly vine piece to the side.
Easy Pumpkin painting
Painting easy fall pumpkins is all about breaking the picture up into simple and do-able sections.
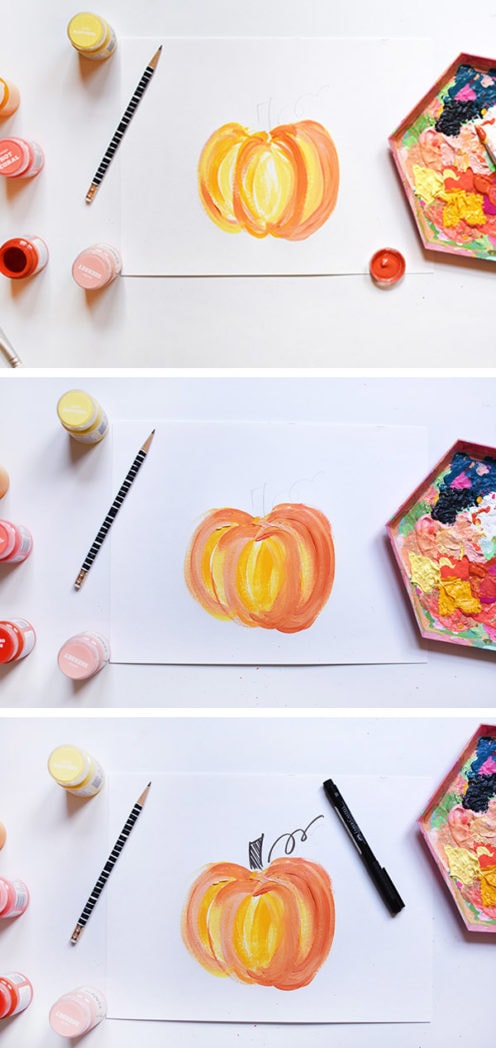
Start by adding a soft pink paint base for the pumpkin. Now, if you are painting your pumpkin on paper, any type of paint will do – watercolor, acrylic or even tempura paints.
After this post went live, I had a ton of people ask what’s the best kind of paint to use on a pumpkin and I would say hands down acrylic paint.
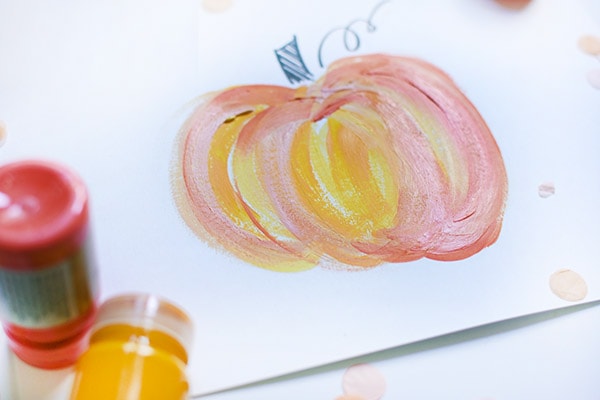
Next, add a cheerful very vibrant orange-yellow color, I used Tangerine. I added the tangerine right alongside the pink.
And then to start filling in the pumpkin, I painted a very soft yellow color to the main areas of the pumpkin.
It’s really starting to take on such a colorful painted look!

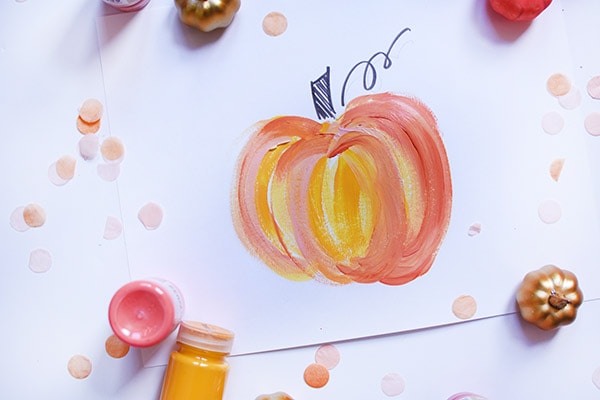
The last steps to painting your pumpkin, are just playing around with more colors. I added a rich deep almost rust orange along my inner “C” lines. And then began layering on the beginning colors again to create more depth.
The very final step was using a brush marker to draw in the pumpkin stem and vine. You could easily paint this portion of the art, but I liked the contrast of the colorful painted pumpkin against the simple black marker.
Allow your paint to fully dry and them you can hang in your home!
Looking for another fun Fall print? Check out my It's Fall Yall coloring page, my Fall Leaves coloring page and my new How to draw a cute Halloween Bat post.
Easy Pumpkin Acrylic Painting
Whether you draw or add color and paint it, this easy pumpkin drawing will soon be a favorite. It is perfect for Thanksgiving or just the fall season. I put mine in a gold frame and set it out on display all Autumn.
This beautiful pumpkin painting would be wonderful to hang as a print in your home, paint on the front of a card for a friend or gift to a family member!
Types of Pumpkin to draw
After you have finished this basic pumpkin project, you can start playing around with different shapes and styles of pumpkins to draw next. Each of them follow the same easy steps, just with elongated or drawn-out semi-circles.
Here are some other shapes for pumpkins you will love:
- A classic pumpkin, This is the most common pumpkin shape, with a rounded top and bottom and a slightly tapered middle.
- A tall and skinny pumpkin
- A pumpkin with a squished bottom and crooked stem
- An apple-shaped pumpkin
- A warty pumpkin, This pumpkin has a bumpy, warty surface.
- A Jack O’ Lantern Pumpkin, This pumpkin has been carved into a scary face, with eyes, a nose, and a mouth.
- A pumpkin with a squished midsection
- A gourd pumpkin, This pumpkin is more elongated and pear-shaped, with a narrower neck
- A butternut squash pumpkin, This pumpkin is actually a squash, but it is often mistaken for a pumpkin. It has a pear-shaped body with a bulbous bottom
You can also combine different shapes to create your own unique pumpkin drawings. For example, you could draw a pumpkin with a warty surface and a spiky stem. Or, you could draw a jack-o’-lantern with a geometric face.
Looking for this exact pumpkin already in print form? Check out my Pumpkin Print and enjoy clicking and printing it out!
You might like these other Easy Art pieces: