How to Turn an Old Cassette Case into a DIY Memory Box
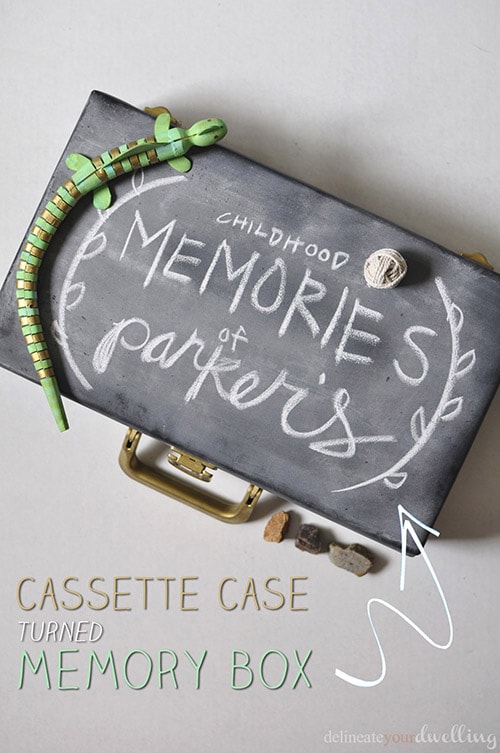
INSIDE : Learn how to repurpose a thrifted cassette tape storage box into a charming, chalkboard-painted memory box. This simple upcycled craft uses fabric scraps, Mod Podge, and acrylic paint to turn vintage storage into a personalized keepsake box for kids or travel mementos.
This post may contain affiliate links. See full disclosure here.
This post has been updated from it’s original August 2014 publish date.
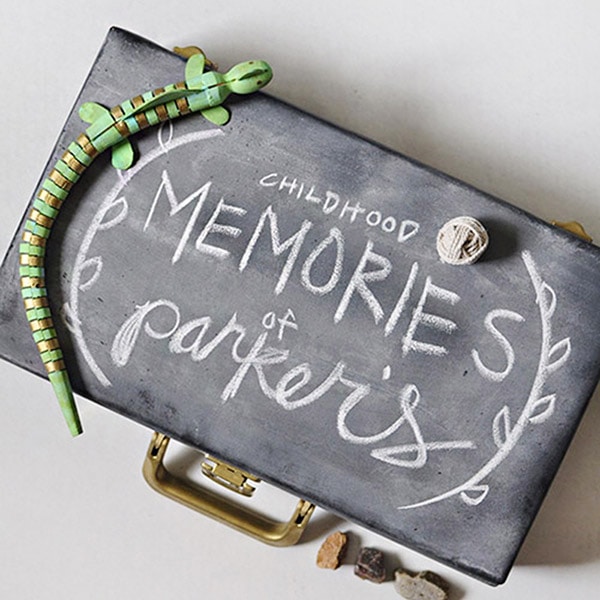
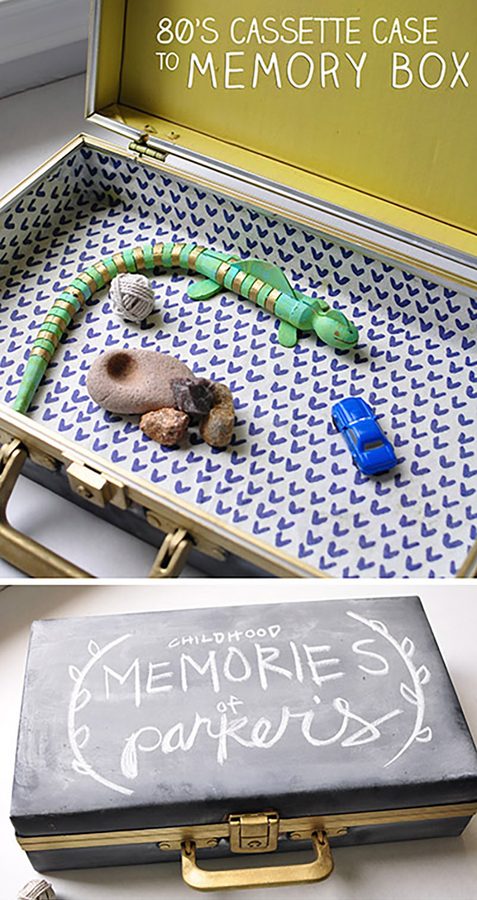
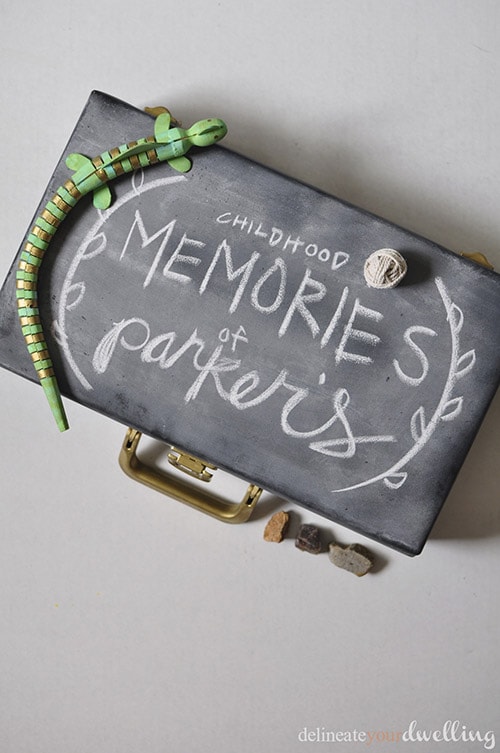
I recently stopped by a local thrift store and found a few wonderfully old pieces of luggage for quite a bargain of a price. See how I was able to take this old Cassette Case turned Memory Box for my son’s little treasures!
Why Upcycle a Vintage Cassette Storage Box?
Finding unique storage solutions at the thrift store is one of my favorite creative challenges!
Check out my Thrifting posts –
On a recent trip, I spotted a wonderfully worn vintage cassette tape case. While magnetic tapes might be a thing of the past, sturdy wooden and plastic audio cases have amazing bones for craft projects.
With a little cleanup, acrylic paint and scrap fabric, you can transform a plain cassette tape holder into a personalized DIY memory box. It’s an affordable, eco-friendly way to preserve special childhood treasures, vacation souvenirs or small heirloom items.
Supplies needed to update a Thrifted Cassette box
- Vintage cassette tape case (thrifted or upcycled)
- Fabric scrap
- Chalkboard paint (black)
- Yellow acrylic paint (for interior accents)
- Gold metallic paint pen (for hardware and latch details)
- Mod Podge (Matte or Satin finish)
- Foam brushes & small detail paint brushes
- Scissors
- Ruler and measuring tape
- Painter’s tape
Step-by-Step Instructions: DIY Cassette Case Upcycle
Prep and Clean the Case Interior
My first step was removing the vintage cassette plastic holder from the bottom of the case. Then I gently removed any old faux leather, vinyl, or felt lining attached to the interior surfaces.
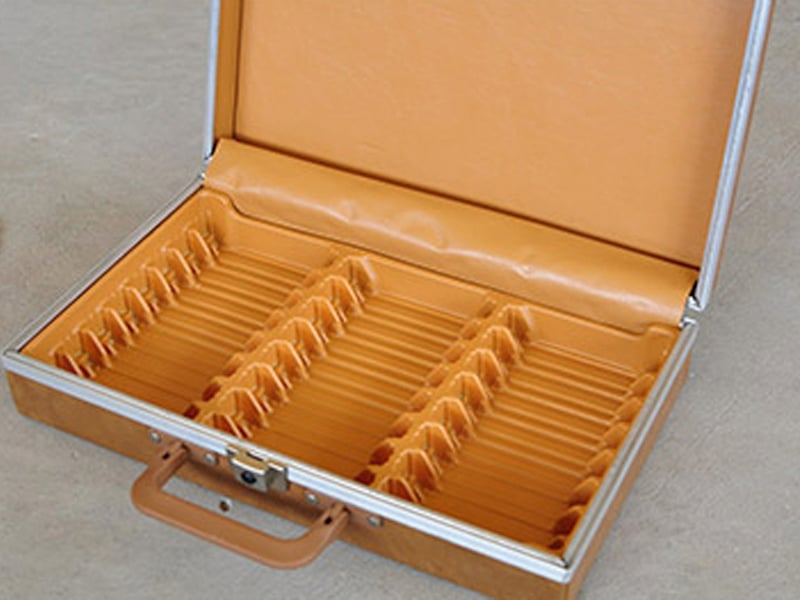
Be sure to wipe the inside and outside down with a damp cloth to remove residual thrift store dust and let it dry completely.
Measure and Cut Your Fabric Lining
Measure the inside base and interior side panels of the cassette case. Sketch out a quick diagram with your dimensions before cutting your fabric.
Lay out your fabric scrap and cut the bottom piece and side strips to fit securely inside the box.
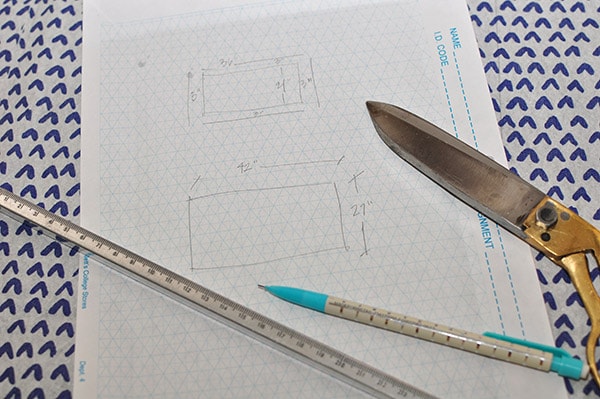
Tip : Use pinking shears to prevent fraying along cut edges
Apply the Fabric with Mod Podge
Apply a thin, even coat of Mod Podge to the bottom interior of the case using a foam brush.
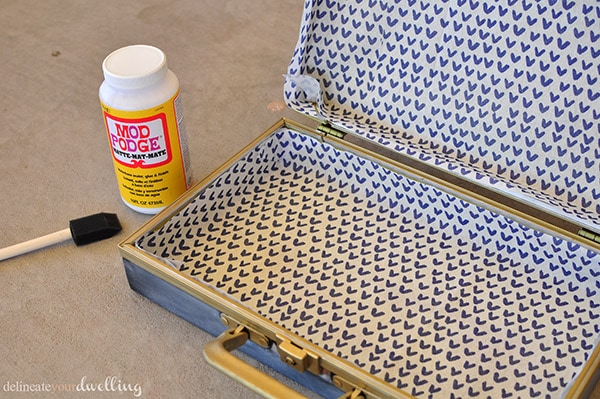
Smooth your fabric piece down, pressing out any air bubbles or wrinkles from the center outward. Next, apply Mod Podge to the side walls and adhere your fabric side strips.
If you want, you can apply a light top coat of Mod Podge over the fabric edges to seal them. I did not do this step however.
Paint the Interior Top Accent
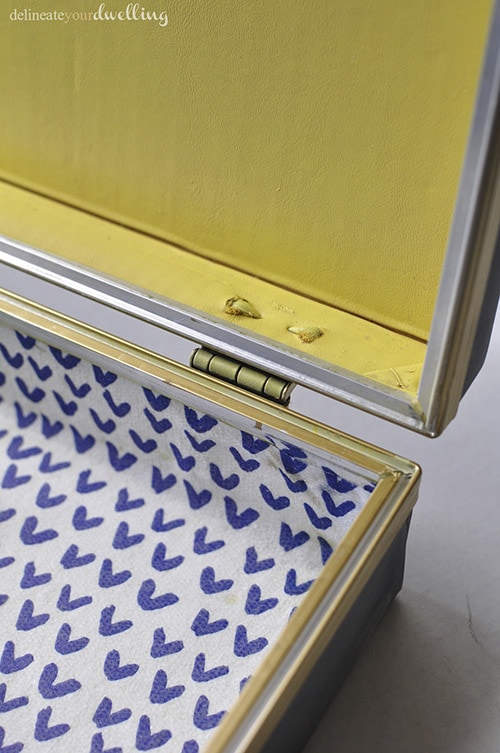
I originally installed the fabric inside the top portion of the case, but honestly it felt so busy! So, I removed it – cleaned the mod podge off and started fresh.
I used painter’s tape to protect the edges, then applied two coats of a fun yellow acrylic paint to the top inner lid.
Be sure to allow it to dry thoroughly between coats.
Transform the Exterior with Chalkboard & Gold Paint
Chalkboard
I love adding chalkboard paint to a project. My tree stump chalkboard craft was SUCH a hit, I still have it 12 years later and have changed the chalkboard color to black. It’s gorgeous.
Start by setting your case on a paint cloth and paint the entire exterior of the cassette case using two to three coats of black chalkboard paint, letting each coat dry completely.
Once the chalkboard paint has fully cured (around 24 hours), season the surface by rubbing a piece of chalk sideways over it and wiping it clean.
Gold paint
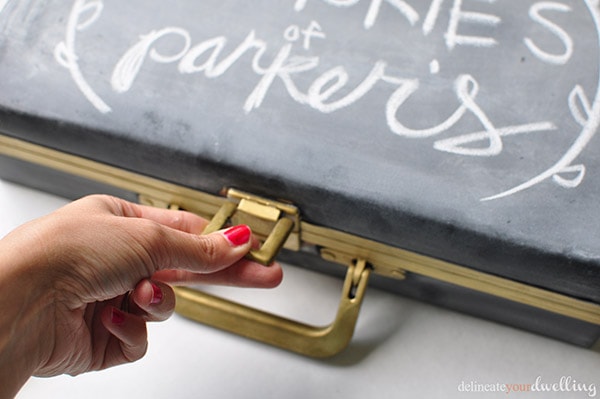
Next, using a small detail paintbrush or a metallic paint pen carefully paint the metal hinges, handle and clasp hardware in bright gold.
Creative Ideas for What to Store in Your Memory Box
This adorable upcycled box makes a wonderful keepsake holder for kids or adults.
Here are a few favorite items to store inside –
- Childhood Milestones: First haircut locks, hospital bracelets, lost teeth boxes, or baby shoes.
- Travel Souvenirs: Pressed flowers, ticket stubs, small beach rocks, sea glass, and coins from trips.
- Miniature Treasures: Favorite small rocks, tiny hand-drawn notes, brass trinkets, or charm collection items.
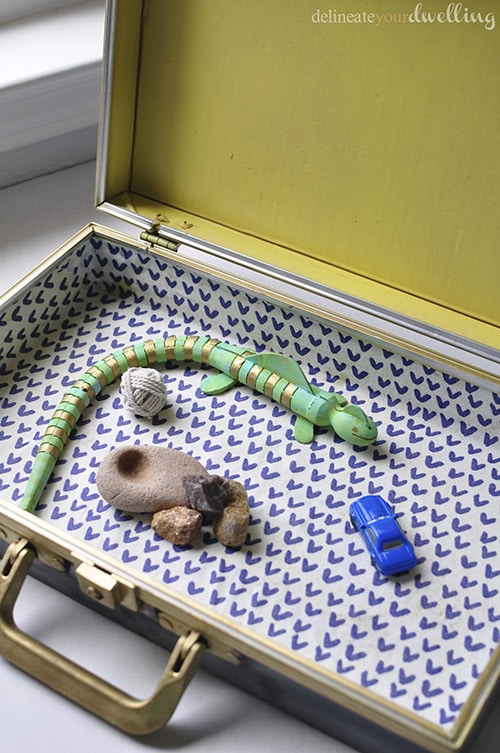
I envision this slowly filling with the cherished memories of a little boy! (Mom slowly wipes away a single tear.)
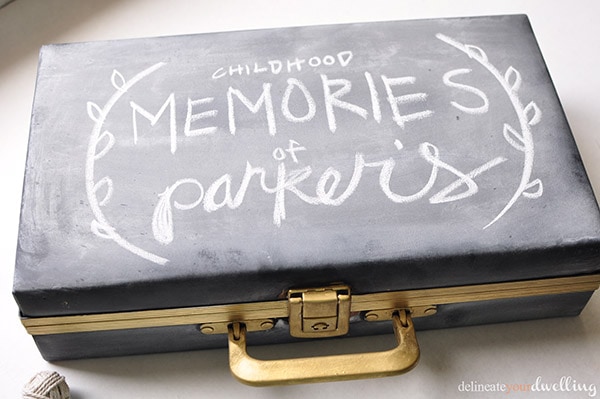
Do you have memory boxes for your children? I think it’s such a fun way to capture certain times of their lives to look back fondly on as they grow older!
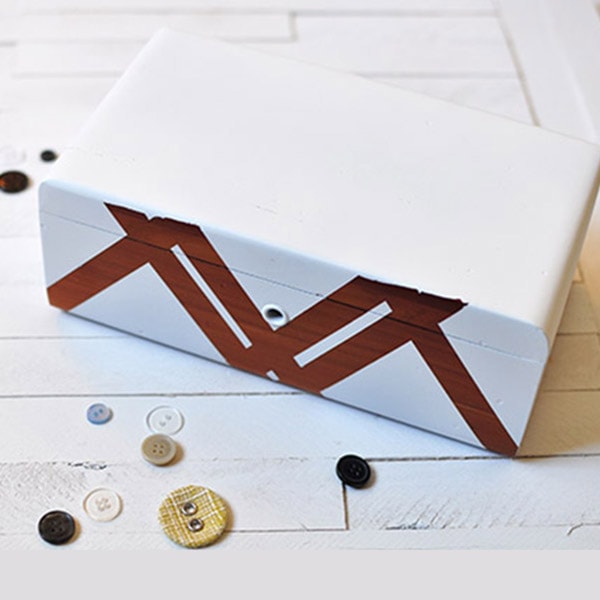
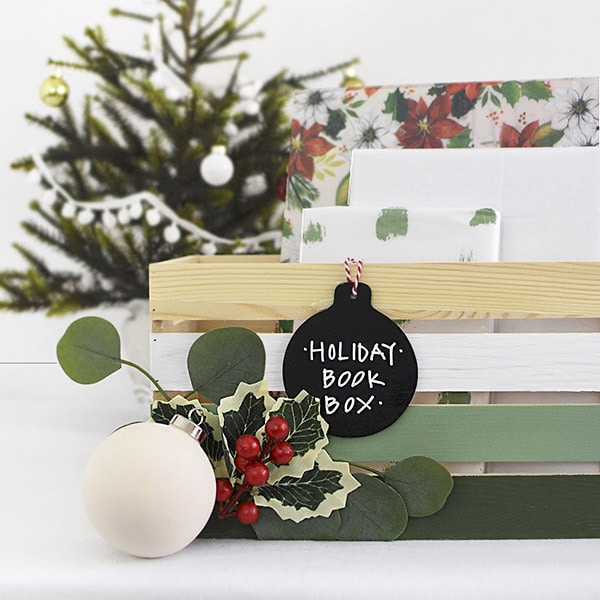
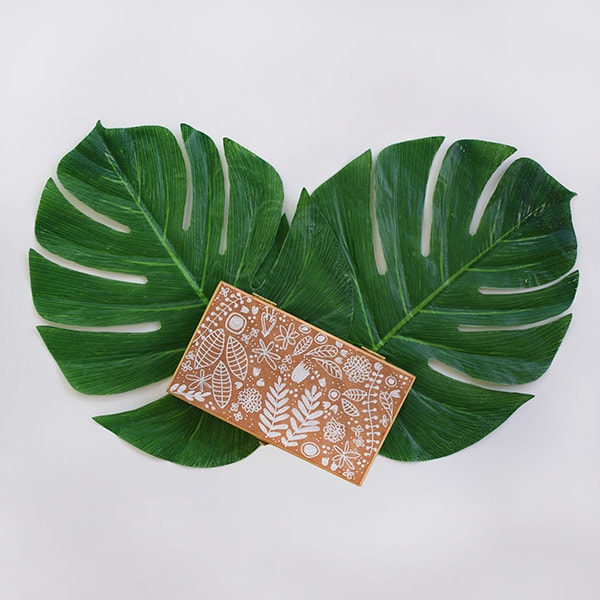
Looking for more creative boxes? I’ve done so many over the years, here are some of my favorites!