Painted Wooden Box
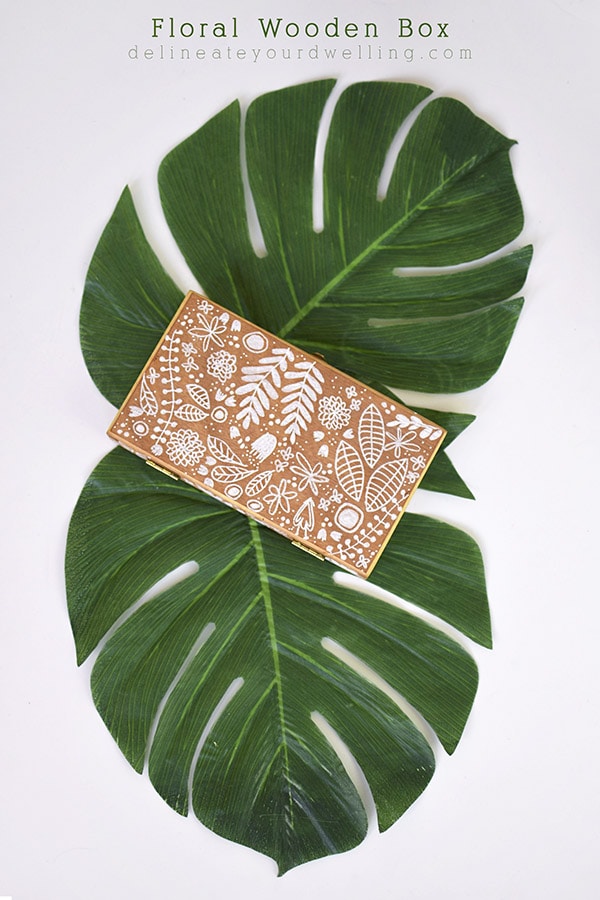
INSIDE : Learn how to make DIY Painted Wooden Boxes with floral flower patterns on them. There are endless ideas when it comes to painting on wooden boxes but sometimes keeping it simple helps!
This post may contain affiliate links. See full disclosure here.
This post has been updated since it’s original April 2019 publish date.
I love having small boxes around my home. They are perfect for collecting and corralling all kinds of odds and ends. From holding loose change, to hiding away remote controls their are endless ideas for using a wooden box.
What supplies do you need to make flower painted Boxes?
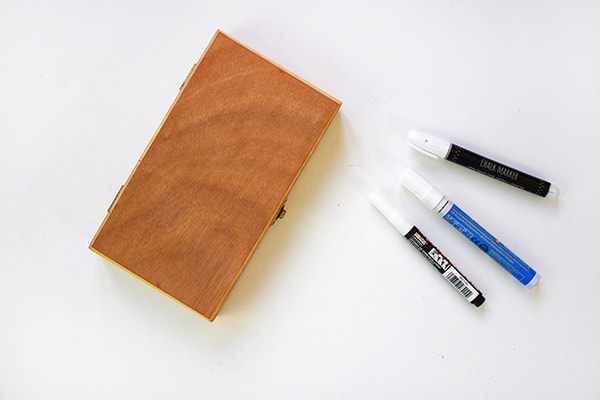
- Small Wooden Pencil Box (or this one)
- White Paint Markers
I am a huge fan of containers and I think small wooden boxes are just the best for holding all types of things. Plus you can make a wooden box your style in just a few swipes of the hand!
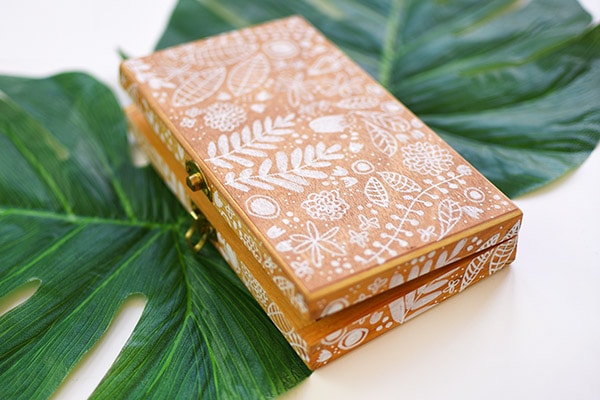
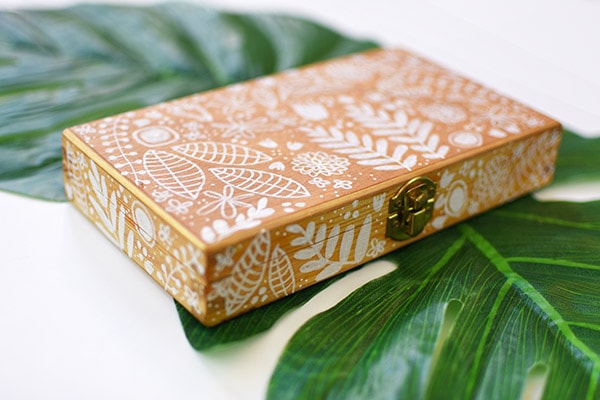
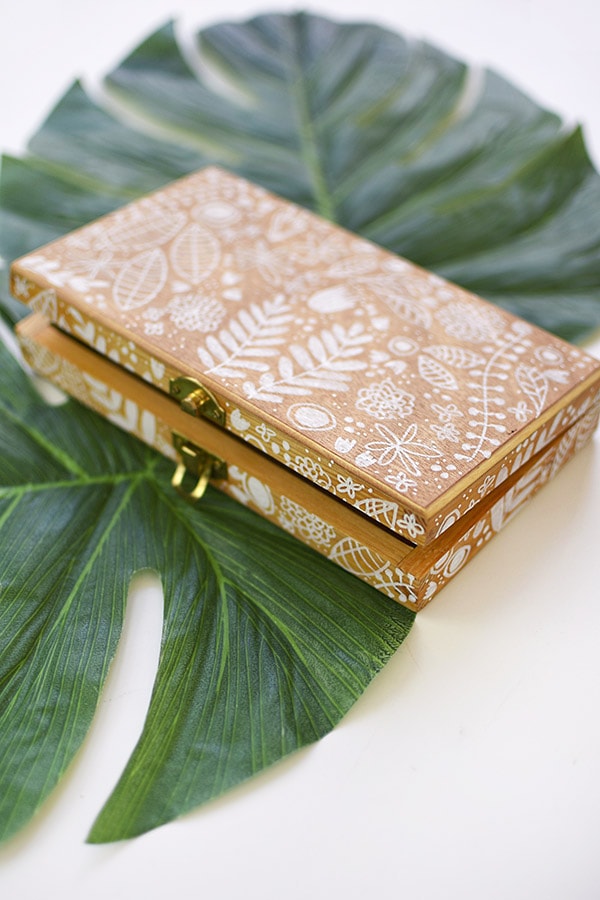
This DIY Floral Painted Wooden Box is maybe my favorite one.
Simple ideas to paint on a Wooden Box
This project is so simple and easy. There are endless ways you could hand paint on a wooden box, but for this project I decided to stick with a flower + plant theme.
I started by doing just a little bit of flower designs for painting on wood doodling on a scrap piece of paper. I drew about 4 or 5 different simple flowers and leaf type combinations. I ended up modifying some of those designs, but I found it very helpful to have a few ideas to start pulling from when it was time to paint.
Other fun ideas to paint on a wooden box are…
- A floral design
- An animal print pattern
- Geometric shapes
- A constellation
- Create a beautiful galaxy
- Marbling pattern
- Stenciled design
Adding paint pen to a wooden box
Make sure you give your paint pen a good few shakes to mix up the paint. Also, gently press the marker tip a few times on a spare piece of paper to allow for any big globs of paint to get out, before starting on your wooden box.
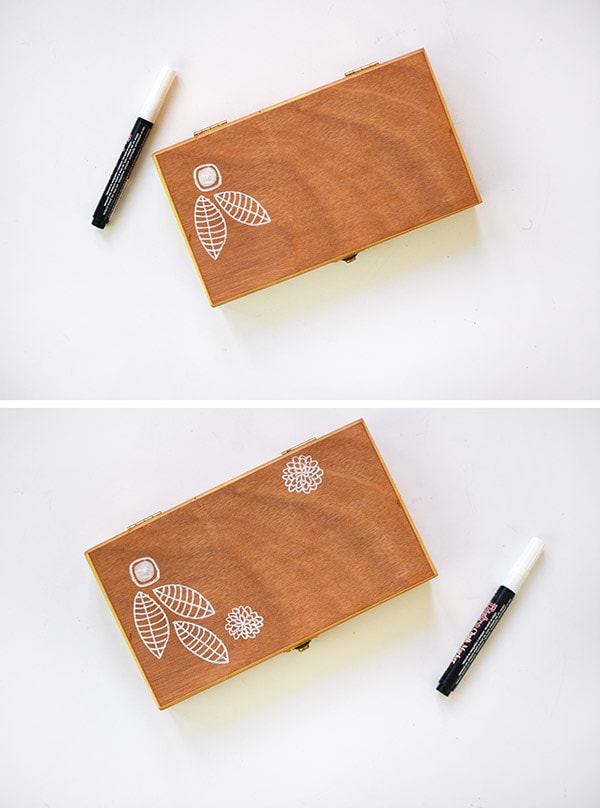
Next, simply start drawing or “painting” your flower patterns onto the box.
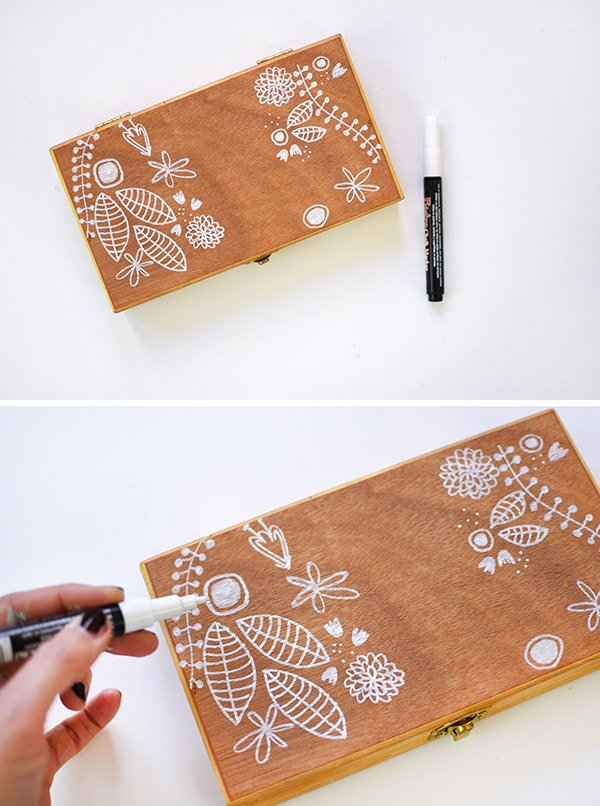
For the most part, I decided on a floral or leaf pattern and then do one or two on the top face of my box. Then, if I had enough room I would try and squeeze one on the small front portion of the box.
Next, would move onto another of the larger sized shape. I would then repeat, a few on the top, a few on the sides. Slowly, the hand painted wooden box started to fill up.
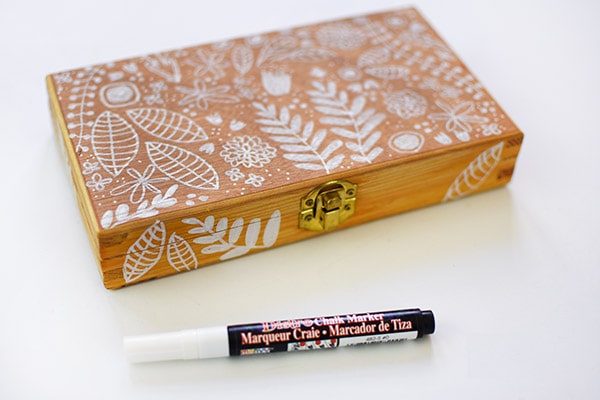
And the best part about how to paint a wooden box is you can really make it up as you go! For any smaller empty areas, I filled with a set of three larger polka dots and then many small dots. I think that helped to break up the patterns and spaces nicely.
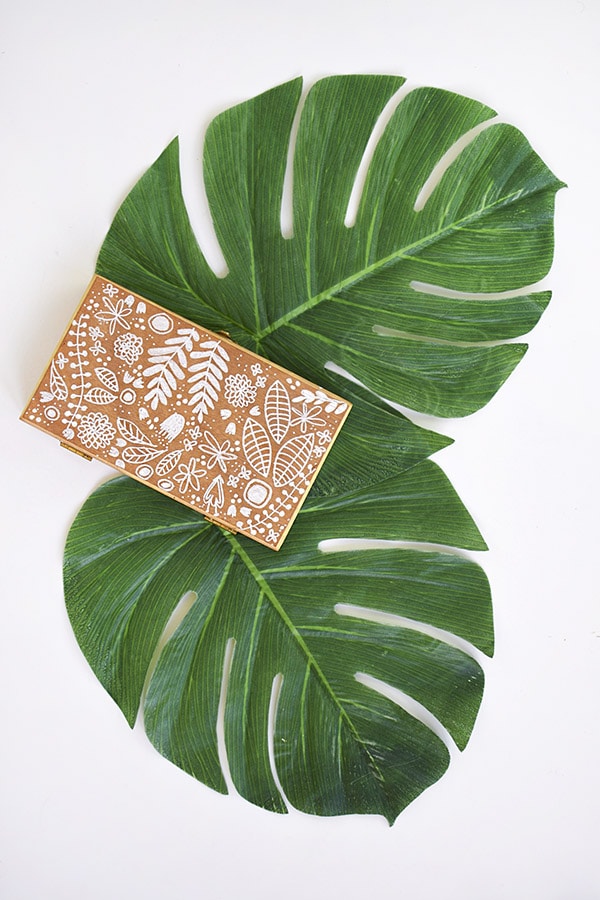
If your pencil box is a lighter colored wood or it’s been left as natural wood, you may need to lighten stain the wood so the white paint pen shows up. Or you could always use a different color paint pen, black would be so stunning!
How to lightly stain a wooden box with coffee
I have used this coffee staining method before on another project I made and love that it takes no chemicals and can be easily made for quick small projects. You will need steel wool, coffee grounds and vinegar. Place a steel wool pad into a mason jar. Add a 1/4 cup of used coffee grounds and 1 1/2 cups of vinegar.
Close the container, shake the mixture and let it stew overnight. The next morning, gently mix the stain. Remove the steel wool and apply the stain to the project. As the stain dries it will become darker, so let the stain set for 20 minutes before applying the second coat. Repeat until you get your desired color.
Box Painting Ideas
I have done so many fun painted and patterned boxes over the years! There is something about a simple box and getting creative to transform it.
Here are a few of my favorite box painting ideas.

