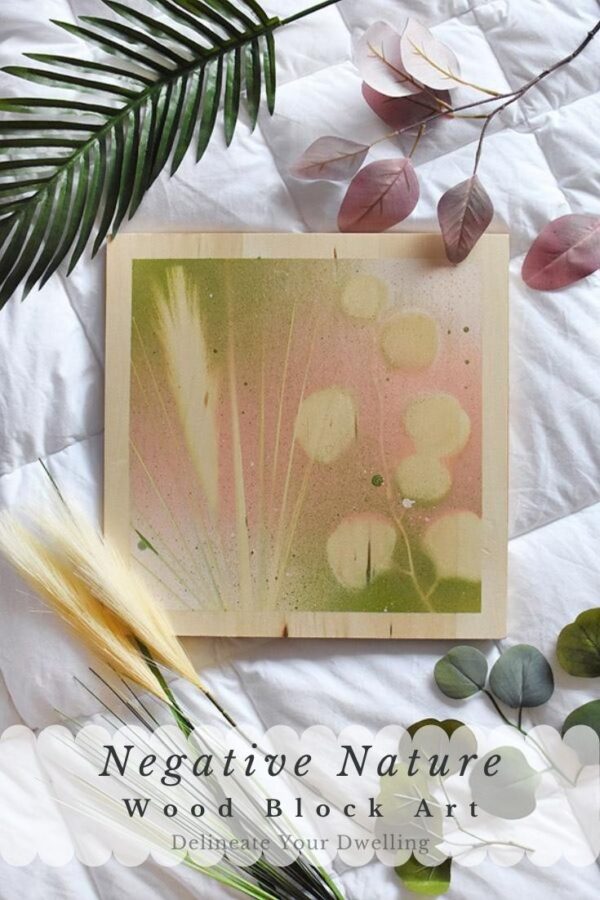
Negative Nature Block Art
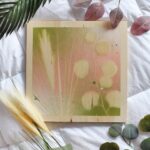
INSIDE : Learn how to create an organic feeling piece of artwork with plants, flowers and spray paint! This unique DIY Negative Nature Block Art will definitely be a statement piece in your home.

This post may contain affiliate links. See full disclosure here.
This post has been updated since it’s original September 2020 publish date.
I love being able to create unique artwork in my home and the negative artwork technique is a such a fun one to try.
you might like these fun art project ideas…
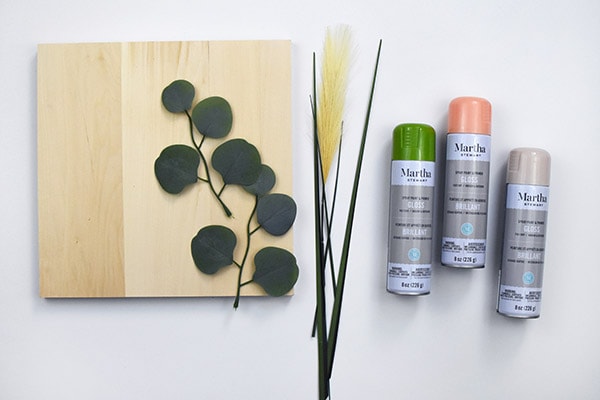
What supplies do I need to create negative nature wood block art?
- 12″ Wooden Block
- Faux Eucalyptus + Grasses or even Palm Leaves
- Martha Stewart Spray Paints – Sage Green, Wild Salmon + Cream
- Painter’s Tape
Looking for more creative Martha Stewart projects? Check out the over 20+ crafts I’ve made using her amazing supplies!
How do I make nature wood block art?
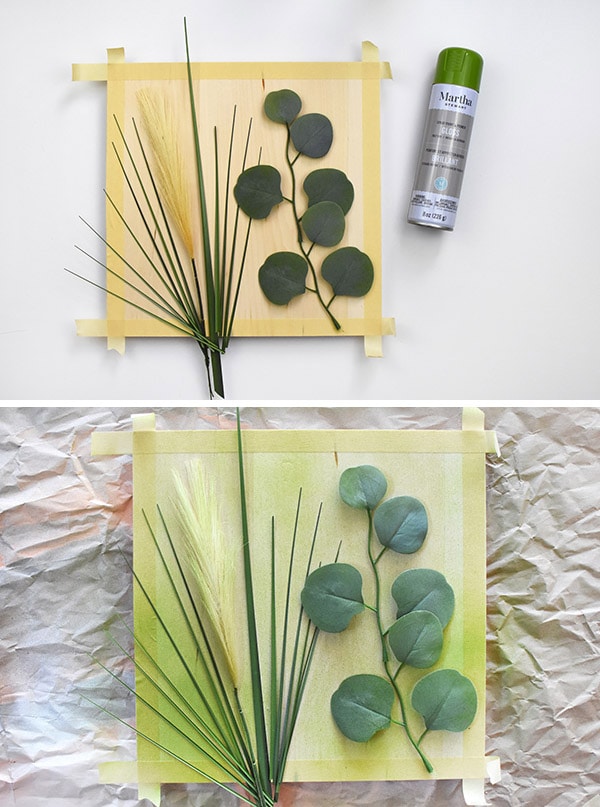
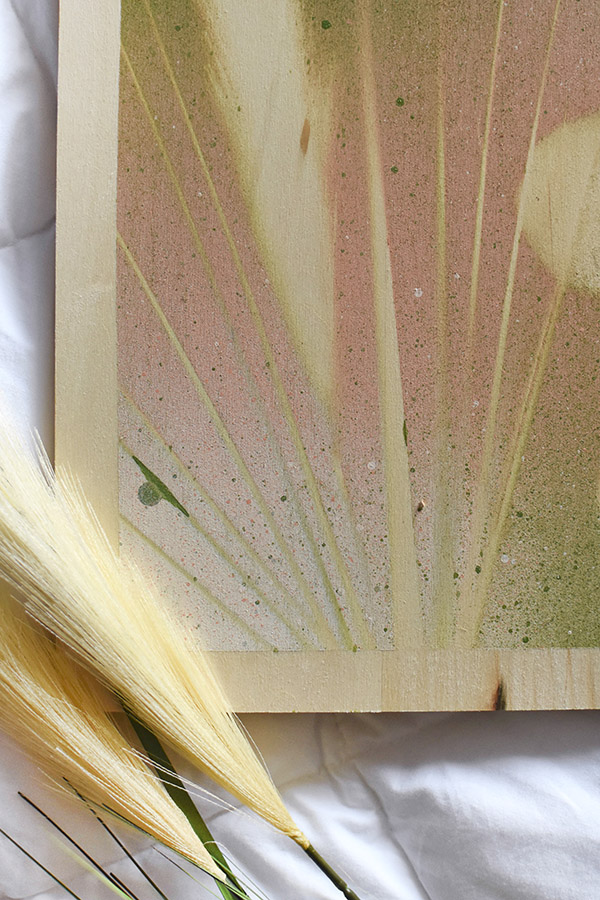
Start this project by taping off the edges of your wood block with painter’s tape. I love the look of raw wood peeking out.

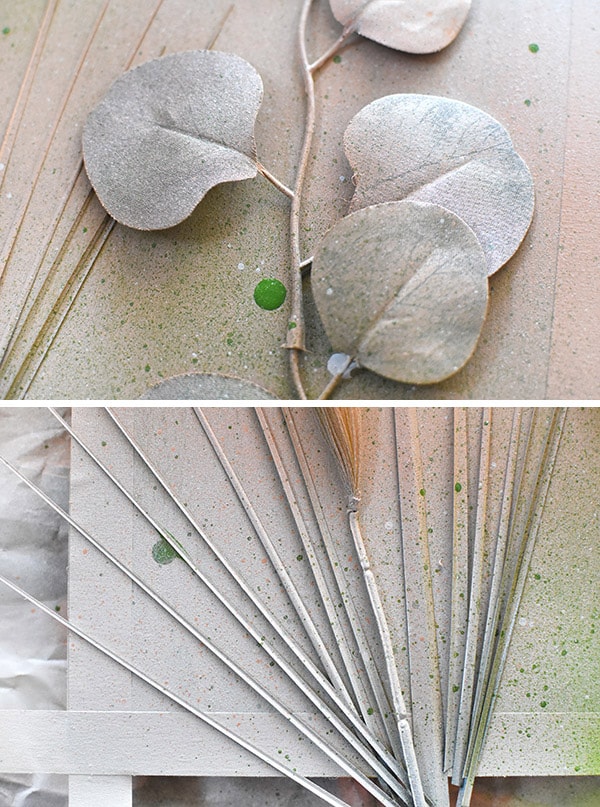
Set your block in a well ventilated area to prepare for spray painting. Next, trim off the faux greenery pieces and place on your wood block.
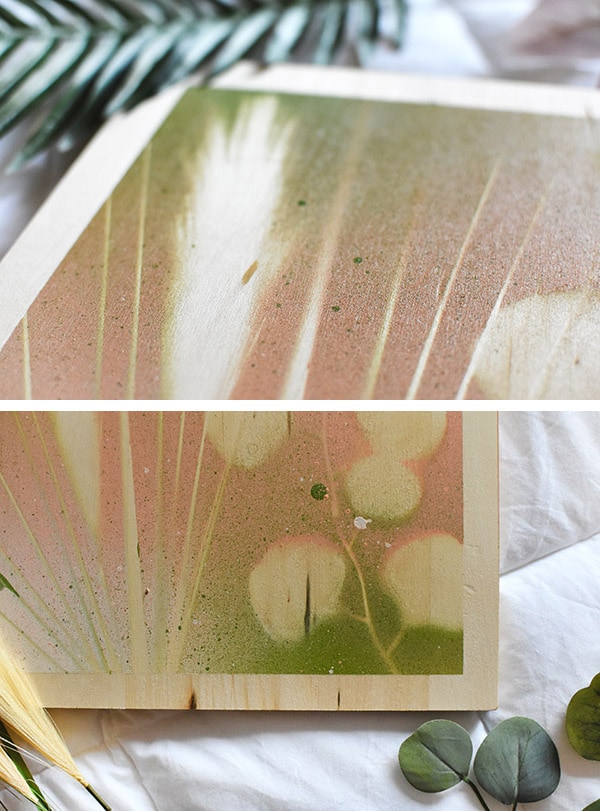
Grabbing your Sage Olive Spray Paint, use very light gentle strokes back and forth over the nature. Keep in mind when you spray paint, the smaller the nature, the more likely it may move around a little bit.
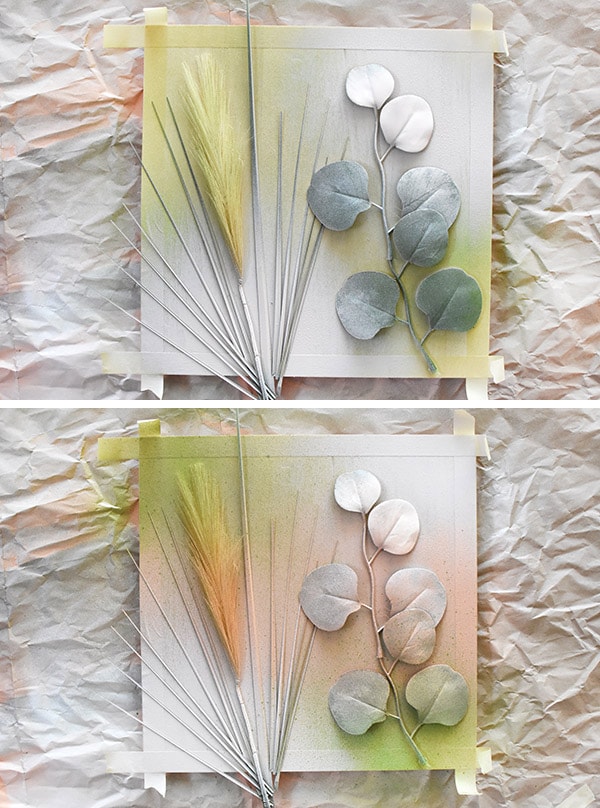
Allow the spray paint to fully dry and without touching or moving any of your faux plants, layer on the next color of paint. I used the Cream/White color next and did light passes over the top right and bottom left corners.
After the Wedding Cake has dried, come through with your final spray paint, Salmon. I did a light coat in the center area of my wooden block.
Looking for other Fall Leaf crafts? You might like some of these :
- Fiddle Leaf Fig print
- DIY Monstera Leaf Shadowbox
- DIY Leaf Stamped Towels
- Leaf Dream Catcher
- Embellished Leaf Garland
A little spray paint trick is getting it to do a few small dots of paint. If you depress the spray paint button just half way, it will give a “spurt” type effect. I loved the organic feel a few splatters and dots in the green, white and peach that this gave it.
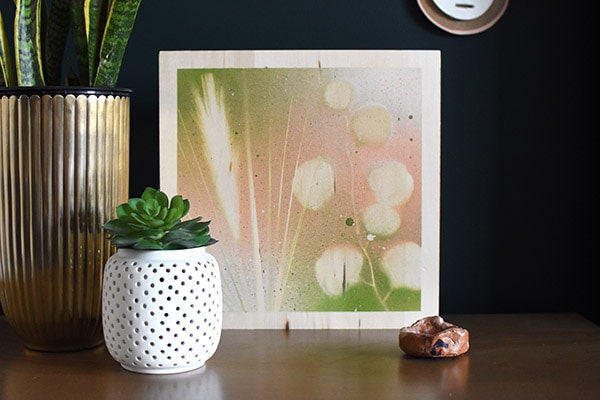
Before your new artwork completely dries, be sure to remove the greenery and the masking tape border.
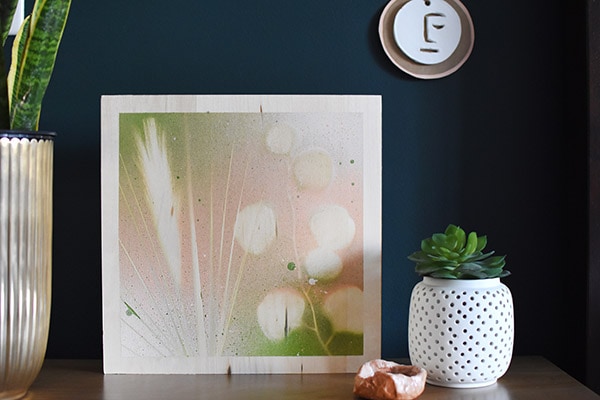
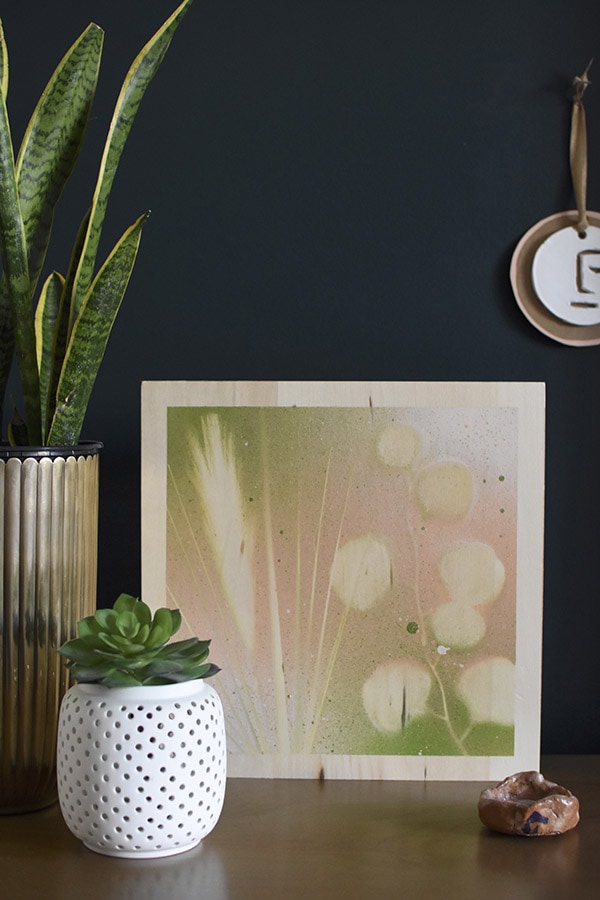
The final product is a gorgeous negative space piece of artwork.
Why is having art of nature a good thing?
Having nature art in your home can enhance your well-being, foster creativity and create a more peaceful and aesthetically pleasing environment. So, embrace the beauty and benefits of nature by incorporating some nature art into your space!
Studies have shown that viewing nature, even through art, can significantly reduce stress and anxiety levels. Scenes of landscapes, oceans, forests or even images of natural elements like flowers and leaves can trigger calming responses in the brain, lowering blood pressure and heart rate. So making this negative space art is not only fun to do, but also helps to relax you as you display and view it!
This would be such a fun project to do with children, too. You could go on an outdoor adventure and collect leaves, pine cones, flower petals, etc!
And the colors and patterns you can use + create are just endless.
Be sure to check out some of my other gorgeous Martha Stewart projects I’ve done over the years!
This is a sponsored post by Martha Stewart and Duncan Paint. All opinions are 100% mine.