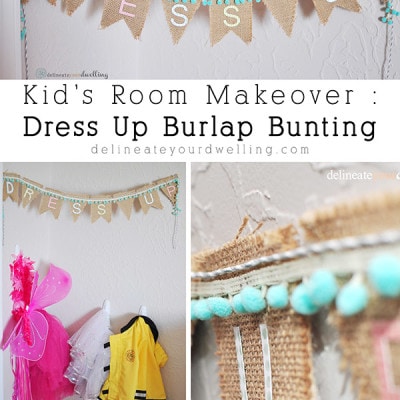
Kid’s Room Makeover : Dress Up Burlap Bunting
INSIDE : See how to use the space behind your child’s bedroom door for a fun Kid’s Room Makeover : Dress Up Burlap Bunting area! It’s a great way to use un-used space in a great way.
This post may contain affiliate links. See my full disclosure.
This post has been updated since it’s original publish date of February 2014.
I’ve recently been giving my kid’s bedroom a makeover.
I updated their closet and then made the cutest shadow box onesie for each of them.

Next up on the agenda of their shared bedroom is creating a better space for their dress up clothes!
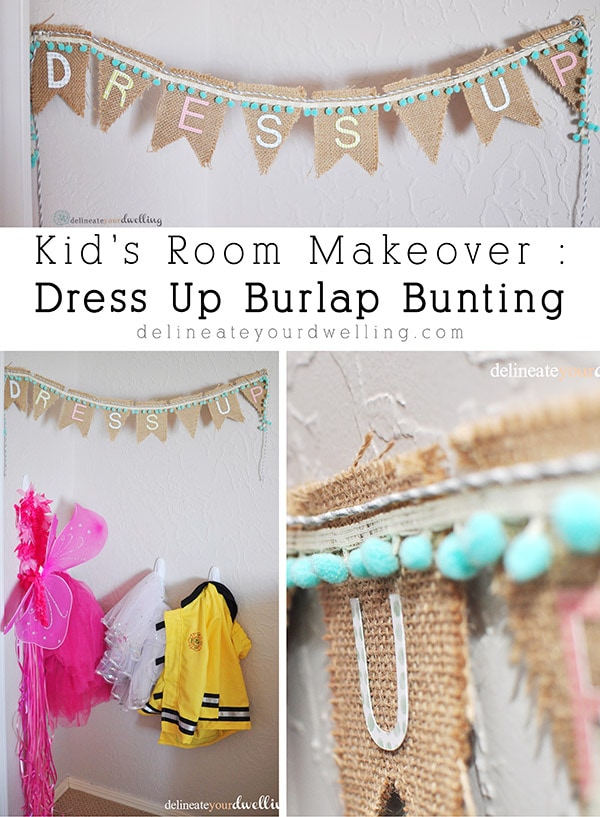
I love making space pretty that are ALSO organized, so today I am sharing my kid’s Dress Up Burlap Bunting that I made to hang over the new space.

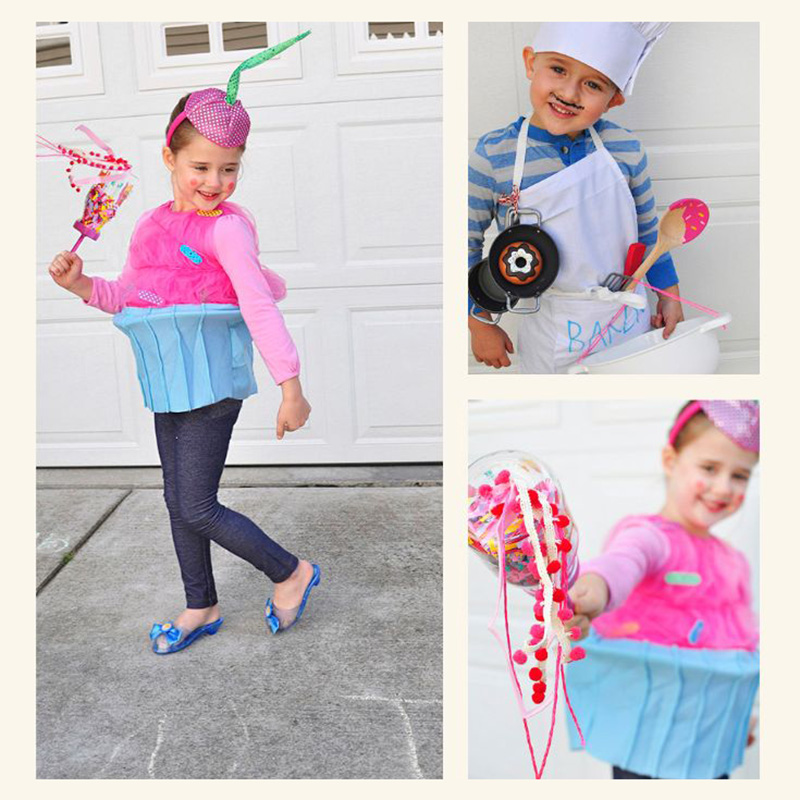
Their dress up area holds such fun imaginary play for them both! We have fairy wings, cooking aprons, ballerina tutus, dinosaur hats, a fireman outfit and a few pair of high heels. Update: we now have tripled the dress up and this still functions perfectly!
Supplies needed for Dress Up bunting
- Burlap bunting
- Pom pom trim ribbon
- Bakers twine
- Scrapbook paper for the letters

How to create a layered bunting
Creating the bunting that will hang over my children’s dress up clothes area was very simple.
I started by laying out the burlap pieces and the spacing I wanted to use. I wanted to spell out “Dress Up” so I made sure to have enough pieces for that.
Then, I used a hot glue gun to secure a length of baker’s twine and the pom pom trim ribbon along the top of my bunting to hold the burlap together.

Adding letters to your bunting
Using my Silhouette Printer I cut out simple letters to spell out “DRESS UP”, but this could easily be done without a fancy cutting machine.
You could use premade letters or by printing out the letters on a regular printer, you could cut them out onto scrapbook paper.

Once I had all my letters ready, I attached them to the burlap with hot glue.

How cute is that pom pom trim! I adore it.

This dress up area fits so perfectly in that odd space behind their door. It’s hidden out of the main flow of traffic, but it’s still so easy to for them to access.

I used simple command hooks behind the door for all their dress up clothes. And I love that as they get more and more dress up items, we can simply keep adding command hooks to accomadate the need for more storage back there!

Looking for some of the other fun kiddo ideas I have done in their bedroom? Check these out below…
Kid’s Shared Bedroom projects
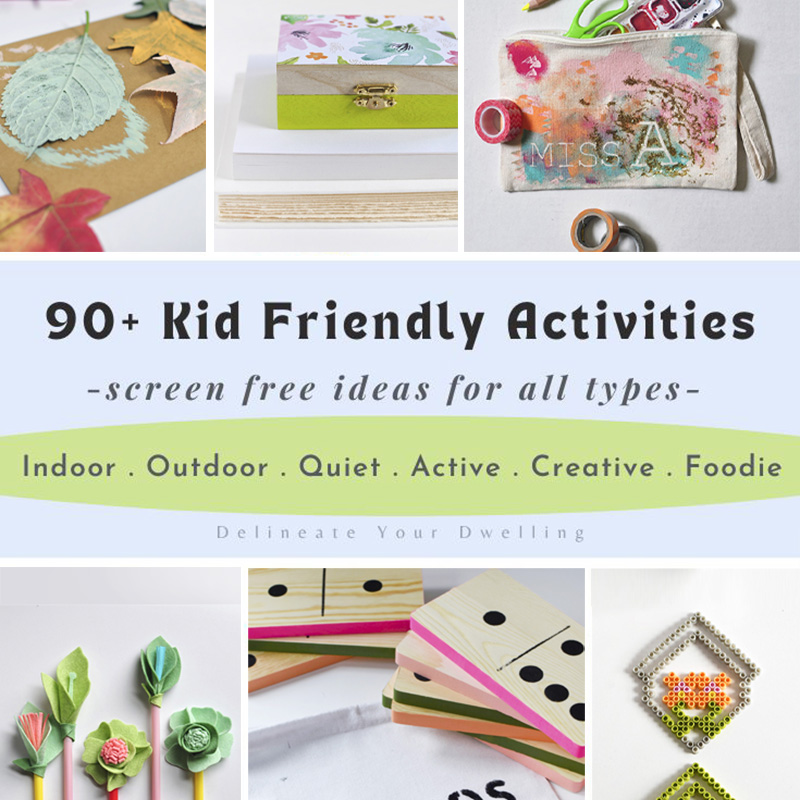
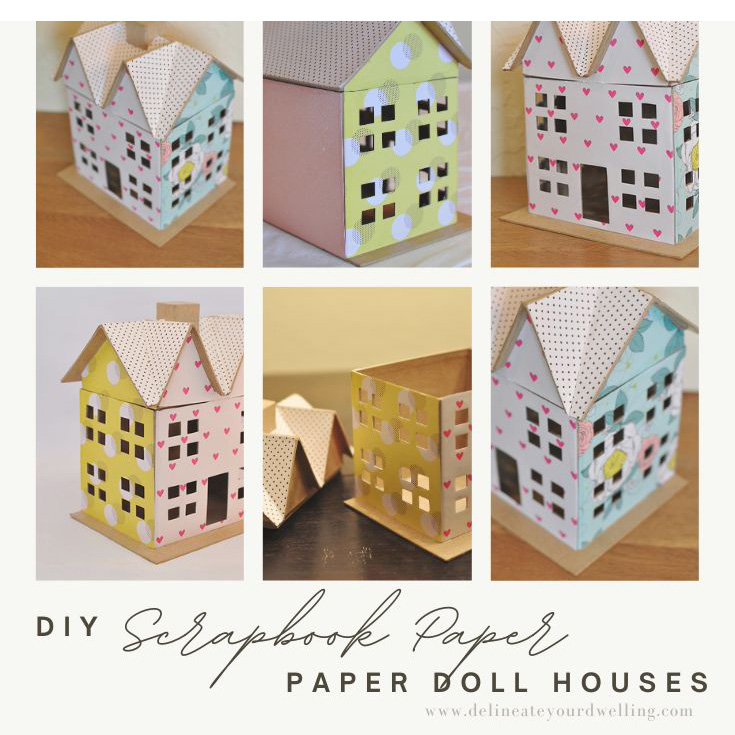
And if you are interested in general kid crafting ideas, check out these…

Great blog! Do you have any suggestions for aspiring writers?
I’m hoping to start my own site soon but I’m a little lost on everything.
Would you suggest starting with a free platform like
Wordpress or go for a paid option? There are so many options
out there that I’m completely overwhelmed ..
Any suggestions? Cheers!
Those aqua pom poms are to die for!