Personalize IKEA Kiddo Desks
INSIDE : Learn how to create adorable DIY IKEA Chalkboard Desks for your children. Find out how to get a colored chalkboard paint and let your imagination run wild. Learn simple ways on how to customize your IKEA Kiddo Desks.
This post may contain affiliate links. See full disclosure here.
This post has been updated since it’s original publish date of August 2013.
I purchased two white IKEA desks for my kiddos and they have loved having a dedicated space to color, do play-doh and have snacks. I, personally, have such fond memories of having my very own desk as a child, so I was really excited to get them these simple white desks!
I’m really excited to share today my plan for the desks and then how to add a colored chalkboard finish to the tops and customize with a cute place setting top. Let’s start with the vision and go from there!
Personalizing IKEA Desk plan
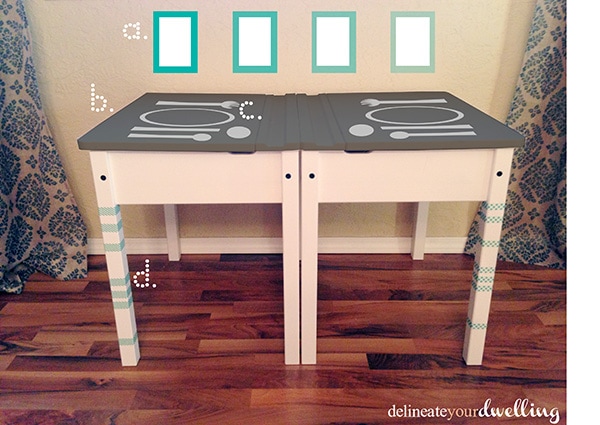
My plan to customize these fun desks was pretty simple. I drew up a little photoshop mockup, so you can see exactly what my vision for the entire space was.
a. I’m going to hang 4 “Manners” prints in frames right above the desk area.
b. I plan to paint the desk tops with chalkboard paint (my plan was black, but I changed that after one application.)
c. Using a white marker paint pen, I’m going to draw a dinner place setting on the desk tops
d. Add fun patterned Washi Tape to each of the desk legs
Supplies needed to update IKEA desk
- Ikea Desks
- Colored Chalkboard paint
- Washi tape
- White paint marker
- Optional – Manner prints
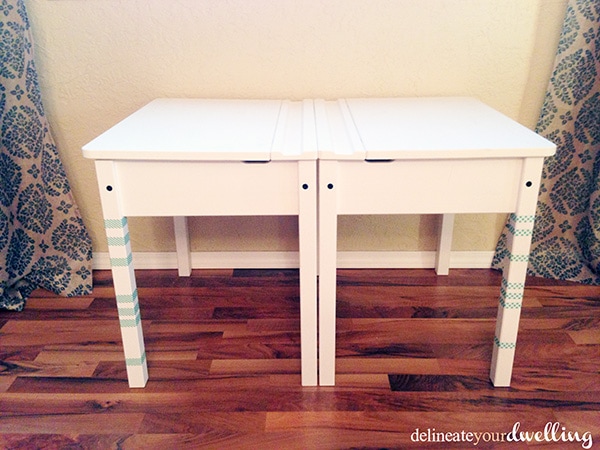
Adding Washi Tape Desk detail
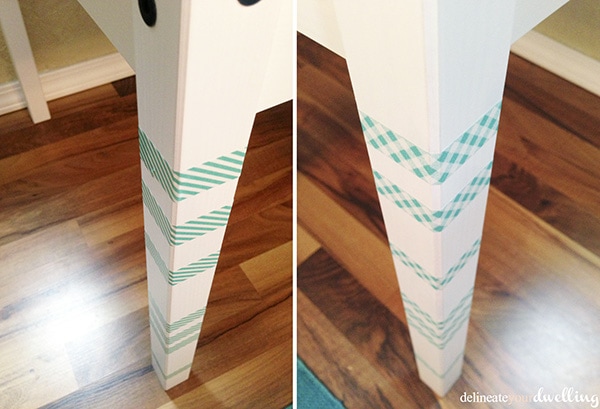
Adding simple washi tape to each of the desk legs is a simple and budget friendly idea. I can change up the colors and design whenever I want. I used tape I already owned and it took five minutes total.
I did a different pattern on the different desks, but kept with the same color palette so it’s a subtle design change, but still feels cohesive.
Add colored chalkboard desk top
I started off painting the desk tops with a standard black chalkboard paint. Using black was my original plan and after seeing how dark it made the area, I decided on a new plan and wanted a lighter cheerful color.
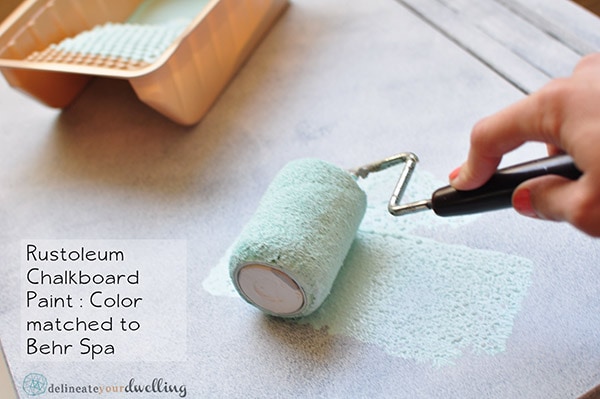
So, I headed off to Home Depot and asked them to match Behr’s “spa” color and using Rust-Oleum Chalkboard Paint. They did a color match and made my lovely soft blue chalkboard paint. FRIENDS, ANY COLOR YOU WANT IS NOW AVAILABLE IN CHALKBOARD PAINT!
Even though the box says “Comes in 12 tintable colors!” you can make any color you like.
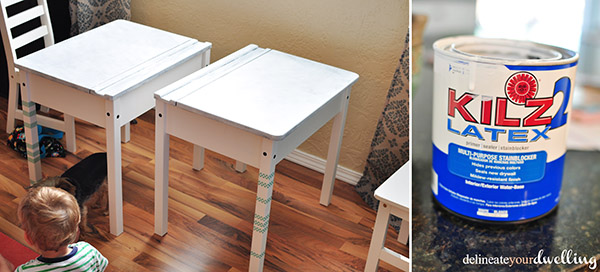
I painted two coats of latex primer to cover the original black and then followed my new chalkboard paint directions.
I ended up doing three coats of the blue chalkboard. My sweet daughter proceeded to “accidentally” color across the entire desktop with a purple crayon. SO, after another two coats of paint, it was finally covered up.
Season the chalkboard
After the paint has dried for 36 hours, you “season” the board by rubbing a piece of chalk over the entire surface. The only chalk I had on hand was colored chalk, so I used a piece of yellow chalk.
Let me recommend that you DO NOT use colored chalk for this step. Afterward, even after wiping down the desk tops with a damp cloth, I could not get the yellow look to go away.
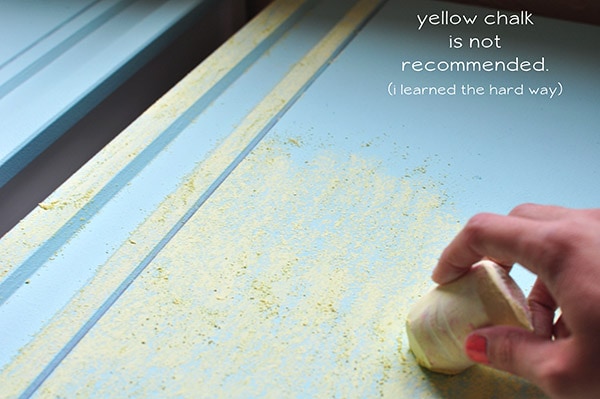
I wiped down the desks with a wet paper towel, allowed it to dry fully and picked up some WHITE chalk to season the desks properly this time.
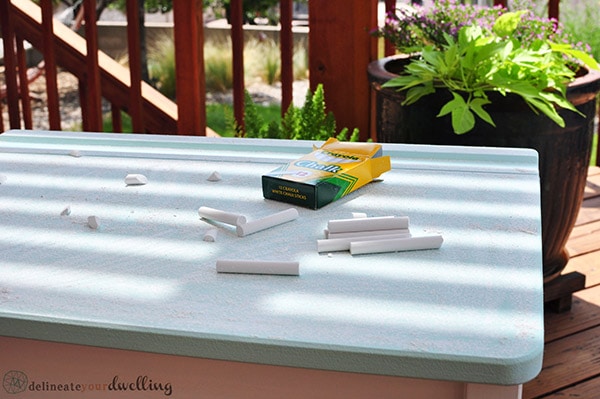
Whenever seasoning a chalkboard, it is highly recommended to do this step outdoors. I had done this the first time inside… it was a dust storm in my dining room.
Creating a painted plate setting
Next up was creating a fun place setting picture on the top of my kid’s desks so they could draw food on the plate and overall just have fun imaging and playing make believe!
This is a quick sketch of my plan.
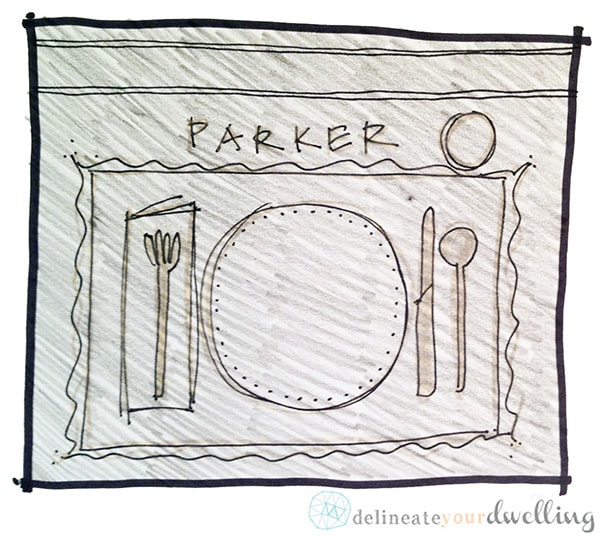
Start by sketching out the basic layout for the table settings on a large piece of paper. Then, hold the sketch up to a window and use a pencil to color the backside of the paper where the lines were. This is a basic graphite transfer method.

Then you place the transfer right side up and trace your lines onto each desk. This was essential so that each desk had the same exact spacing and layout.
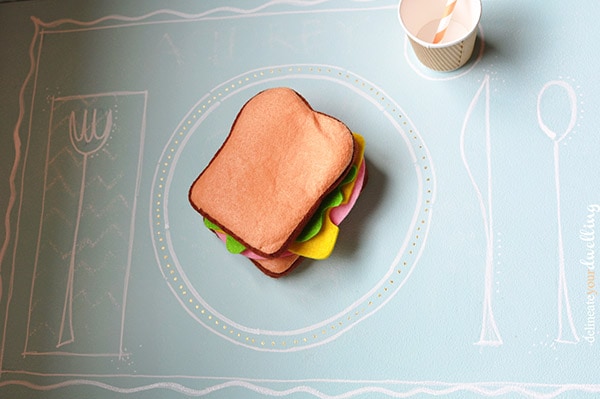
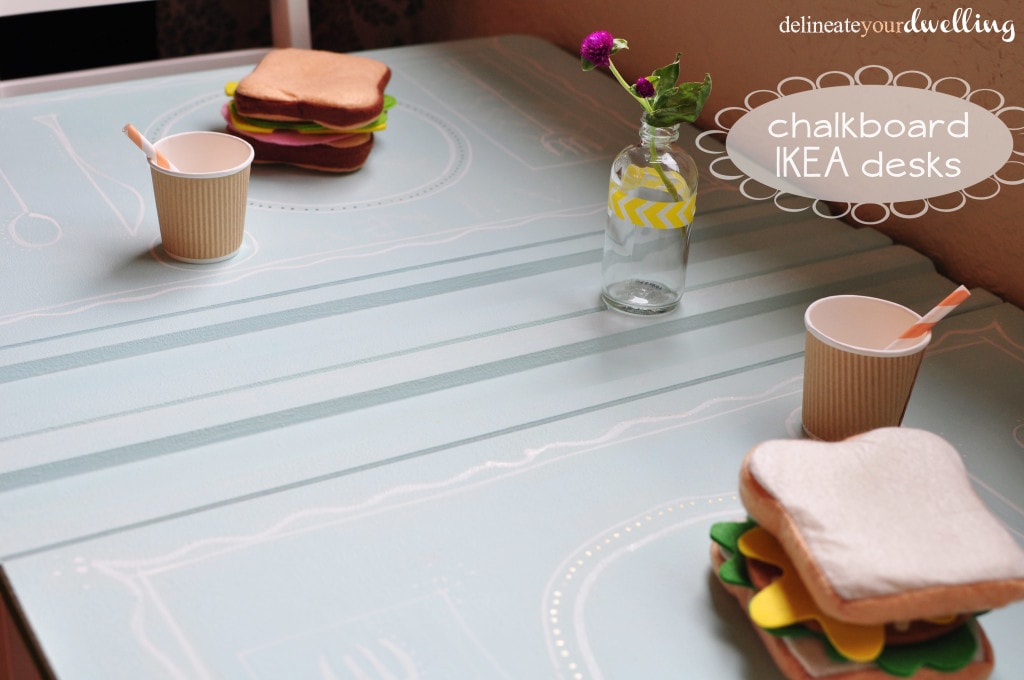
Once those lines were transferred on, I used a white paint marker to draw the design on permanently.
I even added a small detail of gold to the plates for a little sparkle! I also painted the edge of the desks with a bright green paint color for a contrast of pale blues and white.
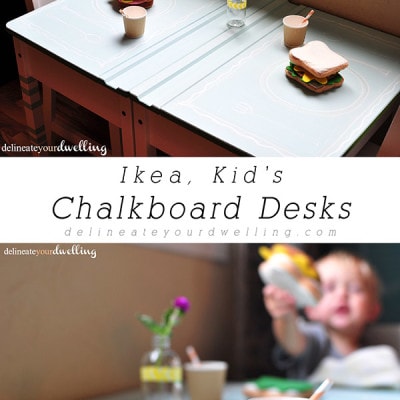
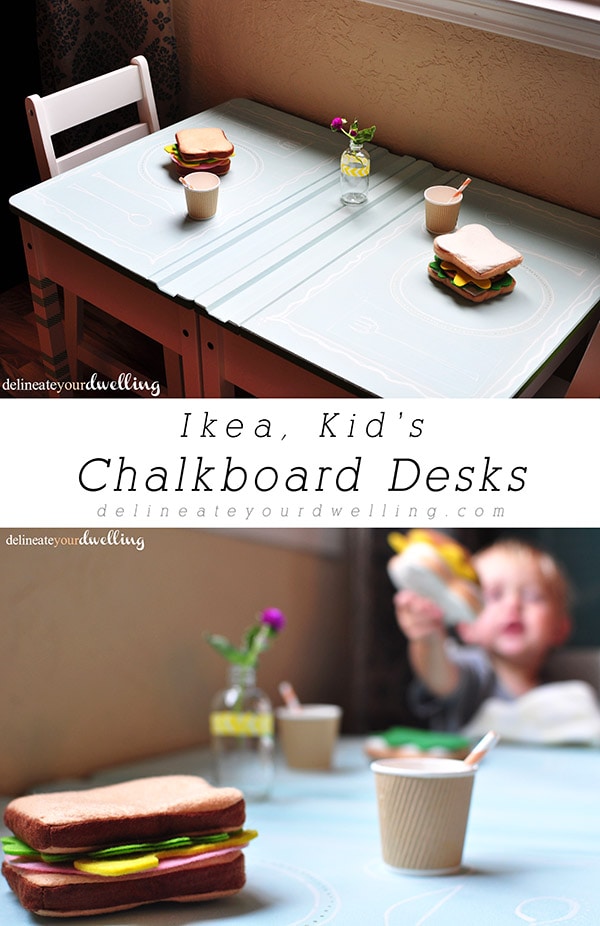
IKEA Kiddo Desk
I am in love with the end result.
My kids have such fun now “cooking” their felt foods and serving all of us at their desks. They can draw with chalk on the plates and silverware. They can eat there. It’s such a simple update that gives endless joy!
I love the soft blue color of these IKEA kiddo desks and know we will use these for years and years to come!
Looking for some more kid related crafts, DIYs and idea? Check these out!