Washi Tape Letter P wall decor
INSIDE : Learn how to make an adorable Paper Mache DIY Washi Tape Letter wall decor to hang in your child’s bedroom. We used so many fun shades of green and love it.
This post may contain affiliate links. See full disclosure here.
This post has been updated since it’s original August 2013 publish date.
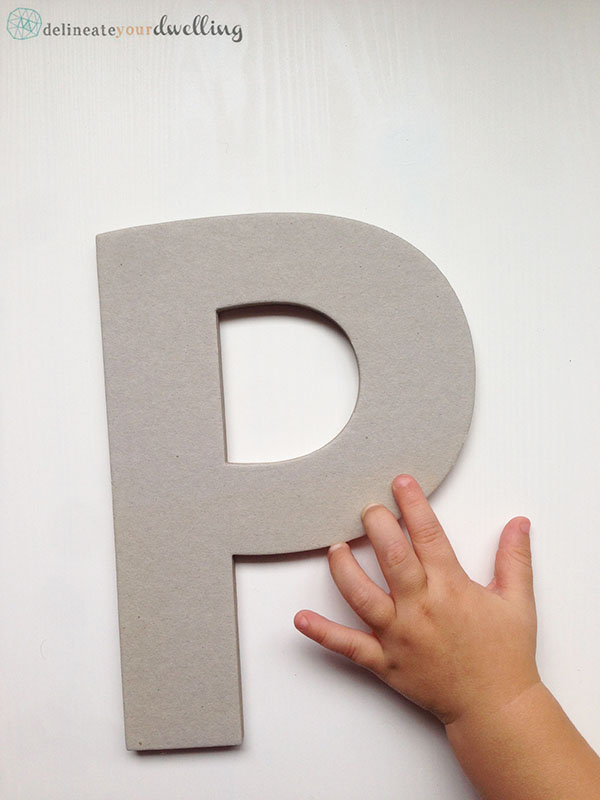
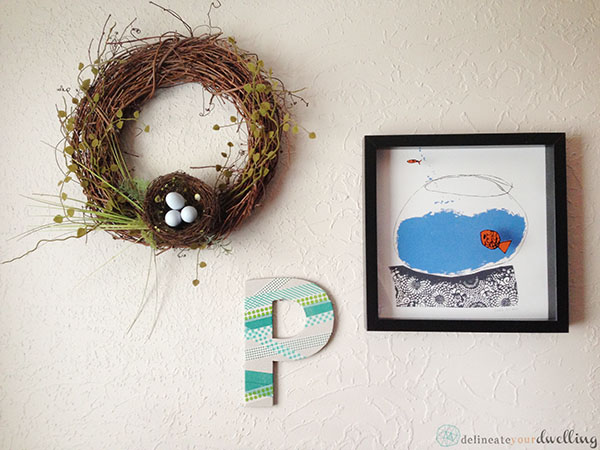
Now that my son is almost 15 months old, it is time to share the washi tape covered letter I made to hang above his crib. When I found this great Paper Mache letter P, I knew it would make a great wall decor piece for my little guy!
What supplies do I need to make a Washi Tape Letter?
How to decorate a Paper Mache Letter with tape
I love a quick craft project and this one does not disappoint.
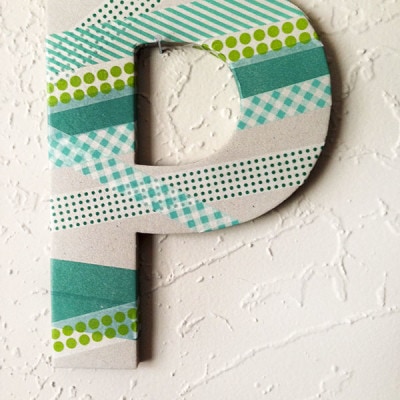
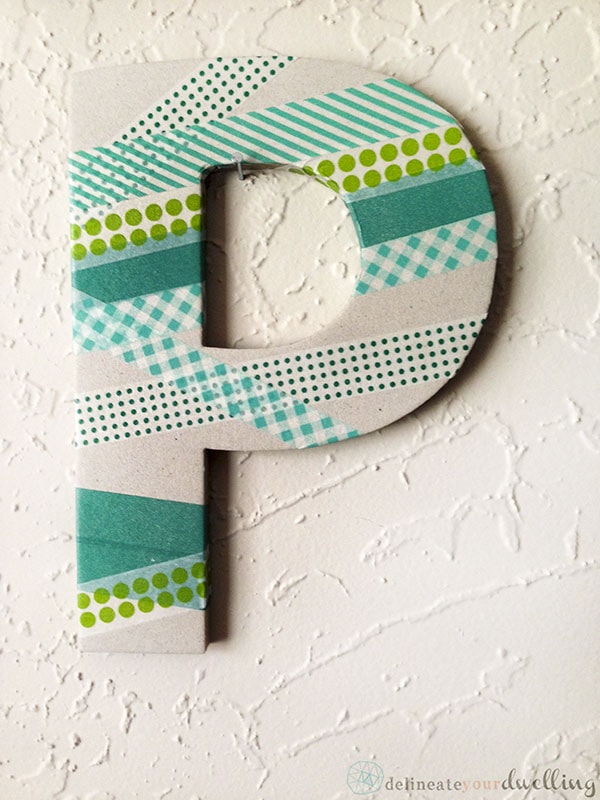
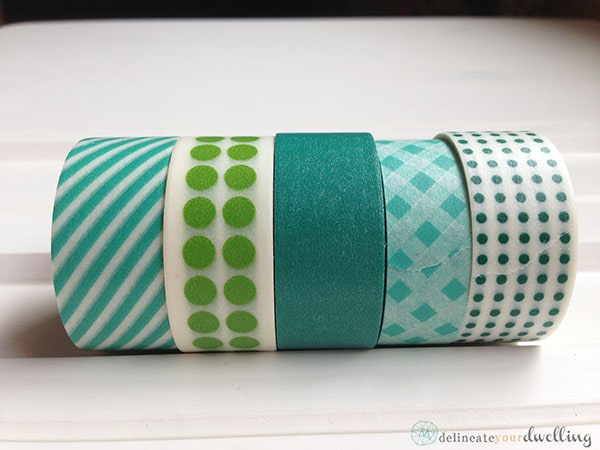
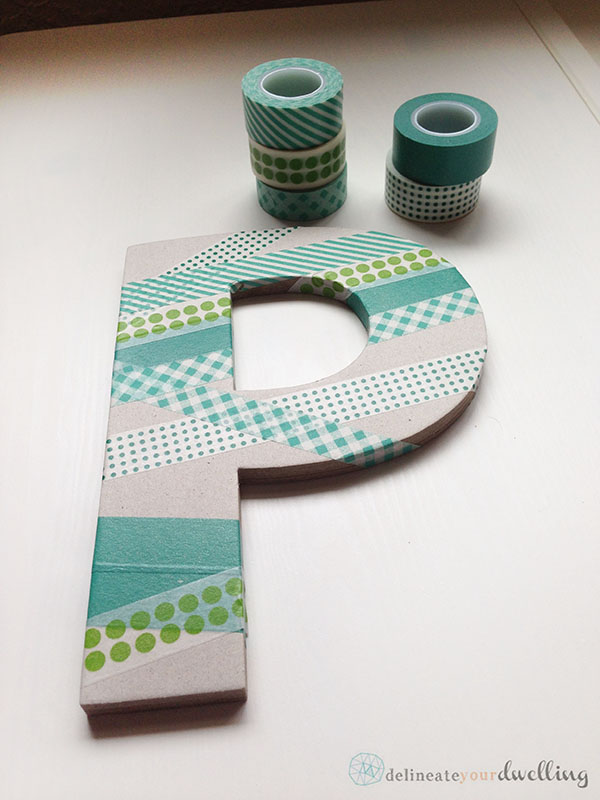
To decorate a letter with washi tape, start by deciding what color palette you want to use. I wanted all different shades of green tapes, so I stopped by my local craft supply store.
I ended up selecting a paper mache letter P and a handful of tapes.
(Ah, I sure love those sweet chubby little hands.)
Next, you simply start wrapping the letter with your washi tape.
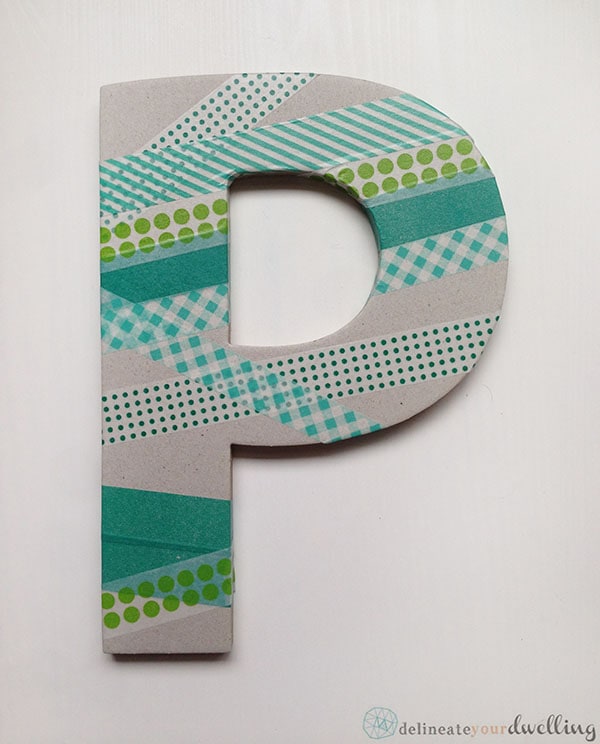
I think it gives more interest to wrap the letter in various directions, but you certainly could wrap all the taping going in one direction – almost like stripes.
You can see below, I did a few additional patterns in opposing directions to mix it up and add some interest.
I just love how this quick project turned out. It has a fun graphic style that goes perfectly in my son’s bedroom!
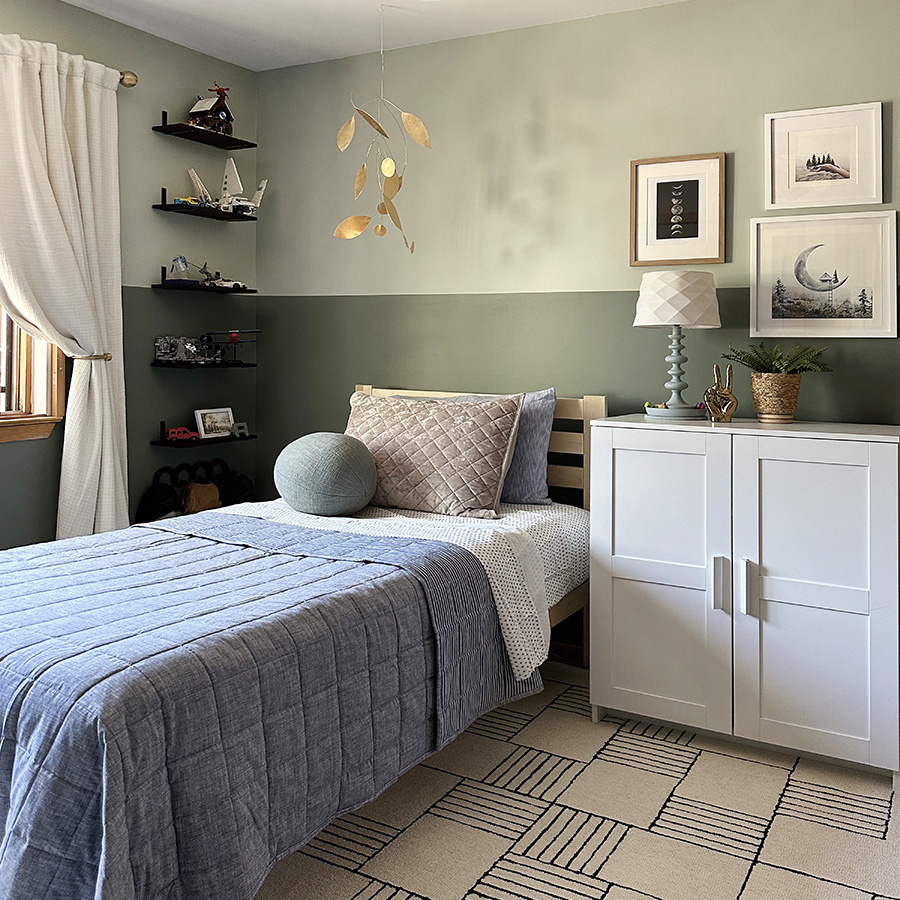
Finally my little guy can have his name represented on his side of their shared bedroom. You can see their shared bedroom makeover here.
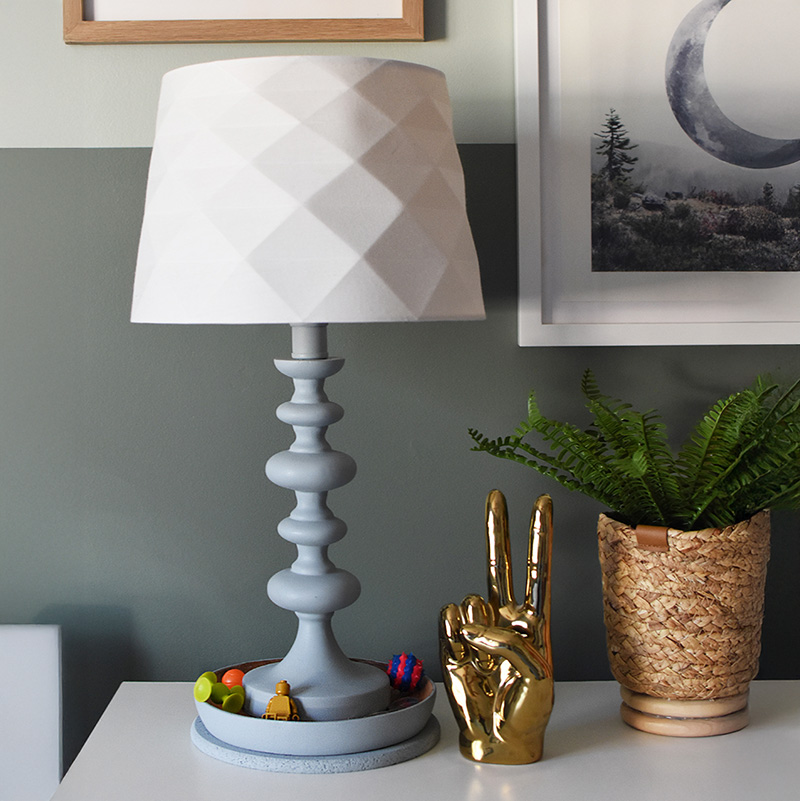
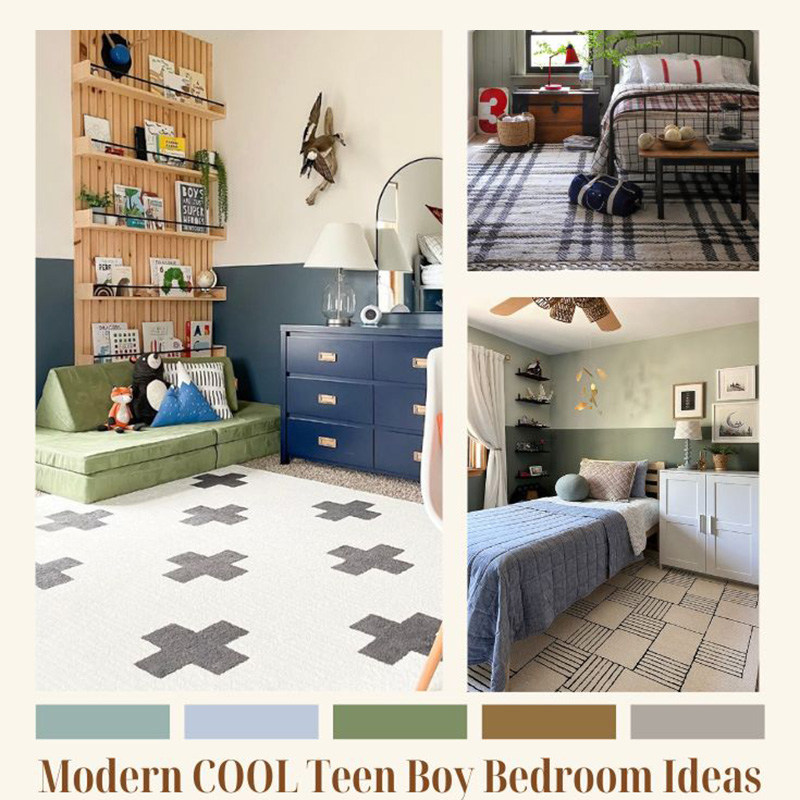
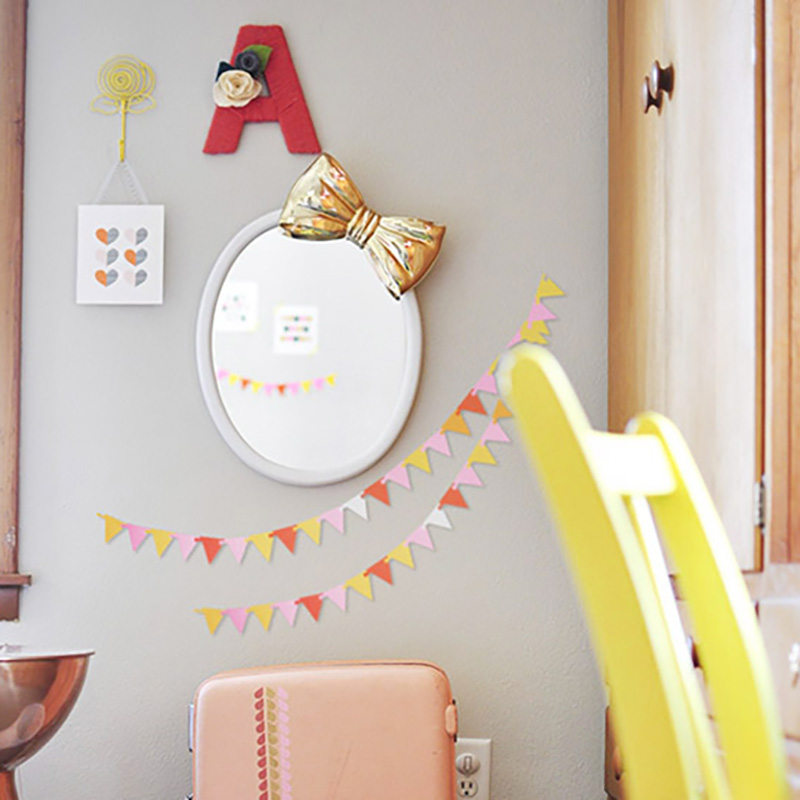
Check out all the cute projects I made for my kid’s room below…
Kid’s Shared Bedroom projects
Looking for kiddo bedroom project inspiration? Check these out below!