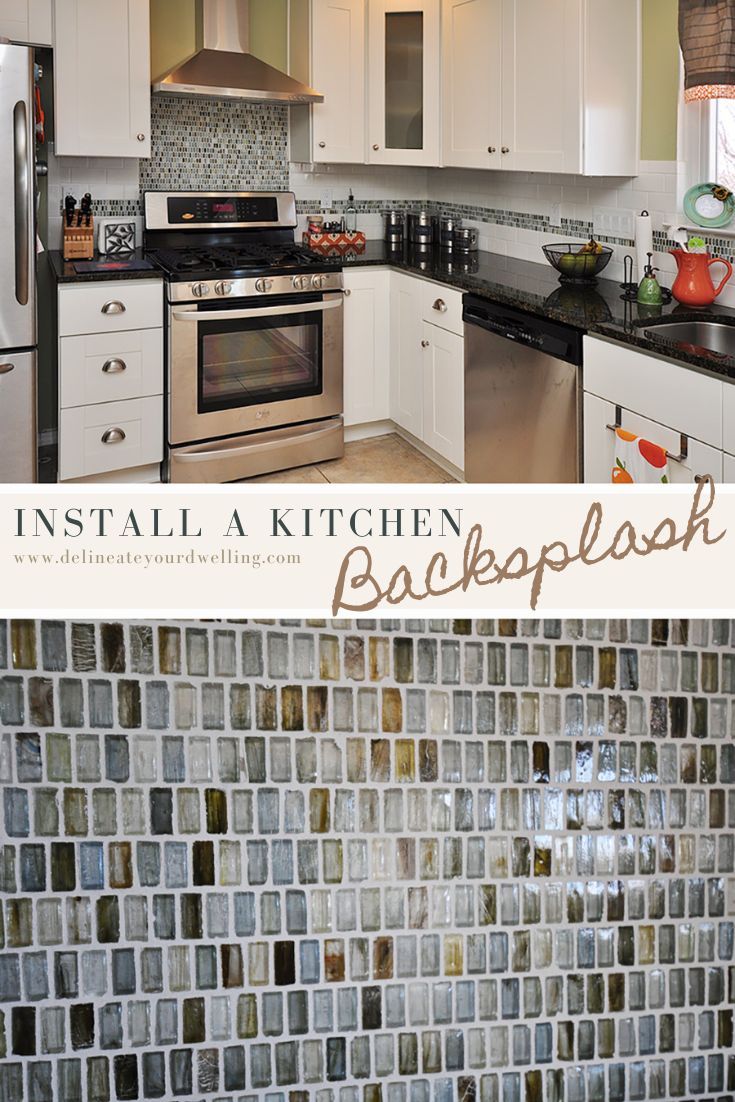
Install a Kitchen Backsplash and Grout

INSIDE : How to best Install a Kitchen Backsplash and Grout in a simple and budget friendly way. Using white subway tile and a few accent tiles, you can create a clean and modern looking kitchen. Check out this beginner DIY guide on tiling your kitchen backsplash.
This post may contain affiliate links. See full disclosure here.
If you have been following along, after five years with QUITE an outdated kitchen… we decided it was time to make some major improvements. Our first child was on the way and it was time to get our home a bit more in order before she arrived!
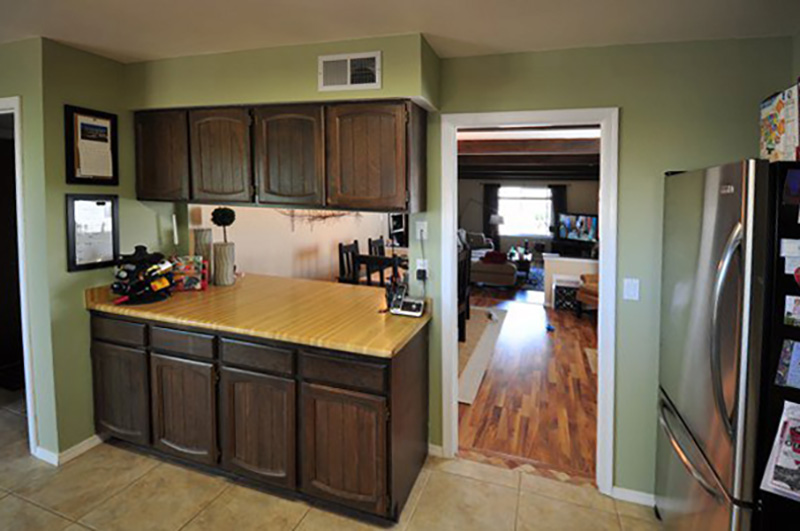
We started with demo, building an arch, more demo, texturing the walls to match the rest of our house, picking our cabinet colors and then installing them. You can read more in detail in the box below on each of these steps!
Kitchen Progress –
Next on our to do list was installing our tile backsplash.
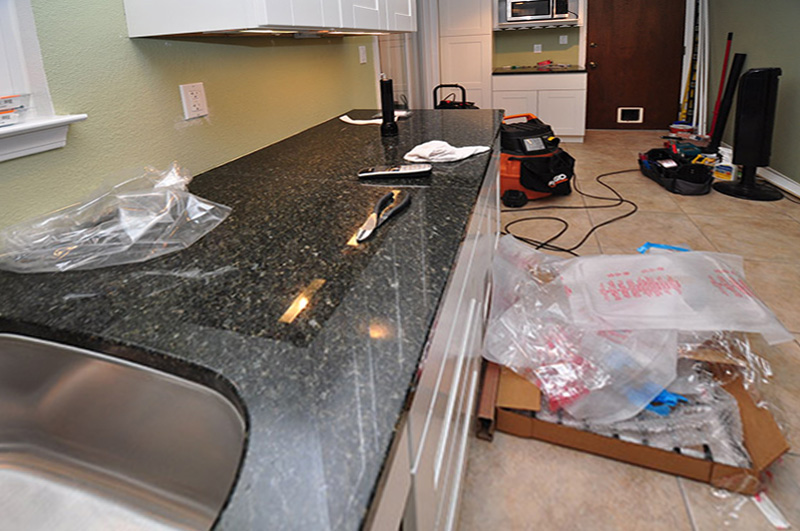
You can see in the before photo here that we had painted the walls a soft sage color, but not having any protection to the walls behind the kitchen sink and behind our stove was not a great permanent solution.
Let’s get to it then!
Kitchen Backsplash tile ideas
The tile you pick for your kitchen backsplash is such a big decision! It can feel pretty overwhelming because you do go bold and maybe more on trend for the colors / patterns. Or is it better to stay timeless and classic in your choices? Sometimes it’s really hard to know the best way to go, but regardless of your decision there are so many fun tile ideas out there you can go with.
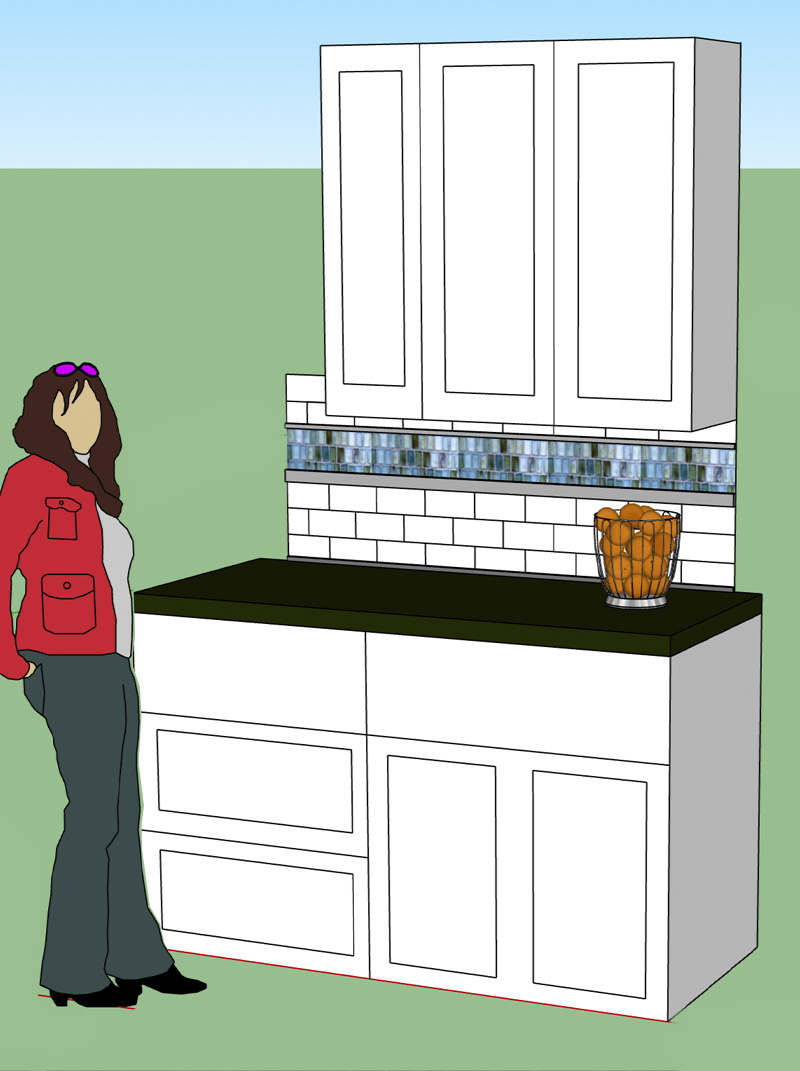
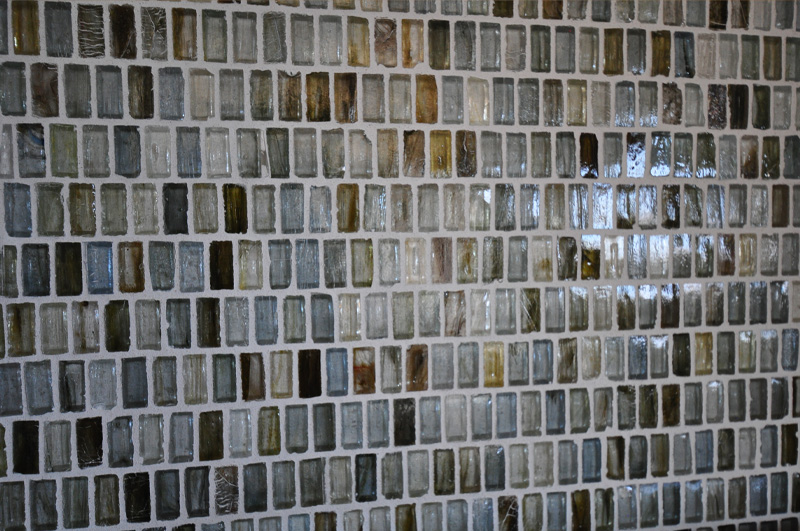
For this kitchen, we decided to stick with a timeless tile the classic white subway tile. Then I added an accent design with few rows of a fun rectangular glass tile in greens, blues and a few browns/tans.
I also did a mockup in Sketch-up to make sure I liked the spacing of the tile design before we actually got started with the work. This is a great free way to make sure what you see in your mind, will actually look how you want it to in real life!
Where to add tile in your kitchen
The best areas to tile in your kitchen include all areas on the walls to protect from splashes and grease like behind a sink, a drink station and behind your stovetop and range.
We decided to add tile to our little drink station area to help finish off the look, but also to keep the wall free from wine stains and other beverage spills.

Tiling the floor also provides a durable, easy-to-clean surface ideal for high-traffic areas.
Why to DIY tile your kitchen?
Tiling your own kitchen backsplash might seem like a daunting task, best left to the professionals but let me tell you there are compelling reasons why taking on this DIY project yourself is not just feasible, but incredibly rewarding and cost effective.
Cost savings
For us the cost savings of doing our own tile work was a huge motivator. Hiring a professional tiler can easily run into thousands of dollars, depending on the size of your kitchen and the complexity of the job.
By doing the tile work yourself, your primary expenses are just the materials – the tiles, adhesive, grout, and a few tools. And a bonus is that many of the tools can be rented or purchased for a fraction of the cost of labor.
This makes a kitchen refresh significantly more do-able, especially if you’re working with a budget.
Huge Accomplishment
Beyond the financial aspect, there’s immense satisfaction and a sense of accomplishment from transforming your own space. Every time you walk into your kitchen, you’ll see that beautiful backsplash and know you created it. It’s a true testament to your hard work, skills, and effort.
Increased Home Value
Finally, a well-executed DIY backsplash can significantly enhance your kitchen’s aesthetics and even boost your home’s value. It’s a relatively easy and inexpensive upgrade that delivers a huge visual impact making your kitchen feel fresh, modern, and high-end without a full-scale renovation.
Supplies needed to tile a backsplash
- Tile wet saw (recommended for clean cuts, can often be rented) or manual tile cutter (tile nippers work for smaller tiles/cuts)
- Notched trowel (size depends on tile, ex – 1/4″ x 1/4″ for standard tiles)
- Grout float
- Tile spacers (ex – 1/16″ or 1/8″)
- Level or Laser Level
- Measuring tape
- Pencil/marker
- Utility knife
- Sponges (multiple for grouting)
- 5 Gal. Buckets (for water, mixing mortar/grout)
- Drill with mixing paddle attachment (for mortar/grout)
- Gloves
- Drop cloths/plastic sheeting
- Outlet extenders (essential for bringing outlets flush with new tile)
- New tiles (buy 10-15% extra for cuts and mistakes!)
- Thin-set mortar or tile adhesive (check tile specifications for type)
- Grout (sanded for wider lines, unsanded for narrow or delicate tiles; consider pre-mixed)
- Caulk (color-matched to grout for seamless edges)
- Painter’s tape
Tile a Kitchen Backsplash
Preparation
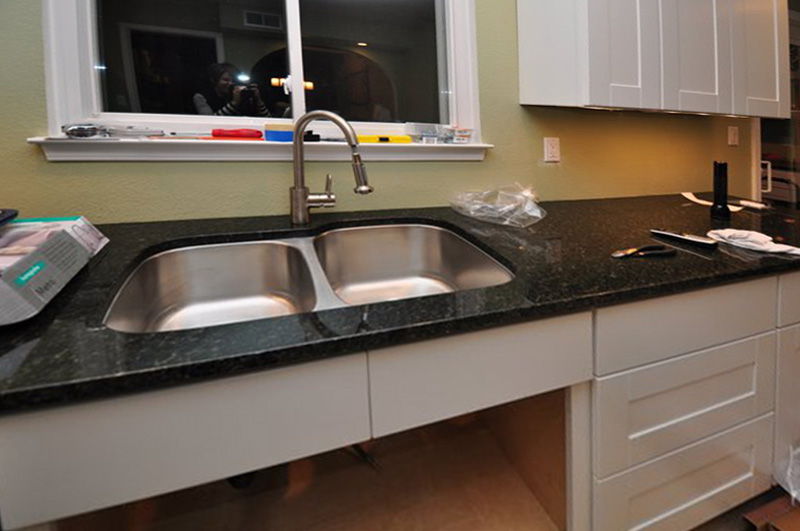
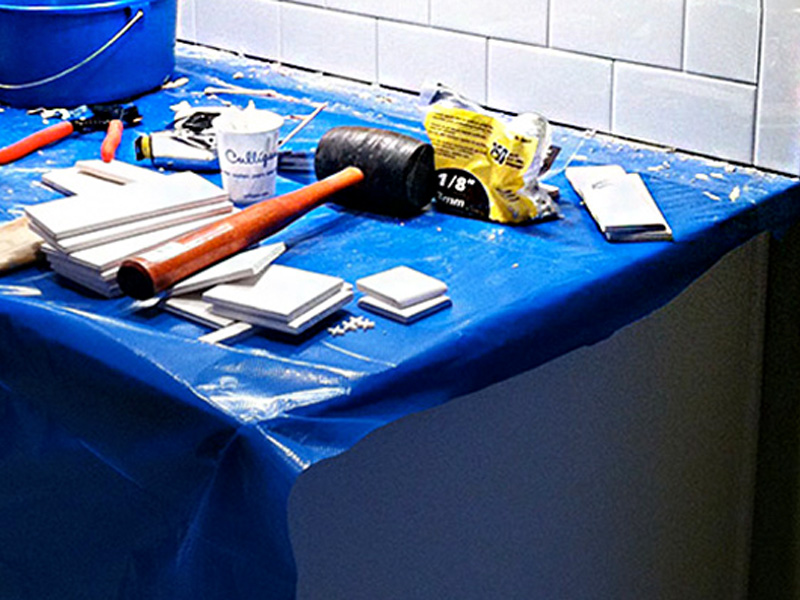
The first step to tiling your kitchen is to clear the area. Remove everything from your countertops and put down plastic, canvas drop cloth or a paper roll to protect the surface.
We used painter’s tape to keep the plastic from not moving and protecting the edge by the tile.
Be sure to turn off the power to your room and remove all outlets and switches on walls that will be receiving tile.
This is also the perfect time to repair any holes or imperfections in the drywall. Clean the walls throughly afterward also.
Plan the Tile Layout
To plan your layout, measure your area first and calculate the square footage so you know how much tile to purchase.
Start by finding your center point, which often is a focal point like directly behind a stove or sink.
Once the tiles have been purchased, it’s so so helpful to do a dry fit of your design. Arrange the tiles on your countertop or the floor to visualize the pattern. We also used painter’s tape and taped a few pieces onto the wall to help determine how many rows of white subway tile we wanted before the accent design came in.
Doing a dry fit, also helps determine cuts needed – like around outlets, corners, cabinet trim, etc. Try your best to layout the tile to avoid tiny slivers at the ends if possible.
Once the design and layout are set, establish a level starting line. Use a level or even better a laser level to mark your first row.
If you have uneven countertops, you might need to use a ledger board (a temporary straight piece of wood) to support the first row. Since we installed our cabinets + countertops, we used shims to make sure we had a level surface.
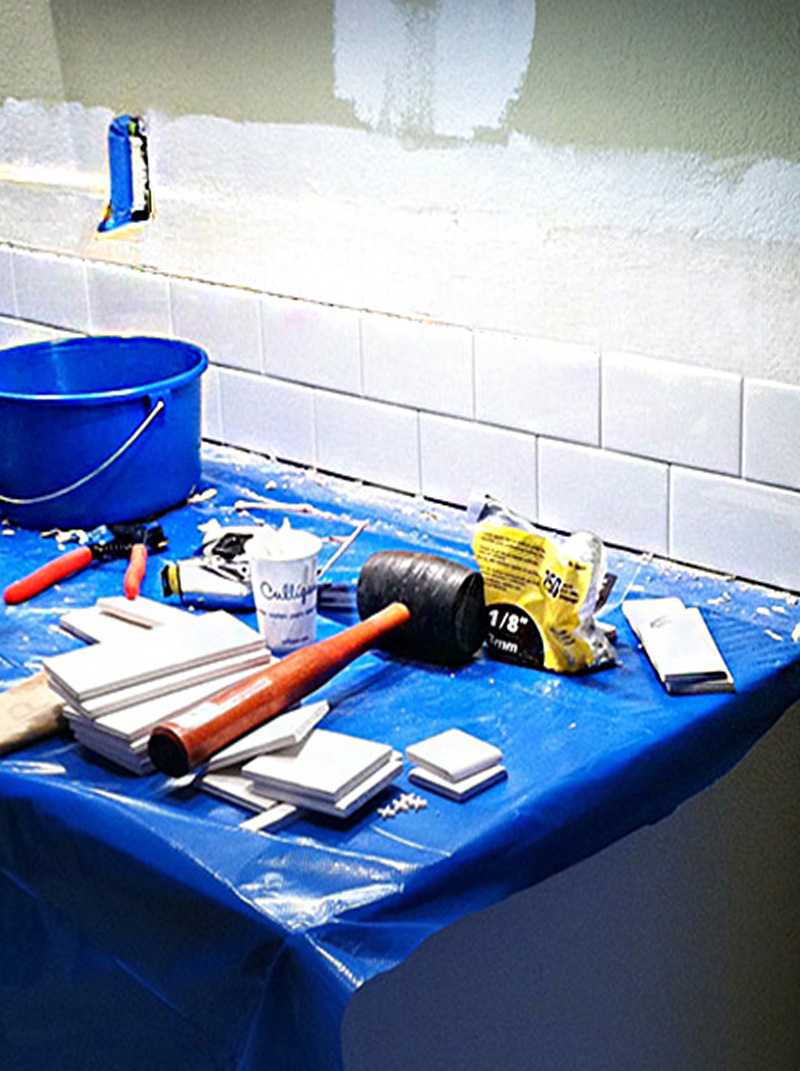
White Subway Tile backsplash
White subway tile is a long time favorite for good reason.
On the “pro” side, the white color and simple rectangular shape is timeless. It works with nearly any cabinet color or style. A huge perk is that white subway tiles are one of the most budget-friendly tile choices out there. Plus, the shiny white finish instantly brightens up a kitchen or bathroom.
The downside are all those tiny grout lines. It means way more surface area to clean, and if you use light grout, it seems to attract every speck of dirt and stain, requiring regular scrubbing and sealing.
Some people feel it’s a little overdone and wish they had chosen something more unique. Which is exactly why I choose the timeless look of white subway tile and incorporated a more unique accent tile within the design (see below).
Applying the Mortar
To apply your tile mortar, start by mixing (if it’s not pre-mixed). You should have instructions on your package of mortar for the consistency required. Often you are looking for a consistency like peanut butter or cake batter.
Use your notched trowel to spread adhesive evenly on the wall, holding it at a 45-degree angle. Don’t cover too large an area at once, as it can dry quickly – smaller sections are a good choice.
Lastly, do a technique called back buttering – apply a thin layer of your mortar to the back of each tile for better adhesion, especially for larger tiles.
Setting the Tiles
Start from your determined center/starting point of the tiled space. Press your tile firmly into the adhesive and give it a slight wiggle.
Be sure to insert spacers right away between the tiles to make sure you have even grout lines. Many people think they can “eyeball” this step, but you will definitely notice the uneven look afterward.
Lastly, check for the tile lines to be level and plumb frequently as you go. And work in rows, building upwards.
Making Tile Cuts
In a perfect world, there would never need to be a single cut tile in your project. However, unfortunately having to cut tiles is very common and something you will need to have a plan for doing multiple times to get around trim work, cabinets, countertops, electrical outlets and more.
The first step to cutting tile is to measure and mark tiles precisely. This often involves making precise L-shaped or U-shaped cuts. A wet saw is best for this, but nippers can help for smaller adjustments. Use a wet saw or manual snap cutter. Always always always wear eye protection and gloves when cutting tile.
Small Decorative Tile backsplash
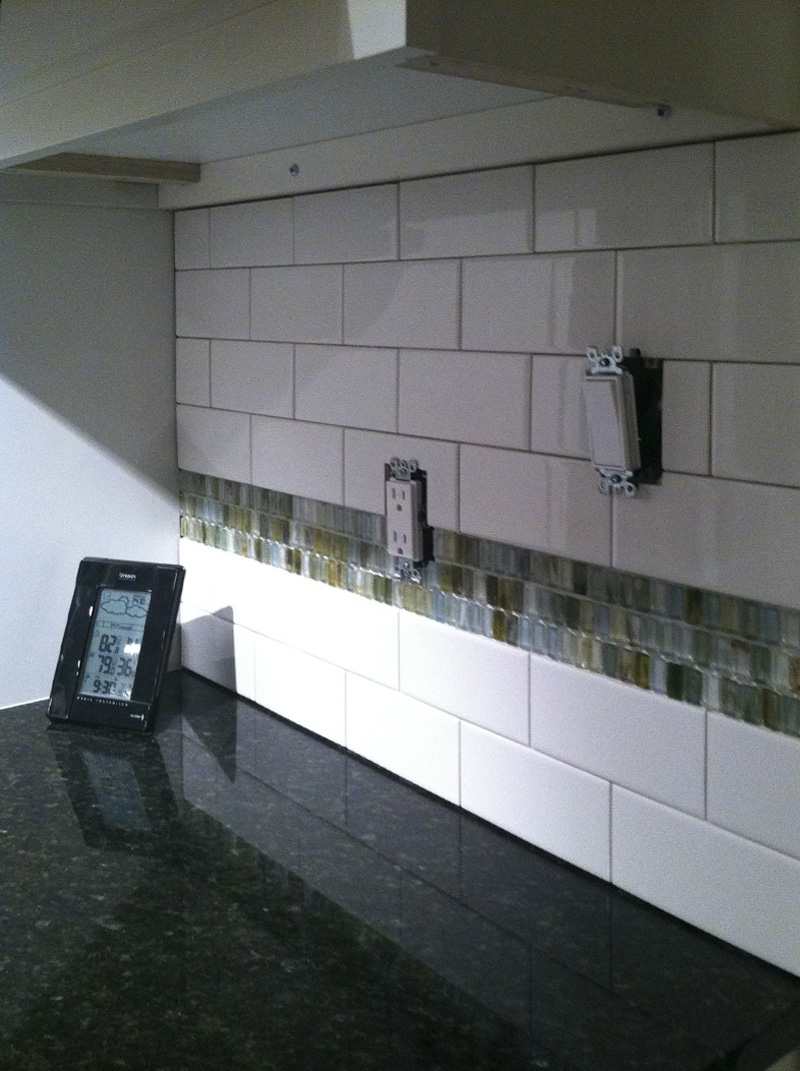
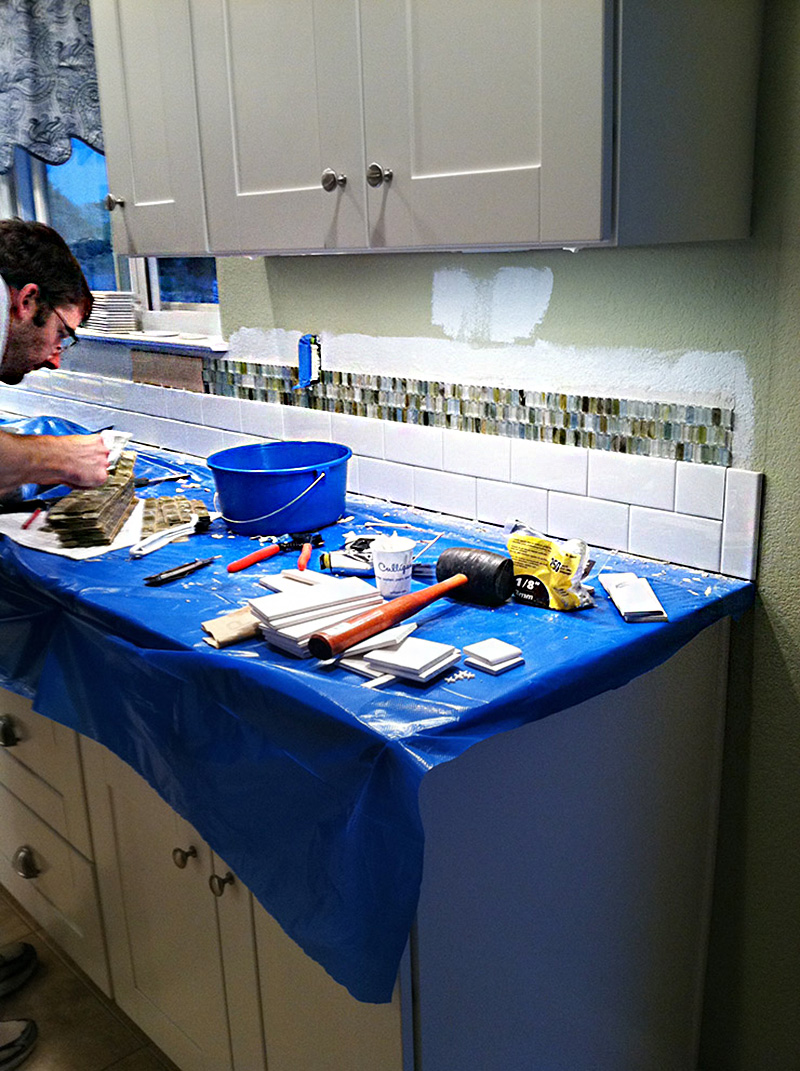
I choose to add small glass vertical rectangle tile in shades of blue, green, brown and clear for my accent tile on the backsplash. We did two horizontal white subway tile rows and then three small rows of the decorative tile, followed by the remaining being white subway.
Adding a small decorative tile either the length of your backsplash or even just behind your sink or stovetop area is a fun way to add a little more design to the space. It also helps make the project a little more budget friendly, instead of splurging and doing all fancy or custom tiles.
Grouting Your Backsplash
Once you have allowed for at least 24 hours of your mortar to cure, you can start to add in the grout. Selecting a grout color is another fun way to add interest to your space – you can use a darker grout for contrast or a lighter grout for a more mellow cohesive look.
Mix your grout per the manufacturer’s instructions, however consistency should be like thick frosting.
Using a grout float to spread grout diagonally across the tile surface, forcing it into all the joints. Hold the float at a 90-degree angle and scrape off as much excess as possible, wiping the float clean frequently.
After 15-30 minutes (check manufacturer’s recommendations), use a damp (not soaking wet) sponge to gently wipe off grout haze, rinsing and wringing out the sponge often.
After the grout has dried more (about an hour or two), use a clean, dry cloth or a slightly damp microfiber cloth to buff away any remaining haze. Haze remover products are available for stubborn residue.
You can see how I did this one a smaller scale on my IKEA Geometric Tiled Coffee Table.
We used a white grout around the accent tiles, below.

Accent tile behind the stove
Using an accent tile right behind your stove or cooktop is a trendy move that makes your kitchen look so much more pulled together. The idea is to create a focal point—that area naturally draws the eye anyway, so why not make beautiful? You use one tile for the main backsplash, like a simple white subway tile, and then switch to something with a fun pattern, a bold color, or a different shape just for the zone directly behind your range and hood. It’s like giving your wall a built-in piece of art.
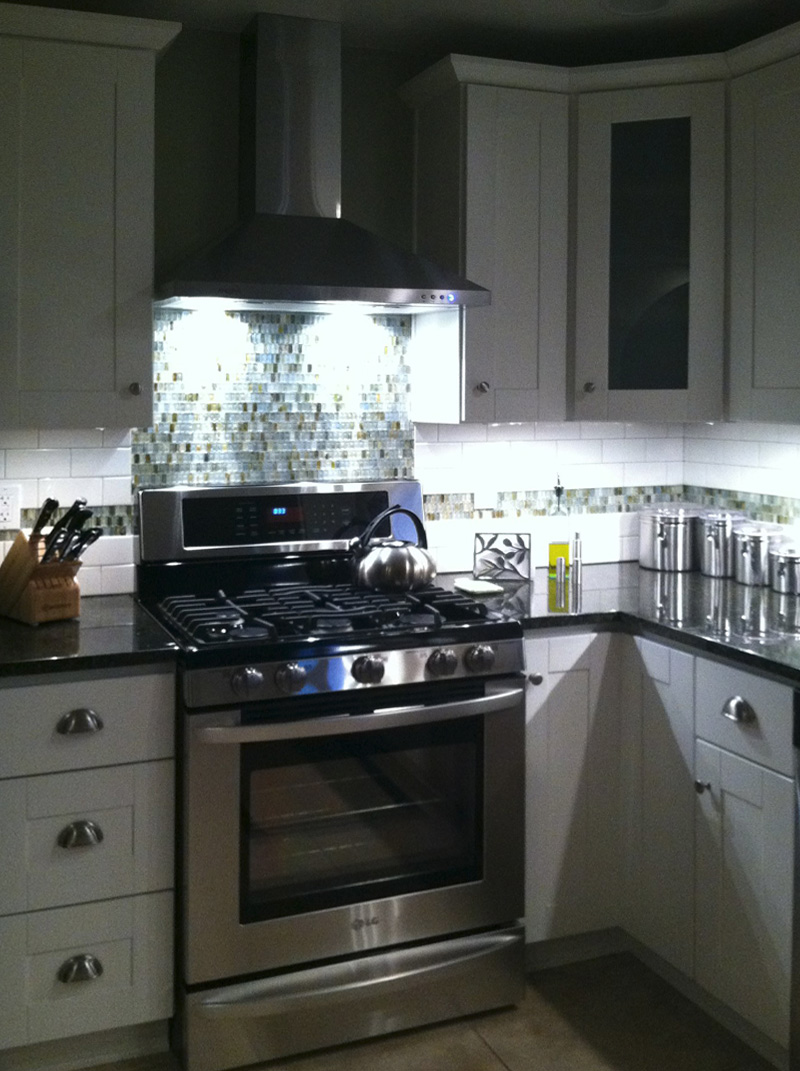
It’s also super practical, especially if you have a busy family! That area gets the most grease and splatters, so having a durable, easy-to-clean tile or even a solid slab of stone there is a smart choice. The only thing to watch out for is that the design doesn’t look like an afterthought. You want it to fill the entire space under the hood so it looks intentional, not like you ran out of the main tile. While the medallion look is a little dated now, a graphic pattern, a unique texture like Zellige, or just a beautiful, continuous slab can look incredibly chic and timeless.
You can see how adding in the backsplash tile made such a huge difference, not only aesthetically but also functionally. The before below looks nice, but the finished after really looks like a designed space!
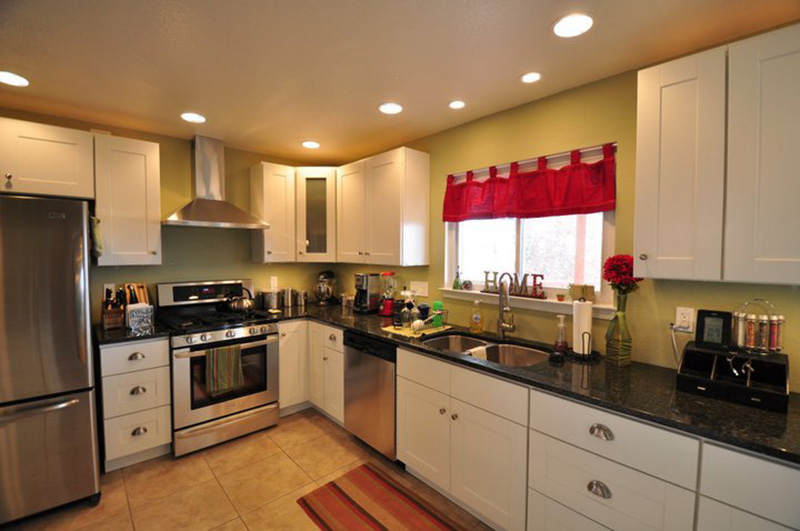

Be sure to check out the final Updated Kitchen Reveal post!
Looking for more Home DIY ideas? Check out some of these below…