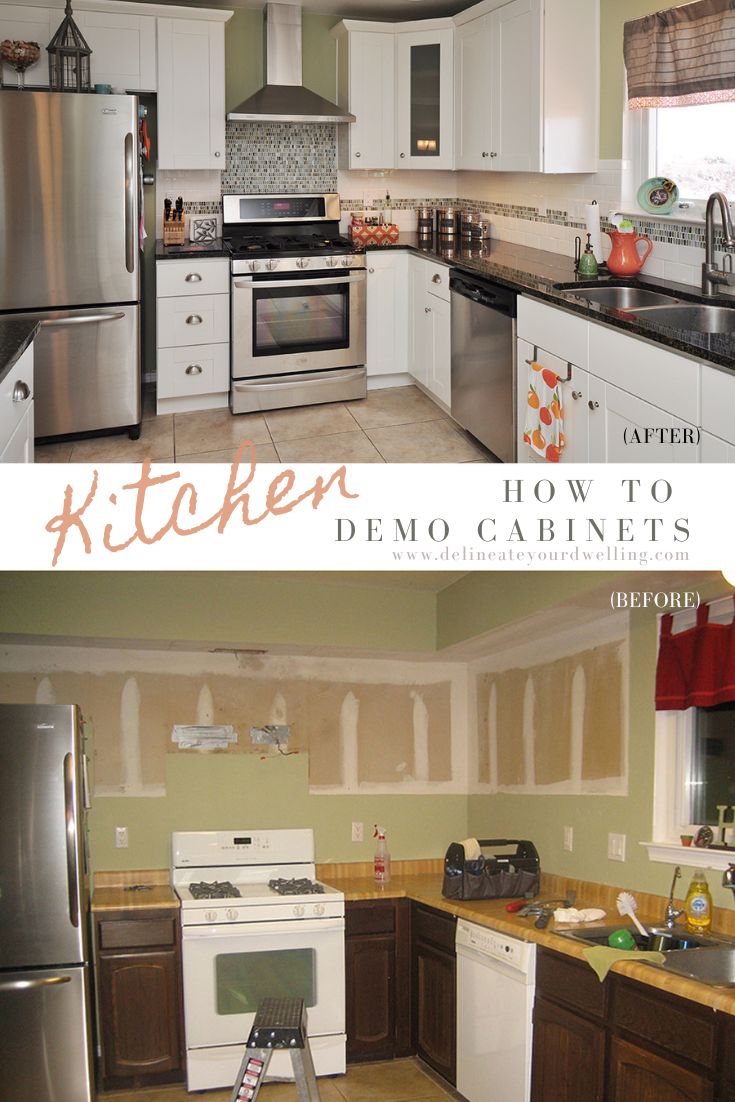
Kitchen Cabinet Demo

INSIDE : Learn the easy tips for Kitchen Cabinet Demo. Removing old cabinets from your kitchen or any other room is a perfect budget friendly solution to give your space a refreshed updated look.
This post may contain affiliate links. See full disclosure here.
This post has been updated since it’s original February 2014 publish date.
Last week, I shared we were getting ready to have our first baby and decided it was the perfect time to make a plan for a big kitchen update project. You can laugh, it made sense in our brain back then… in hindsight, such odd timing with a baby coming. Ha
However, today I will be sharing about the demo process of our kitchen cabinets, but first let’s go over the plan for the kitchen.
THE PLAN –
For budgetary reasons, we decided to keep the main layout of the kitchen the same, but add a pantry cabinet.
All appliances were updated, but stayed in their same location.
Flooring would remainWe would do a demo of cabinets, soffit, ceiling ourselves
Hire a professional to create an arched pass through
Hire a professional to texturized walls
Hire an electrical professional to add new lighting to replace the florescent light and in-ceiling speakers
We decided to remove our cabinets due to their low quality and install flat packed new cabinetsPaint walls
Install tile backsplash + grout
How to demo kitchen cabinets
Demoing kitchen cabinets can be a dusty and tedious job, but it’s also satisfying to rip out the old and make way for the new!
It is so important when demolishing anything to take the necessary safety precautions. Be sure to wear safety glasses, work gloves and a mask to protect yourself from dust and debris. Also shut off the power to all outlets, dishwasher and even garbage disposal.
Gather your tools –
- Power Drill
- Screwdriver
- Pry bars
- Hammer
- Craftsman utility knife
- Trash bags
And if you are looking to simply update your existing cabinets and not get new, you might like this post about how to paint kitchen cabinets.
Removing kitchen cabinets –
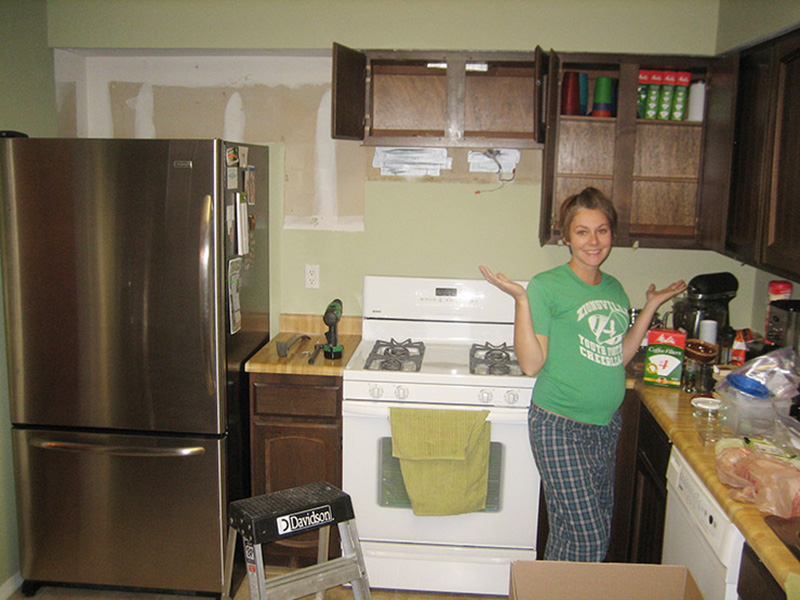
Empty all cabinets of dishes, food and cookware
To remove your kitchen cabinets, start by empty the cabinets and drawers of all dishes, food and cookware. This is a good time to do a little purging of any past date, expired food as well as make a donate pile of dishes or even small appliances you never use any longer.
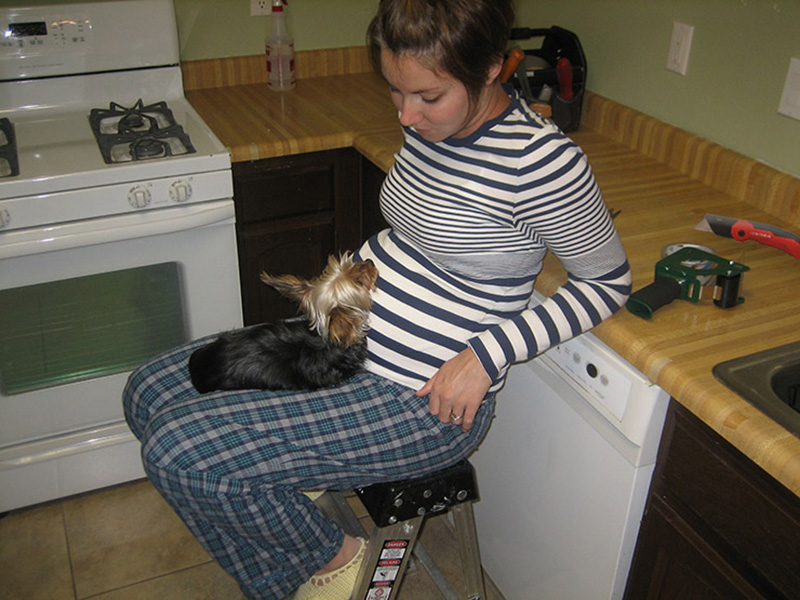
As I was quite pregnant during this phase of the DIY project, I took on the cabinet emptying task with veracity.
Take off the doors and drawers
If you are going to follow television shows that crush and use a sledge hammer to trash your cabinets, you don’t need to worry about taking off the doors. However, we had no desire to make a huge mess unnecessarily.
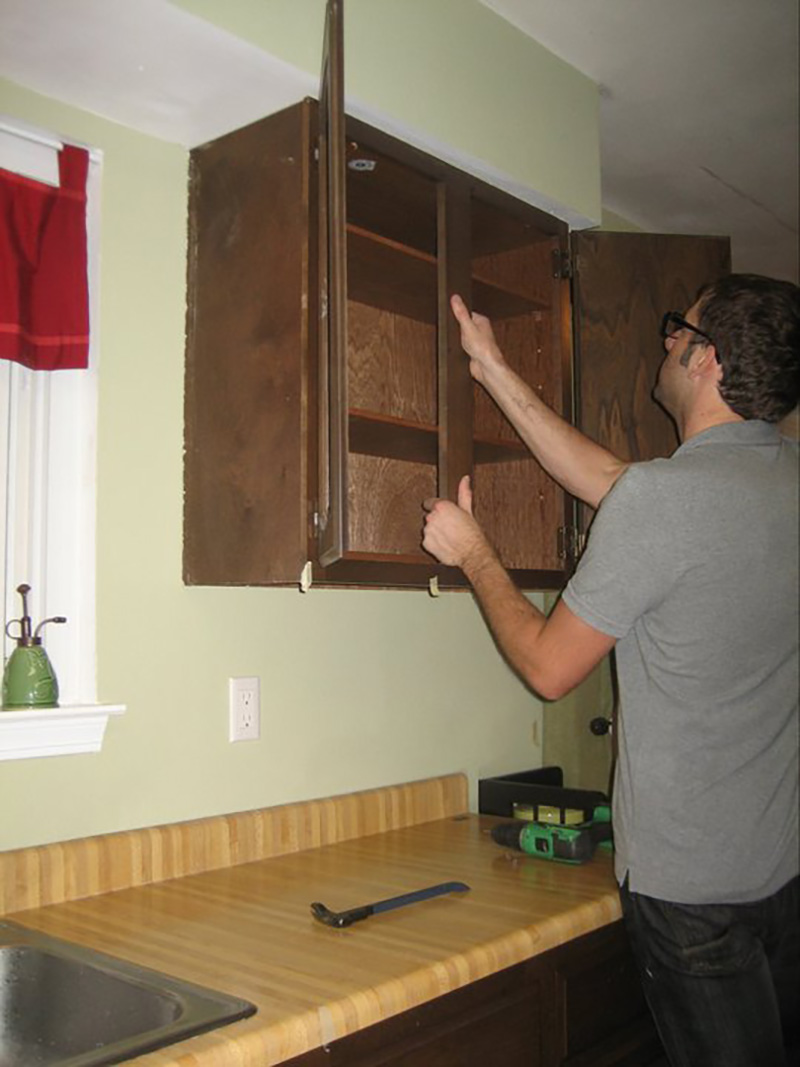
All of our cabinet doors were hinged, so you can simply unscrew them to disassemble. And you can remove the drawers from lower cabinets by finding their slide latches underneath that you can disengage.
Going this route of demo, allows you to reuse your kitchen cabinets in other rooms like a garage or even a mudroom. You could also sell your used cabinets or donate them to a place like the Reuse Store. It also makes cleanup, much eaiser.
Unscrew the cabinets from the wall
To unscrew your cabinets from the wall, there is usually a set of screws inside at the top and bottom of each cabinet. Once the screws are removed, you can carefully pull the cabinet away from the wall.
This is often a two person job, as kitchen cabinets are typically quite heavy.
Note – We decided to tackle the demolition of our upper cabinets in the kitchen first. This way we would still have access to the lower cabinets, countertop and sink for a few more days. You could however, remove either and/or both sets of cabinets at the same time.
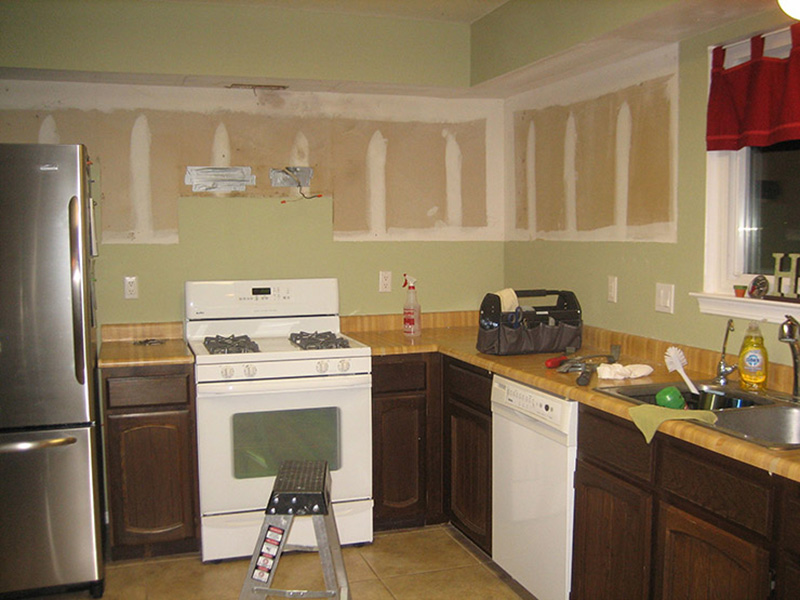
Disconnect the appliances
Once the upper cabinets are removed, you can tackle the lower kitchen cabinets. Make sure to unplug the dishwasher, garbage disposal and range hood. If you’re replacing the sink, turn off the water supply lines and detach the drain.
Kitchen Progress –
Remove the countertops
When removing your counters, be sure to use a strong utility knife. Slowly score the caulk around the edge of the countertop, then carefully pry it up with a pry bar. Be careful not to damage the cabinets underneath.
We used this Craftsman utility knife because of it’s durable construction, but small size. It got the job done well!
After all of our kitchen cabinets were removed, it was time to tackle the next tasks on our kitchen update to do list which was expanding our kitchen pass through space by creating an archway.
Be sure to check back as we slowly transform our kitchen to have a high end look at a low end price.
Be sure to check out the next step in this project – Build an Arch Pass Through and see the final Updated Kitchen Reveal post!