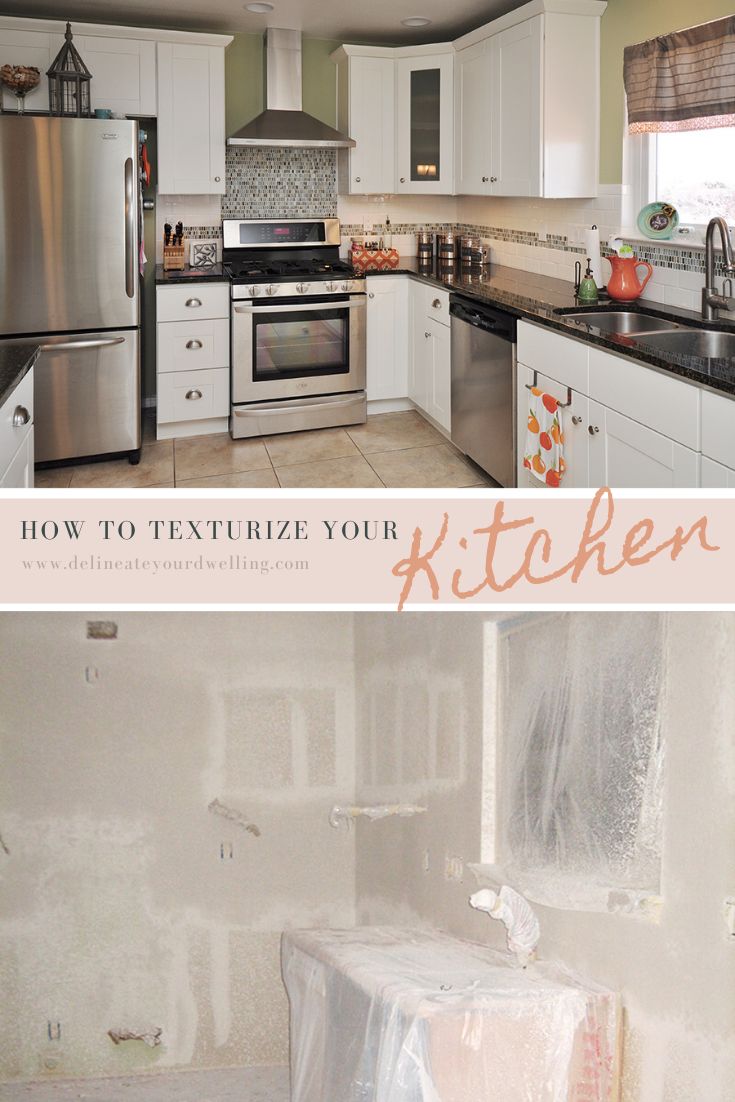
How to Texturize Walls
INSIDE : Learn the best DIY tips on how to texturize walls, the seven most common texture patterns and the most budget friendly way to add texture to your space!
This post may contain affiliate links. See full disclosure here.
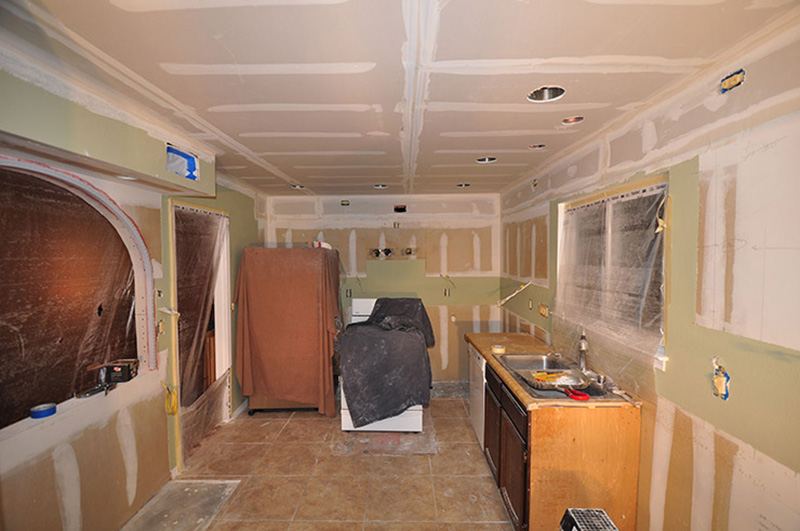
If you have been following along with our kitchen renovation, we have been working hard to create a high end look on a low key budget. Sometimes that’s easier said than done because kitchens are typically very expensive updates.
However, we were able to create a beautiful space that functions so much better for us and didn’t have to take out a LOAN to do it. Yahoo!
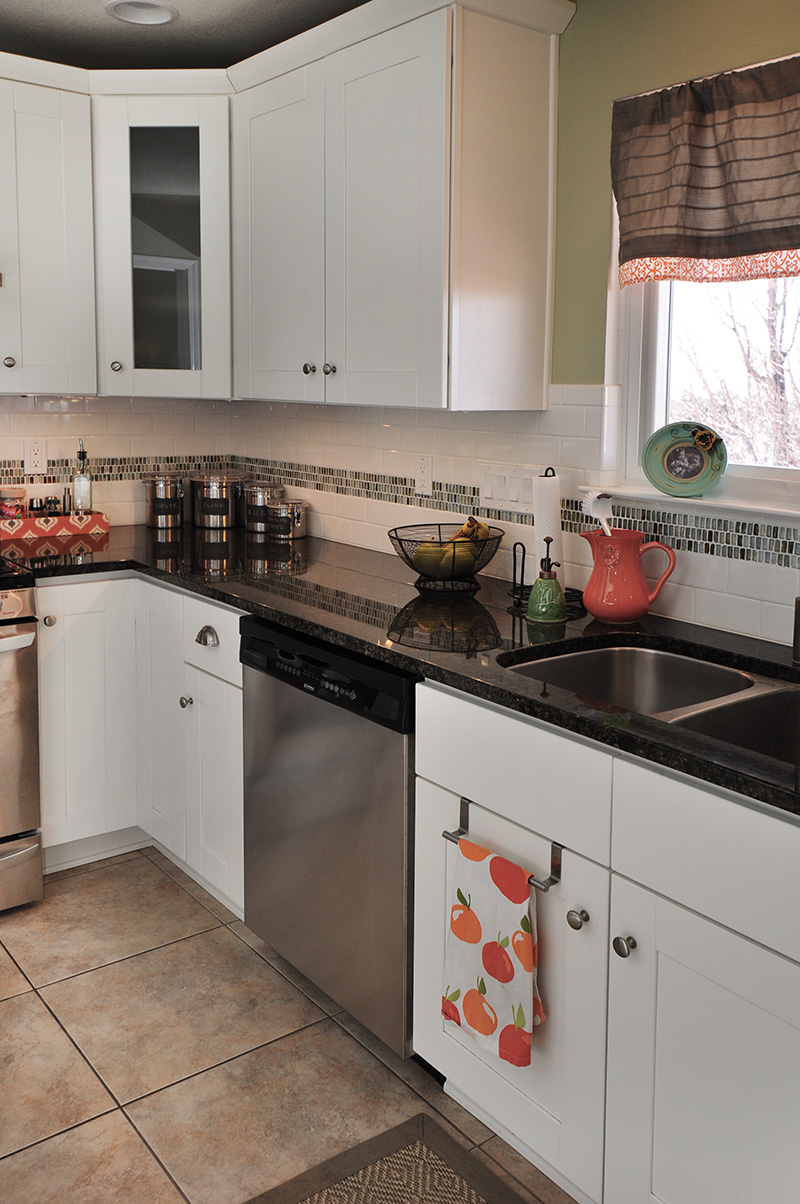
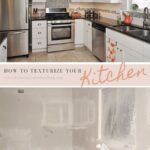
Check out our kitchen progress below.
- Scary BEFORE Kitchen photos in the Kitchen Plan post
- Demolish your kitchen cabinets
- Build an arch pass through
Wall Texturizing Prep
Just like many things, the preparation step for texturizing your walls is very key. If you skip this step, you will have a giant dusty mess on your hands.
These are the steps we took before diving into wall texturing.
How to prep your wall for texture
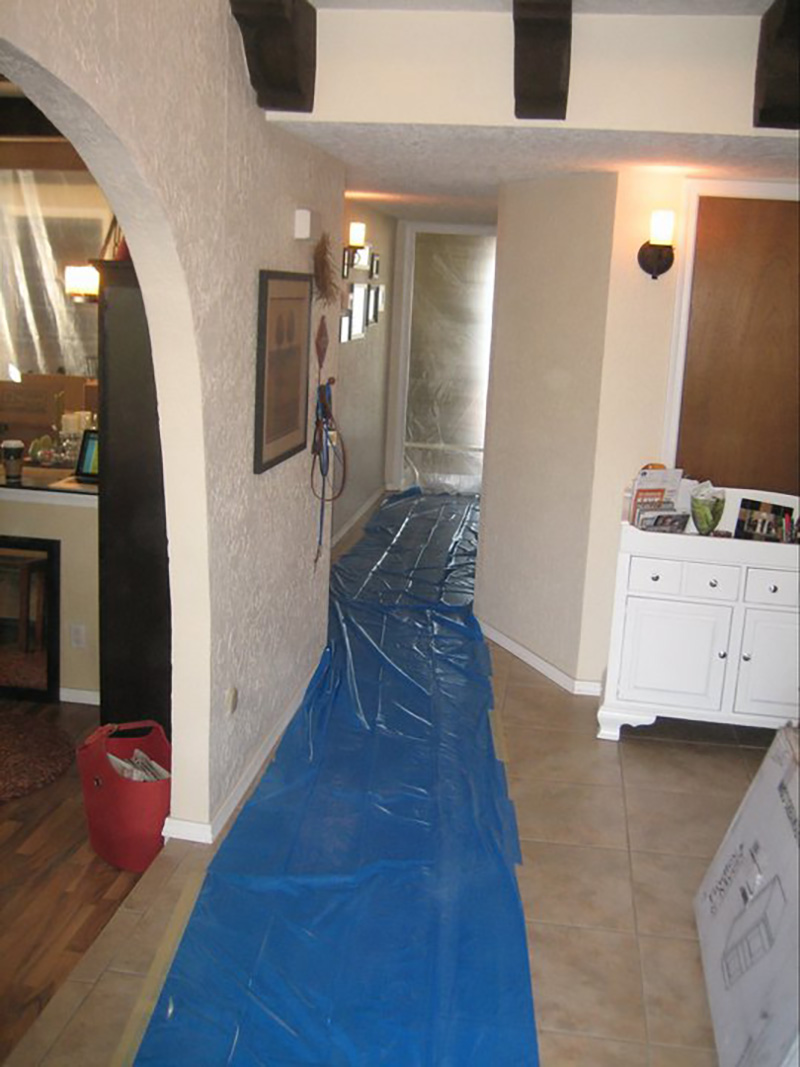
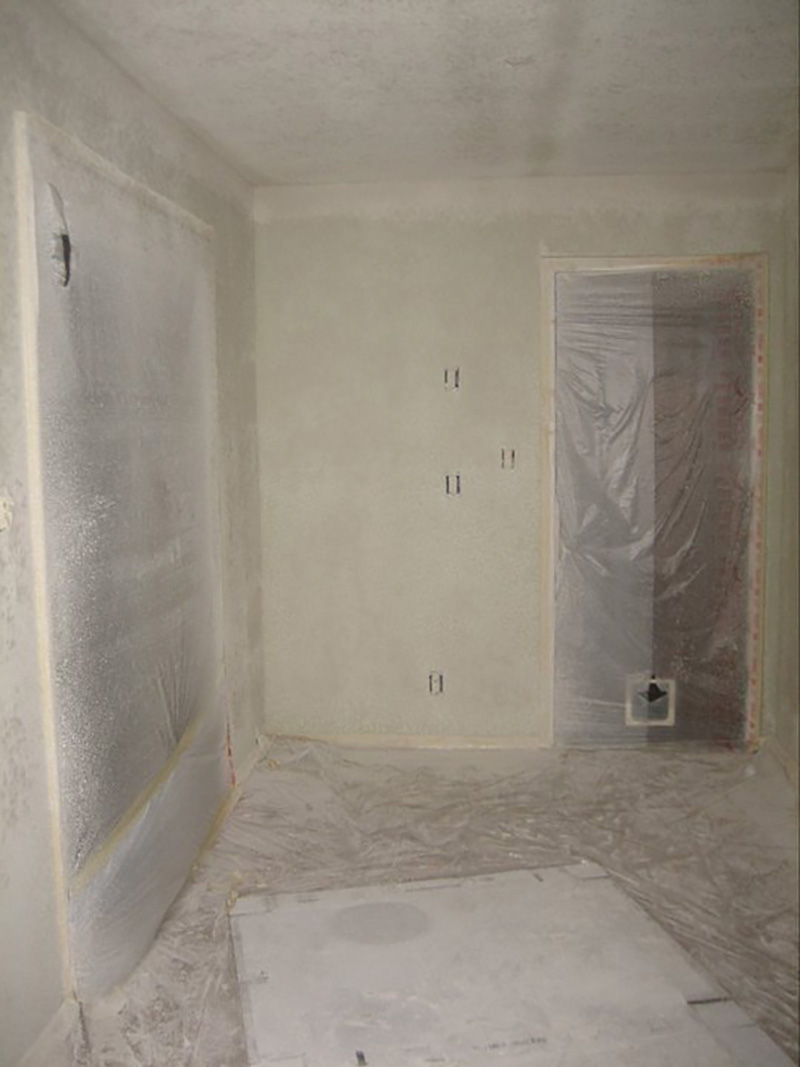
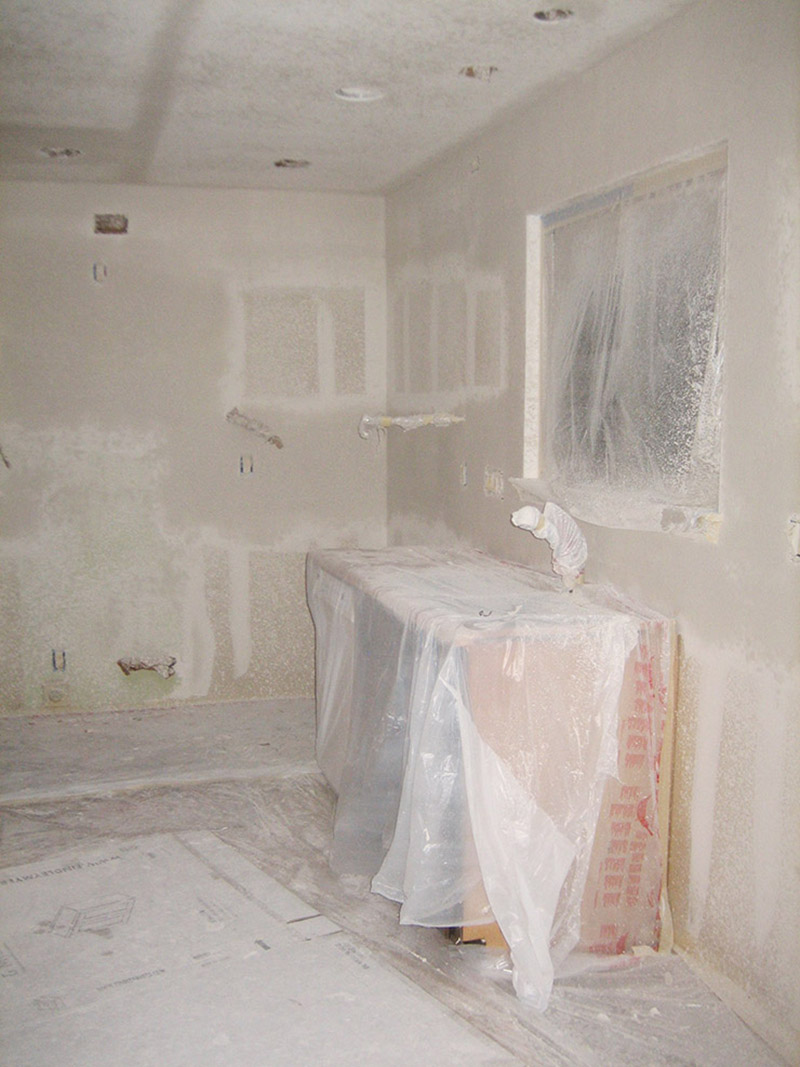
Protect surrounding areas
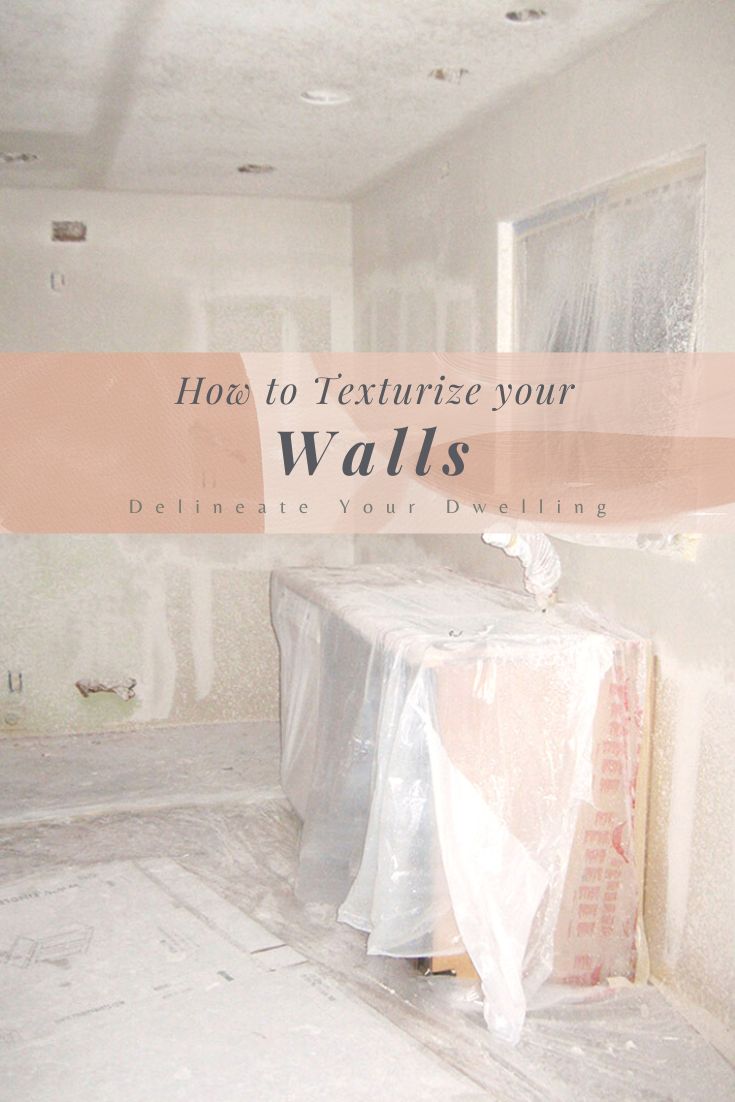
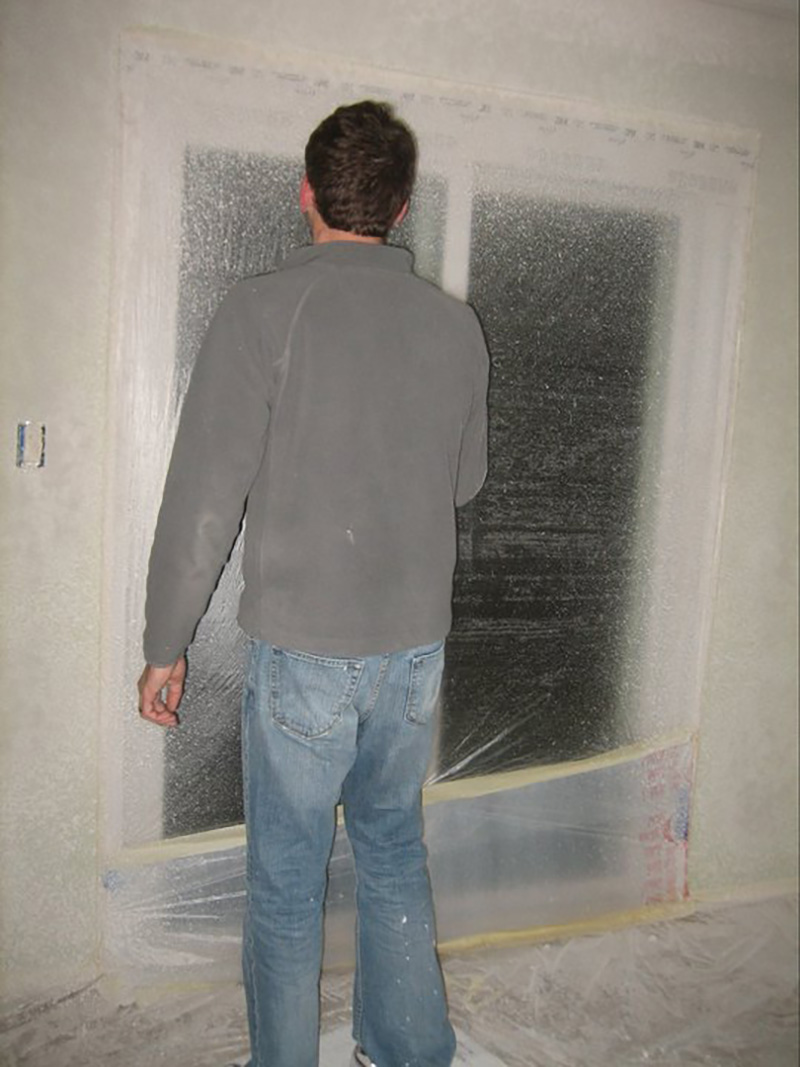
I can not drive this step home enough… cover cover cover. We texturized all walls and our ceiling in the kitchen and protecting our existing floors and appliances was so important.
We even added plastic to all the door entry’s into our kitchen to try and eliminate splatter or dust entering the rest of our home.
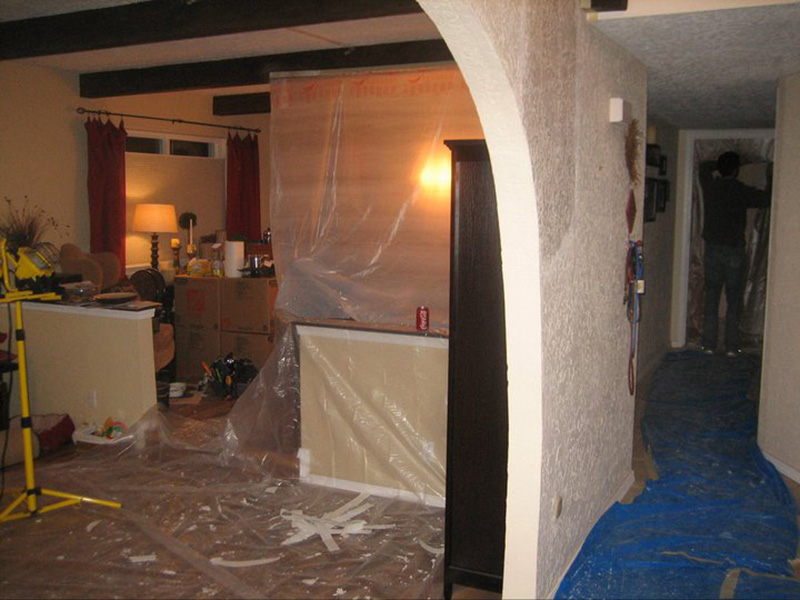
Even laying down a tarp walkway will help in protecting your floors and carpet from dust cleanup later down the line.
You can use drop cloths to cover appliances (we used an old sheet to cover our refrigerator) and painter’s tape to mask off baseboards, trim, outlets and switches.
Clean the Walls
Once you have plastic, tarps and drop cloths placed, this is a good time to clean your wall surfaces. Use a mild detergent with water to help remove dirt, grease and grime. Using a large wall mop can really make this step easier. I love using a mop like this for basic wall cleaning during the year, too.
Then, rinse the walls with clean water and allow them to completely dry.
Address Existing Damage
This is also a great time patch and fill any holes, dents or cracks. The pink Drydex is my favorite brand for this type of small touchup wall fixes. Sand down all the spots until they are smooth once dry.
Interested in learning more about the Best Beginner DIY Tools? Check out this post!
How to add wall texture
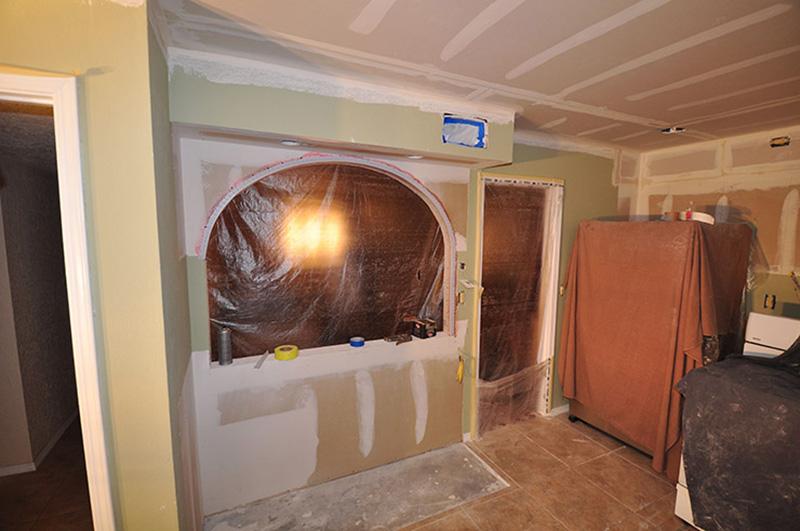
Our entire home has a pretty intense texture (I think it’s a southwest thing), so it was important to me that we keep the kitchen wall texture looking consistent. And as much as I would prefer a flat wall, it seemed it would be out of place to not put some texture on the walls.
Before adding texture to your walls, find a scrap piece of material to practice on. Get comfortable with your chosen technique before tackling the actual wall. It’s also helpful to divide the wall into manageable sections and tackle them one at a time.
Keep reading below for how to texture a wall depending on your skill level.
If you are looking for a more simplified method, you could try one of these below –
- Textured paint: Choose a paint with built-in texturizing additives. Use a regular roller to create a subtle orange peel effect. Choose matte finishes for best texture visibility. (Easy beginner method)
- Sponge painting: Dip a sponge in contrasting paint and dab it randomly on the wall. Experiment with different sponge types and pressure for variations. This gives more a visual texture look, not an actual texture to the wall. (Easy, playful method)
- Rag rolling: Bunch up a rag and dip it in paint. Roll it on the wall to create a unique, mottled texture. Adjust pressure and rag shape for different effects. This is also more of a visual texture, not an actual physical texture. (Easy, rustic method)
If you are looking for a moderate skill method, you could try one of these below –
- Texture rollers: Invest in rollers with raised patterns like knockdown, swirl, or slap brush. Apply regular paint or joint compound with these rollers for moderate texture. This 7” Patterned Paint Roller is such a cool idea and there are over 30+ pattern options. (Moderate skill, versatile method)
- Drywall trowel: Mix joint compound with water to a thick consistency. Apply it to the wall with a trowel in short strokes or swirling patterns. This creates a more defined texture. (Moderate skill, customizable method)
If you are looking for more advanced methods, you could try one of these below –
- Sprayer and hopper gun: For heavier textures like popcorn or knockdown, consider renting a sprayer and hopper gun with joint compound. Practice on scrap material first, as this requires good technique. This Homax Professional Texture Gun and 5L Hopper AND compressor is a great option. (Advanced skill, professional-looking method)
Be sure to clean up as you go, using a damp cloth to remove excess paint and compound before it dries on your tools.
And once everything has fully dried, (you can expect it to take between 12 and 24 hours for each coat to dry completely) be sure to prime the walls before adding paint for a finished look.
Wall texture types
There are many different types of wall textures, each with its own unique look and feel. Here are some of the seven most common ones…
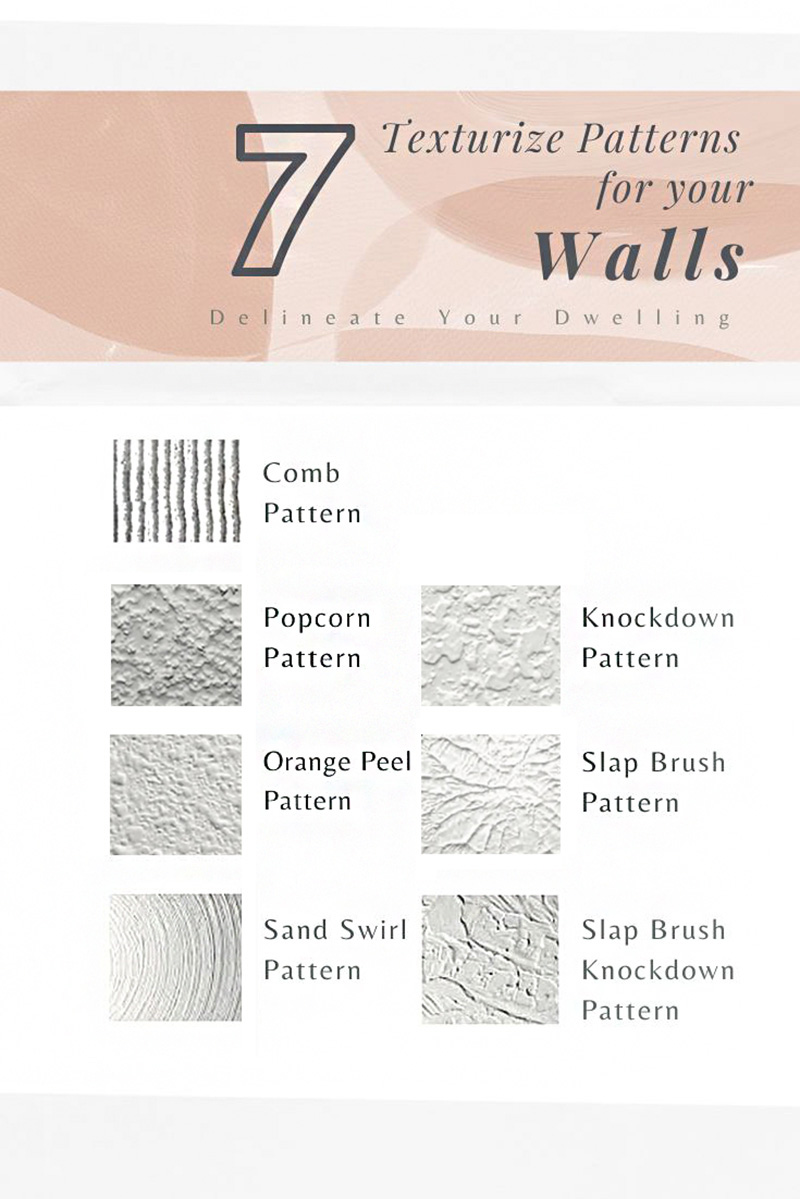
- Orange Peel Wall texture
This is a classic texture that resembles the skin of an orange. It is created by spraying drywall joint compound onto the wall and then knocking it down with a trowel. Orange peel texture is a good choice for hiding minor imperfections in walls. - Knockdown Wall texture
Knockdown texture is similar to orange peel, but it is flatter and less pronounced. It is created by spraying drywall joint compound onto the wall and then using a trowel to smooth it out. Knockdown texture is a versatile texture that can be used in a variety of settings. - Slap Brush Wall texture
Slap brush texture is created by hitting the wall with a brush covered in drywall joint compound. This creates a random, swirling pattern that can be very eye-catching. Slap brush texture is often used in rustic or Southwestern-style homes. - Swirl Wall Texture
Swirl texture is created by using a trowel to create swirling patterns in the drywall joint compound. This can be a very elegant and sophisticated look. Swirl texture is often used in formal settings. - Popcorn Wall Texture
Popcorn texture is a bumpy texture that is created by spraying drywall joint compound onto the wall with a special hopper gun. Popcorn texture was popular in the 1970s and 1980s, but it is less common today because it can be difficult to remove and can trap dust and allergens. - Comb Wall Texture
The comb texture is produced using techniques that create lines of various widths and shapes in drywall compound. This technique is often used to produce a repeated series of rainbow patterns on the drywall and is one of the more simplistic texturing techniques. - Sand Wall Texture
Sand swirl adds a feel of individuality to a room without stealing the show. This style of texturing is easy to do using a compound known as perlite (primer with sand mixed into it) and a 7-inch-wide paint brush. Hold the paintbrush by the base, as this will give you more control than holding the handle.
Kitchen Progress –
How to Demo Kitchen Cabinets
How to build an Arch pass-through
How to Demo a Soffit and Ceiling
How to Texturize Walls
Picking Kitchen Cabinet colors
How to Install new Cabinets
How to Install Kitchen Hardware
Installing tile backsplash + grout
Updated Kitchen Reveal post
How to remove texture from walls
How many homes do you enter and immediately your eye is drawn to the popcorn ceiling? It’s a very dated look, that many people find unappealing. Let’s dig into how to remove textures from ceilings and walls.
Removal of texture is definitely a messy job, but it can also be such a rewarding DIY project. The method you choose will depend on whether your walls are painted or unpainted.
For Unpainted Walls, Soak and Scrape:
The soak and scrape method is the most efficient method for unpainted walls.
Materials needed for the soak and scrape method –
- Spray bottle
- drywall taping knife
- drop cloth
- painter’s tape
- safety glasses + gloves
Start by covering the floor and baseboards with a drop cloth and painter’s tape. Then spray the wall generously with water, letting it soak in for about 5 to 10 minutes.
Using the drywall knife at a 30-degree angle to scrape off the softened texture. Rinse the blade frequently. Repeat spraying and scraping until all texture is removed. Let the wall dry completely (24-48 hours).
Sand the smooth wall with a drywall sanding sponge and grit 120-150 sandpaper. Fill any remaining imperfections with joint compound, sand smooth, and repaint.
For Painted Walls, Skim Coating:
This method covers the existing texture with a thin layer of drywall compound.
Materials needed for skim coating method –
- Drywall compound
- putty knife
- sanding sponge
- grit 120-150 sandpaper
- primer
- paint
- drop cloth
- painter’s tape
Start by covering the floors and baseboards. Apply a thin layer of drywall compound over the textured surface, smoothing it with the putty knife.
Let the compound dry, then sand smooth with the sponge and sandpaper. Repeat coating and sanding until the surface is completely smooth.
Prime and paint the walls as desired.
For Painted Walls, Sanding:
Use this for light textures or if skim coating seems overwhelming.
Materials needed for sanding method –
- Sanding sponge
- grit 120-150 sandpaper
- dust mask
- safety glasses
- drop cloth
Start by covering the floors and baseboards. Sand the textured surface lightly with the sponge and sandpaper in circular motions. Apply more pressure for heavier textures, being careful not to damage the drywall paper.
Wipe down the dust and repeat sanding until the desired smoothness is achieved. Prime and paint the walls as usual.
What is the cheapest way to add texture to walls
There are numerous very budget friendly ways to add texture to your walls. Before selecting a method, consider the desired texture, your DIY skill abilities and size of your room.
Also to note is the cost of the materials and tools needed, as well as your time and effort, when making your decision.
If you just want a slight hint of texture, the most affordable option is to use textured paint. This involves choosing paint with built-in texturizing additives, which creates a subtle orange peel-like effect when applied with a regular roller. Textured paint typically costs around $30-$50 per gallon and you can use the same roller and tray you’d use for regular paint.
For a more noticeable texture, consider using a texture roller. These rollers have raised patterns on their surface that transfer to the wall as you roll. Popular options include knockdown, swirl, and slap brush patterns. Texture rollers cost around $10-$20 each and you can use them with regular paint or joint compound.
If you want a dramatic, heavily textured look, you’ll need to use joint compound. This is a thicker material than paint and it requires more effort to apply. You can create various textures with joint compound using tools like trowels, sponges, and brushes. Joint compound is relatively inexpensive, usually around $10-$20 per bucket, but you’ll also need tools and additional materials like sandpaper.
If you space is small, I have used spray can texture with great success.
Kitchen Mishaps
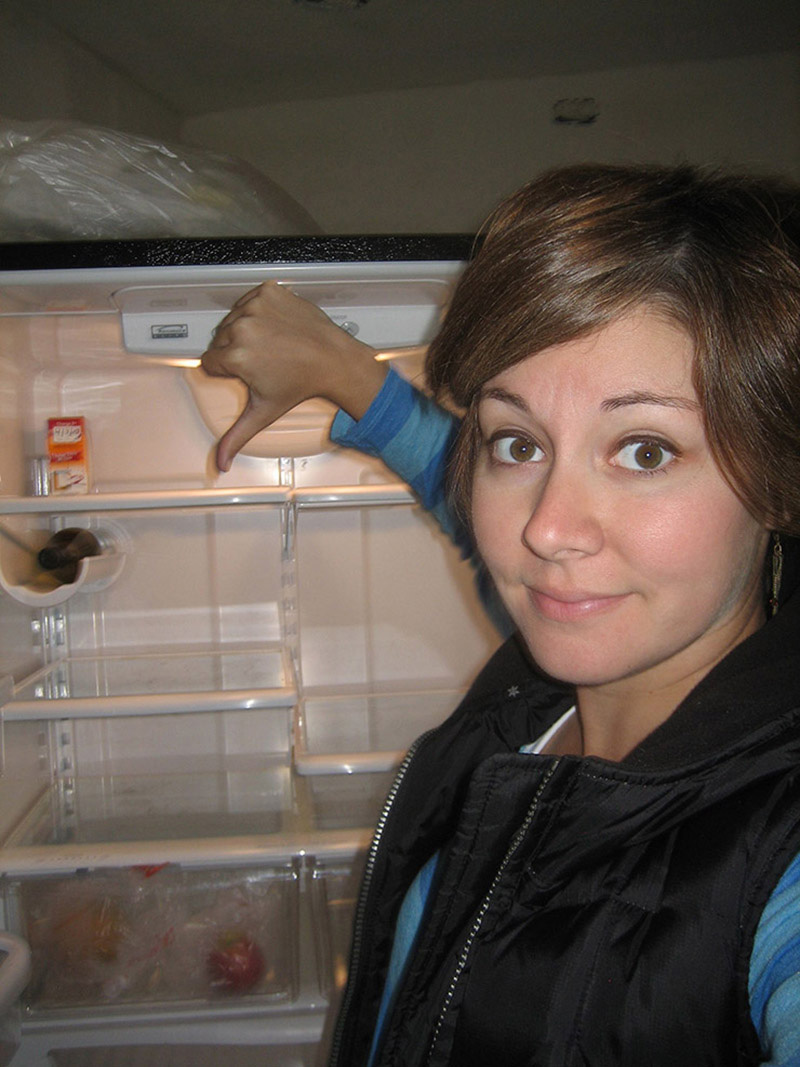
Sadly, my husband forgot to plug our refrigerator back in after we had moved it to texturize around it. So, after we realized this at hour 24+…. we had to throw ALL the food away in our fridge.
Thankfully, we were able to salvage a bottle of wine, deodorizing baking soda and two onions… basically the essentials. #nottheessentials. HA
Remember, DIY wall texture is a great way to express your creativity and personalize your space.
And check back next week to see how we installed our beautiful new kitchen cabinets!