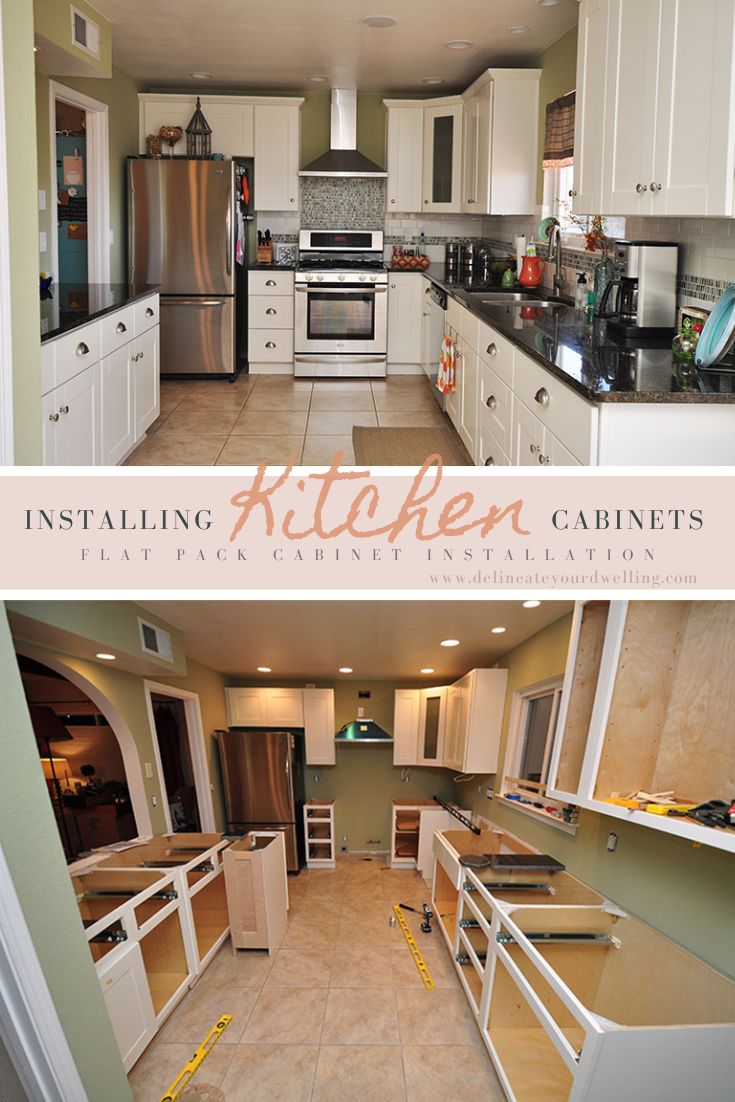
How to Install new Cabinets

INSIDE : Learn how to install new cabinets in your kitchen or other spaces. Whether you are installing upper cabinets, base cabinets or even flat packed cabinets, this step by step tutorial will guide you along to a lovely completed room!
This post may contain affiliate links. See full disclosure here.
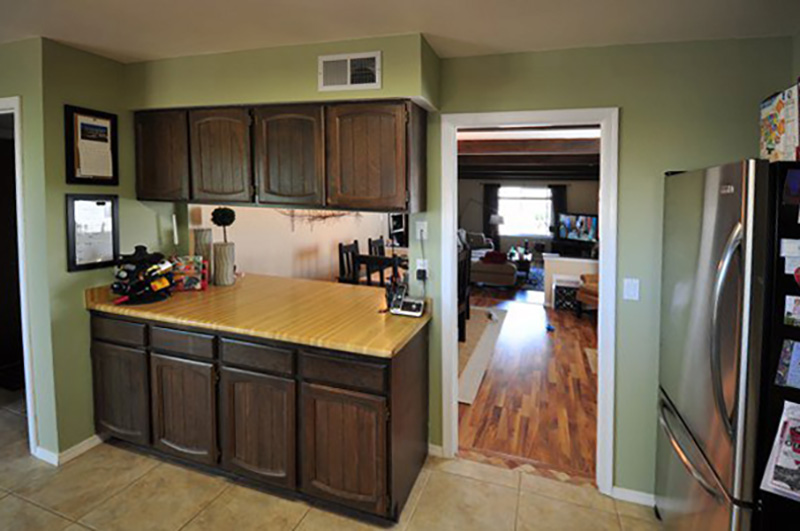
If you have been following along with our kitchen renovation, we have been working hard to transform our very outdated kitchen into something more in a very budget friendly way.
You can see below, the dark dark cabinetry and fake butcher block countertops really don’t do anything to help our sad kitchen’s case, ha.
Kitchen Progress –
We slowly have been taking do-able steps to create a beautiful space that functions so much better for us. Last week I shared how to texturize the walls and while that project was wrapping up, we started working on our cabinets.
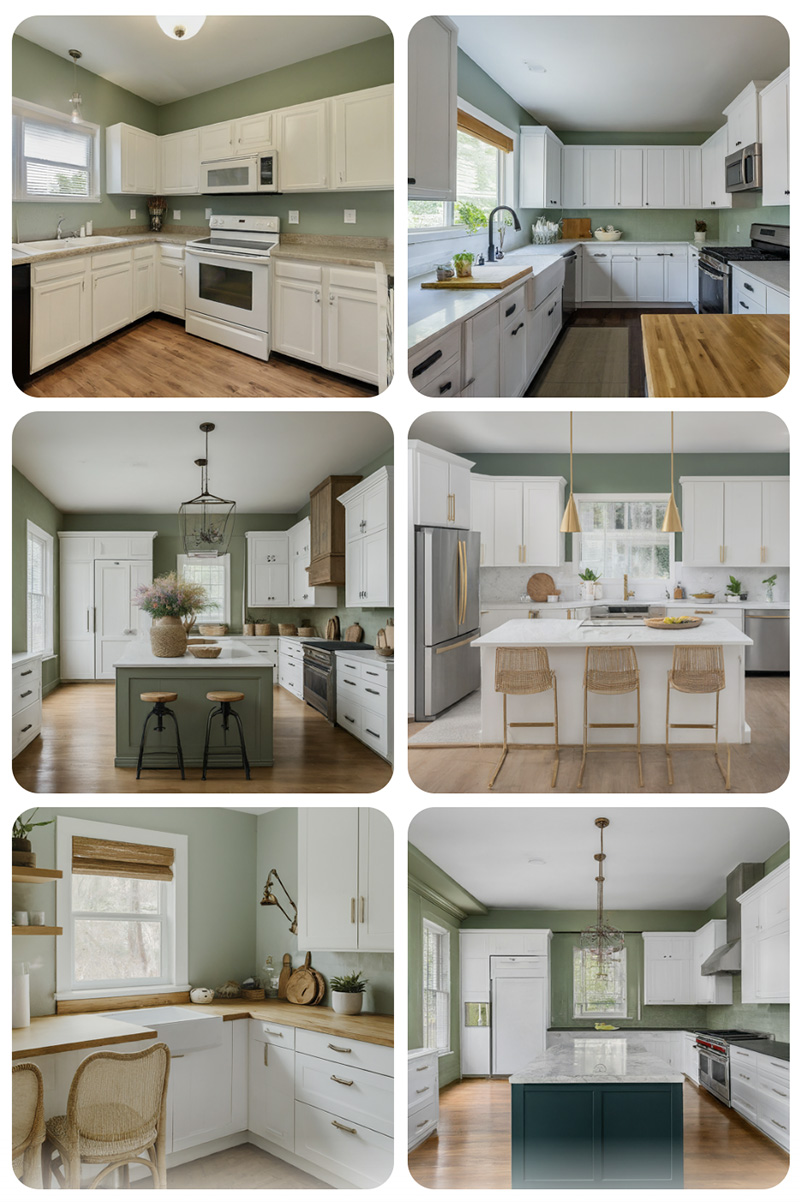
White kitchen cabinets
There are endless options for colors of kitchen cabinets. Selecting white, colored or even two toned can be exciting, but also overwhelming.
For our kitchen, we had contemplated just painting our existing cabinets, but they were original to the home and made of low quality materials. It seemed like a band-aide fix, not a solution.
If you are wondering how to pick your kitchen cabinet colors, check out this post.
After having dark and dingy cabinets, I knew I wanted white cabinets. White cabinets give a timeless look and are one of the top resale value color options. And if you can keep on top of maintenance and cleaning them occasionally, they make your kitchen look bigger and crisp!
Big Box Cabinet Design Centers
We had gone to all our local big box stores (Home Depot and Lowes) and worked with their cabinet design professionals. However, even after telling them OVER AND OVER AND OVER that we wanted to go with as minimal cost as possible, it appeared impossible due to the number of cabinets in our kitchen to not spend at least $20,000 just on the cabinets. This was not a do-able option for us.
Wholesale Cabinets
One evening while watching TV I saw an advertisement for Wholesale Cabinets and decided to investigate a little further.
Designing for white kitchen cabinets
I wanted white kitchen cabinets in a very simple shaker style, think almost an IKEA kitchen cabinet look.
Using RTA or ready to assemble cabinets, we were able to get so many of the more custom cabinets we had hoped for.
- A corner cabinet with glass front, done.
- A lazy susan below, done.
- An entire pantry cabinet unit… oh my, oh my, DONE!
And the BEST part, all these fun extras fell within our budget! They ship all orders directly to your door in flat boxes and are able to cut down on the costs by doing this. We had a few that arrived slightly damaged and they happily sent replacements.
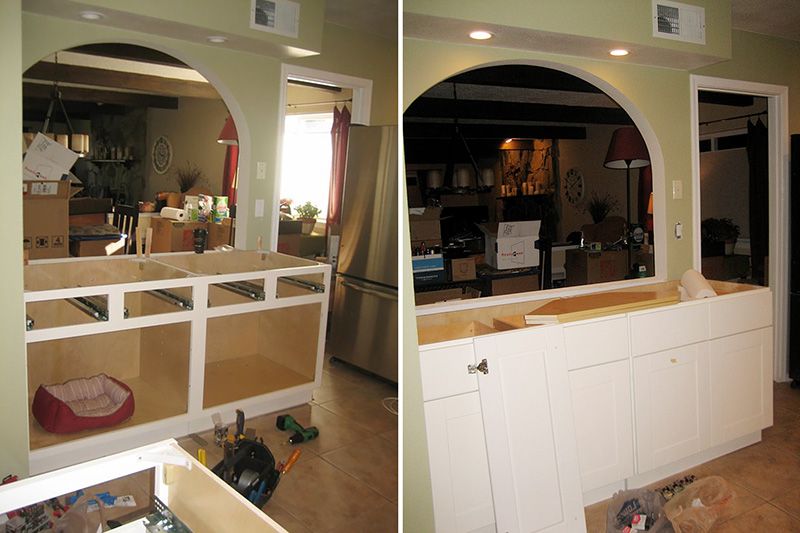
Installing Kitchen Cabinets
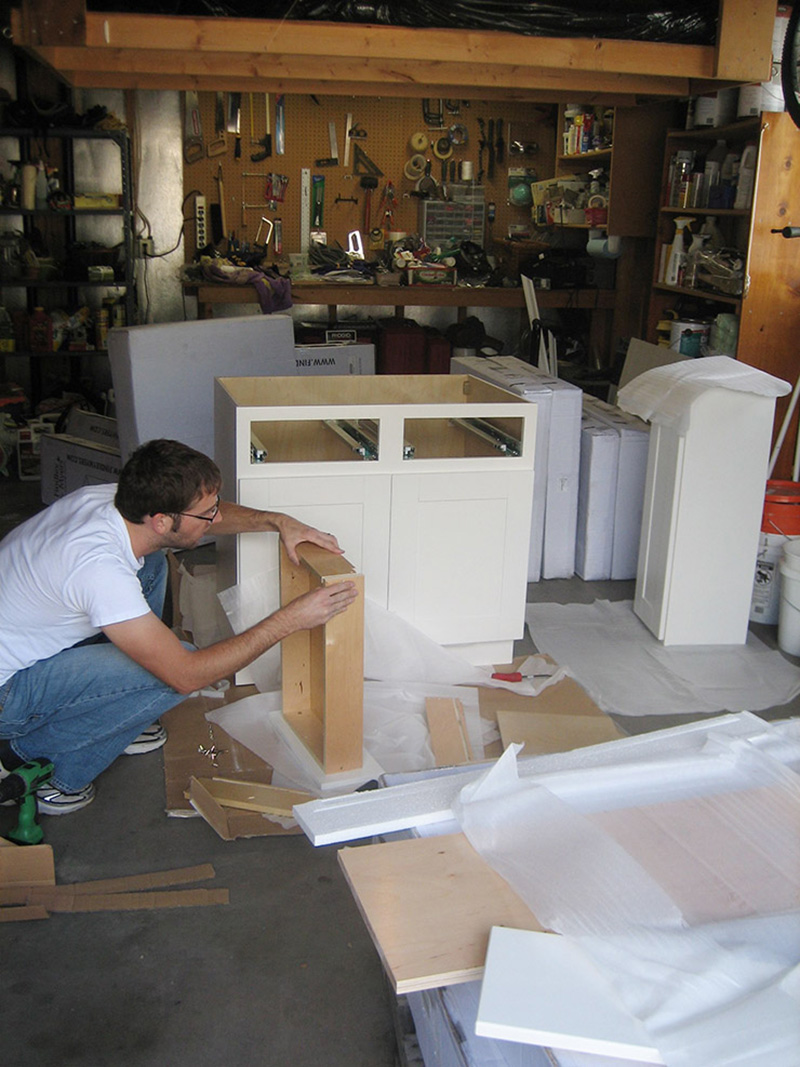
Cabinet installation can feel intimidating, but it doesn’t have to! When your cabinets arrive they may come already assembled or come in “flat packs”, like ours were. That basically means you have to put together the cabinets yourself.
Depending on what type of cabinet style you choose, there are detailed instructions that give you a step by step tutorial to put them together.
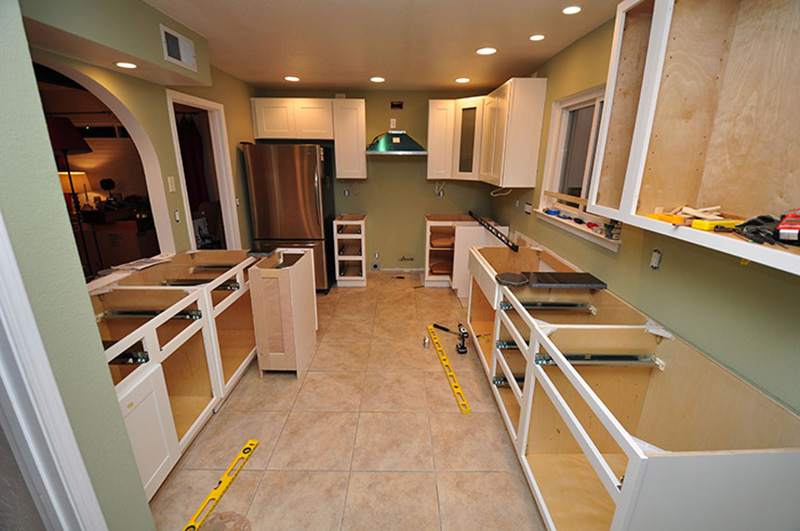
My husband assembled most of the cabinets in our garage and then we would carry them into the house. The larger cabinets we assembled in the kitchen, so we didn’t have to worry about them fitting through doorways.
Basic Cabinet installation tools
There are a handful of tools and supplies that really make the installation of cabinets so much easier. See the list of them below…
- Tape Measure – This is a must have tool. You will be constantly measuring your space, baseboards, door widths, distance between cabinets, etc. There are quite a few things that need accurate measurements, so whatever you don’t skip the tape measure! It would be best to get a 25-foot (or larger).
- Level – A 4′-6′ level is another must have tool. This is what ensures that all your cabinets are level and installed correctly. Walls and floors unfortunately are not always level, so having a long level to stretch between cabinets helps you create steady and accurate measurements.
- Cordless Drill – When installing cabinets there are numerous items to screw together, whether it’s a cabinet or a cabinet going onto a wall, etc. Having a cordless drill is another must have for ease and time efficiency. Make sure you have rechargeable batteries or a charger because you will need it.
- Drill Bits – You’ll need two types of bits for cabinet installation. You’ll need bits for drilling holes and bits that countersink. Having countersunk holes it key because if a screw protrudes out, it can snag on clothing and lessen the strength of the cabinet.
- Stud Finder – When installing heavy upper cabinets you must have them anchored into studs so that they are sturdy, level and strong. A stud finder is essential to finding and lessening unnecessary holes in your wall. I like using the combination of these two the best (SF 1 + SF 2).
- Hammer – A hammer will come in handy during demo and then when attaching your ledger board (see below for that step) to the wall.
- Clamps – After you install your cabinets, you’ll want to hold them together while you measure, level, and make sure they are flush to the wall, counter, or floor. Clamps are so helpful to make sure you keep things where they need to be with only two hands.
- Shims – Shims become the life blood of a cabinet installation project. I can not even believe how many shims we used here and there and everywhere to get the cabinets perfectly level. We used these plastics ones and wood ones.
Other Materials You May Need
- Circular Saw for trimming or cutting
- Ledger Board for stability (recommended 1 x 2”)
- Finishing nails (2.5”)
- Cabinet Screws
How to install Upper Cabinets
Installing upper kitchen cabinets requires precision and planning.
Start by determining your cabinet height and mark on the wall. Typically this is anywhere from 30″ to 42″, 30″ for most standard 8-foot ceilings. Then locate studs on your wall and mark those, as well.
Install a Ledger Board
Next, attach a ledger board (a long straight board) to the wall right at your marked lines, using screws drilled into the studs.
You can see below how using a ledger board to rest your upper cabinets on is so helpful.
Pre-drill mounting holes through the back of your cabinets near the top, middle, and bottom. This helps so you aren’t fumbling with this step while they are high up on the wall.
When you are ready to start mounting, begin with either a corner cabinet or the far left one. Lift the cabinet and place it on your ledger board.
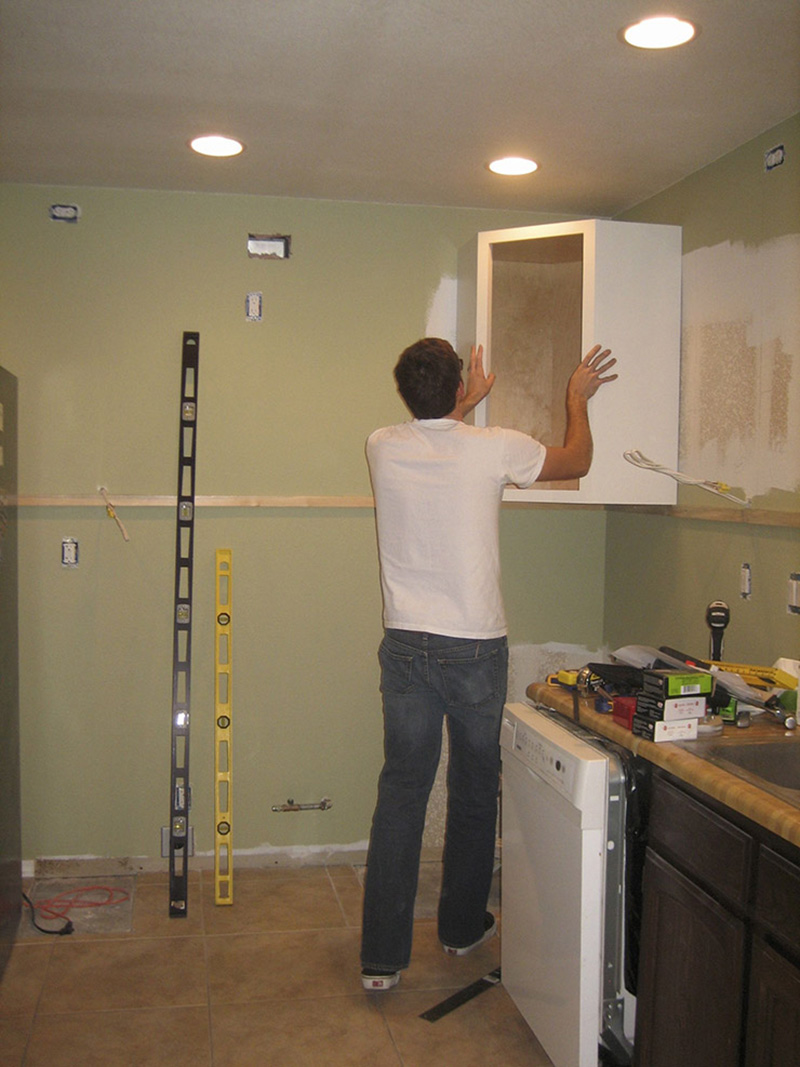
Using a cordless drill, screw through your pre-drilled holes in the back of the cabinet, securing them to the studs. Use your level to ensure the cabinets are straight and adjust with shims if needed.
Repeat this process for the next cabinet, making sure it is level to the first cabinet and then screw them together on the touching side. Continue in this pattern one by one.
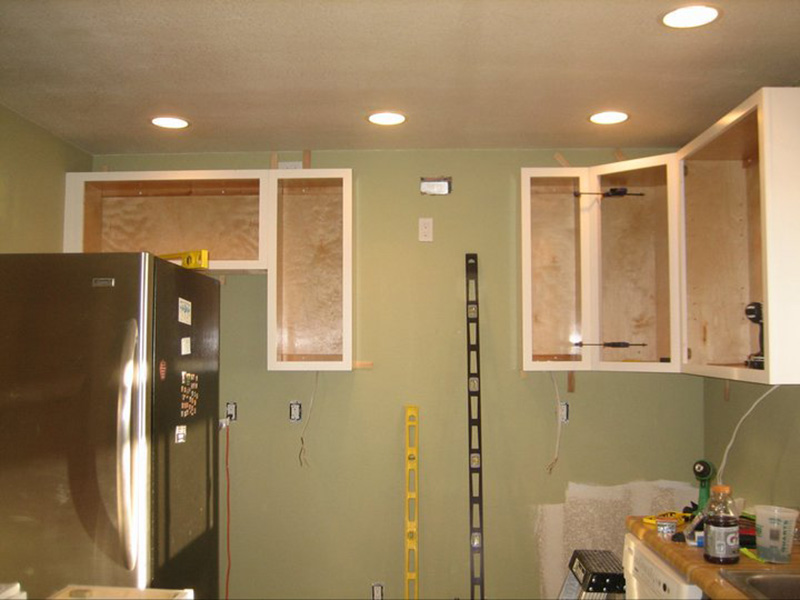
Once all the cabinets are mounted, level and connected to each other, tighten all screws firmly. Fill any gaps between cabinets and walls with caulk.
Install cabinet doors, shelves and hardware (See my post about Installing Kitchen Hardware). Finally, add finishing touches like crown molding or decorative trim for a polished look.
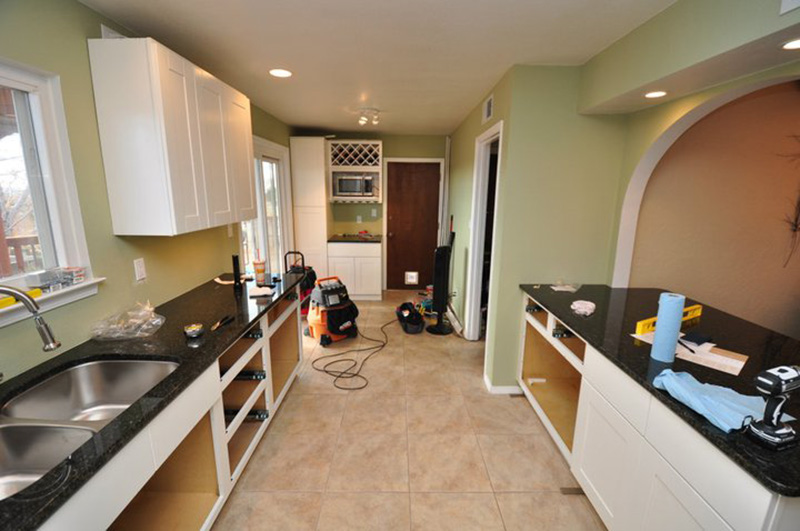
How to install Base Cabinets
Installing base cabinets starts with making sure your floors are level. Identify the highest point of your subfloor. Use shims to create a level base for all cabinets. Mark a level line on the wall at your desired cabinet height, considering countertop thickness and any appliances requiring clearance. Locate wall studs using a stud finder and mark their positions.
Begin with a corner cabinet or the end cabinet and position it against the wall, lining it up with your markings. Don’t forget to use shims as needed to fill any gaps and keep level.
Secure the cabinet to the wall studs with screws long enough to penetrate at least two studs. Repeat the process for each cabinet, aligning them precisely and connecting them with screws through pre-drilled holes in the cabinet sides. Don’t forget to check level and plumb frequently, adjusting with shims as needed.
Once all cabinets are mounted, level and connected, fill any gaps between cabinets and walls with caulk or filler strips for a seamless look.
Install cabinet doors, drawers, and hardware. Finally, customize your base with a toe kick, decorative trim, or other finishing touches to match your design style.
Cost of Kitchen Cabinets Installed
We looked into buying all new kitchen cabinets from Home Depot and it was going to easily cost us $35,000 to $40,000 for the items we wanted. We ended up spending $15,000 on our entire kitchen, which was a wild savings in our mind – DIY for the win again!
Make sure to check out the next step, how to Install a Kitchen Backsplash and Grout in our kitchen renovation project!
Looking for more Home DIY ideas? Check out some of these below…