Perfect Stripes on Wood
INSIDE : Learn the simple steps on how to paint perfect stripes on wood. This fail safe trick will give you a straight line no matter the texture of your surface!
This post may contain affiliate links. See full disclosure here.
Storage and stripes… some of my favorite things, ha!
Stripes are a classic staple in any design. Some design trends tend to come and go, but I think it’s safe to say that stripes are a trend that will never end. The other day, I was looking at my closet and couldn’t believe how many tops I have in a simple stripe.
If you are interested in some of my other home decor striped projects, check out some of these –
- West Elm Inspired Tote Bag
- Striped Gold Foil Wooden Bowl
- How to Paint a Gold and White Striped Trunk
- IKEA Striped Clock
- Striped Washi Tape Bangles
- Colorful Striped Coasters
- Tween Girl Striped Accent Wall
- Easy Painted Wooden Bracelet
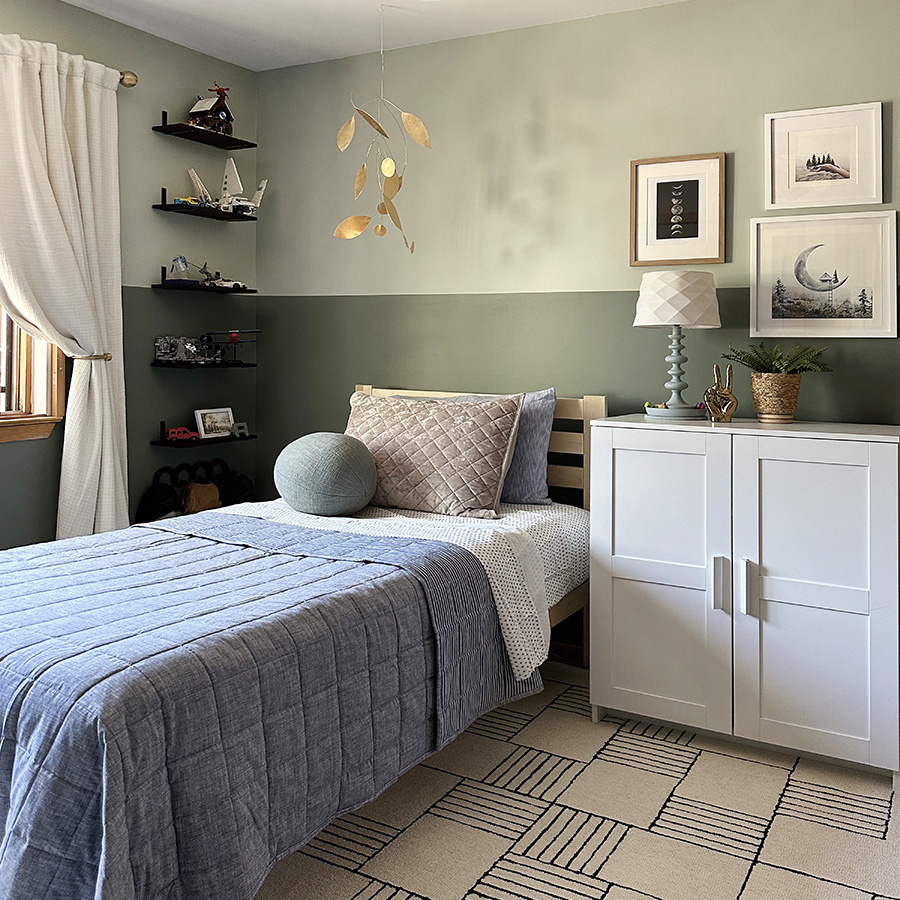
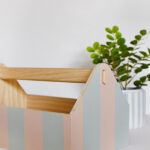
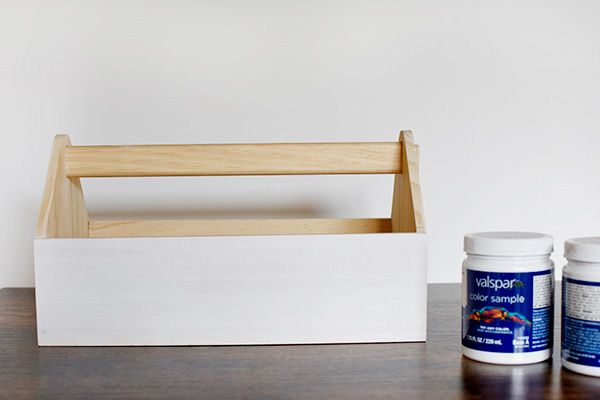
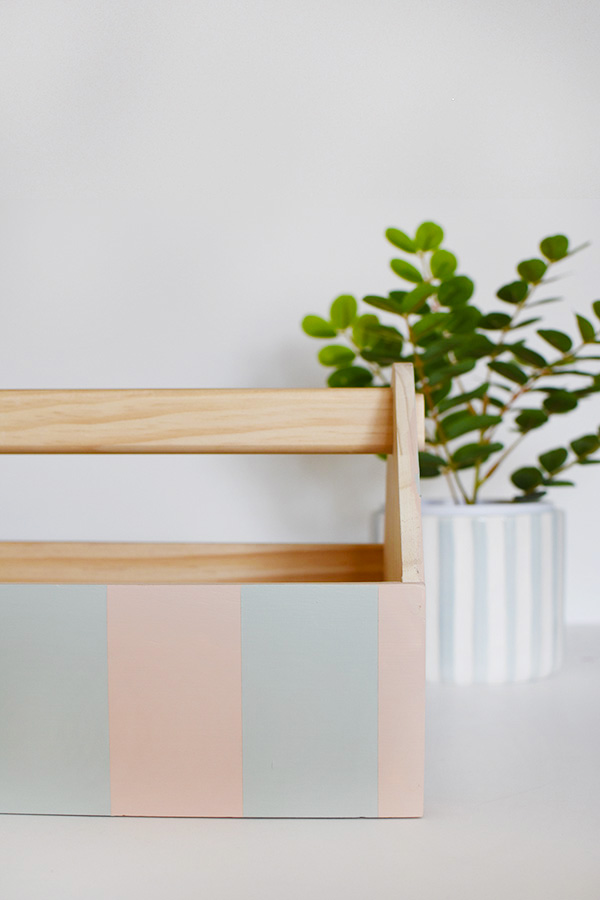
When working on my daughter’s Tween Modern Bedroom – I knew I needed to add in more storage to her bookcases. Why does all storage end up looking dull or boring? Well no more! Let’s get into how to add perfect crisp stripes on wood and in this specific case a fun wooden caddy.
What supplies do I need to paint stripes on wood?
- Wooden Caddy (Or any wood object you have)
- Two colors of Paint (Acrylic works great. I’m using up some interior matte paint samples I had on hand.)
- Painters Tape
- Paint Brush
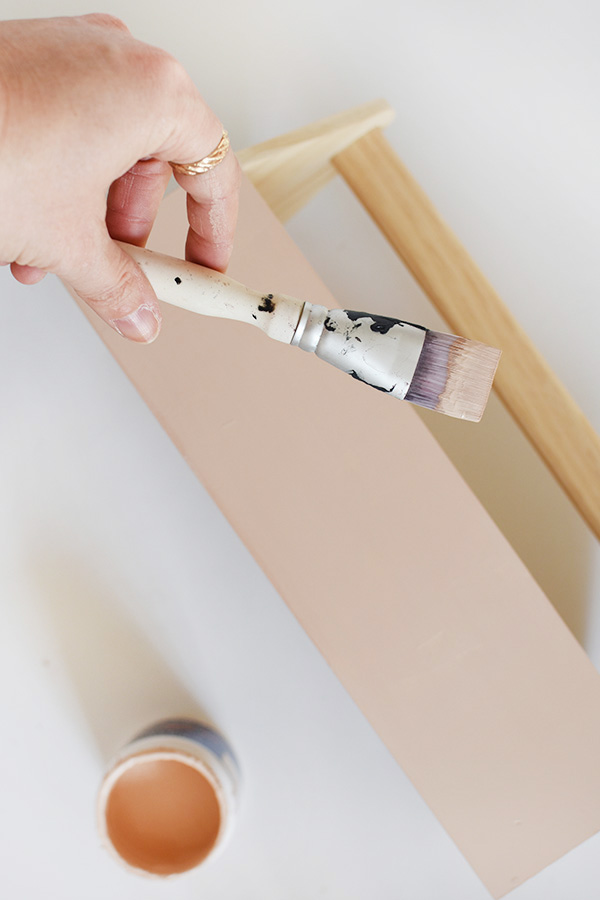
Painting a base color on a wooden caddy
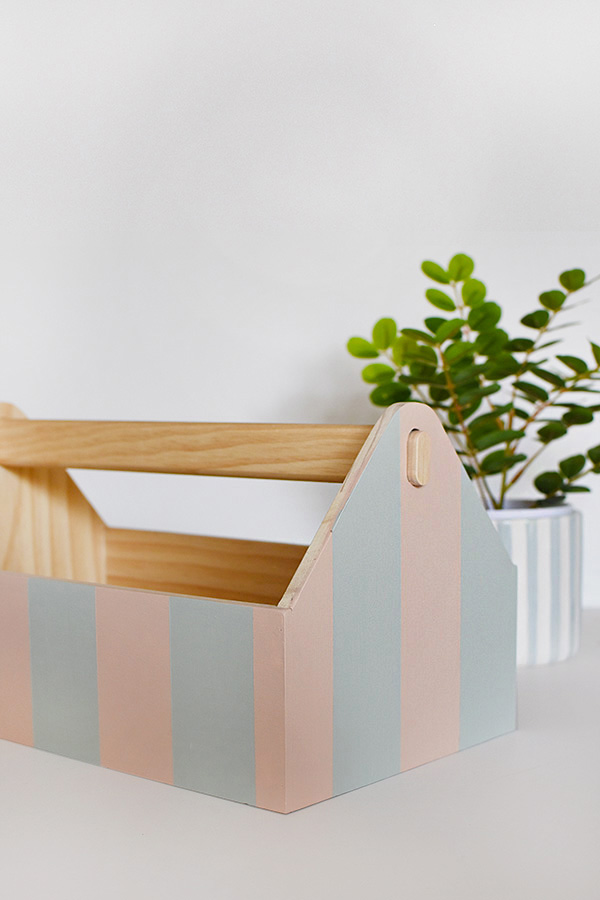
The first step to creating perfect stripes is adding your base paint color. In this case, I was using a beautiful peach color of paint for my main base.
I painted the bottom portion of my caddy in peach, allowed it to fully dry and then did one additional coat. For this project, I wanted to leave the inside and handle of my caddy natural wood color.
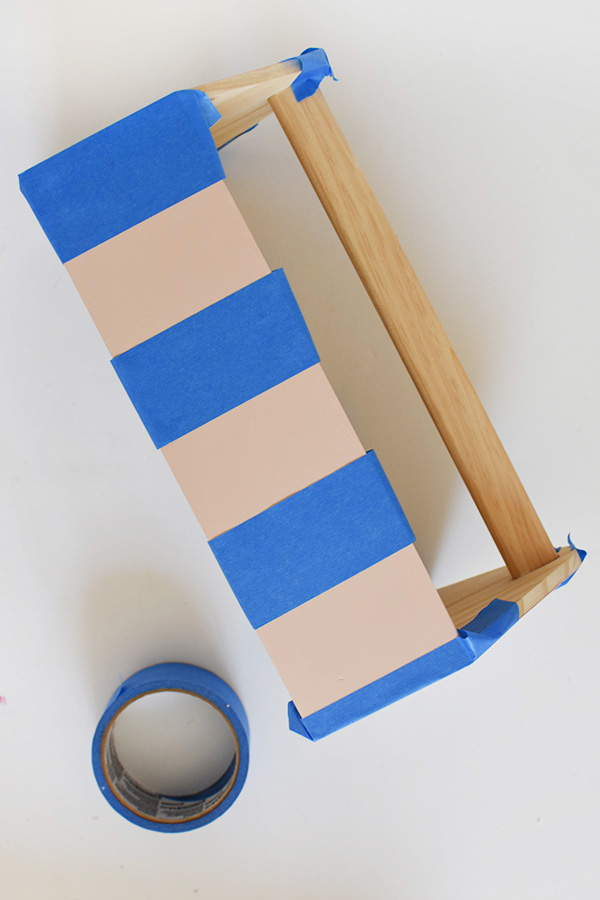
Painters Tape to create Straight Lines
This painters tape tip is the secret to creating those perfect stripe lines. Start by placing your first piece of tape along the straight edge of your caddy.
Then, place another piece of tape directly beside it. Using a third piece of tape, place it directly beside your second piece and then REMOVE the second piece. Repeat this pattern of placing a “spare piece” beside to create those perfect straight tape lines.
Painters Tape to create Perfect Stripes
Once you have your tape placed FIRMLY on all four sides of your box, use your original base color (peach in my case) and paint over all the edges of the tape. This seems like a worthless step, but THIS STEP is how to create those perfect stripes.
Allow your base paint color to full dry before moving to the next step.
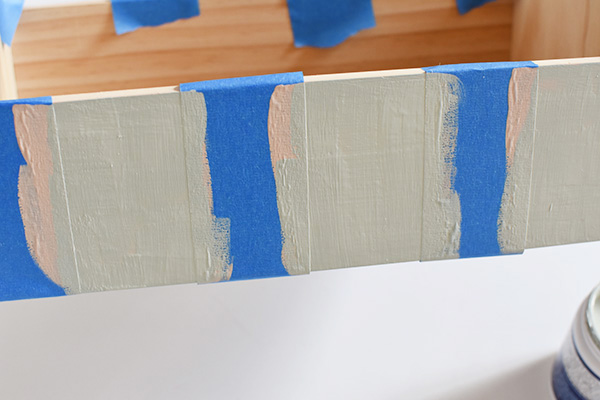
Once the base paint is dry on all your tape edges, you can finally add your secondary color (soft sage green).
Remove Painters Tape before dry
Before the secondary paint is dry, remove your painters tape. This will help the paint not to peel up with the tape.
Box Painting Ideas Simple
Allow your box to fully dry and set it out in your home to enjoy!!
This fun project was styled in my daughter’s Modern Tween Bedroom Reveal post.
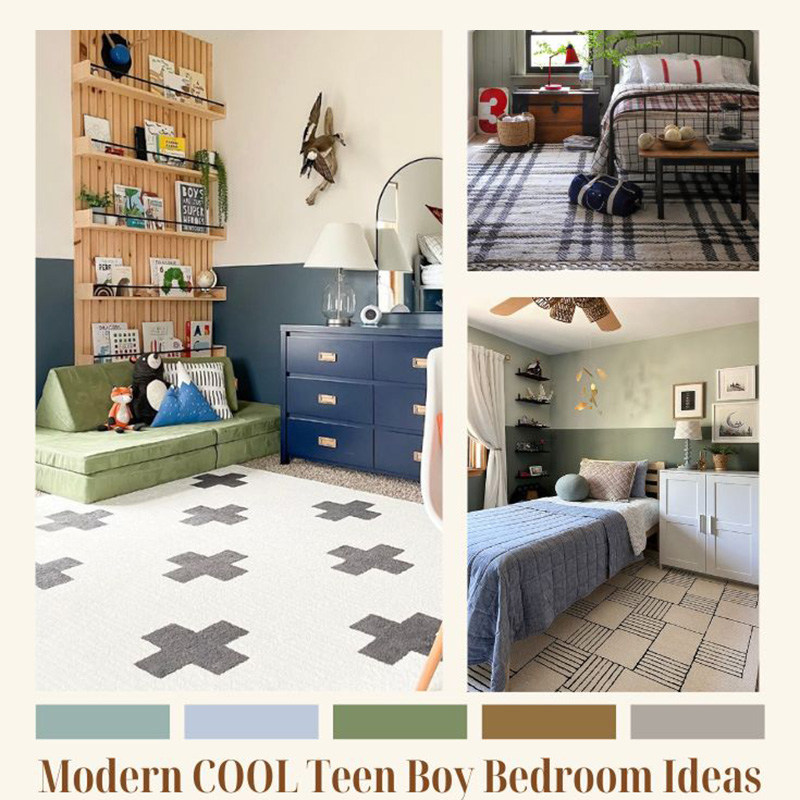
And if you are looking for even more kiddo themed bedroom ideas, check out these below…