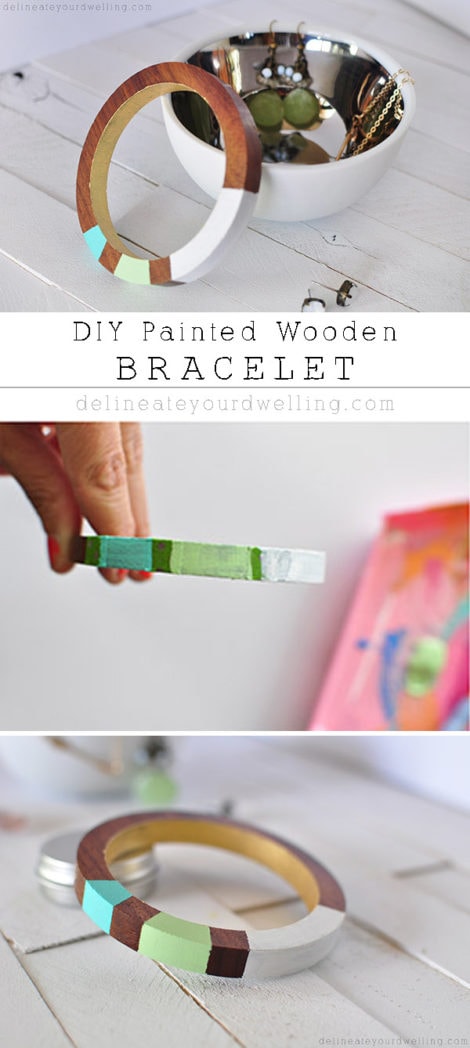
Easy Painted Wooden Bracelet
INSIDE : Learn to create a gorgeous DIY Painted Wooden Bracelet for a fun outfit accessory. Simple stripes are easy to add and a great statement. You’ll love the natural material with pops of color!
This post may contain affiliate links. See full disclosure here.
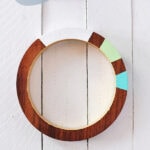
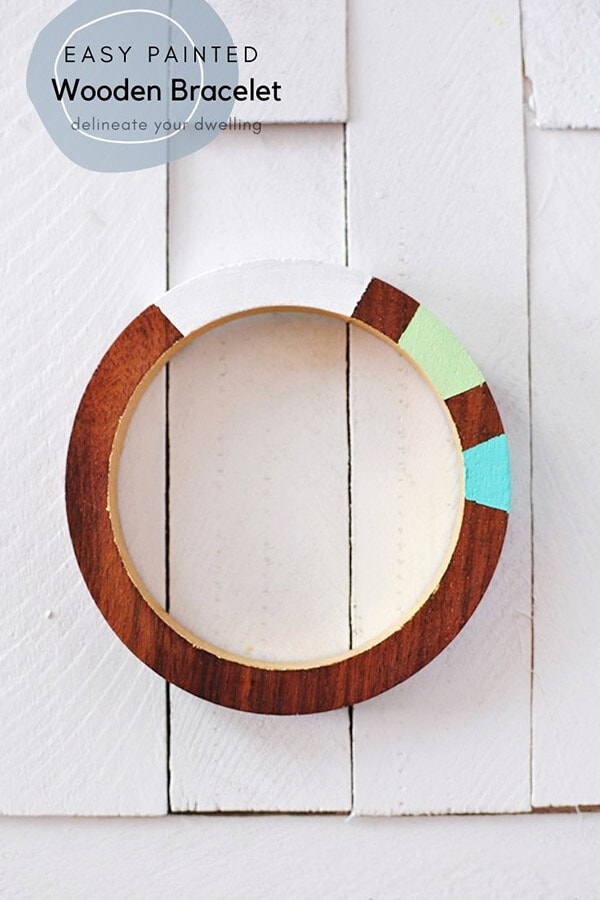
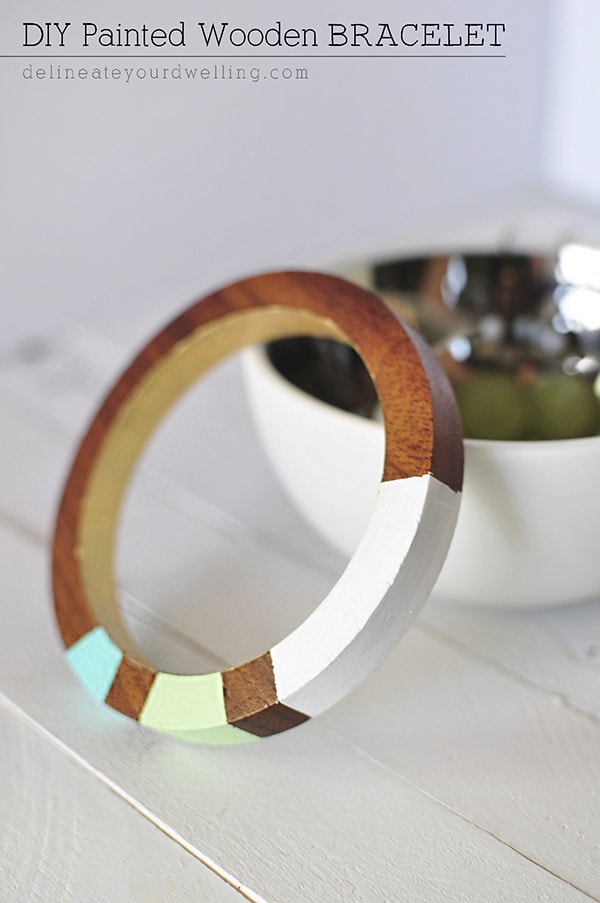
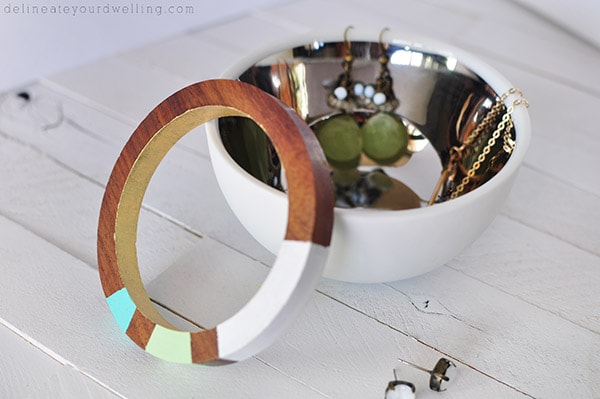
Who out there loves simple statement jewelry? I bet that I am not alone in this. When I saw this gorgeously simple wooden bracelet at my local craft store, I snatched it up in a second! I knew with a few strokes of my paint brush, I could turn this into a perfect statement piece. Today I’m sharing my Easy Painted Wooden Bracelet.
What supplies do I need to make a painted wooden bracelet?
Wooden bracelet
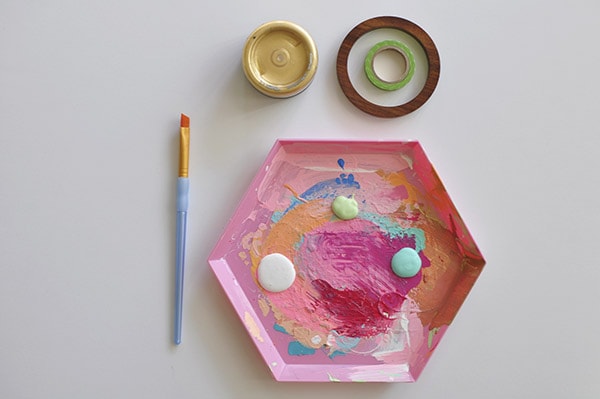
Patterning Tape
Acrylic Paint – aqua, fresh green and white
Gold Foil Paint
Brush
How do I paint wooden bracelets?
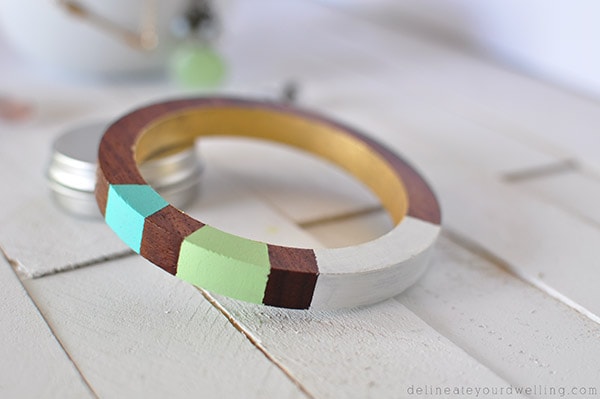
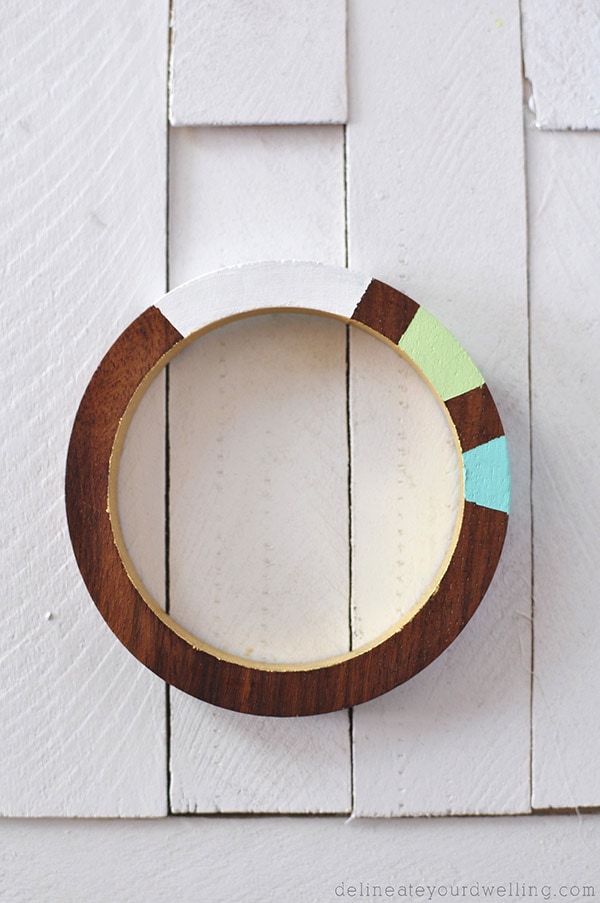
For this project, I wanted a very simple pattern but many pops of color. I divided the bracelet into three sections with the tape. Then, it was as simple as a few coats of each color.

While the paint is still slightly damp, remove the tape. This will allow for sharp clean lines.
Once the exterior paint was dry, I painted the inside of the bracelet with my gold liquid leaf paint. I did three coats of paint to really get a nice solid gold shimmer.
 I haven’t had any chipping issues, but if you are concerned, you could spray the bracelet with a matte finishing coat of spray paint.
Pattern Wooden Bracelet :
I am so thrilled with how this wooden bracelet turned out. Easy, simple and stylish… three of my favorite things!
If you like this project, be sure to pin it for later!
Looking for more DIY jewelry projects? You will definitely enjoy these.
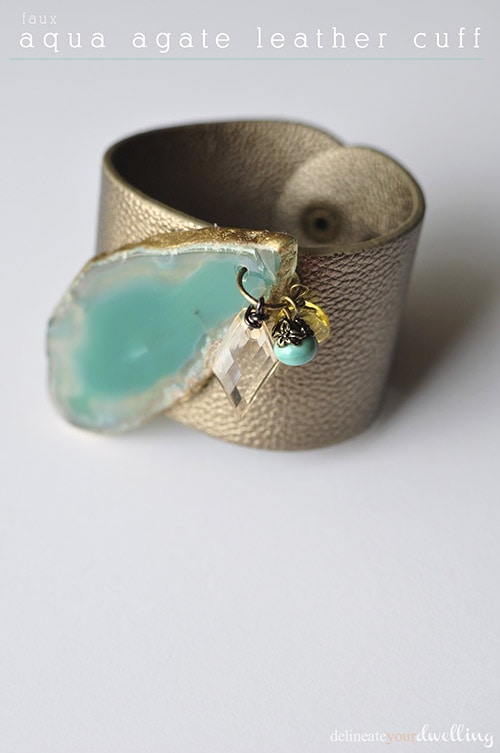
Faux Aqua Agate Leather Cuff Bracelet

Hey Amy, You did the wonderful job on wood and make stylish bracelet. Well Done..
I have an almost identical bracelet that I’ve been saving to do some sort of makeover on for over a year now! I think it came in a set with some metal chunky bangles. I was toying with the idea of half dipping it in some sort of metal paint, I’ve considered wrapping it with thread, or haberdashery trim. I’ve got so many options I’ve ended up doing nothing with it! I love the simplicity of this idea and now I’m just thinking why don’t I buy some more and try out all my ideas, including something like this!
Wrapping with thread is a great idea! I agree, try them all out!
That is very cute! I think I just may give this a shot. I haven’t been wearing any jewelry lately since I have a grabby-hands baby who would destroy something less sturdy…
Oh yes, this would be a great baby friendly jewelry piece!
This is so pretty and so simple. Thanks for the tutorial!
Thanks so much, Kathleen!
This is such a pretty bracelet. Simple and elegant
Oh thank you so much, Ruby!
Amy, I love all of your projects! They’re like a breath of fresh air. This is so lovely. Especially love the mint colour, one of my favourites!
Well, aren’t you the sweetest Veronika! Thanks for your kind comments.
So pretty! I just adore all your jewelry tutorials – they are so fun and bold and beautiful!
Thanks girl! I’ve slowly realized, I love making jewelry projects!
So beautiful, and I knew it was yours when I saw it at the Do Tell Tuesday party. 🙂
Aw, thanks girl!!
I love this idea! Simple, but makes a great statement! Pinning for sure 🙂
Thanks Emily! I’ve already worn it a few times!!