Striped Gold Foil Wooden Bowl
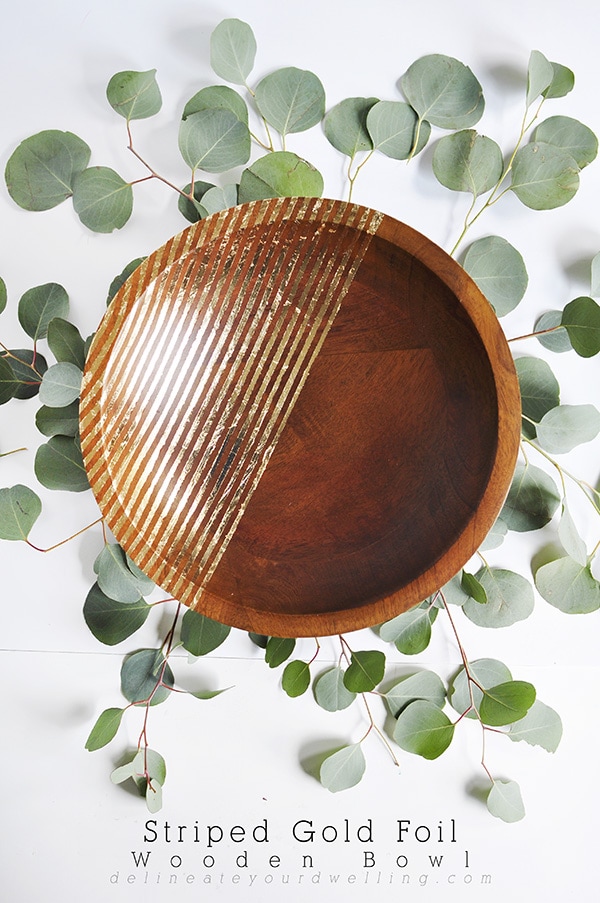
INSIDE : Learn how to create an elegant and unique Striped Gold Foil Wooden Bowl. The perfect DIY project to add a little drama to any piece.
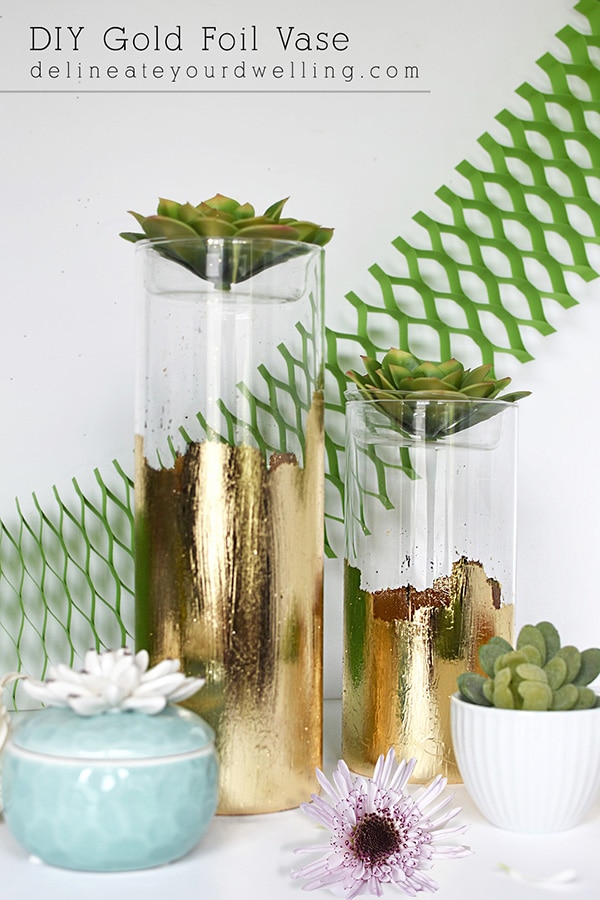
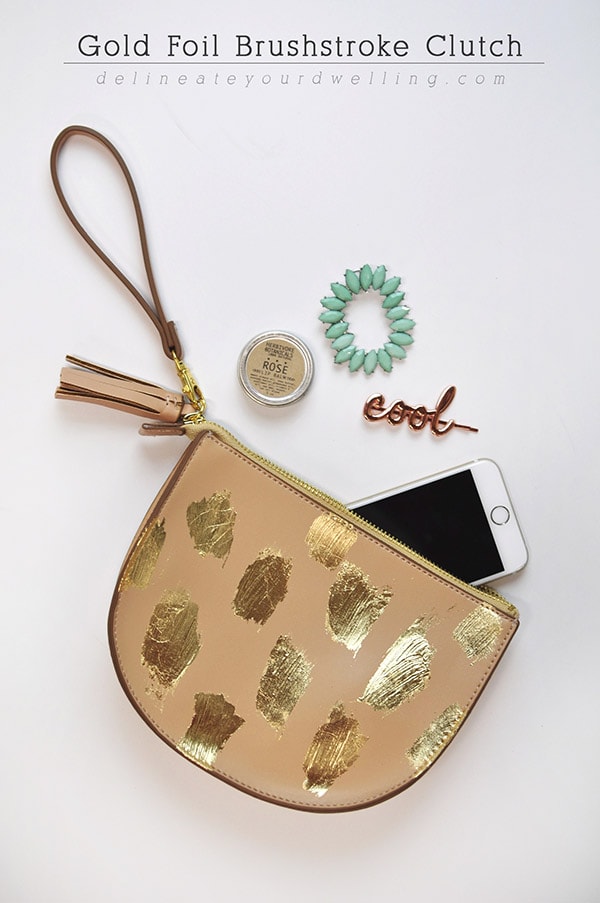
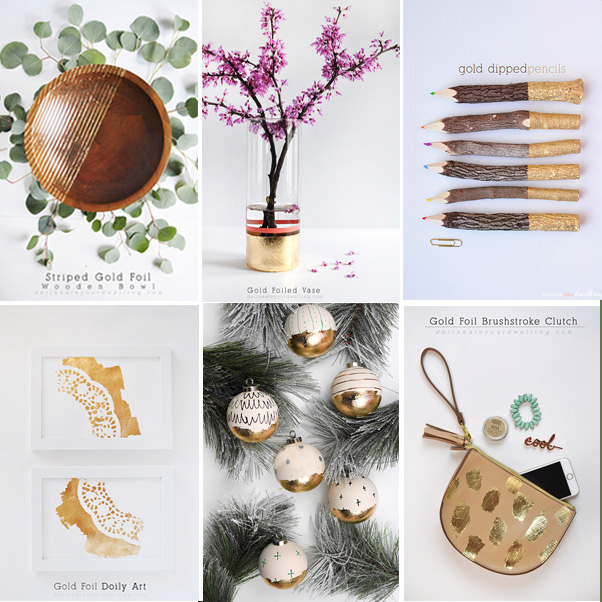
Who is with me on gold foil being one of the best things out there? I mean, as far as craft supplies go… gold foil is pretty amazing. I’ve used it on so many fun projects, like my gold foiled vase, Gold Foiled Brushstroke Clutch and my Gold Foil Succulent Artwork.
It had been almost two weeks since I had added gold foil to something, so I knew it was time to break out another DIY using it. Today, I am sharing how SIMPLE it is to create a Striped Gold Foil Wooden Bowl!
This post may contain affiliate links. See full disclosure here.
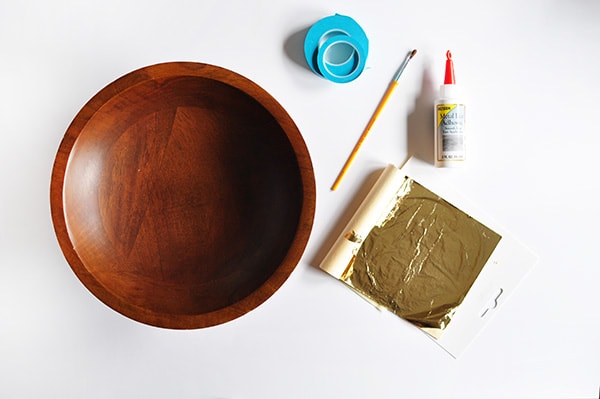
WHAT ARE THE SUPPLIES TO GOLD FOIL A WOODEN BOWL?
Wooden Bowl (here is similar: bowl 1, bowl 2, bowl 3)
Gold Leaf, 18 Sheet PackMetal Leaf Adhesive
Martha Painter’s Tape
Brush for glue
Soft Bristle brush for removing gold foil
HOW TO MAKE A GOLD FOIL A WOODEN BOWL
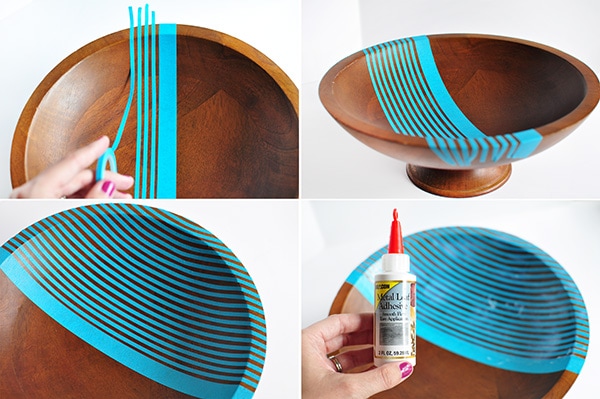
You could really create any pattern you would like for this project, but I decided to go for a simple stripe. And if you know me at all, there was absolutely no rulers or measuring involved. Rulers make me cringe, fyi.
So, at random I placed a nice fat piece of Martha Painter’s Tape to be my starting point just a little off center. Then, using Martha’s super thin patterning tape, I started creating the stripes.
If you don’t trust yourself to get fairly straight lines without a ruler, then you could place a then piece of tape. Then, place your next piece of tape and remove the first one. Removing every other piece will create even lines.
Be patient, as you get to the curve of the bowl it takes time to keep a straight but “curved” line. Once all the tape has been installed, go over with your fingernail and make sure all the edges of the tape are pushed down tightly.
Next, apply the gold foil metal adhesive glue. Read the instructions on your glue for dry time, but it is essential to wait the appropriate amount of time. It will be tacky, but that is what you want.
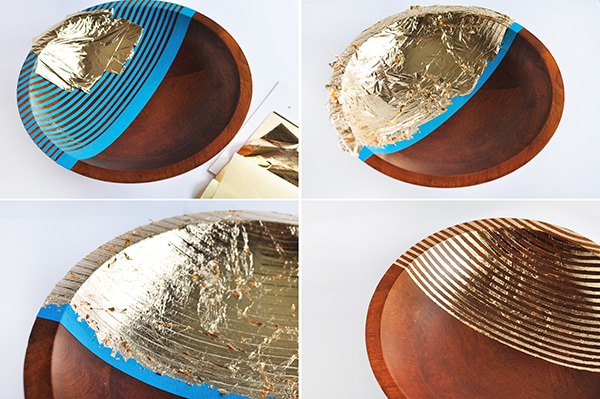
Once the glue is nice and tacky, start applying your gold foil sheets. I simply covered the entire half of my bowl with gold foil sheets and there were only a few small spots here and there that escaped foil. It’s easy to add little bits here and there for complete coverage.
Once all my gold foil was adhered, I waited maybe another 15 minutes to really really make sure the glue was good and ready for me. I really wanted to get the straightest lines possible, as often gold foil projects result in a rough unsharp look. Then, I gingerly and slowly removed the tape.
I could not believe the outcome!
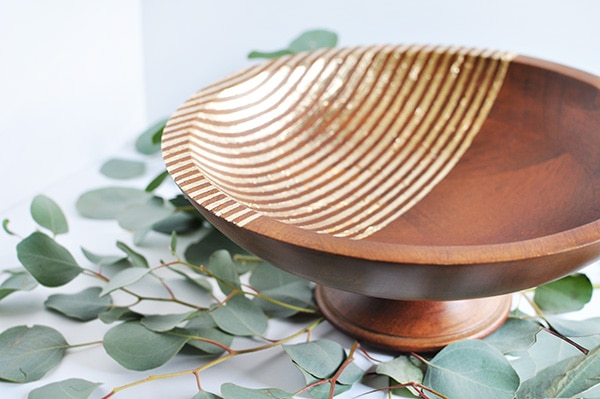
For using gold foil sheets and not just painting stripes with a paint pen or gold foil paint, I was so thrilled to see how great these lines turned out!
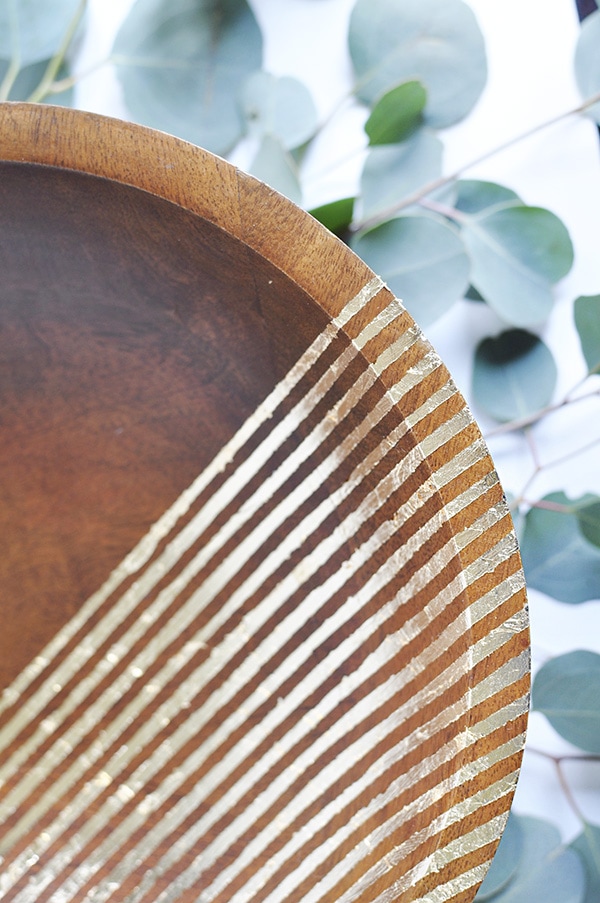
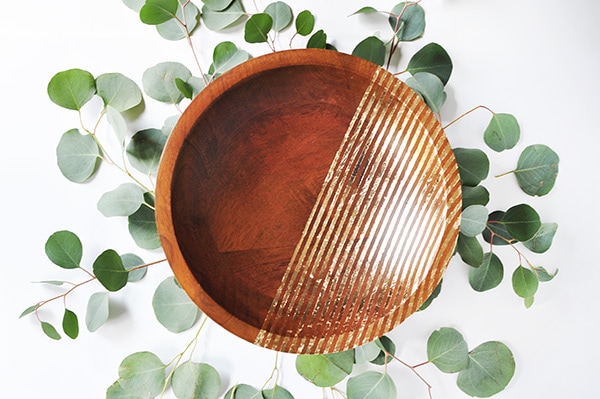
I’ve been trying to decide what to use this bowl for now that it has gone such a lovely transformation… but I don’t want to put anything in it to hide the gold stripes!!
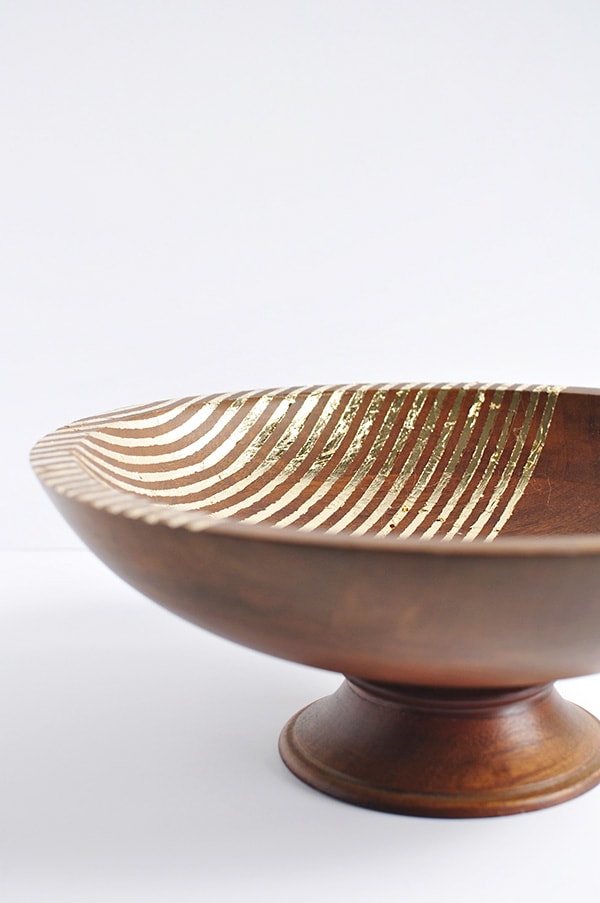
Does gold foil come off of wood?
This is a great question. I think partially the answer depends on what type of wood item you are applying gold foil to. The bowl I have added my foil to is mostly decorative. I may on occasion put a few items in it but they also are probably decorative, so the wear and tear that it may receive is fairly minimal.
I believe if you were using this bowl daily, over time the foil would rub off… but I gave it a quick scratch test and boy that gold foil appears to really be on there for now.
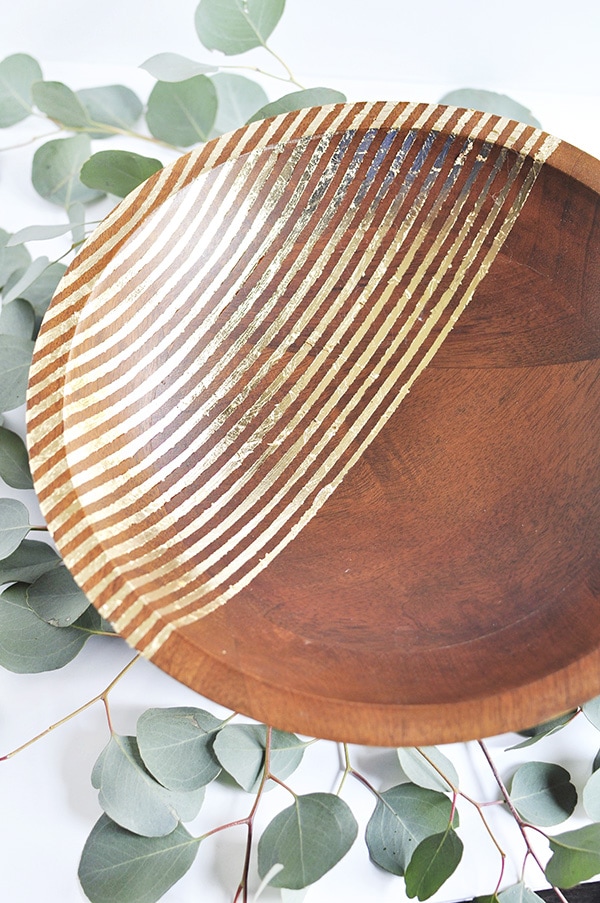
My best idea is a fruit bowl because we go through a lot of fruit in our house… so maybe I’ll put this on our dining room table. Or maybe bigger jewelry? What do you think would be a good use for such a pretty bowl?
Looking for a few other gold foil projects? You might like some of these!
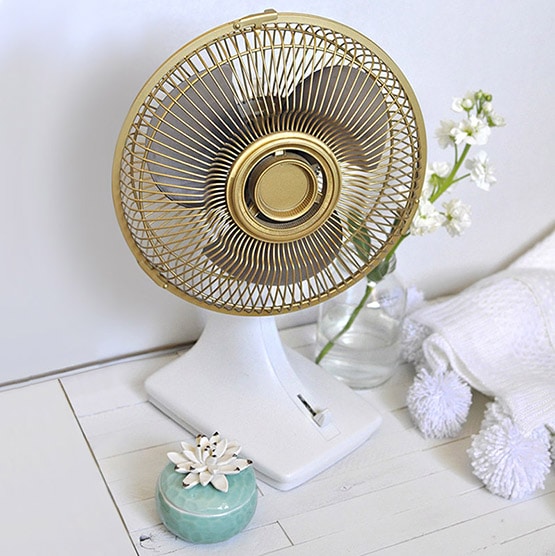
How to update an old Fan
Let’s Gold Leaf All the Things!
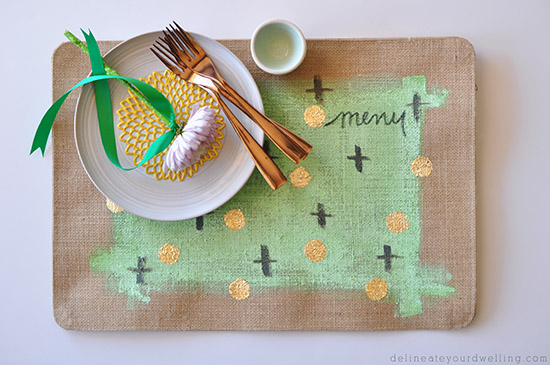
Gold Foil Placemats
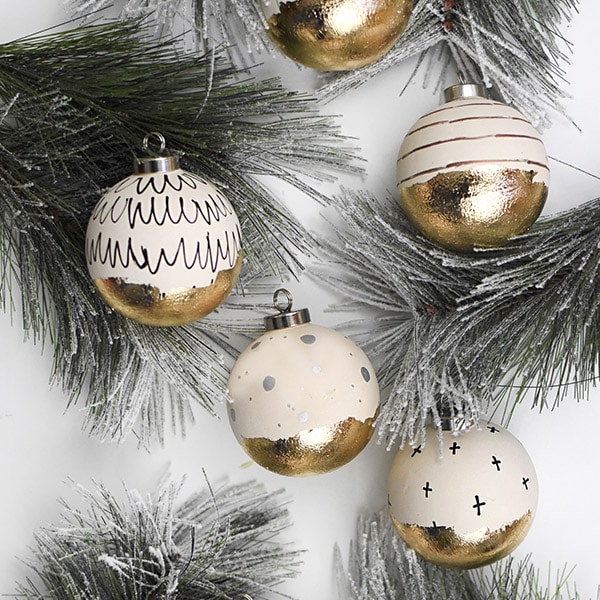
Gold Leaf Christmas Ornaments
Bronze and Gold Outdoor Tray
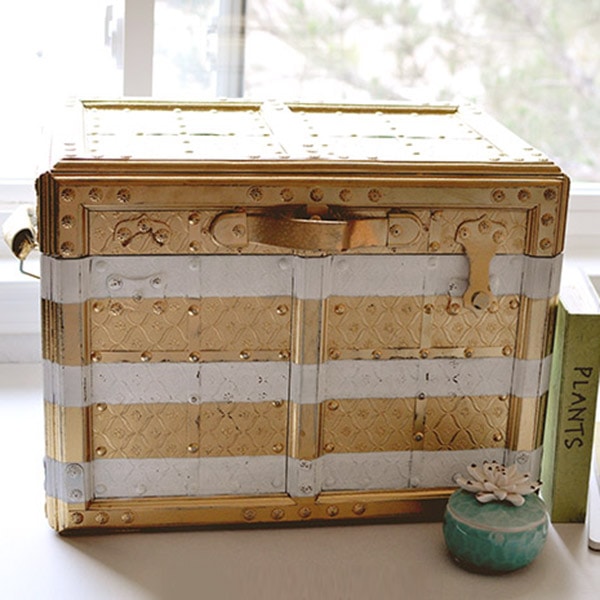
How to paint a Gold and White Striped Trunk

Gold Foiled Brushstroke Clutch

These wooden bowls are absolutely gorgeous! The skinny tape is so helpful in making the tiny gold foil lines. Beautiful work!
Thank you so much, Eden! I was so thrilled with how this bowl turned out.
Just a small touch can have such a huge impact. This is really beautiful and so unique. I am hosting a new link party, Sweet Inspiration and would be happy if you joined us. It runs Friday till Tuesday.
Thank you for the sweet words, Mary! And the link party invite.
This turned out amazingly well! I absolutely love using gold detail when I design a room and pieces like this with a similar design tend to run so expensive so I’m excited to find a great alternative! Thanks for sharing!
Oh yes, this was quite inexpensive to DIY! Thanks for stopping by Johanne!
This is beautiful! How does the gold hold up to daily use? Does it scratch off easily? I’m thinking to use for a empty-my-pockets-bowl in my entry…or should I consider something that is softer or more gentle rather than placing keys, change, etc.?
Thanks Meg! So, I have been using this bowl for softer items… mostly overflow fruit from my main fruit basket. I’m wondering if doing this type of application for a container to hold keys might be too much. Possibly added a clear sealant spray might help? You could just tape it off and use gold foil paint. It would look just as lovely and I’m guessing would scratch less. And a clear sealant spray might be good protection for that one, too.
Hi Amy,
I love this bowl so much that I have included it in my post on DIY gifts for Mothers Day.
Here’s the link http://threadbarecloak.com/diy-gifts/last-minute-diy-mothers-day-gift-ideas.html
Thanks for sharing
Alana
Aw, thank you for including in your roundup!
Great post! This bowl would be super cute to use as part of a centerpiece.
Ah, that’s a great idea!! Thanks Serena.
I absolutely love the gold paired with the wood! Great DIY and photos! 🙂
xx Kaylee
http://www.theblondielocks.com/
Thank you, Kaylee! It’s a lovely contrast. 😉
Always love me some gold foil. This is stunning, Amy!
Thanks so much, Amy! Gold foil is one of my favorites. 😉
This looks SO classy! I’ve been wanting to try out gold foil. Maybe I’ll give this project a try!
Oh thank you, Heather! You would LOVE gold foil, it’s like shiny magic. 😉
This turned out AMAZING. I love the skinny tape. I have definitely tried to cut tape into thinner strips. Not a good use of time.
Also, this styling is on point girl
Ah, thank you Tan!!! Yes, pre-made skinny tape is definitely the way to go, ha. 😉
This is gorgeous! We all know how I love my gold leaf. And I was following along the snaps…your styling turned out perfect! xo
Oh goodness, thank you Cyd! This one really threw me for a loop, but I think it ended up turning out great. 😉
This is just gorgeous, Amy! I love the way you styled it too.
Oh thank you, Alexis! I had a heck of a time with the styling on this one… didn’t want to cover up the bowl with something in it. I was happy with how it turned out, though. 😉
Oh my geez!! Don’t ever go so long without gold foiling! This is so so pretty and the styling is perfection?
Aw, thanks lady! I know… I’ve got gold foil in my blood now.