Tween Girl Modern Bedroom Accent Wall
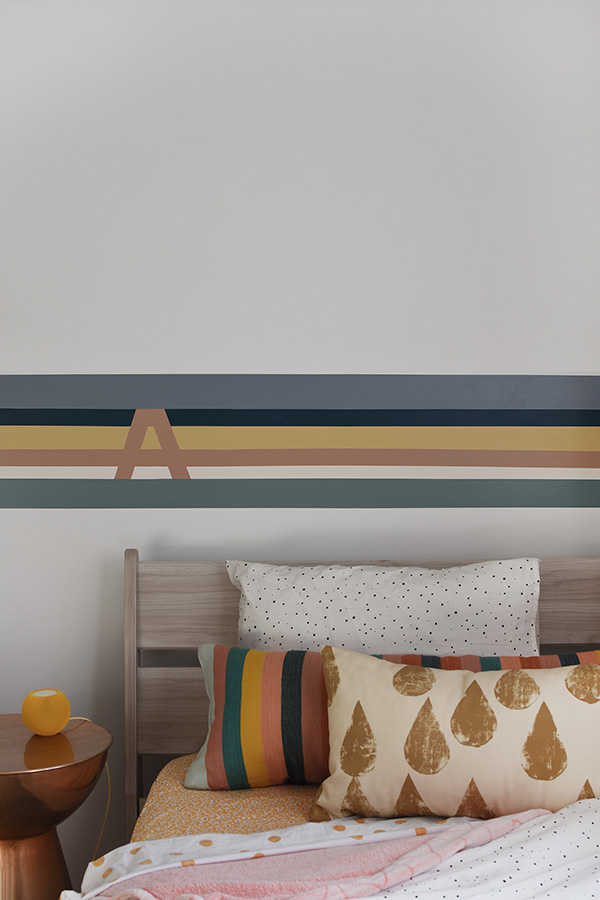
INSIDE : Learn how to create a gorgeous Tween Girl Modern Bedroom Accent Wall using colorful stripes and even your initial secretly incorporated. Such a simple, creative and unique twist to the room!
This post may contain affiliate links. See full disclosure here.
Gracious. Week One has zoomed by on our New Year, New Room Refresh Challenge and it’s already time for another update. But before our update a quick reminder on this fun challenge hosted by Stephanie of Casa Watkins Living…
Over the course of the next 4 weeks, about 12 of us bloggers we will all be taking on a room in our home. Each Tuesday this month, we will be sharing progress update posts on our blogs and instagram. The final reveal is on January 25th, so be sure to keep checking back.
Read to the bottom of the post to see everyone’s progress this week!

As you recall, I am updating my 11 year old daughter’s bedroom. We made a deal at her tenth birthday a bedroom update was in store… then covid and life and… we are finally getting around to it, yah!
Want to check out all the projects?
- Week 1 Little Girl’s Updated Bedroom Plan
- Week 2 Tween Girl Modern Bedroom Accent Wall
- Week 3 DIY Woven Plant Stand
- Week 4 How to Modernize Bifold Doors
- Week 5 Selecting Tween Artwork
- Week 6 Modern Tween Colorful Bedroom reveal
- Simple Dresser update with Wallpaper
- Adding Duvet Ties
- Organizing a Tween Bookshelf
Modern Stripe Painted Accent Plan
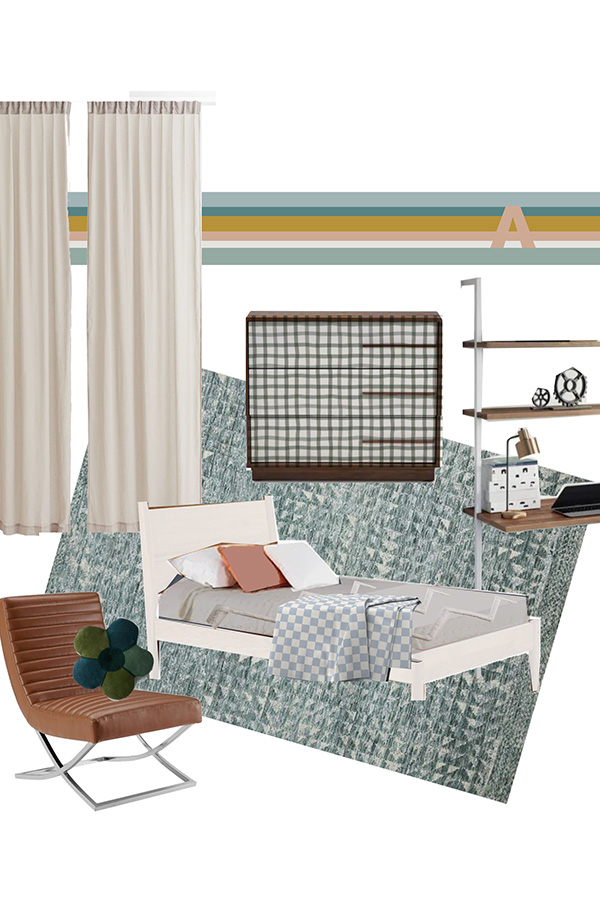
Last week, I shared a wallpaper that we were really excited to use in my daughter’s bedroom, but for various reasons we needed to pivot and come up with a new plan. If you follow me over on Instagram, you may have seen me talking about that a bit more in-depth on IG stories.
I spent some time re-visiting our inspiration photos and trying to decide the next plan of action. I decided an accent mural wall would be the perfect solution. After doing quite a bit of sketching and chatting with my daughter, we finally settled on the pattern.
Stripe and Initial Wall plan –
I came up with this simple striped pattern, but wanted to do one something simple to make it unique and pop. I came up with the idea of sneaking my daughter’s first initial into the design. I think if you use a fairly blocky letter font, you could probably line up almost any letter into these stripes.
We often call my daughter, Miss A… so this is fun little nod to one of her nicknames.

Final Paint Colors –
We are big Behr paint fans in our household. We’ve used the Bit of Sugar white throughout our home. So for the main portion of the room, a crispy clean white will be painted.
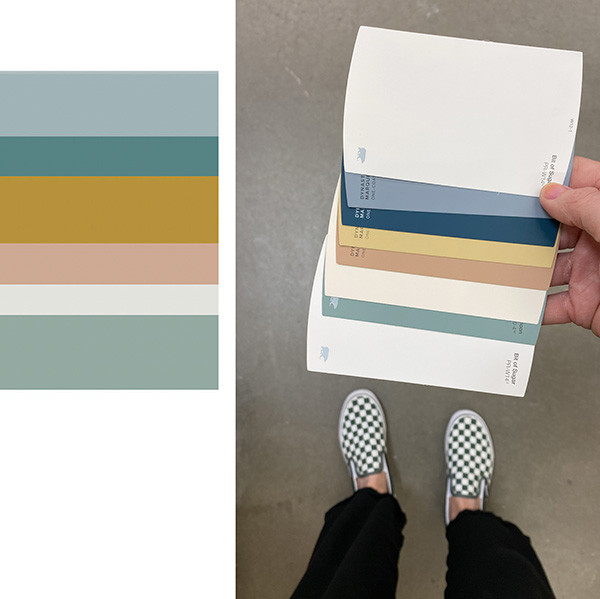
For our accent statement wall, it took me a VERY long time to pull together the perfect color palette in photoshop. (See below left). Once, we had the colors just how we wanted them on the computer screen, it was time to head over to Home Depot.
I think we got pretty darn close to our vision colors. The teal we went with is a bit more intense and BLUE/teal colored, but we both agreed the colors worked very nicely together!
Teton Blue N490-4, Ocean Abyss MQ6-01, Honey Tea MQ2-18, Vintage Tea Rose HDC-CT-07A, Heavy Cream PPU5-10, Rainy Afternoon N430-4
The colors we decided on go from top to bottom; Teton Blue, Ocean Abyss, Honey Tea, Vintage Tea Rose, Heavy Cream and Rainy Afternoon.
Painting your Wall White
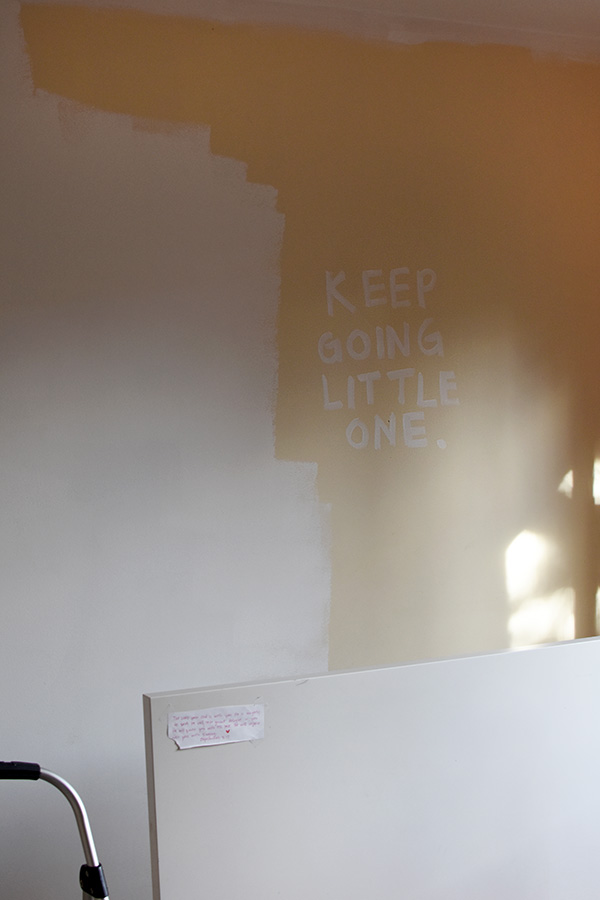
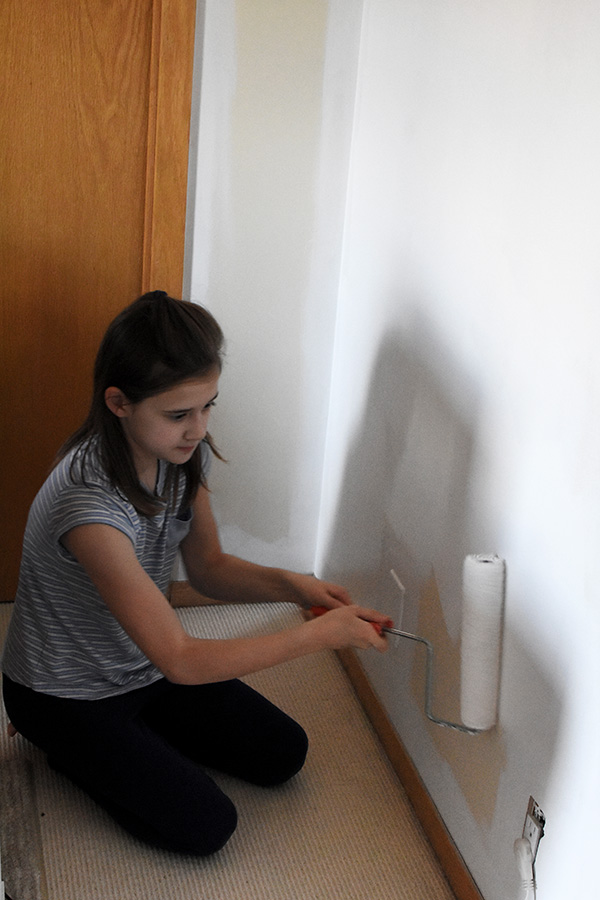
I started by laying out plastic covers on the floor and giving my daughter’s bedroom two coats of white paint. I always use Behr Premium Plus Bit of Sugar for the white in our home.
Supplies:
- Roller
- Paint tray
- Wooster Trim Brush
- Behr Premium Plus Bit of Sugar
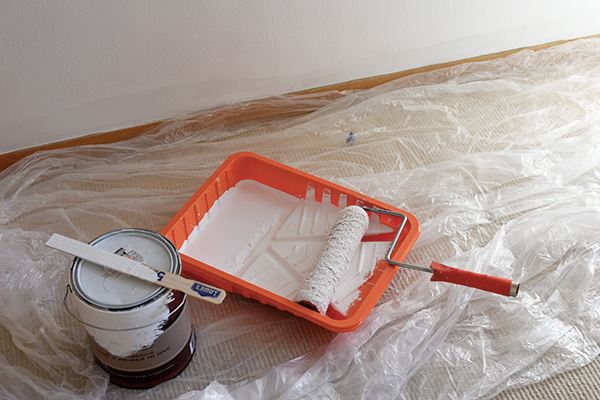
I painted a few secret messages with a small craft brush and then let my daughter use the roller to paint over them.
Creating a color mockup
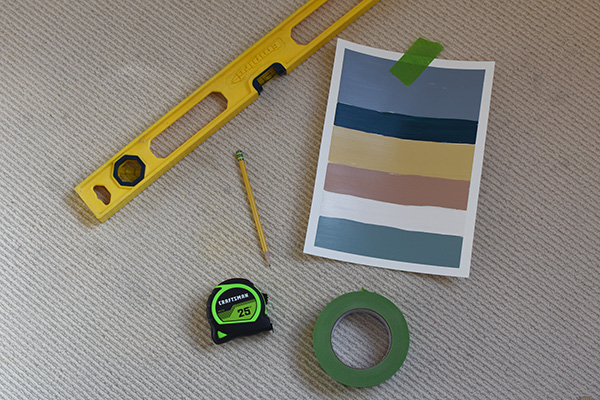
Next, I took all six paint colors and made a few mockups of their order and rough widths. I painted those on heavy cardstock paper and hung them on the walls.
This patterns and widths (below) is the one we decided upon.
Supplies:
- 24″ Level
- Measuring Tape
- Pencil
- Painter’s Tape
- Wooster Handheld Brush
Creating perfect crisp paint lines
Once the stripe pattern was decided upon, I taped it to the wall for reference and began to layout the lines on my wall.
Using a long level and a pencil, I decided on the height of my very top line and marked it with my pencil. From there, simply keep using your level to make marks and then add the painter’s tape.
Note, you only need to add paint over the side of the tape where you are applying paint.
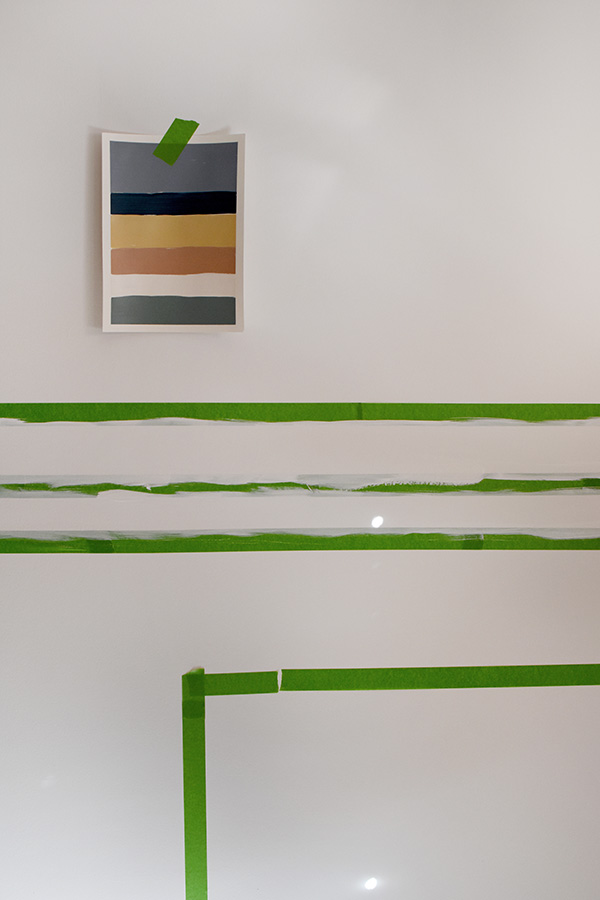
To create the perfect crisp paint lines, apply your painter’s tape and then paint over it with your base wall color – which in my case is the Bit of Sugar white paint.
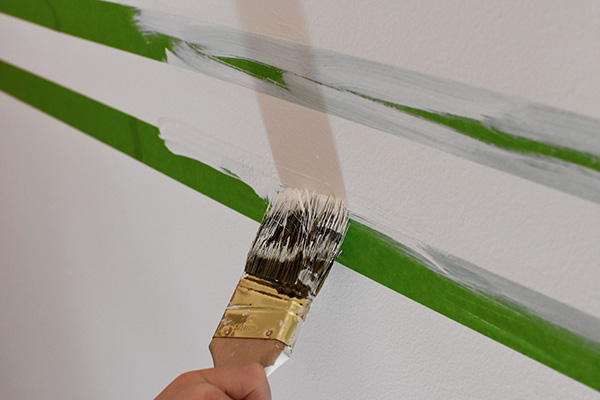
Allow the base paint color to fully dry and then you can paint your colors.
Because I needed to paint two coats on each color stripe, I started with painting every other line. I first painted the soft blue, yellow and light cream color. After those first coats were dry, I applied another coat of each of them and removed the painter’s tape while it was still slightly wet.
Then, I moved onto painting the dark blue/teal, soft rust color and sage green. I repeated the same steps mentioned above.
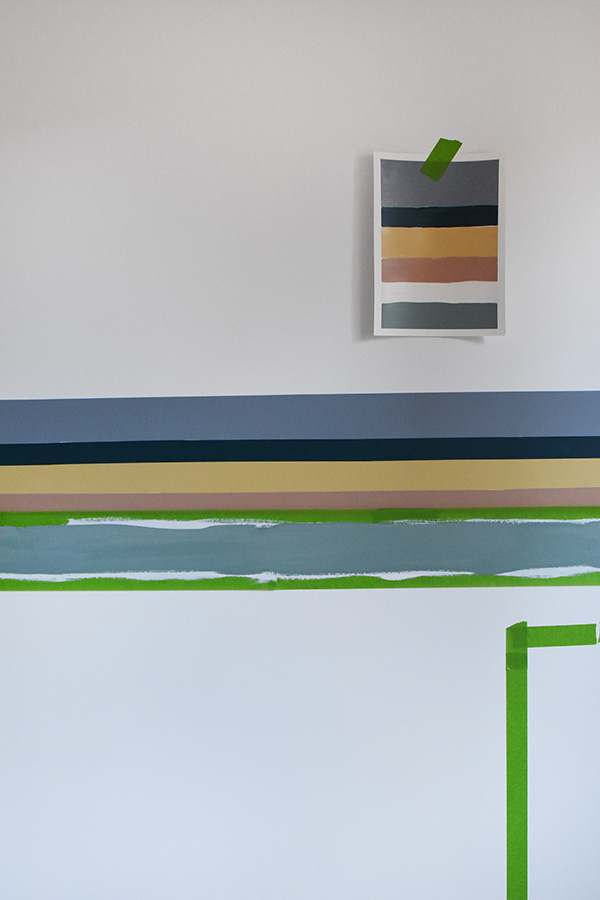
Adding “A” detail on Stripe Wall
Once the stripes have fully dried for at least 24 hours, it is safe to add your extra detail overtop. You need to be careful putting painter’s tape over freshly painted walls so waiting a full day helps.
My daughter’s name starts with an “A” so I thought it would be a fun Tween thing to add an “A” to her accent wall. I think this technique could be applied to any letter.
- Start by applying painter’s tape on the OUTSIDE of the letter.
- Next add painter’s tape on the interior lines.
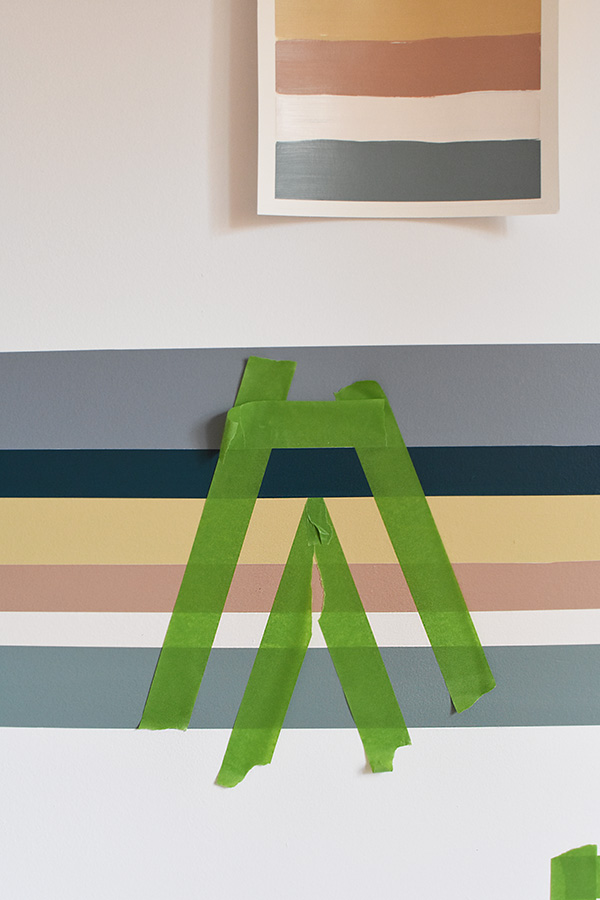
- Assume that part of the accent stripe will be incorporated into the initial. In my case, the soft rust stripe became the cross in the “A”.
- Apply two coats of paint and before the paint has fully dried, remove the tape.
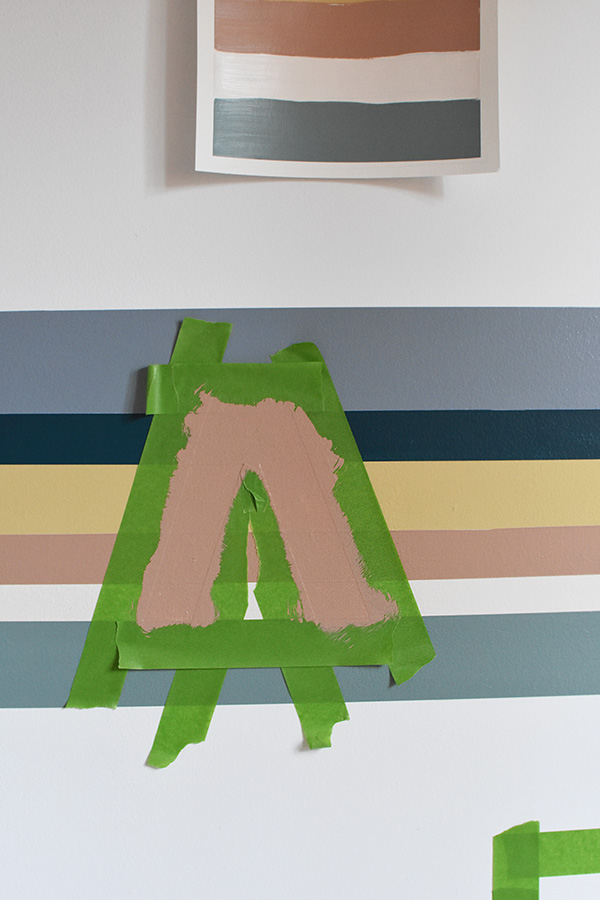
You are left with an adorable and unique accent wall!

How to properly clean a Wooster paint brush
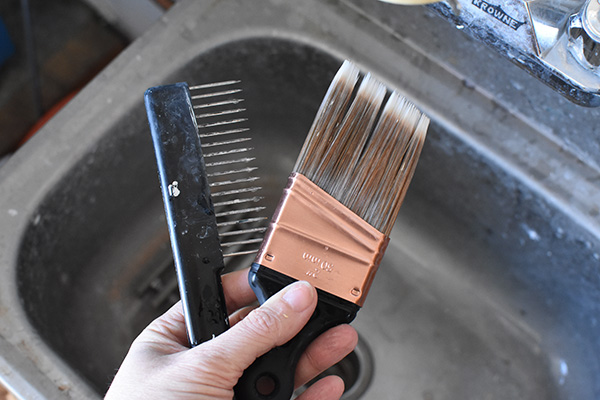
Once you are done with the accent wall, it’s important to clean your paint brushes properly. I am a huge fan of the Wooster hand held brush because the handle bends and fits so perfectly in your hand.
In between paint coats, I wrap my brushes in aluminum foil for the day or a few hours. Once it’s time to fully clean my paint brushes, I run the brush under hot water in our garage utility sink.
After most of the paint has run out, I use this sharp comb tool to “brush” through and remove any dried or clumps of paint.
A few new items have arrived already. Be sure to read to the bottom of this post for all the resources thus far.
LITTLE GIRL BEDROOM TO-DO LIST :
- Paint the cream walls a crisp clean white. (JUST got started on this yesterday).
- Add Accent Wallpaper.
- Remove Wooden Shutters and hang curtains.
- Remove and Install new Closet Doors.
- Install new Ceiling Fan.
- DIY art/yarn focal point.
- Add new rug.
- Assemble new furniture.
Do you think I can get it all done in 3 more weeks???? Seeing as how I’ve hardly done anything, I sure hope so!
Be sure to check out the other amazing Room Refresh plans from the other participating bloggers! I can’t wait to see what they all will be working on.
Casa Watkins Living
Delineate Your Dwelling
Domicile 37
House by Hoff
Iris Nacole
JZ Holmes
Live Pretty on a Penny
Love Your Abode
My Eclectic Nest
Our Fifth House
This is Our Bliss
Uptodate Interiors
Check here for the full resource list:


The paint colors look awesome together! Can’t wait to see the mural and the rest of the room.
Can’t wait to see the vision become a reality! Love the paint colors you chose!