DIY Woven Plant Stand


INSIDE : Learn how to construct a simple wooden DIY Woven Plant Stand! Perfect to put your indoor houseplants out on display in any room. This Modern DIY Woven Cube Plant Stand is an easy project for any skill level.
This post may contain affiliate links. See full disclosure here.
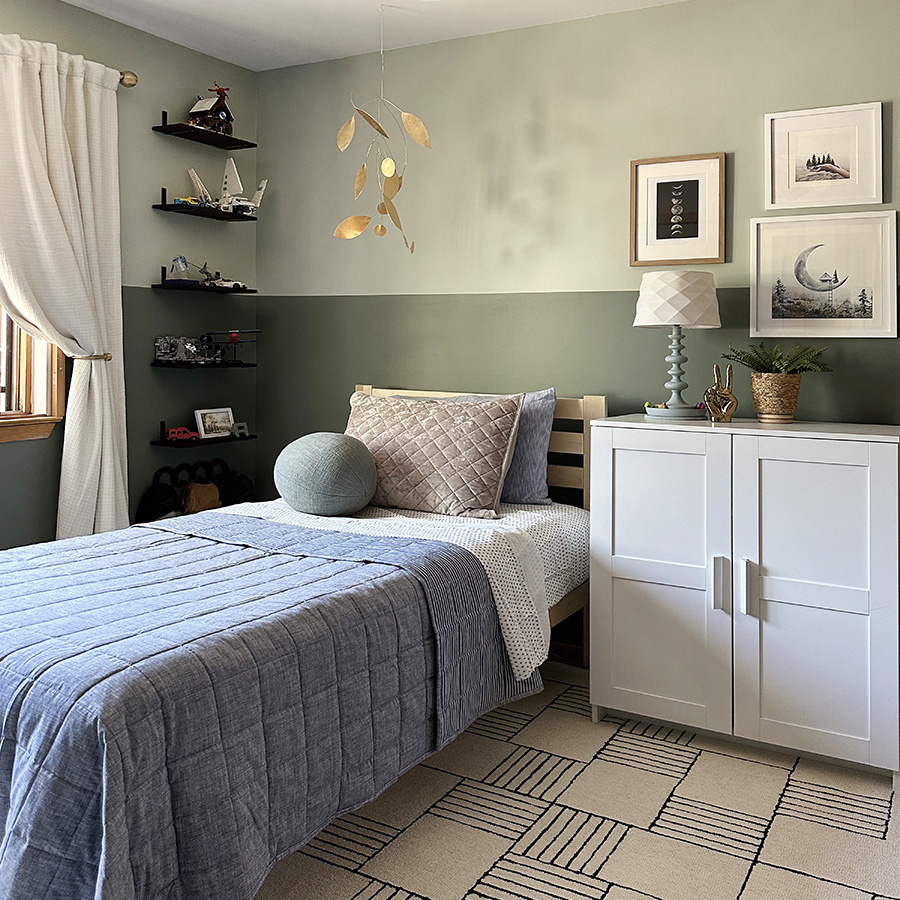
As you recall, I am updating my 11 year old daughter’s “tween” bedroom. We made a deal at her tenth birthday a bedroom update was in store and we are finally getting around to it!
Last week, I shared my daughter’s fun Accent Striped Wall with her initial (A) hidden into it. And today I am sharing how to build a super fun cube plant stand with some woven accents to it that will go along her stripe wall. Let’s get into how to make it.
I was inspired by The Lovely Drawer‘s smaller version of this idea. I knew I wanted mine to have some more height to it, so I took measurements of my pot and got out the power tools!
Want to check out all the projects?
- Week 1 Little Girl’s Updated Bedroom Plan
- Week 2 Tween Girl Modern Bedroom Accent Wall
- Week 3 DIY Woven Plant Stand
- Week 4 How to Modernize Bifold Doors
- Week 5 Selecting Tween Artwork
- Week 6 Modern Tween Colorful Bedroom reveal
- Simple Dresser update with Wallpaper
- Adding Duvet Ties
- Organizing a Tween Bookshelf
Read to the bottom of the post to see everyone’s progress this week in this challenge.

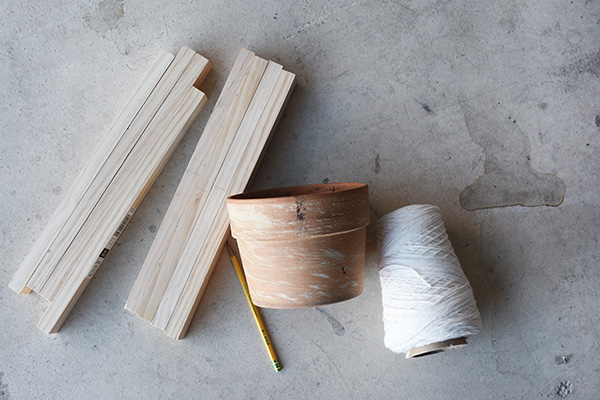
What supplies do I need to build a DIY Woven Plant Stand?
Note – These measurements are based on my particular pot size. Be sure to measure the plant pot you are planning to use, before making any cuts.
(8) 6.75″ Pine Select Wood
(4) 28″ Pine Select Wood
A few spare pieces of wood to mock up your layout
Wood Glue
Miter Saw
Clamps
Speed Square
Sanding block or sand paper
String (any quality string will work here)
Paint
Plant Pot

How do I measure the wood for my DIY Cube Plant stand?
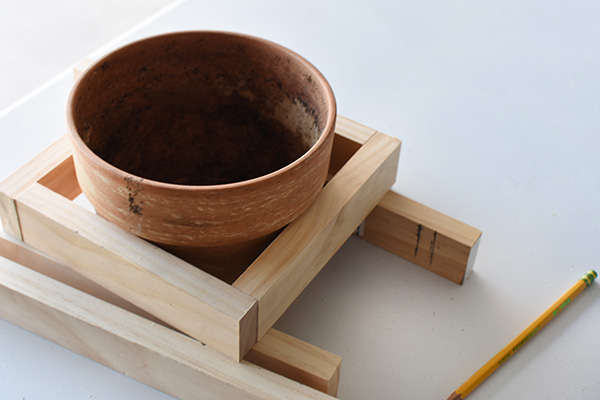
Start by measuring under the lip of your plant pot, this will give you a rough measurement to start. My pot was roughly 6.5″ from what I could tell. However, when I held my wood up it wasn’t quite long enough. I played around with some spare wood pieces, until I got things to line up correctly.
In the end, I needed each piece of wood to measure 6.75″.
Mark eight pieces at 6.75″ and using a miter saw cut them. If you don’t have access to a saw, you can have these pieces cut for you at Home Depot.
Propping the top of the frame on space pieces gave me the height to see if it would rest on the terra cotta pot lip properly.
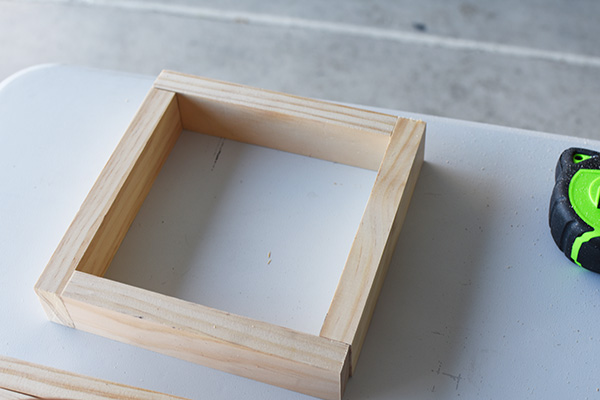
Step-by-Step Guide to Assemble Your DIY Woven Plant Stand Frame
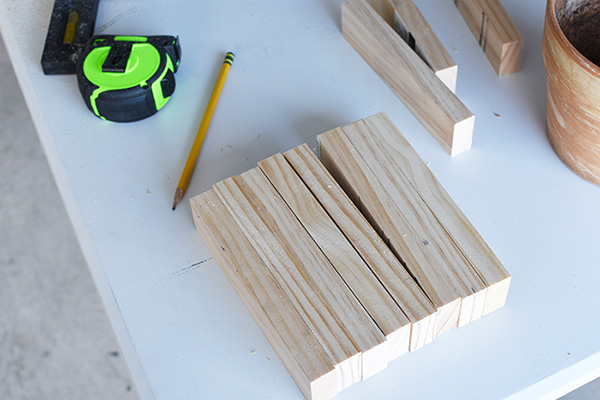
You can start to see below how I was planning to layout the top of my wooden planter in an interlocking pattern.
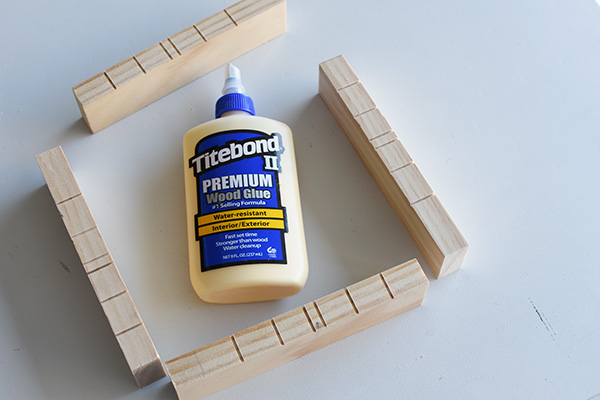
How to create notches for the woven portion of the DIY Cube Plant Stand
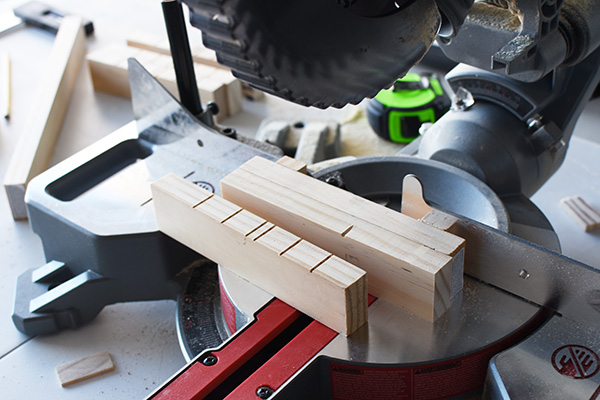
Once you have all four pieces cut, it’s time to add the notches to help keep your string in place when you start the woven pattern.
I wanted six strings across each side, so I measured (three) one inch marks from the left hand side. Then I made a mark to account for the width of the other frame piece and measured (three) one inch marks from the right hand side.
Next, I lined up all four pieces of wood and using a speed square, transferred those marks across all pieces.
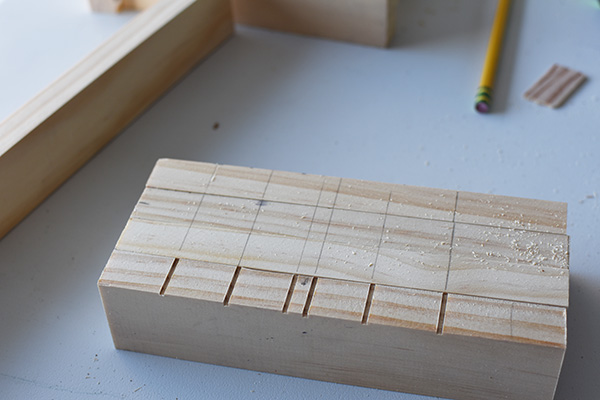
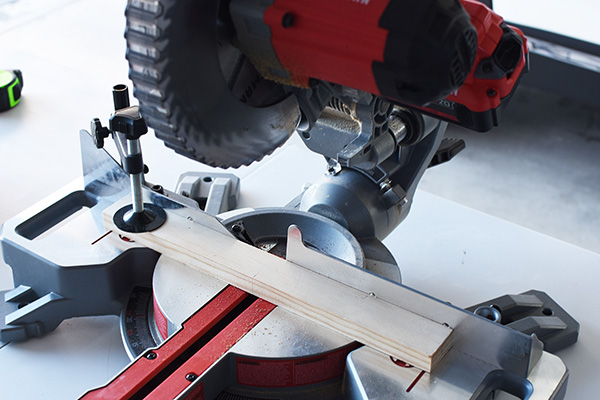
I setup a few pieces of wood against the back of my miter saw and very lightly then made cuts at each mark on my wood. I didn’t stress about each notch cut being absolutely perfect. When I noticed the saw had cut across the entire width of my wood, I stopped.
It gave me a very light notch which will help keep the string in place and not wondering around.
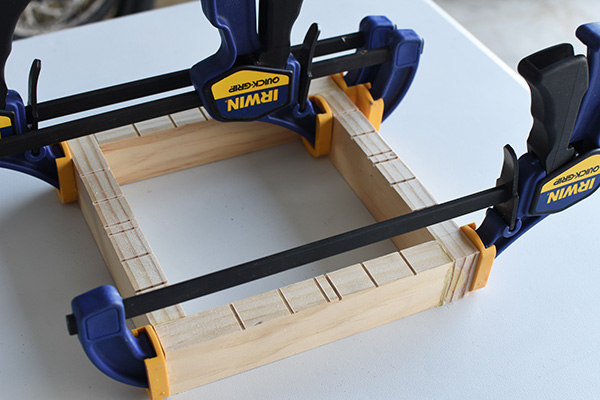
Wood Glue frame together
Once all your top and bottom frame pieces are cut out, it’s time to assemble them. Using wood glue, apply at each location the wood meets up.
Clamp your wood to keep the frame square and allow to dry. My wood glue instructions call for 30 minutes on dry time.
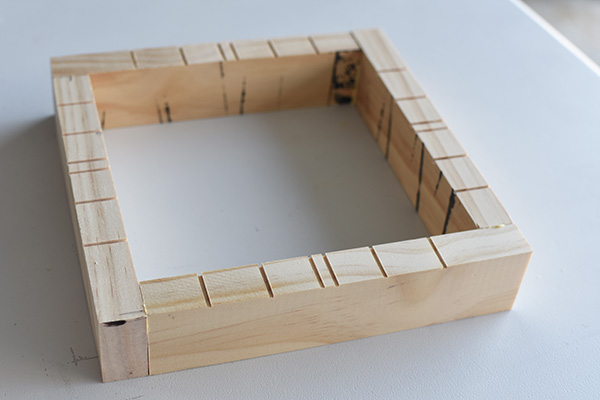
This is what my frame looked like once dry.
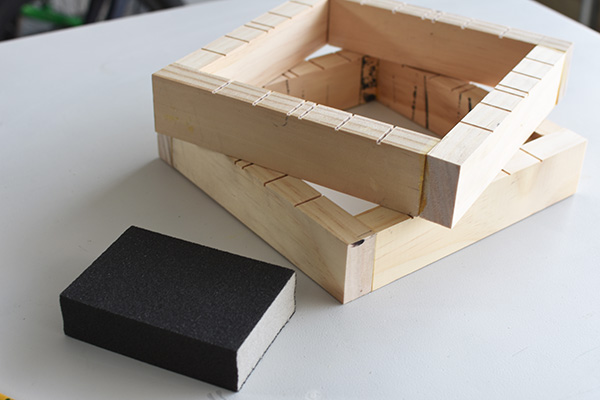
Sanding Plant Stand wood frames
I used a simple sanding block to sand down any imperfections and smooth away rough spots or excess glue.
Building Cube Plant Stand Height
I cut my open cube plant stand legs to 28″. You will need four legs in total.
Laying two of the legs on a flat surface, line up and add wood glue. Use clamps or other flat heavy objects to keep the legs flush against each of the wood top and bottom frames as they dry. (My clamps didn’t reach quite that long, so I used heavy boxes.)

I waited another 30 minutes for dry time, turned the wooden planter over and glued the other two legs onto the frame.
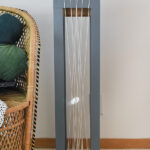
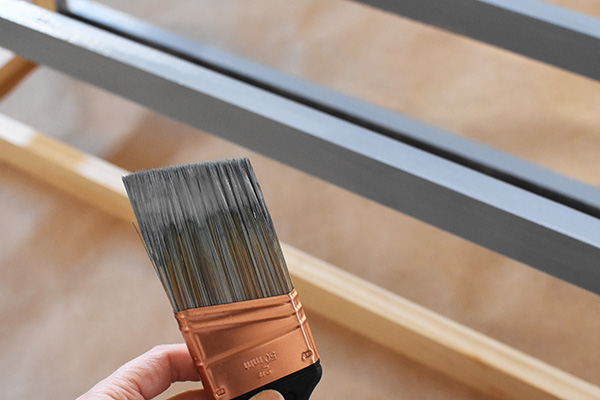
Dusty Blue Paint
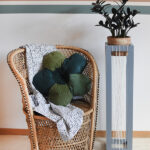
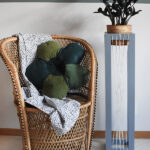
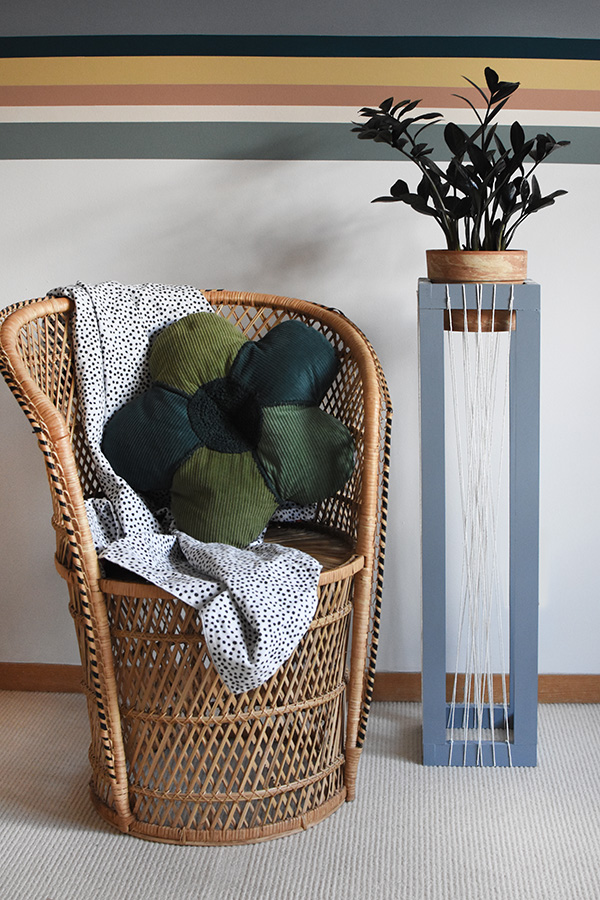
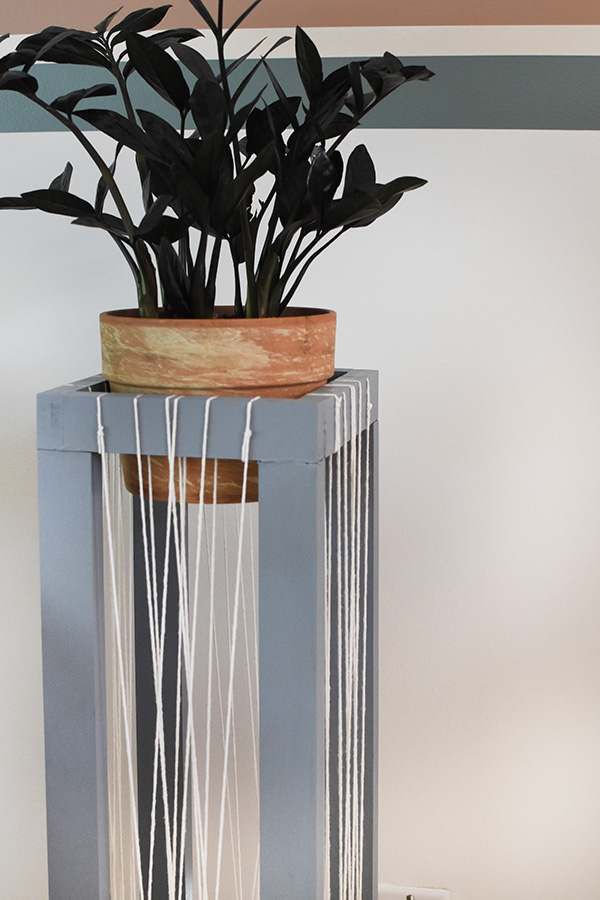
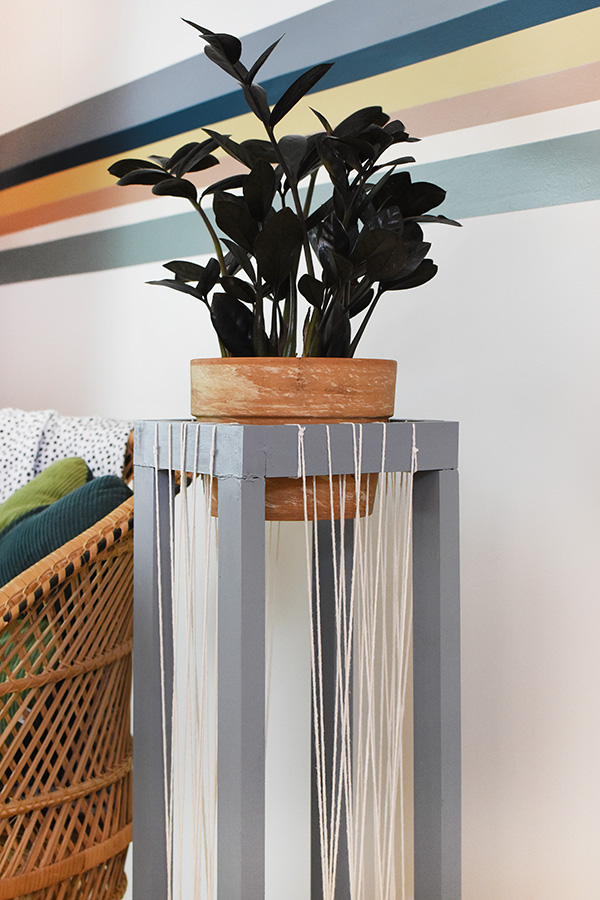
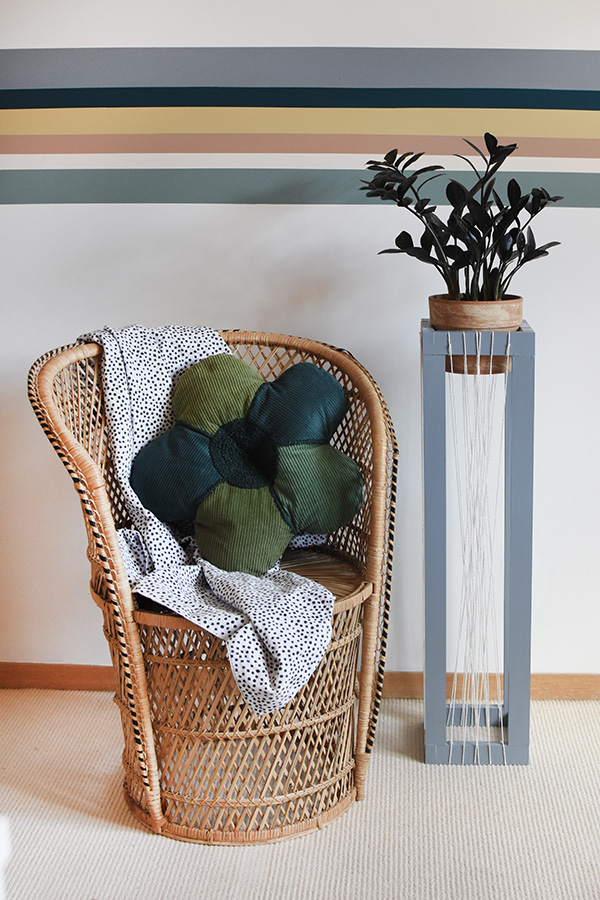
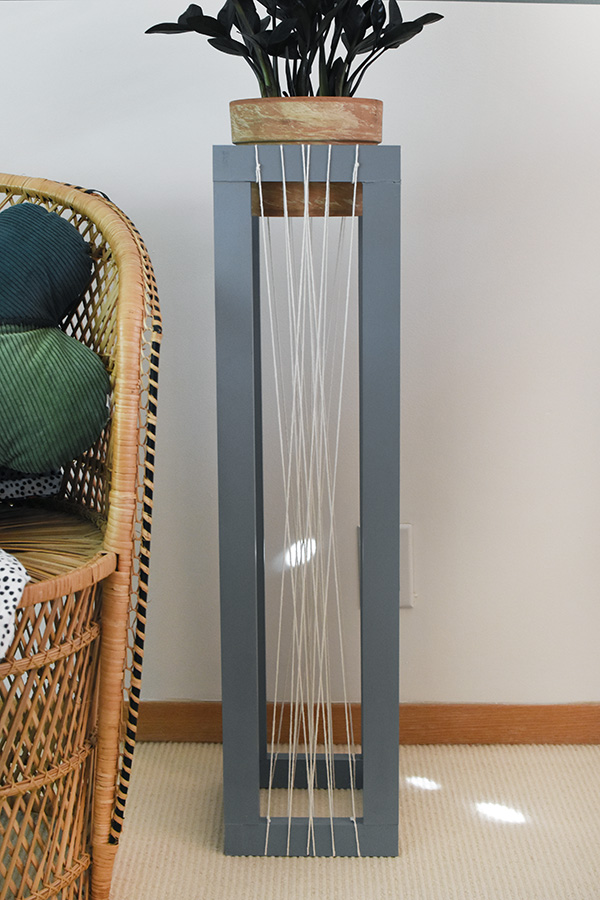
Once my modern houseplant stand was built, it was time to add the paint. I used the same paint color from the Accent Stripe Wall, Teton Blue. I placed my plant stand on some craft paper and gave everything two coats.
Adding Woven String to Plant Stand
Adding the woven strings to the plant stand was actually very simple to do. I started in the bottom right hand corner and tied a simple knot.
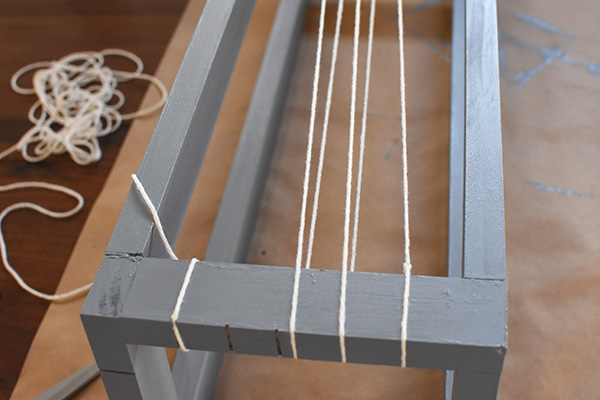
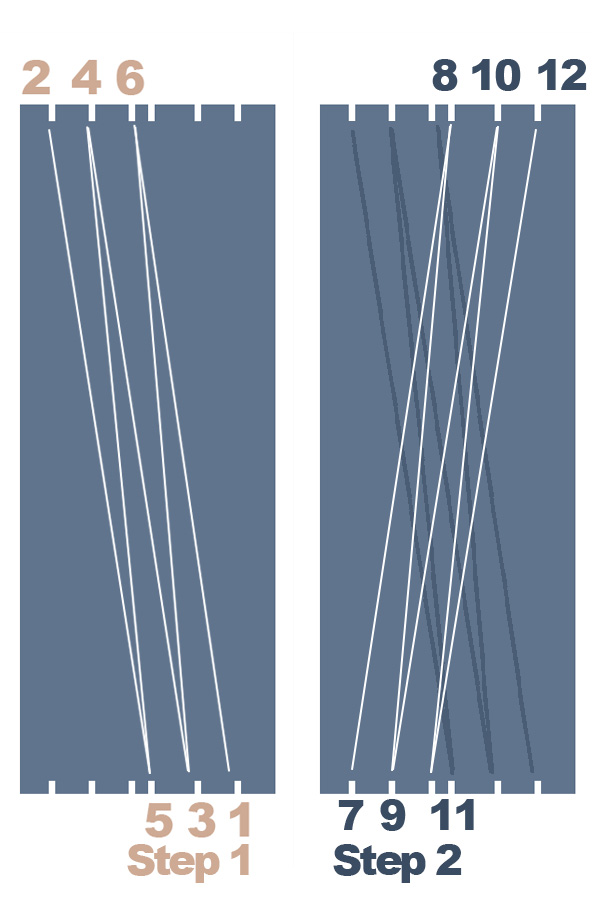
I created this graphic below to help guide the string woven pattern that I followed. Each side of my plant stand had 12 strings woven… technically it was only two pieces of string, but it was twelve wraps.
One Step 1, start in the lower right hand side and follow to step 6. Then tie another small knot and cut off any excess string. Then, start again on that same side with step 7 to 12, make another knot and cut off any excess.
Once you have one side completed, flip the plant stand and do another side.
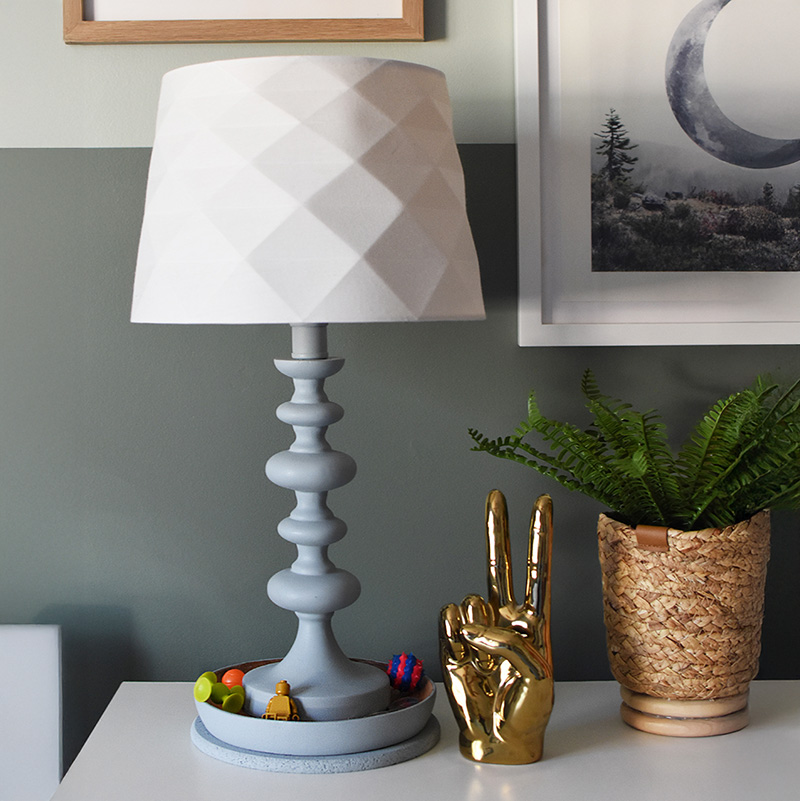
Looking for another creative bedroom DIY project? Check out my Make a Trinket Lamp!
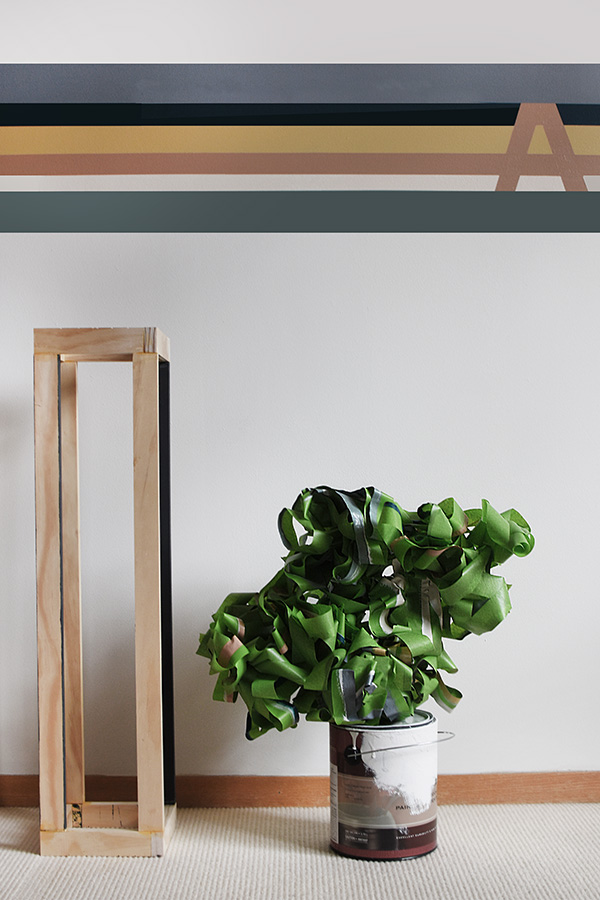
This awesome modern houseplant stand is so perfect against the colorful stripes, holding a Black Raven ZZ plant. It’s a perfect plant for low light and less than ideal maintenance… which is exactly what I am guessing is the kind of treatment my daughter will give it – ha.
TWEEN GIRL BEDROOM TO-DO LIST :
Paint the cream walls a crisp clean white.Add Accent Paint Wall.- Remove Wooden Shutters and hang curtains.
- Remove and Install new Closet Doors.
- Install new Ceiling Fan.
- DIY art/yarn focal point.
- Add new rug.
- Assemble new furniture.
Be sure to check out the other amazing Room Refresh plans from the other participating bloggers! I can’t wait to see what they all will be working on.
Casa Watkins Living
Delineate Your Dwelling
Domicile 37
House by Hoff
Iris Nacole
JZ Holmes
Live Pretty on a Penny
Love Your Abode
My Eclectic Nest
Our Fifth House
This is Our Bliss
Uptodate Interiors
Check here for the full resource list:
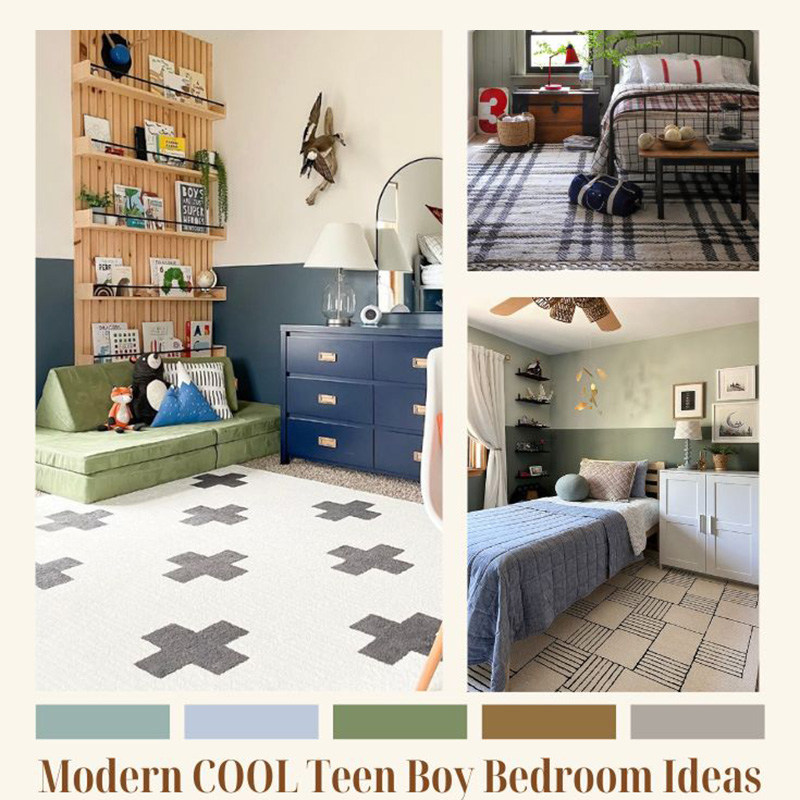
And if you are looking for even more kiddo themed bedroom ideas, check out these below…
Oh my gosh I LOVE this so creative and it turned out awesome!
Such a cute plant stand idea! And I loved the painter’s tape greenery. 🙂