IKEA hack, Geometric Tiled Coffee Table
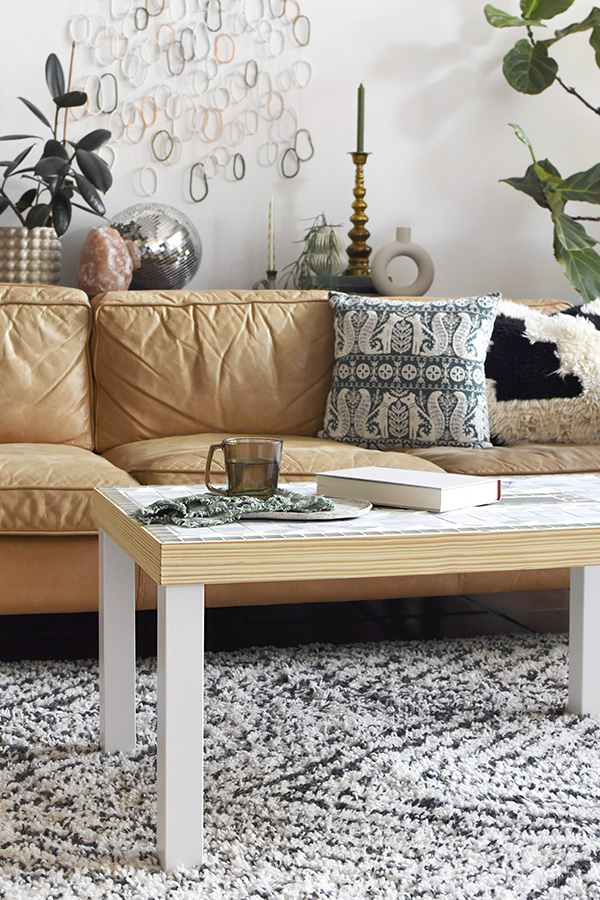
INSIDE : Learn how to make this fun IKEA Hack, Geometric Tiled Coffee Table for your home! This easy DIY is a cross between a mosaic tile table and a modern tile pattern. It will add interest, texture and color to any space.
This post may contain affiliate links. See full disclosure here.
I have been itching to do an IKEA hack project recently. I also have been wanting to try my hand at tiling, more specifically a more elevated “mosaic tiling” project.
So, I decided getting myself an IKEA coffee table and doing a little upcycling project was the perfect way to dip my toes into both a hack AND a tiling project! So let’s get started…
What do I need to make a Geometric Tiled Coffee Table?
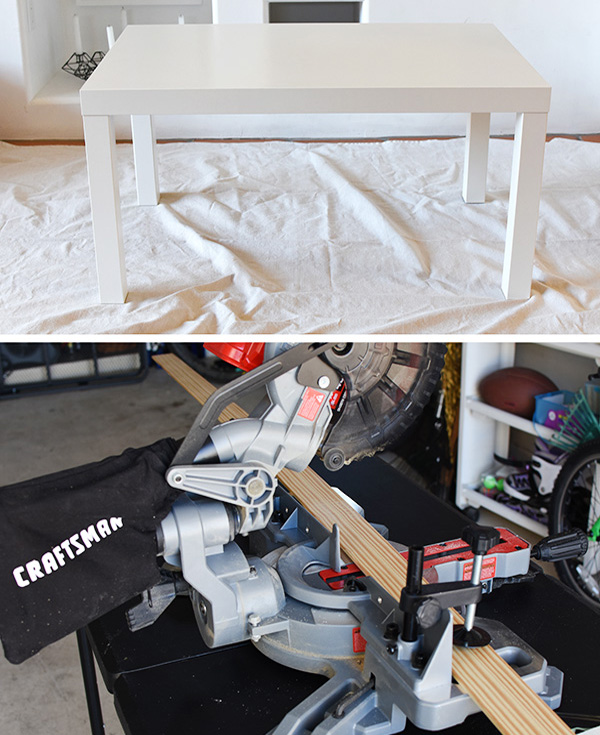
IKEA Lack Coffee Table
2 1/4″ Wood Trim (equaling 106″ in length, plus a little extra)
Miter Saw (or hand saw)
Wood Glue
Pin Nails + Hammer
Clamps
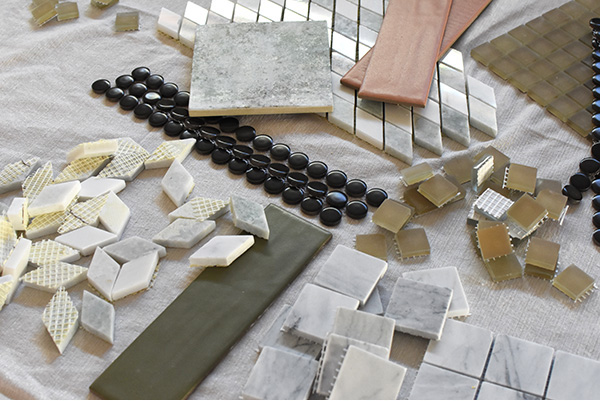
Various Tiles (I used these four : Square White Marble, Wheat Square Frosted Glass Tile, Similar Green Subway Tile, Diamond White + Green Marble)
Scissors
Liquid Fusion Glue
Ultracolor Plus FA Avalanche All-in-One Sanded Grout
Grout Spachula
Plastic Spreader
Bucket
Sponge
Gloves + Mask
How to add wooden trim to a Coffee Table
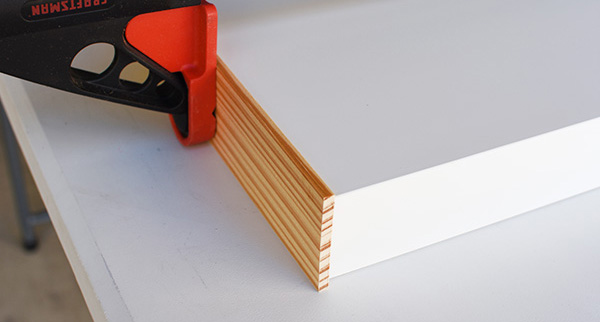
The first thing to start this project is creating a slight lip around the edge to help keep your tiles and grout level and contained.
I did this by adding wood trim to the edge of my coffee table. First, measure each side of your coffee table.
Then, using your miter saw cut the short sides to that exact measurement and cut the longer sides their length, PLUS the width of two of your trim pieces. Doing this, will ensure that you can cover your end cuts for a more seamless look.
If you know how to do angled cuts at the joints, you can do that too.
Once your trim is cut, add wood glue and clamp your pieces to the coffee table top. I found even with the wood glue, I needed just a little more stability. So I added a few small pin nails on each end of the trim.
How to pick the best mosaic tiles?
I had such a great experience going to my local Tile Shop. The sales associate who helped me was so helpful and I never once was made to feel less than because I was buying such a small quantity of tile. I would highly recommend checking them out for specialty tiles!
And since I was buying a smaller quantity of tile, I was able to really a bunch of really neat accent tiles that I would have never been able to use usually if doing an entire kitchen backsplash project. It felt like the perfect situation.
I decided to go with greens, tans and marble. I bought a beautiful soft terra cotta and black penny tiles, but I didn’t end up using them in my mosaic design. When I was at the Tile Shop, the best way I found to select the right colors was simply making a small pile. I would grab a few tile and bring them over to see if they complemented each our well. Eventually I was able to narrow it down to this selection of beauties.
Using Sheets of Tile as Individual Tile pieces
Once I got the tile home, I needed to cut up the backings of my sheets of tile. In normal backsplash type applications, the backing keeps all the tiles perfectly spaced. However, since I was creating my own pattern I needed them all to be individual tile pieces.
Thankfully cutting the backing was very simple and could be done with everyday scissors.
- Square White Marble
- Wheat Square Frosted Glass Tile
- Similar Green Subway Tile
- Diamond White + Green Marble
How to create a Geometric Mosaic Tile pattern
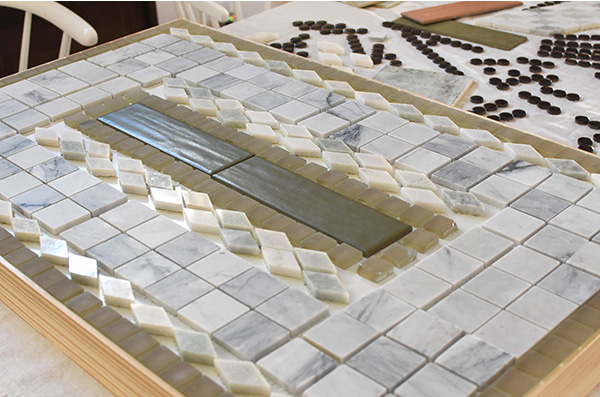
Creating a geometric mosaic tile pattern took a bit of time with many fails along the way.
I spent an entire evenings playing around with patterns. I really wanted to incorporate the black penny tile, but it kept not looking quite right. Eventually I had to let it go and reminded myself of the design saying, “Less is more.”
At this point in the process, the tiles were still just sitting on top the coffee table. My next step was to glue them down.
Glue down your tile
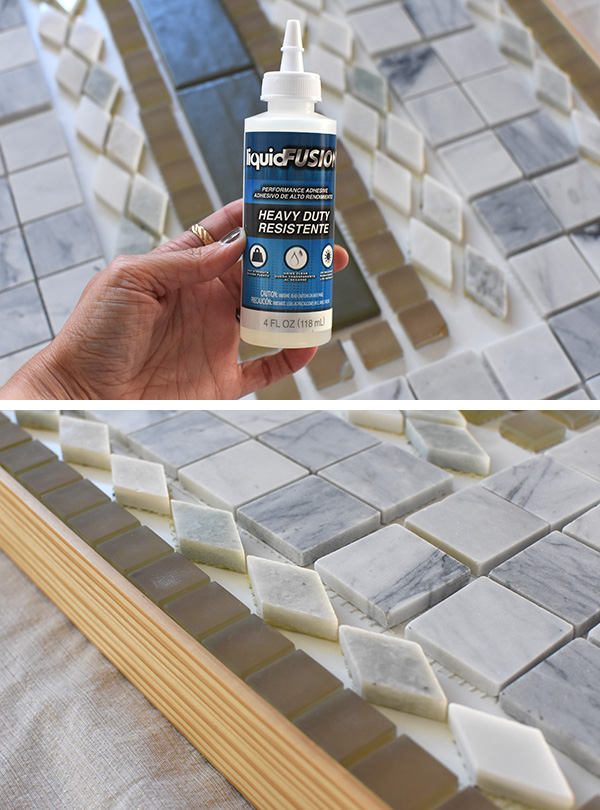
I really like Liquid Fusion because it dries clear but still is heavy duty. It was this step in the process that I made sure every single tile was evenly spaced, perfectly square and was symmetrical on all sides of the coffee table.
If you can make sure to get this step done well, you will be SHOCKED at how professional your table will turn out looking. Go slow, take your time and do this step well.
I didn’t add a huge amount of glue, maybe a pea size or so… just enough to secure the tile down nicely. I did notice since I used both square and diamond shaped marble tiles, the glue did absorb through and made a circle on the top. Thankfully, as the glue dried the ring on the front side of the tile disappeared.
Mixing Grout
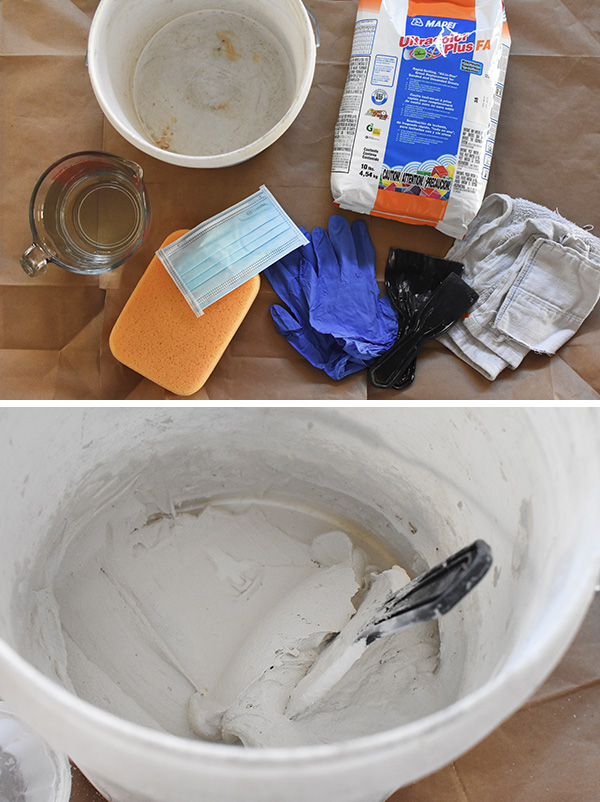
Since this is not a typical tiling project with equal spacing like a backsplash or a floor, it was very important to pick the correct type of grout. I knew I needed to find a grout that would allow for wider spacing. After walking up and down the tile and grout isles of my local hardware store, I found this Ultracolor Plus FA All-in-One Sanded Grout.
I did some research and learned that sanded grout should be used for tile joints wider than 1/8 inch because it resists shrinkage and cracking. And this particular grout is good for joint widths from 1/16″ to 3/4″ so I knew it was ideal for my project. I choose the Avalanche color which was a VERY slightly gray white and it ended up being perfect.
Follow the directions on your grout bag for mixing quantities. Be sure to lay down paper or a cloth to work on as the grout dust is so fine. I wore gloves and a mask for the mixing portion of this process. You are going for a smooth peanut butter, brownie batter consistency.
The instructions said to use an electric mixer, but since I was doing a smaller batch, I just used my tiling plastic spatula and it was fine. FYI, I did need to mix up another batch halfway through my grouting so be sure to mix a bit more than you think you’ll need.
Applying Grout to uneven tile heights
Again, in a typical tiling project, your tiles would all be spaced equally and they would most likely be the same exact height. However, in this more loose tiling project I had selected one tile (the diamonds) that were just a bit higher than the rest, equaling to uneven tile heights. So, I was not able to apply the grout in the traditional way using a rubber grout float tool.
Make sure you have gloves on and scoop out the grout from your bucket onto the coffee table. It gets a bit wild, but don’t worry about what it looks like now… it gets much better.
Make sure you push the grout into all your small and wide crevices. If you need to give the coffee table a few slight shakes or wiggles to ensure the grout has settled, feel free to do so. Using my hands, I just kept applying the grout and smoothing it out the best I could.
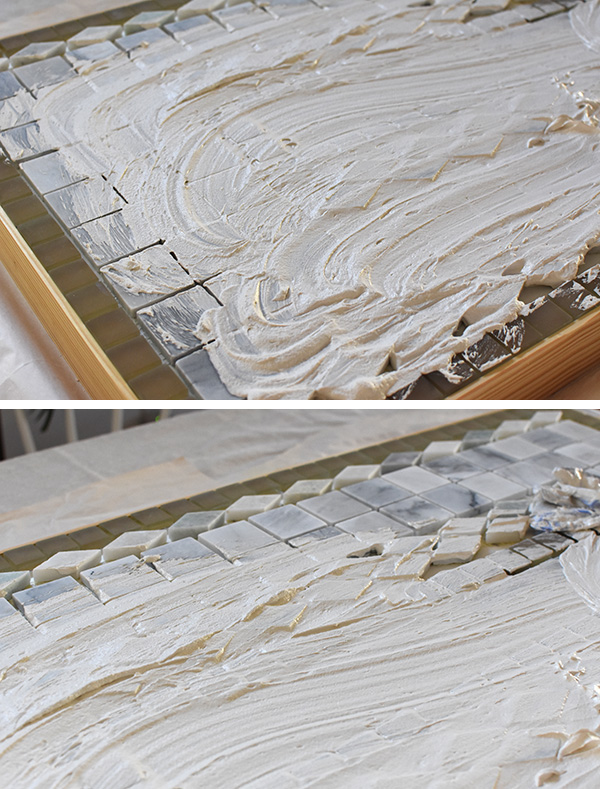
Once the grout felt securely in all the tile joints, I used a plastic spreader and very lightly removed all the extra grout. This was not when I cleaned off the tiles, but simply a quick removal of the obviously extra grout sitting on top of the tiles. Then I put on a timer for about 30 minutes to let it all start setting.
Cleaning the Grout
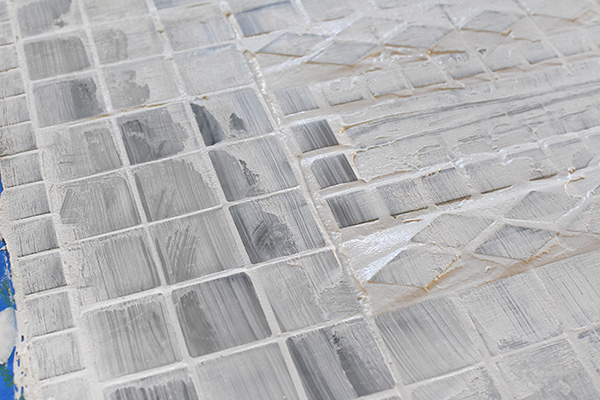
After 30 minutes, I lightly tapped on the grout to see if it was still wet or if it had started to set. When it felt like it had begun setting, I moved forward with the cleaning grout process.
I had a sponge and a bucket of fresh water and my plastic spreader. Once again go over all the tile and make sure any grout that has oozed out is removed. I had to go over my slightly taller diamond tiles a few times.
I can not stress this enough, ring out your sponge so there is hardly any water in it. You are not pushing hard and digging grout out, simply lightly wiping over the tile to remove the grout on the tile tops.
Once your grout is off the tile tops, wait about an hour and do this process again. You will start to see a grout film called, “grout haze” appear and this means you are doing things right. Keep wiping down the tile with a VERY slightly damp sponge and clean water, then allow everything to do some more drying.
You are very near to completion at this point, don’t give up! (I almost did about 99x, but then suddenly everything was drying and cleaning off properly. I couldn’t believe I had done my first grouting project!!)
DIY Mosaic Coffee Table
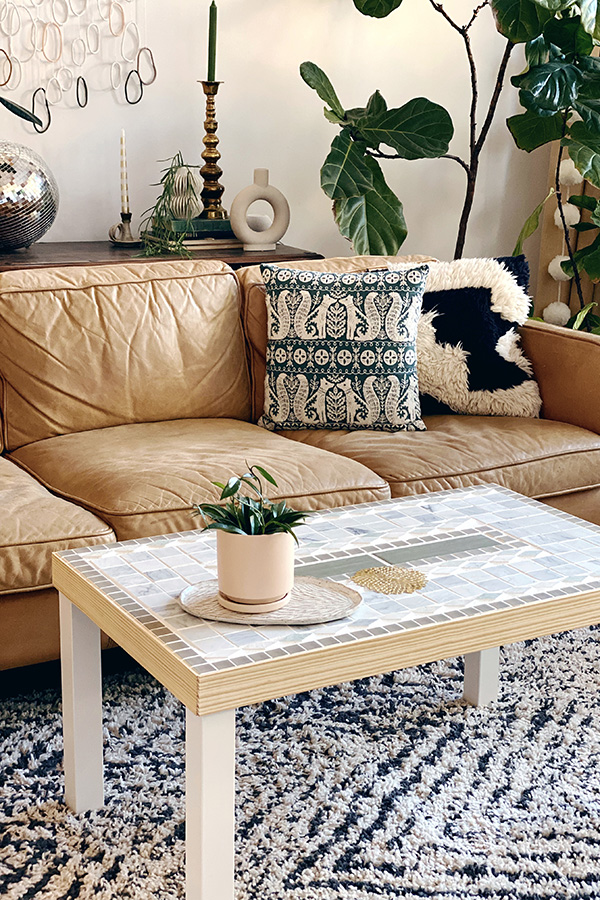
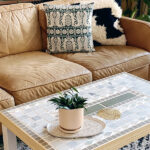
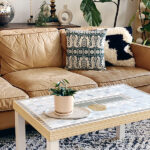
The completed geometric patterned coffee table is done and ready to be put on display! I added my legs back on and brought it into our living room.
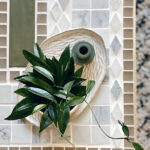
I was so so thrilled with the end result and am totally inspired to try another tile project. These tiles are so beautiful and I love the contrast of their colors against the grout.
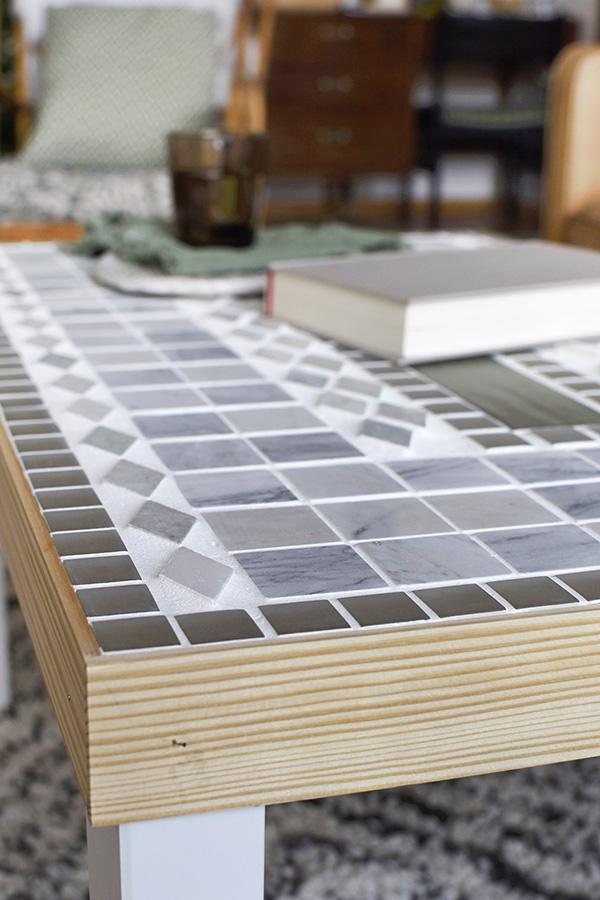
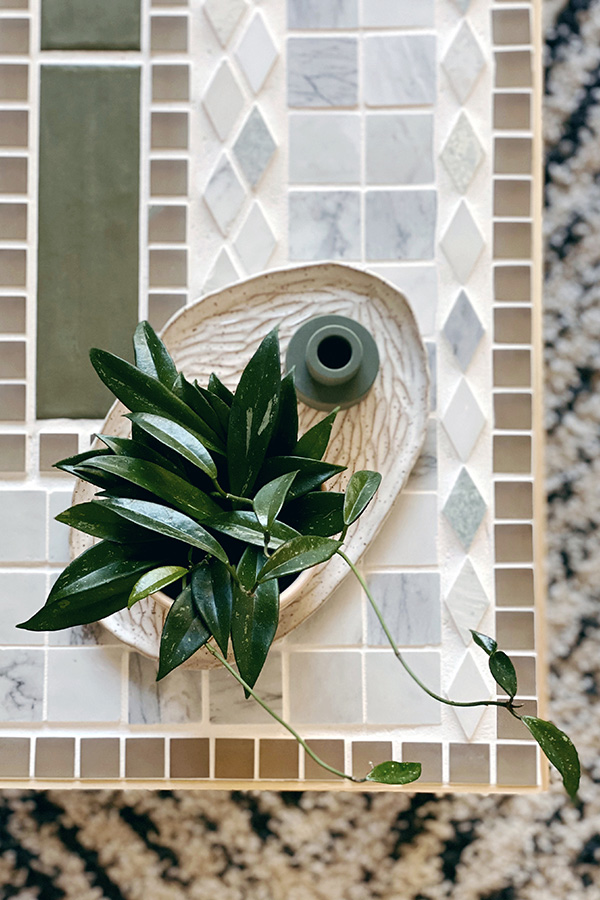
Even though the diamond tiles are taller than the rest of the table, by selecting the simple square marbled tiles I created enough flat surface that there is still plenty of space to put drinks, plates and decor.
I simply could not believe that I was about to take a simple IKEA coffee table and turn it into such a work of art!
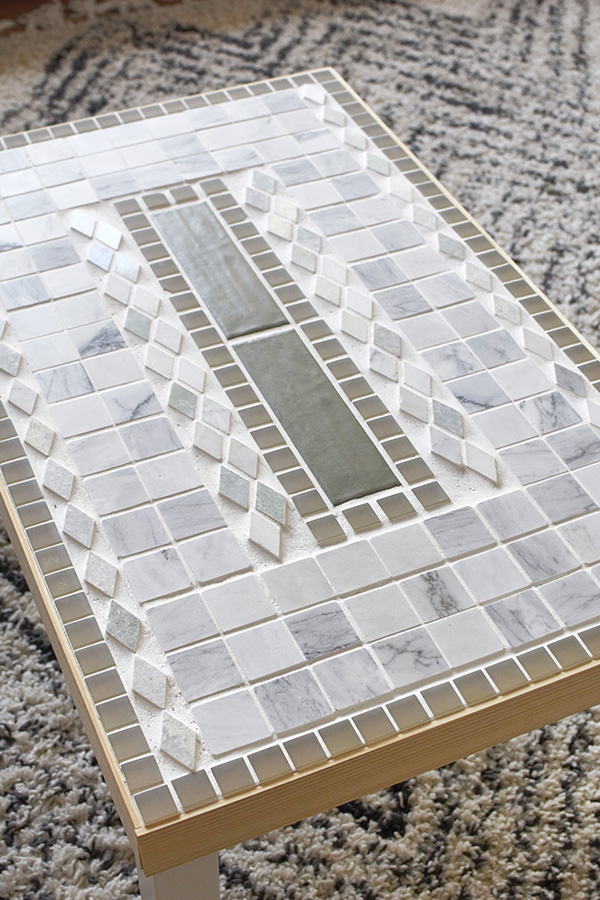
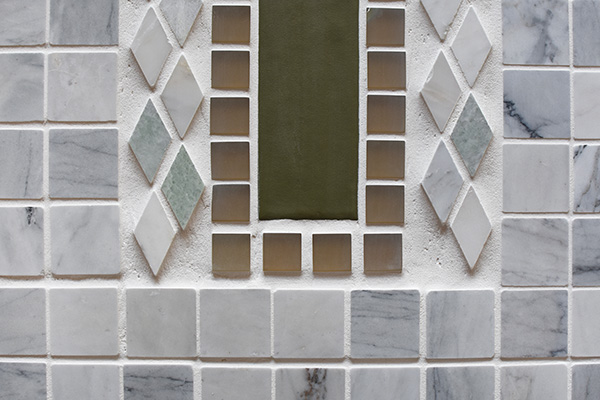
I think the white and green tiles along with the natural wood tone of the trim fit into my living room so so well! I could not be more pleased with this IKEA hack turned beautiful table!
Want to shop the supplies?
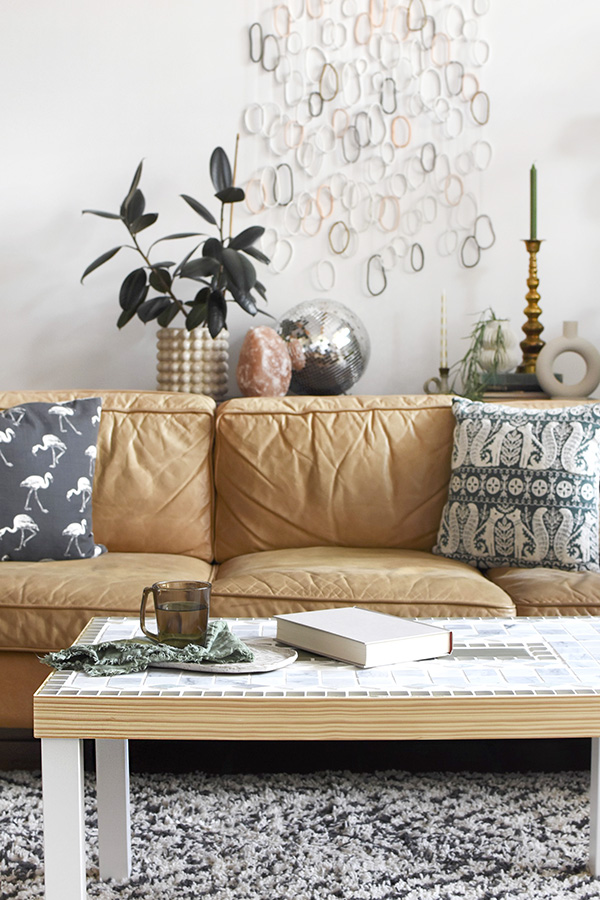
Other projects pictured here are:
Clay Ring Art
Rubber Plant Care Tips
Disco Balls in your Home Decor
Best Thrifting in Albuquerque, NM.



Wow! It turned out great! I love how you chose to position the tiles.
Oh THANK YOU!!!!