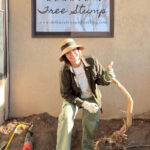
How to Remove a Multi-Trunk Tree Stump: A Step-by-Step DIY Guide
INSIDE : Tackling a multi-trunk tree removal? Check out these DIY tips and tools to clear your yard efficiently without calling the pros. Hint, I was able to do this DIY multi trunk tree removal all by myself!
This post may contain affiliate links. See full disclosure here.
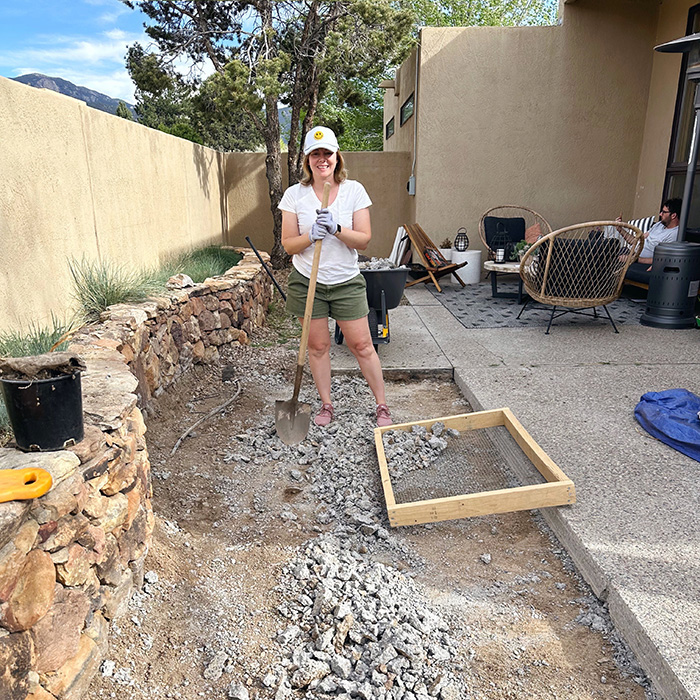
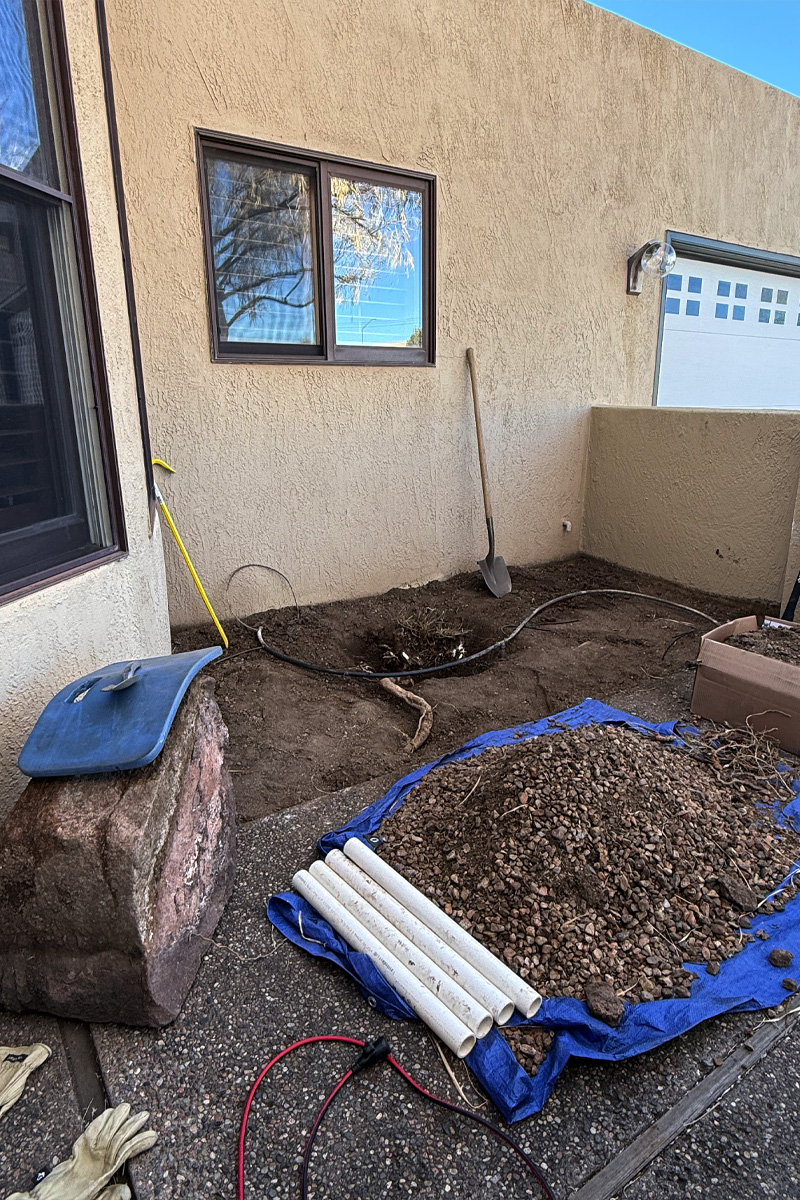
A few weeks ago I looked in our front courtyard and realized we had a decently sized unused space that could be transformed into something lovely. That’s about all it took for this plant loving girl living in the desert to move into planning and action mode!
The plan
I’ve decided to transform the space into a sitting area and bring in a small raised garden bed. First, though I had to tackle cleaning and prepping the area. And that has proven to be no small task.

Want to see how it all went down on Instagram? Check out this victorious video!!
- Small Patio plan
- Remove a Multi-trunk Tree
- How to cut down white vinyl plastic raised beds
- Setting up a Raised Garden Bed
- Building a Modern Slat Bench
- Installing small paver patio
- Final Front Courtyard Reveal
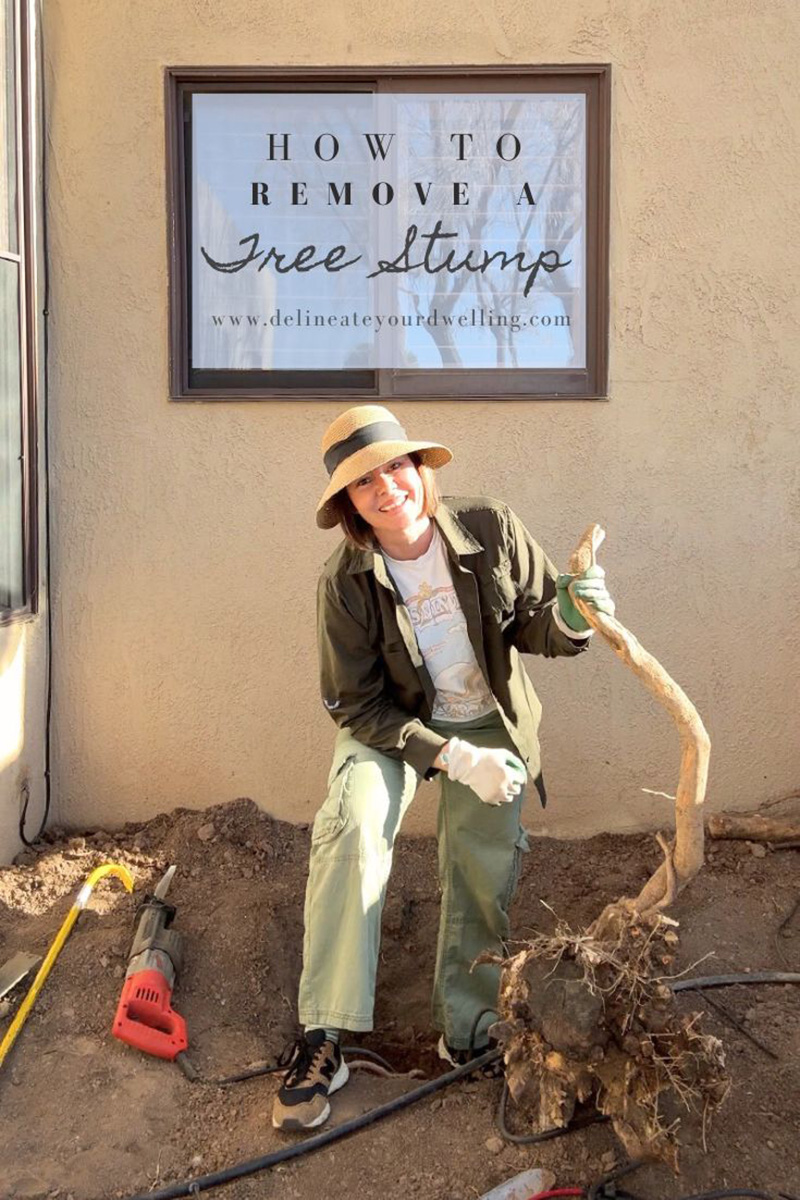
How to Remove a Multi-Trunk Tree in a Tight Space (No Chainsaw Needed!)
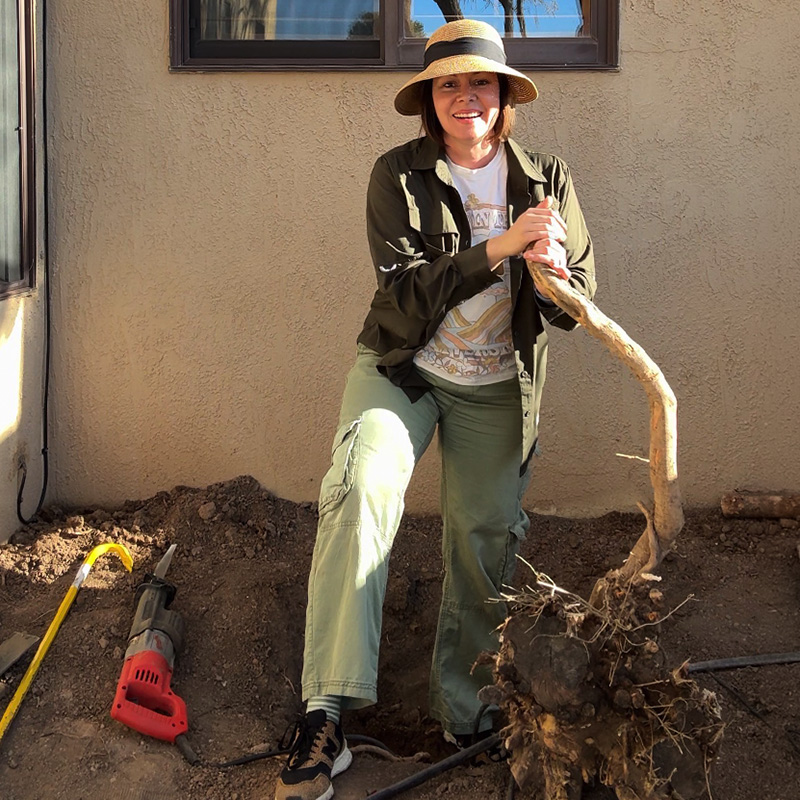
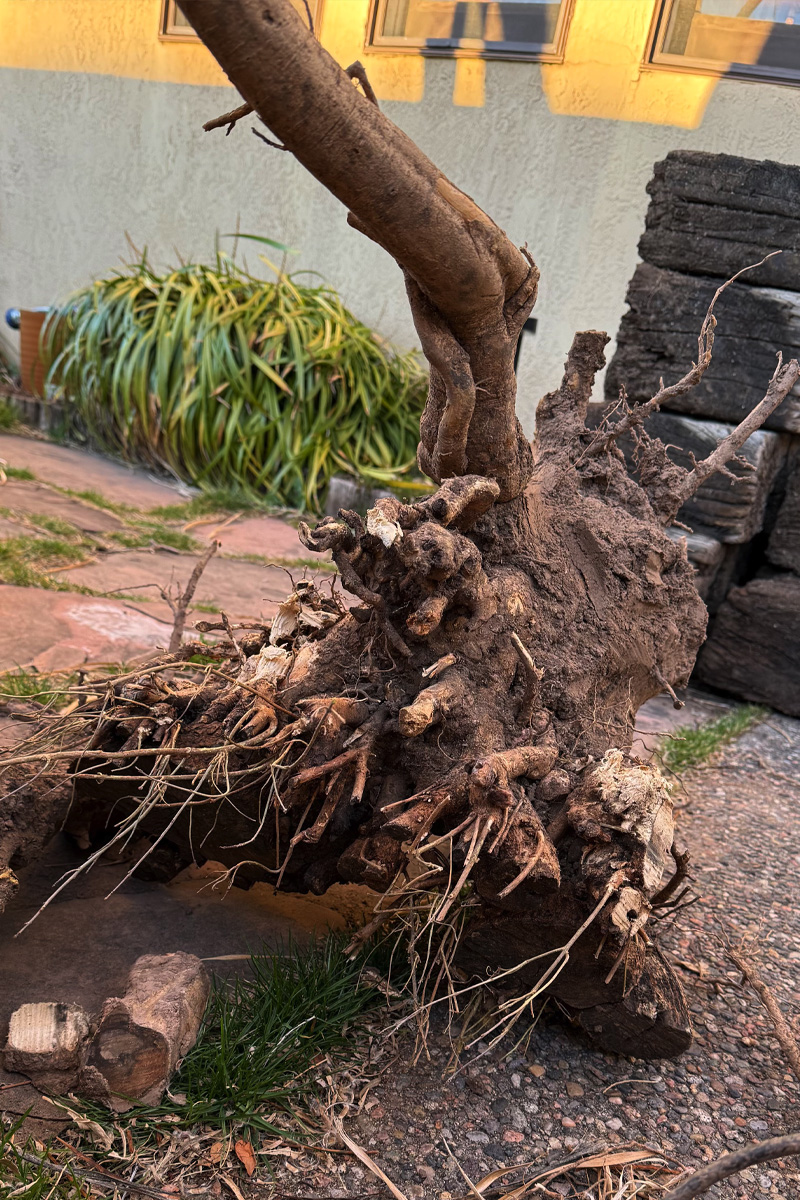
Removing a tree in a wide-open field is one thing, but when you’re working in a tight spot near your house foundation, a wall or even a fence, heavy machinery and chainsaws aren’t always an option. However, if you are facing a multi-trunk tree with a complex root system (as was the case in my yard – see white circles below), you can still get it out with a little sweat equity and the right manual tools!
In this post, I’ll walk you through how I successfully removed a 24-inch deep rootball using a “dig and cut” method that is safe for small yards and tight quarters.
And if I can do this for a tree that was 15′ tall, ANY ONE CAN DO IT.
Multi-Trunk Tree Removal tools needed
- Garden Trowel & Yard Shovel : For clearing the topsoil and deep digging.
- Sawzall (Reciprocating Saw) with a Wood Pruning Blade : The “secret weapon” for cutting roots underground.
- Pickaxe : To break up compacted soil and hook into stubborn roots.
- Sledge Hammer 16 lbs : When you need more force to wiggle that root.
- Crowbar : For the final leverage to pop the rootball out.
- Knee pad : This is a lot of work squatting down, it was helpful to have something to rest my knees on.
- A good audio book : This was a slow going project, having a good book was helpful to pass the time!
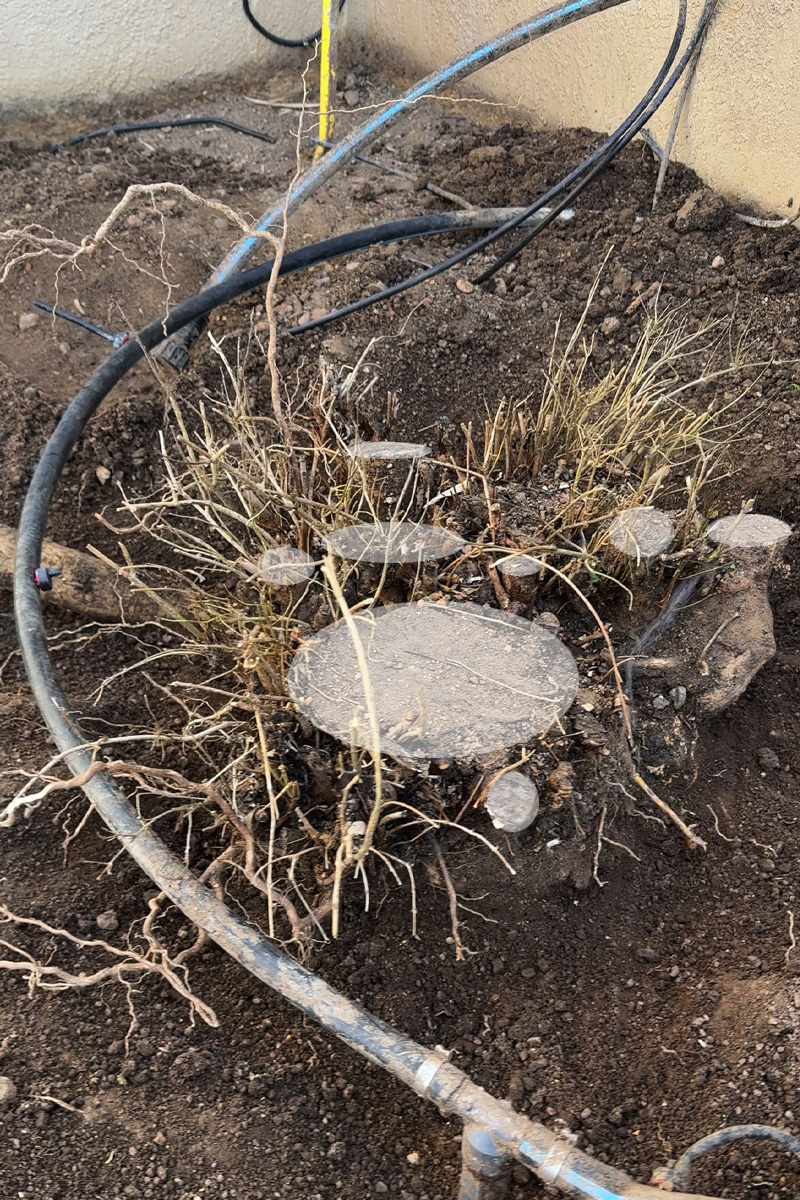
Step 1: The Excavation (Digging the Perimeter)
The biggest mistake in DIY tree trunk removal is digging too close to the trunk. And especially when you are trying to remove a multi-trunk system, you will need to dig a further bit out to cut all those smaller root systems.
Begin by first clearing away any easy dirt and leaf debris in your way.
I started by using my yard shovel to dig a wide circle around the entire rootball. This doesn’t mean a giant hole, but mine probably ended up being about 3′ in diameter when all was said and done.
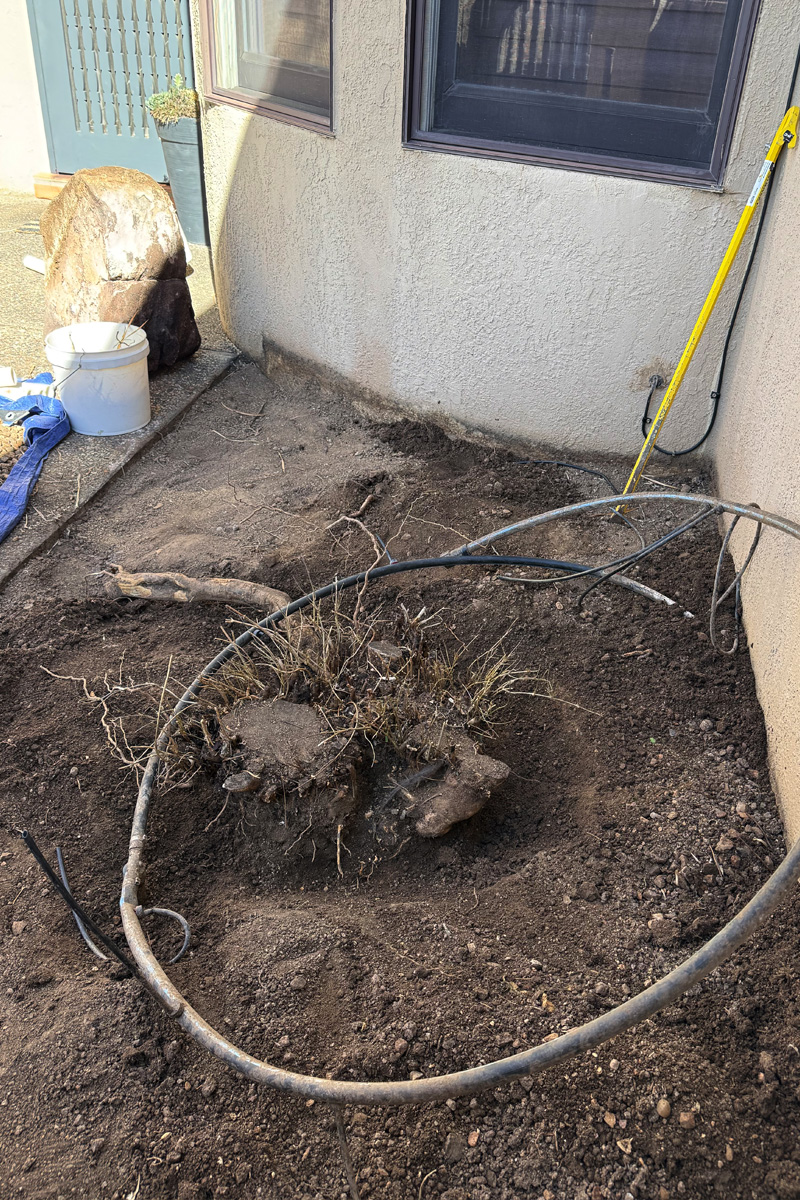
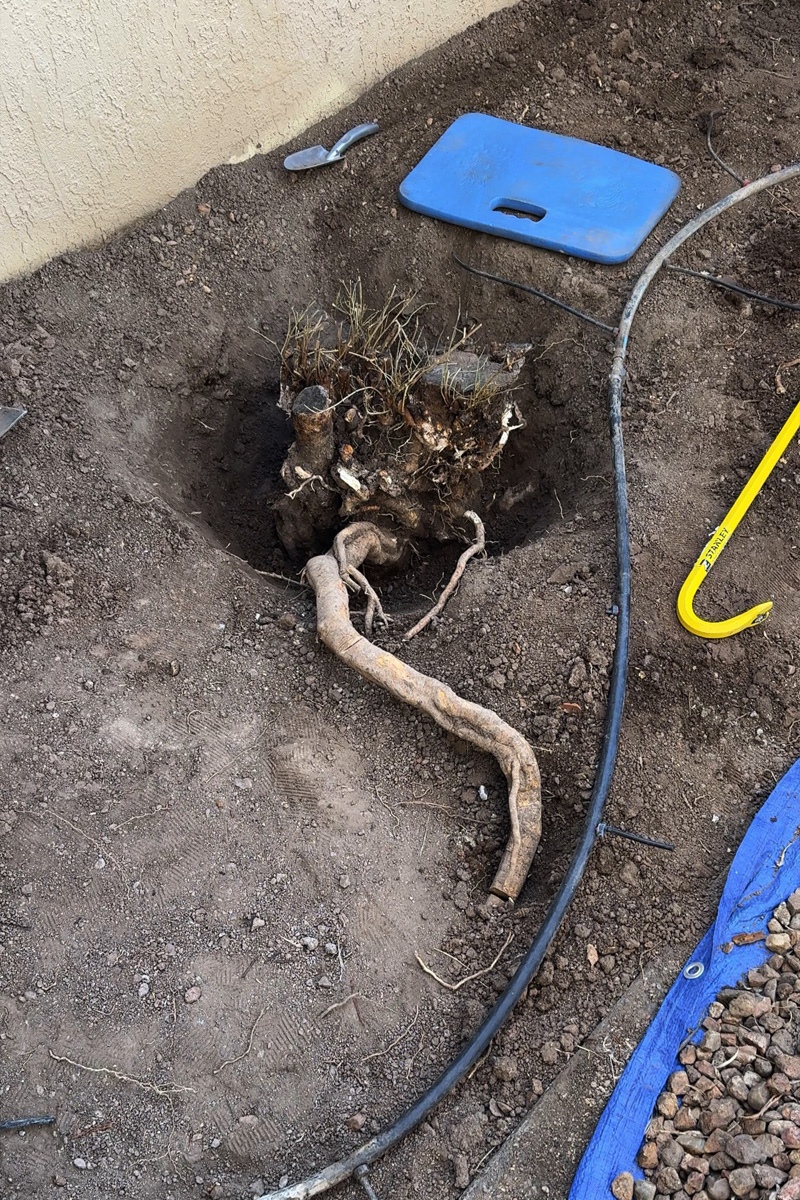
For a tree of this size (10-15′ tall), you’ll want to go deep. I ended up digging about 18–24 inches deep to fully expose the underside of the root system.
This was a slow process. I spent a few hours each day digging and hit root after root. That’s when the next step came in handy to keep making progress.

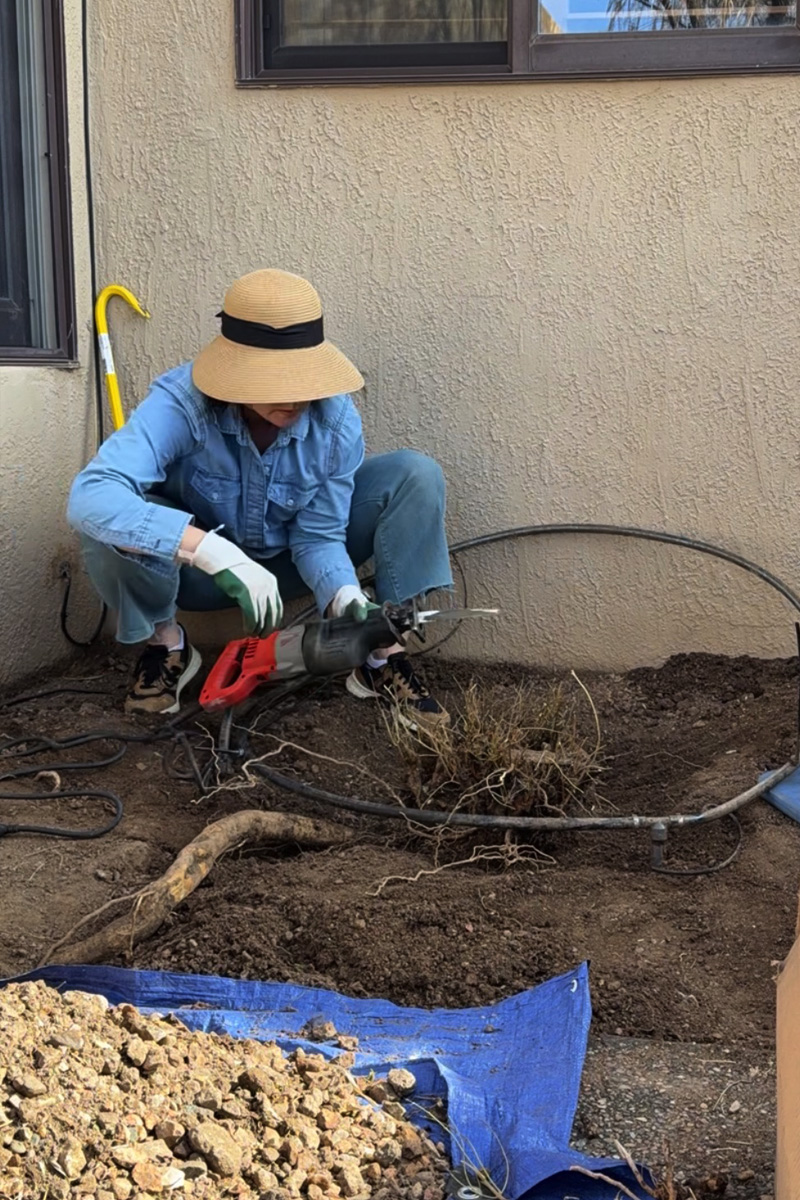
Step 2: Cutting the Anchor Roots with a Sawzall
When you’re in a tight spot, a chainsaw is dangerous because of the “kickback” risk against a fence—and dirt will ruin a chainsaw chain instantly.
Instead, use a smaller tool like a Sawzall with a wood-cutting blade. The wood cutting blade has jagged teeth to help cut the wood.
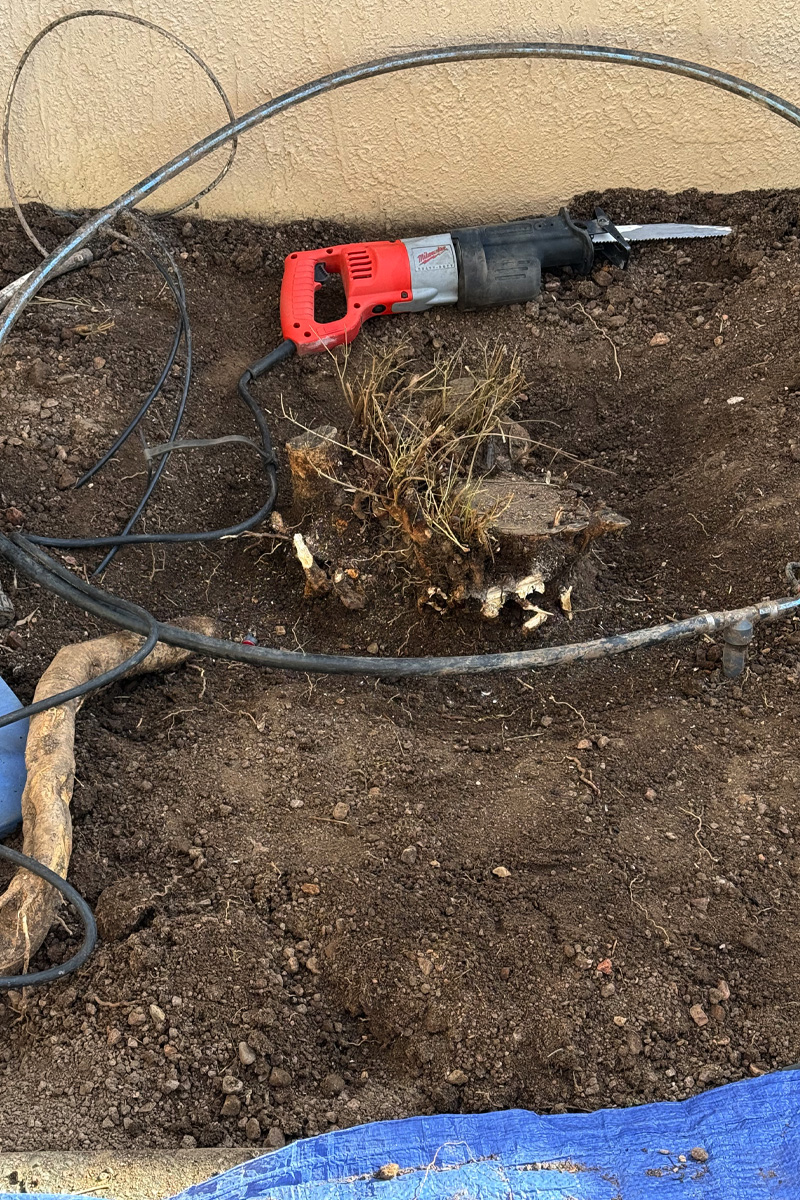
As I cleared the dirt away with my garden shovel, I used then used a reciprocating saw (sawzall) to cut through every large root I came across. This “surgical” type approach allows you to sever the tree’s major anchors without needing a massive workspace.
Each large root I was able to cut through, felt like a mini victory in this sometimes (very) tedious project.
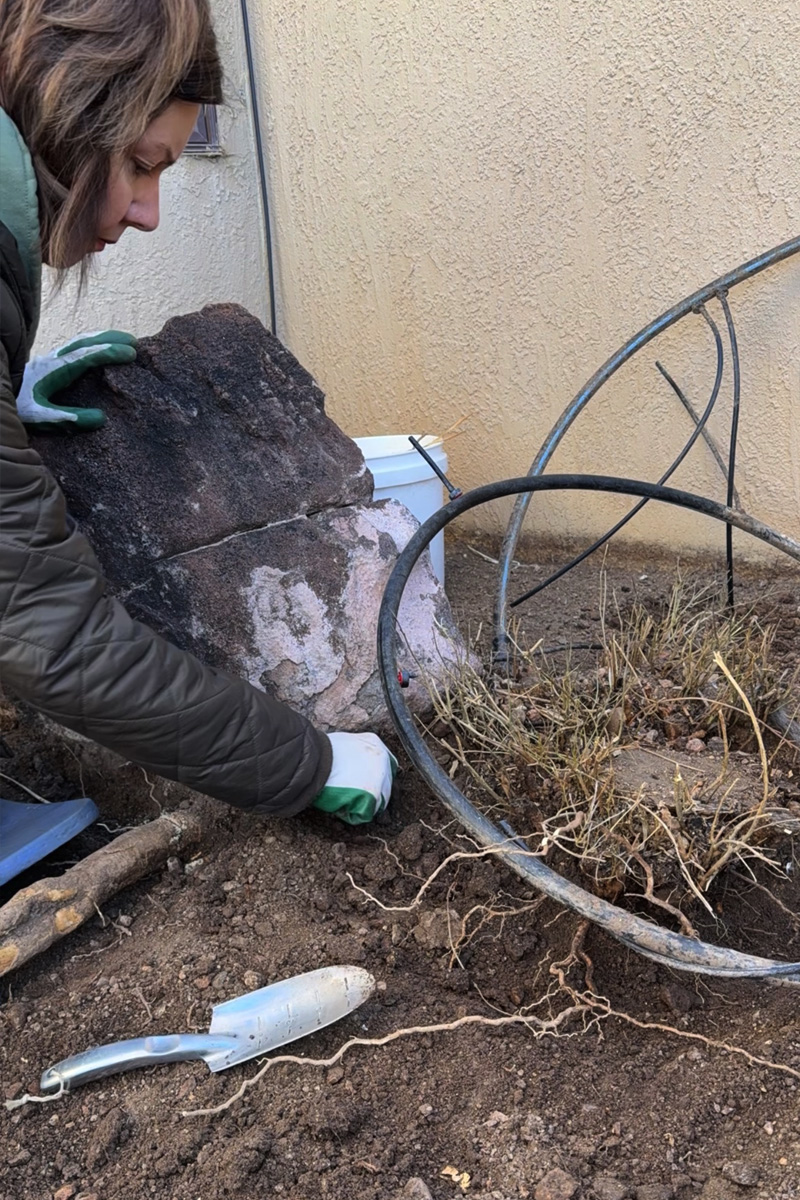
Step 3: The Leverage Phase
Once the main side roots are all cut, the tree will still feel pretty solid because of the taproot (the root growing straight down), don’t be discouraged.
This is where the pickaxe and crowbar come in. I used the pickaxe to clear away rocks and stubborn clay/dirt from under/around the rootball.
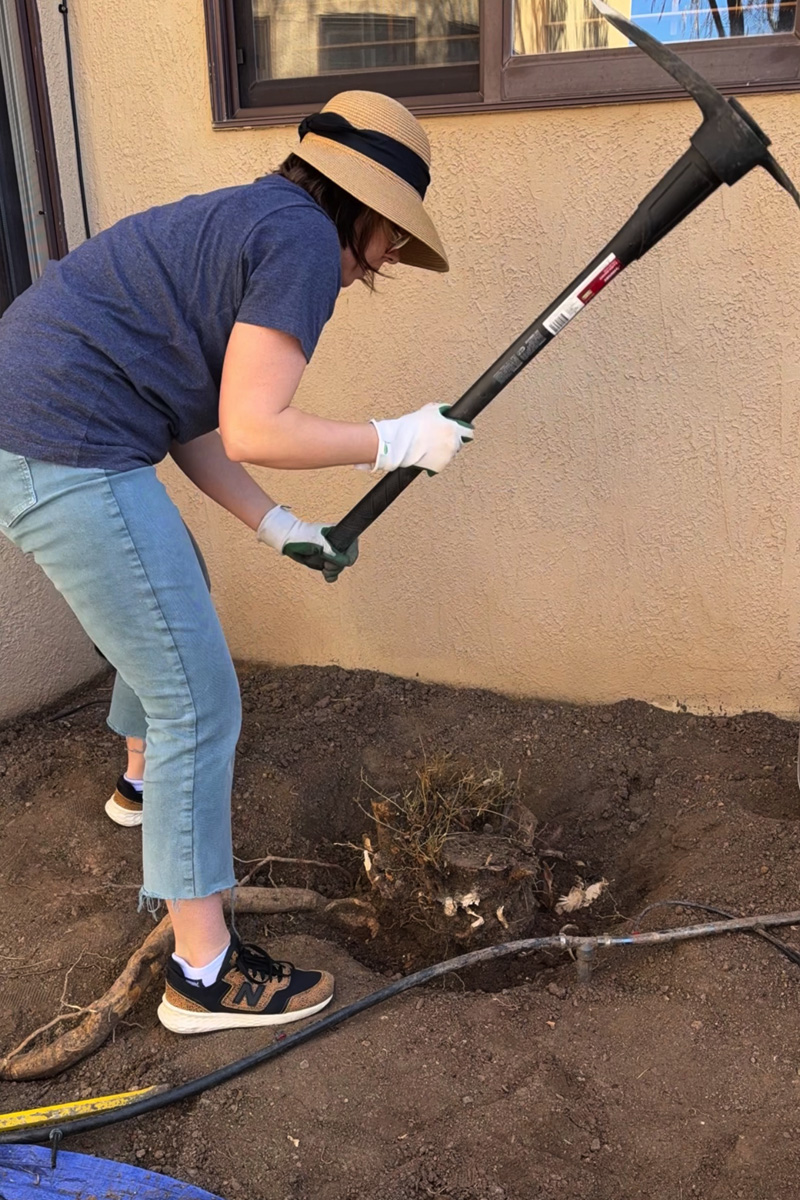
Then, I wedged a heavy-duty crowbar underneath the main mass. By wiggling the rootball back and forth, you can feel where the remaining roots are still holding on and use the sawzall to cut those hidden ties.
In my case, I had two main roots going on here and used them against each other for leverage with the crowbar.

Step 4: Removing the Rootball
I also used the sledge hammer (mine was 16 lbs and all my force to use it) as I was getting closer to the finish line to help loosen the surrounding soil and prep for that final removal step.
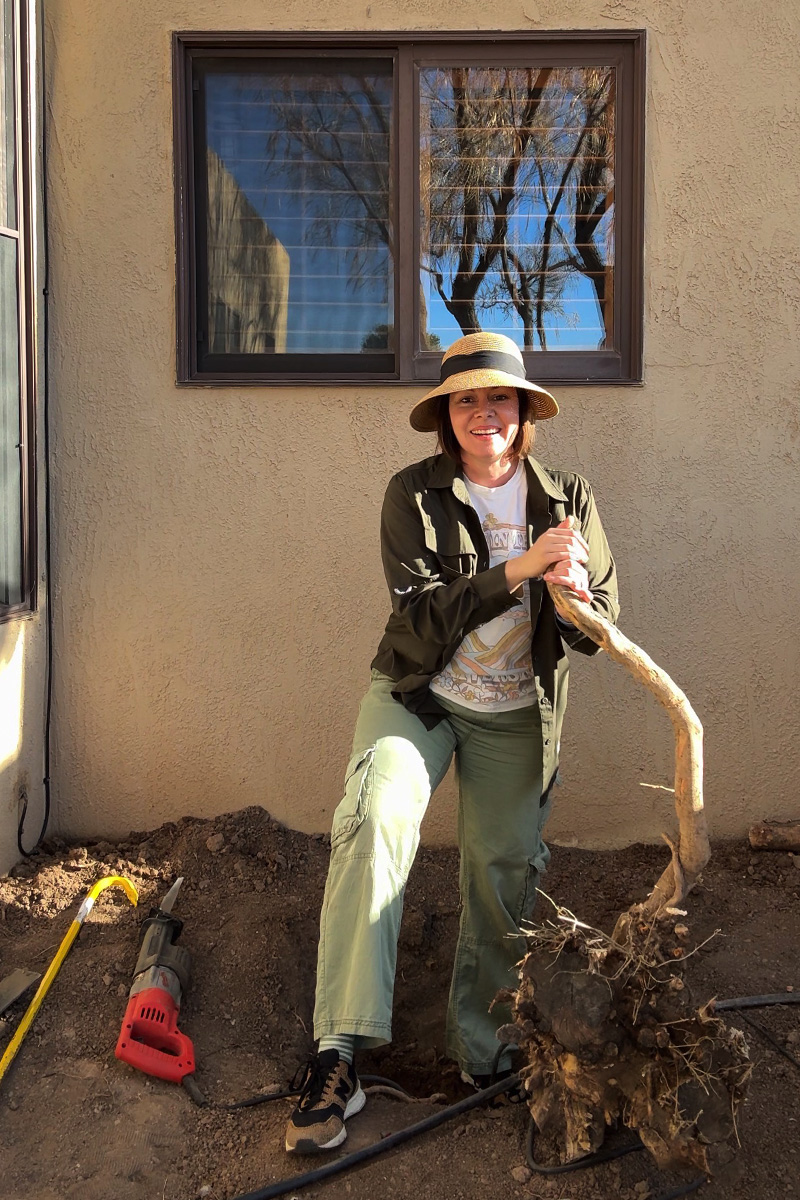
After a final round of “wiggle and cut” with the Sawzall, the 18-inch wide rootball finally gave way! I am not sure if I’ve ever been more proud – this was QUITE the job and I did it!
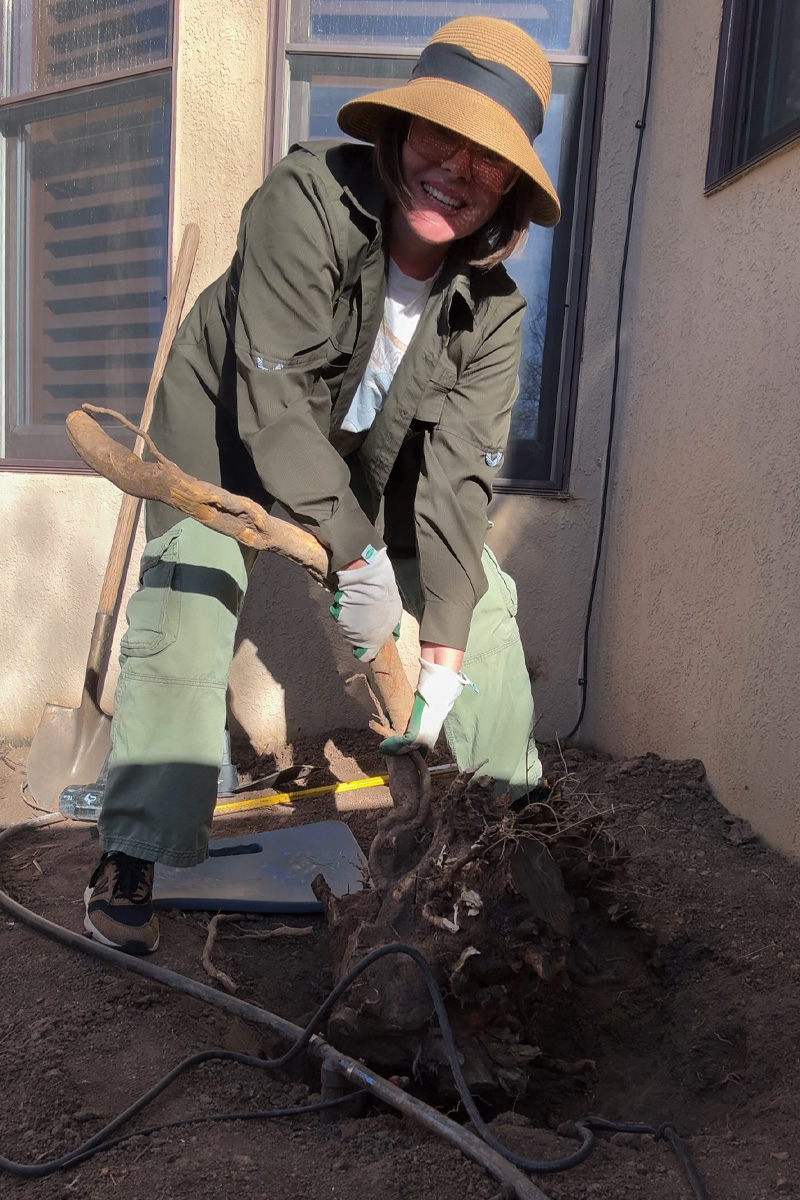
Don’t be surprised if the rootball is heavier than it looks—mine was a solid 2 feet in height!
Why is removing a tree stump better than just cutting it down to the ground?
This project took much longer than I had anticipated. I honestly thought I could just borrow a friend’s chainsaw and cut it down at the soil line. But often times, removing a tree stump is better than cutting it to the ground because it eliminates safety hazards like tripping, prevents new sucker growth (ours was CONSTANTLY growing new sucker limbs even with the tree gone!), stops the spread of diseases or fungi, and removes inviting homes for pests like termites and ants.
A DIY multi trunk tree removal also improves landscaping aesthetics, clears space for construction, and prevents mower damage.
We would not be able to create this little sitting area with the stump even at ground level, so even though I had to put some major time and elbrow grease into it, it was well worth it.
Check back for my next post on how to cut down a Vinyl Garden bed to fit your space! And if you are interested in other large outdoor proejcts we’ve tackled, check out below how we transformed our backyard also!