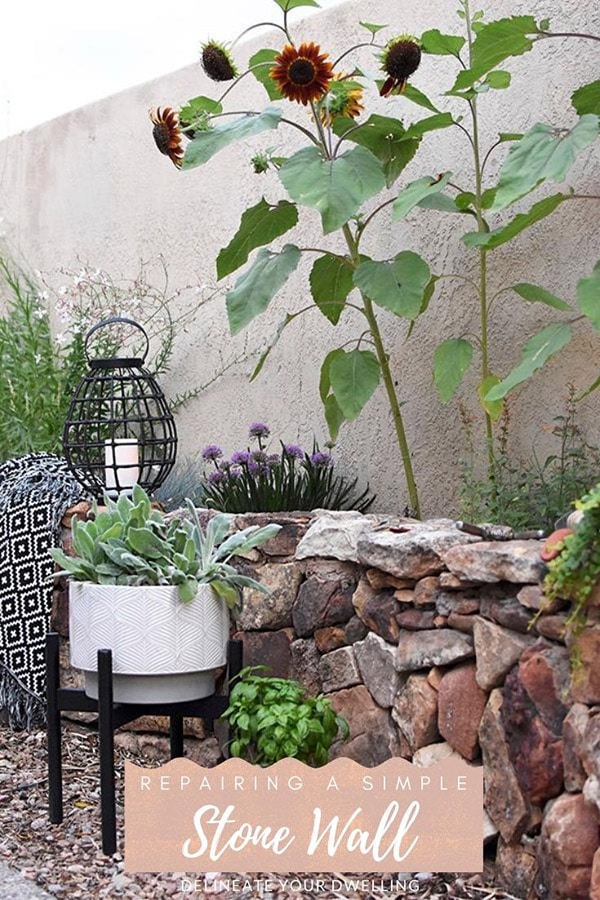
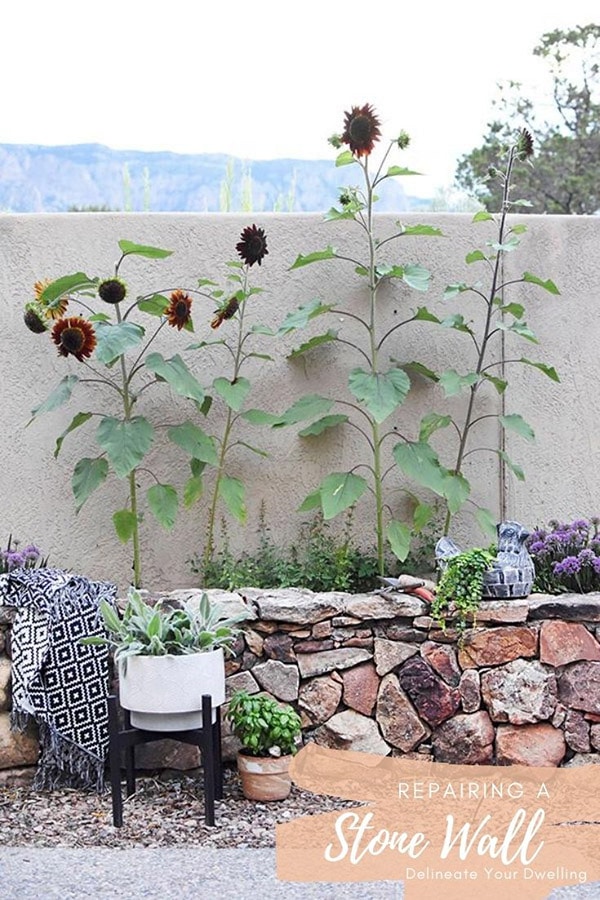
Simple Outdoor Stone Wall Repair

INSIDE : Learn how to make a simple outdoor stone wall repair in just one day! No more loose rocks and stones falling off your backyard wall anymore.
This post may contain affiliate links. See full disclosure here.
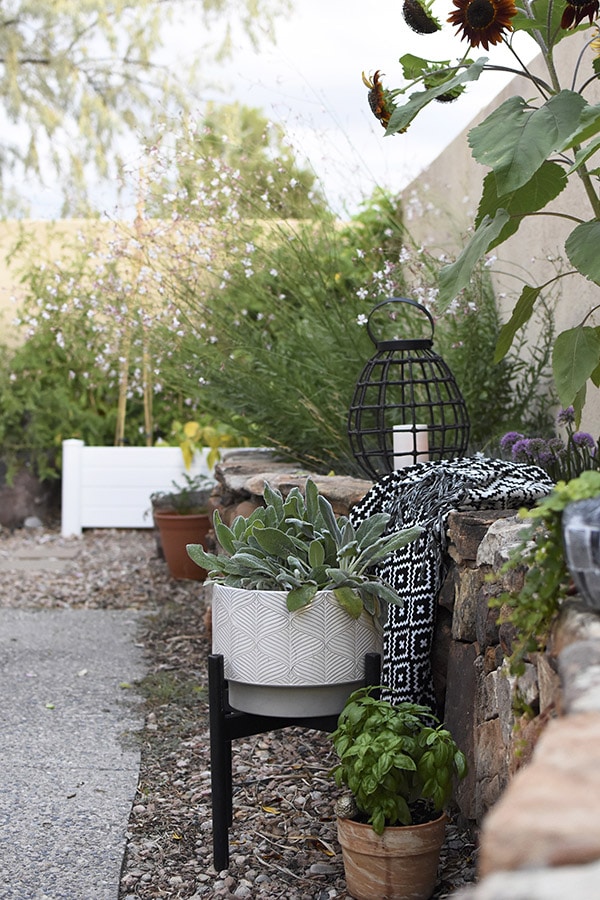
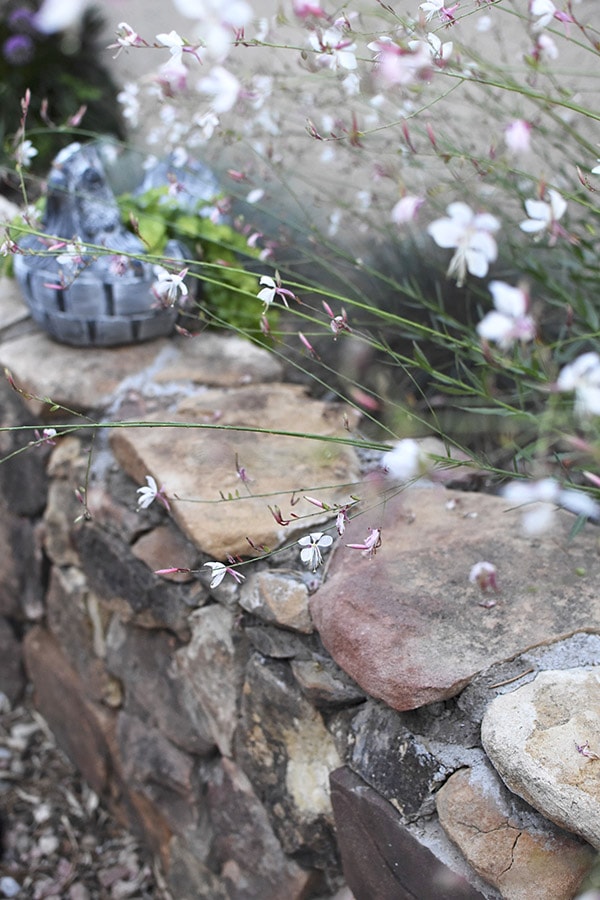
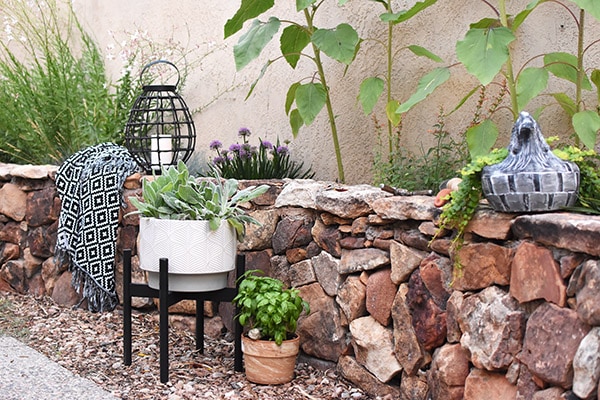
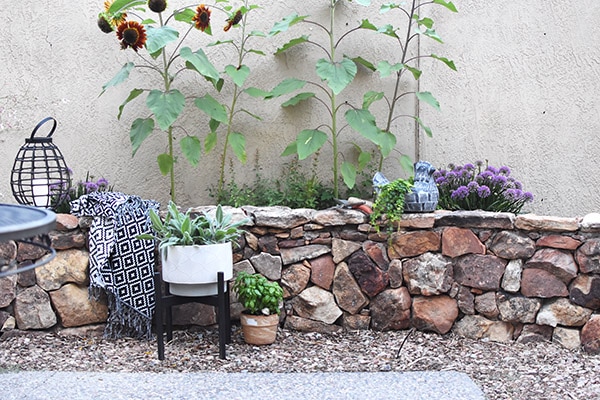
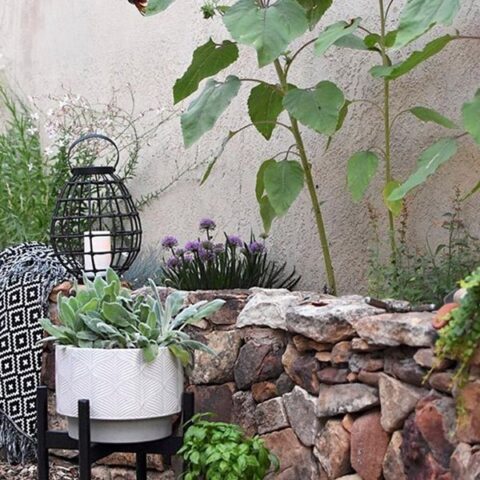
Our backyard has a nice long rock planter wall filled with all kinds of lovely plants. It’s the perfect height for sitting at and my kids love walking back and forth on it to see over our stucco wall to the rest of the neighborhood.
When we first moved into this house three years ago, there were maybe just two or three rocks that were loose on our wall. However, after a while more and more rocks were getting loose and coming right off. Someone would go to sit down and a rock would fall right off. Or my kids would walk be walking along the wall and a stone would slip right out from under them. Not safe at all, so it was time I took matters into my own hands.
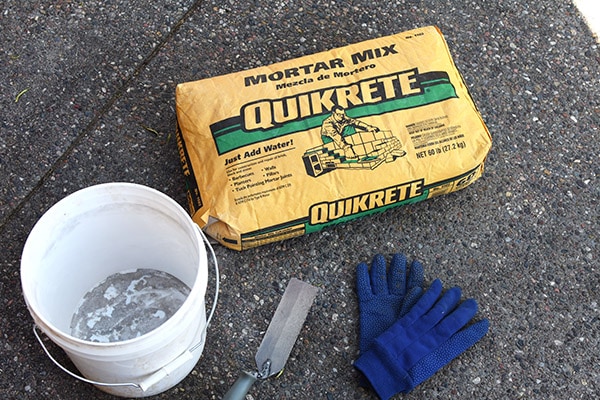
What supplies do I need to repair small stone retaining wall problems?
- Mortar Mix, Quikrete
- Bucket
- Work Gloves
- Brick and Block Trowel
- Water
- Sponge
- Large Stiff Bristled Brush
How to repair an old stone wall
Start by removing any of the loose stones from your wall. I found it best to stack them on the ground right in front of where they go. Depending on the type of rock used on your wall, there may be very specific directions that your stones will fit.
If you have a more rounded stone, it may not be as essential to keep the rocks nearby their original location.
Clean off stone wall
The next step in repairing your stonewall is giving both the rocks and the place on the wall where the rock had been located a nice good brush down. It is helpful to use a hard bristled brush for this job to really remove any major dirt, debris or additionally loose mortar from the area before adding new mortar.

Prep your Mortar Mix
As per the directions on your specific type of Mortar Mix, I used Quikrete add your mortar into a small 2 gallon bucket and apply the specified water. Be warned, quikrete hardens very quickly so be ready to mix and apply!
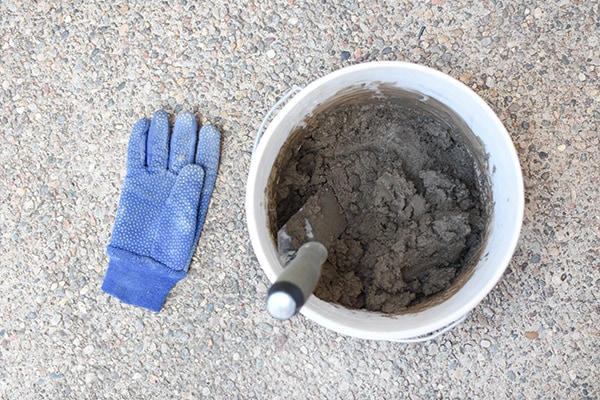
Whenever you are working with mortar, it’s best to wear gloves as concrete can dry your skin out so badly and it’s not great to get covered in that stuff.
Once you’ve mixed the mortar and water, using your trowel apply it to the edges of your wall where the rock had been located. I also then applied about an inch of mortar to each side of my stone.
Nestle the rock into place and scrape off any excess mortar with your trowel.
I found it helpful to lightly spray the areas I had completed with my hose on a mist setting and then using my hard bristle brush and a sponge, clean up the stone’s top side.
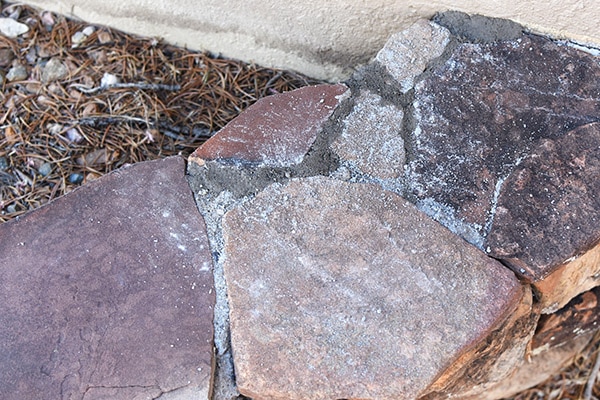
Outdoor Stone Wall Repair with mortar
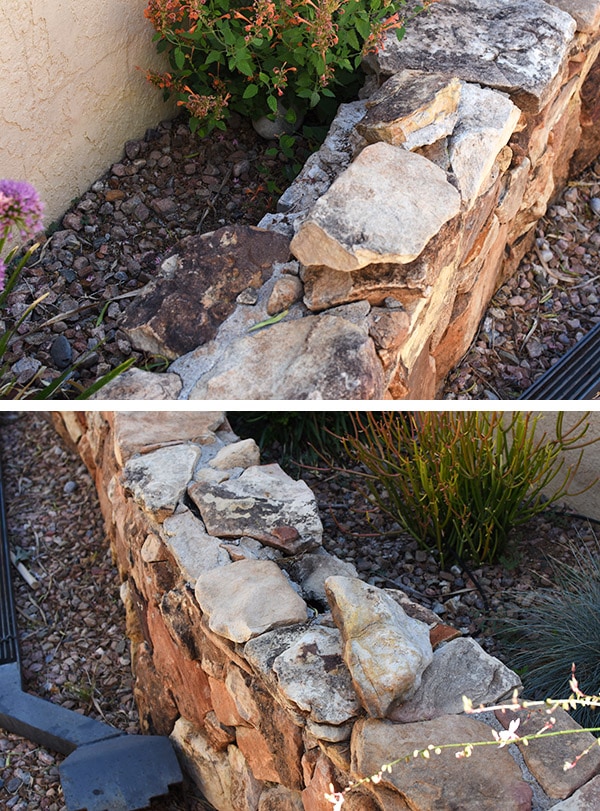
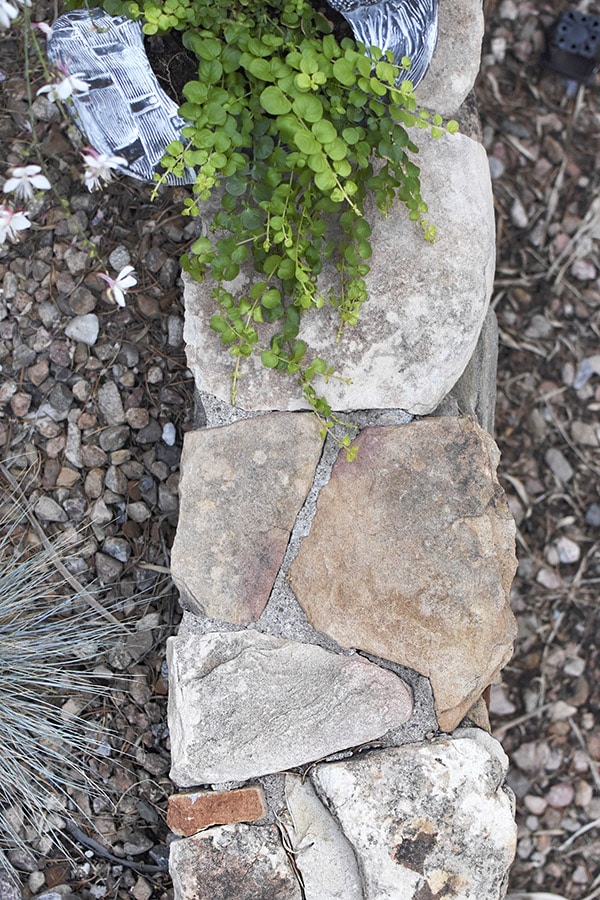
The pattern on our wall is an organic, loose stacked stone look. When repairing a stone wall with mortar is is important to try and mimic the look of your existing stones.
Our mortar is hidden from the front and visible on the top flat surface, so I was sure to follow that same pattern during my repair work.
A few example mortar joints are…
- Concave Joint
- V Joint
- Struck Joint
- Hidden Joint
- Weather Joint
- Raked Joint
- Flush Joint
- Extruded Joint
- Squeezed Joint
How much does it cost to repair a Stone wall?
The cost of a stone wall repair is fairly inexpensive. I spent about $38 for all my supplies and it only took about an hour to do the entire wall’s rock repairs.
Here is the cost breakdown for each supply –
Mortar Mix, Quikrete $8
Bucket $2
Work Gloves $7
Brick and Block Trowel $6
Water
Sponge $4
Large Stiff Bristled Brush $11
Shop the supplies and materials in this post :

It is so nice now to have all the stones set in place and able to use and enjoy the wall without worry and concern!
If you are looking for more outdoor projects, you should check out :
- 5 Must Do tips for Updating your Outdoor Patio
- DIY Wooden Sunburst Doormat
- Painting your Mailbox and Address Tiles
- Create a simple Raised Vegetable Garden
- Painted DIY Dash Doormat
How to make Small Repairs to a Stone Wall
Learn how to make a simple outdoor stone wall repair in just one day! No more loose rocks and stones falling off your backyard wall anymore.
Materials
- Mortar Mix, Quikrete
- Bucket
- Work Gloves
- Brick and Block Trowel
- Water
- Sponge
- Large Stiff Bristled Brush
Instructions
- Remove any loose stones from your wall. Tip - I found it best to stack them on the ground right in front of where they go.
- Give both the rock and the place on the wall where the rock had been located a nice good brush down using a hard bristled brush. Try to remove any major dirt, debris or additionally loose mortar from the area before adding new mortar.
- As per the directions on your specific type of Mortar Mix, add your mortar into a small 2 gallon bucket and apply the specified water. Be warned, quikrete hardens very quickly so be ready to mix and apply!
Whenever you are working with mortar, it’s best to wear gloves as concrete can dry your skin out so badly and it’s not great to get covered in that stuff.
Once you’ve mixed the mortar and water, using your trowel apply it to the edges of your wall where the rock had been located. I also then applied about an inch of mortar to each side of my stone.
Nestle the rock into place and scrape off any excess mortar with your trowel.
I found it helpful to lightly spray the areas I had completed with my hose on a mist setting and then using my hard bristle brush and a sponge, clean up the stone’s top side.
Interested in learning more about the Best Beginner DIY Tools? Check out this post!
Great simple outdoor stone wall repair tip! Start by cleaning loose debris and dirt from the damaged area, then use a strong exterior-grade mortar or concrete mix to fill cracks or reset loose stones. Smooth it out, let it cure, and your stone wall will be sturdy and looking great again in no time!
Understanding the cost to build a block wall can help homeowners plan smarter. Costs vary depending on whether it’s a retaining wall, privacy wall, or decorative feature. Upfront investment might be higher than wood fencing, but the long-term benefits of durability, security, and property value make it worth every dollar spent.