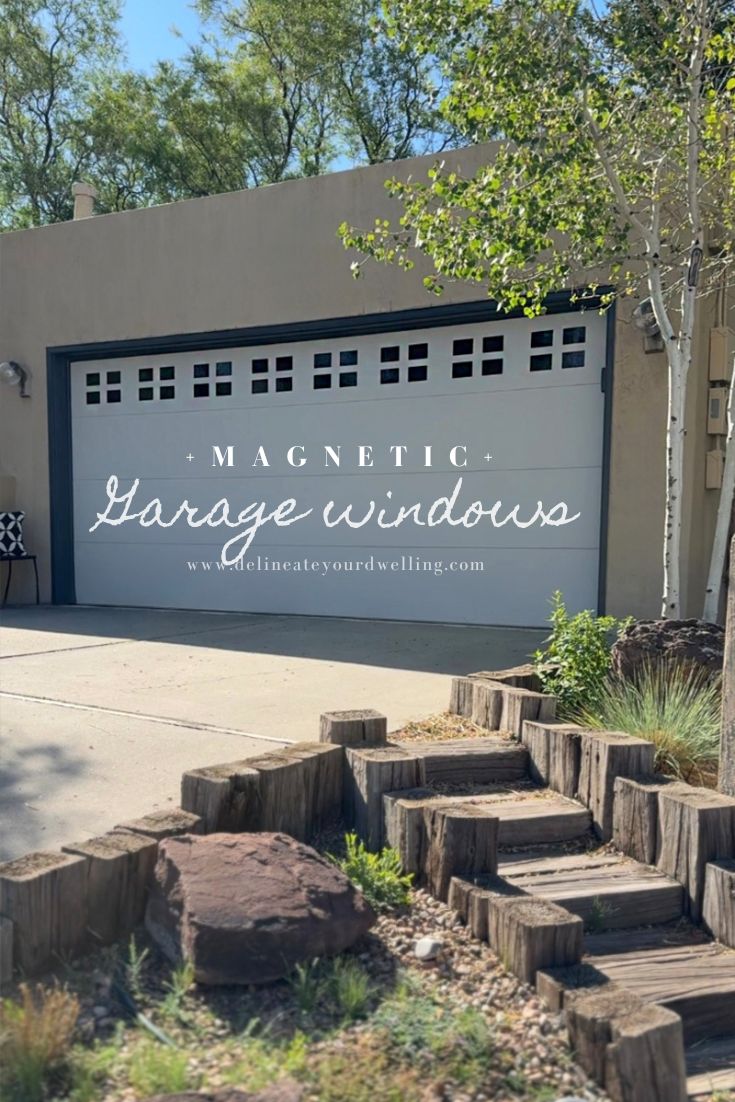
Magnetic Garage Door Windows


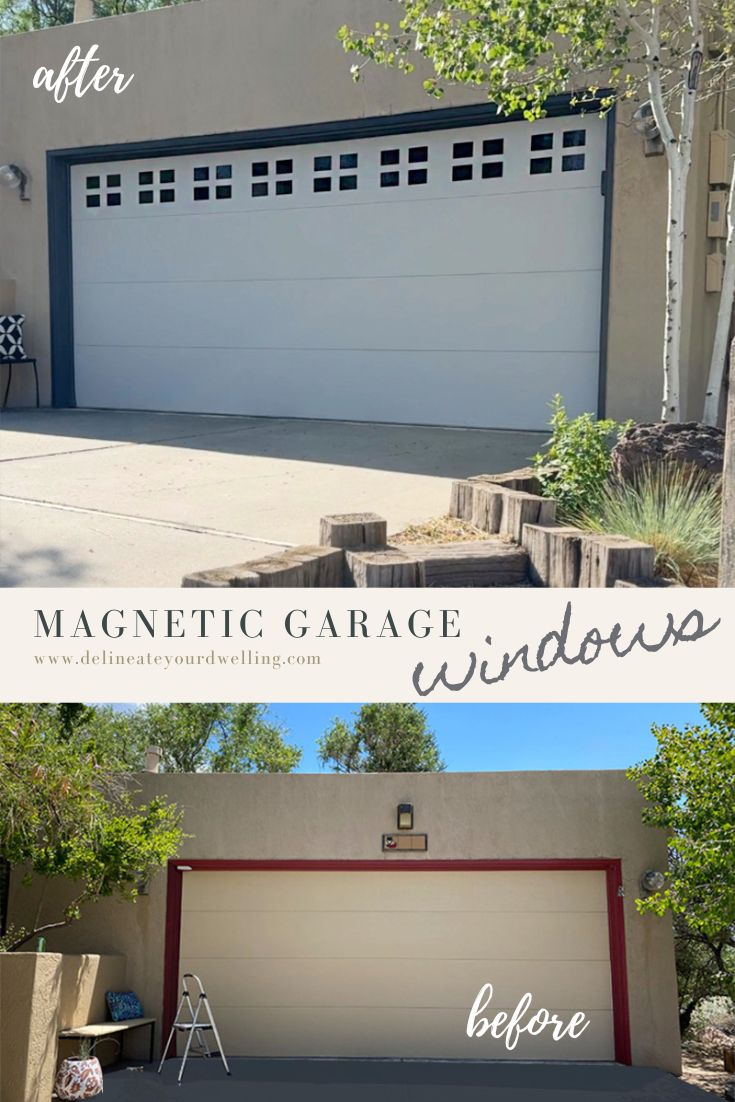
INSIDE : Check out how simple it is to upgrade your home’s curb appeal with these simple magnetic garage door windows! They are extremely budget friendly and took less than an hour to put up, very beginner friendly project.
This post may contain affiliate links. See full disclosure here.
Many years ago while visiting my mom, we helped her install large faux windows on her garage doors. That post has been in my top 10 (probably even top 5) posts from 2012 until present day! Apparently many people agree that garage doors in general are large, boring empty boxes in need of some dressing up.
Since that post, I have also painted two garage doors in different homes we have lived in. Which if you aren’t feeling the color of your garage door, painting it is one of the VERY first things I would recommend doing to give it a new life. It’s exceedingly easy and both times I have painted the doors – they’ve held up perfectly for years. Zero regrets.
Read more about how I did it below, in the box.
Looking for more garage door ideas? check these out…
I still love the large faux windows we installed for my mom, but even though they aren’t cut and inserted into the garage door as inserts – they are drilled into the door – making them fairly permanent fixtures.
I have been on the lookout for something similar for our home, but easier and more temporary if need be. I finally found the perfect thing – Magnetic Garage Door Window clings!
Garage doors with windows
Having garage doors with windows can significantly boost the curb appeal of your home by adding character and visual interest to the exterior. Adding in windows, helps to break up the large, often blank canvas of a solid garage door, preventing a dull appearance.
Windows, whether clear or frosted, allow natural light into the garage – making the space feel less enclosed and more inviting. This simple design choice elevates the home’s aesthetic, offering a touch of sophistication and complementing architectural styles from traditional to modern.
Looking to install Large Faux Garage windows? Check out this post.
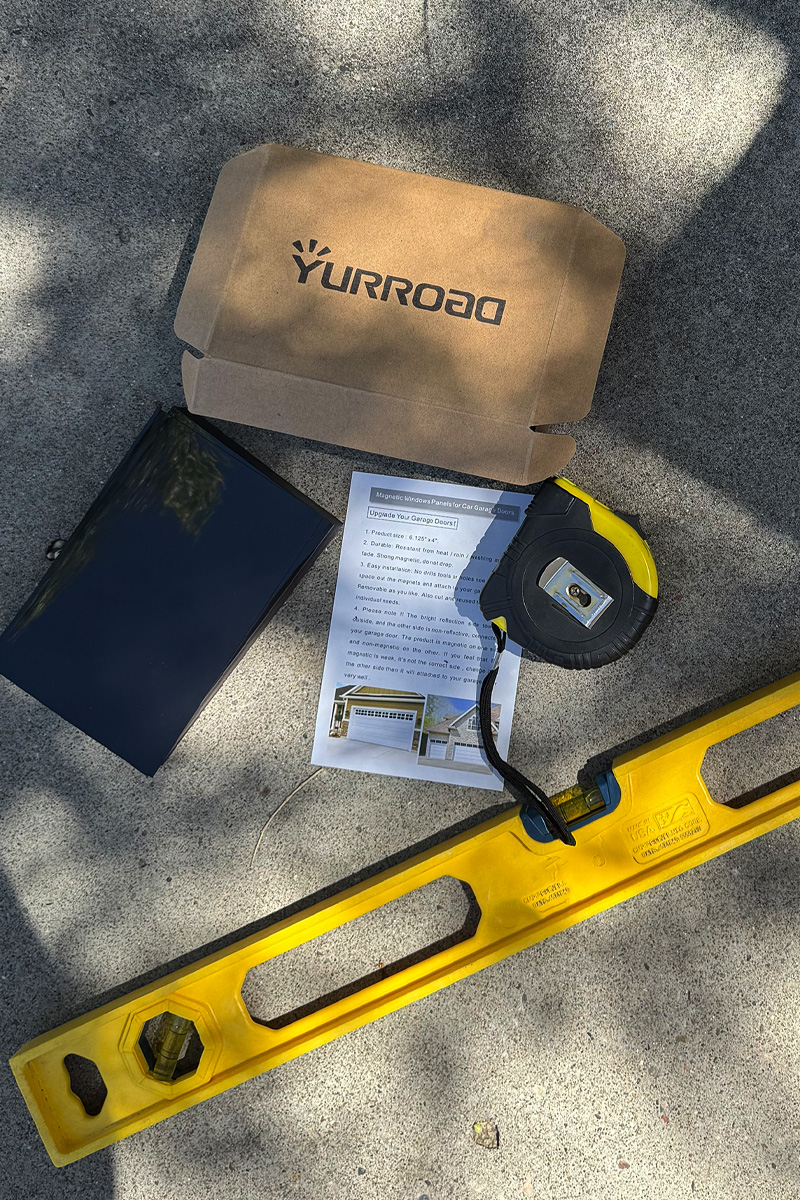
Supplies needed for magnetic windows
- Magnetic window clings
- Measuring tape
- 24″ Level (with a ruler on it)
- Clean rag
- Post-it note (or painter’s tape)
- Scratch paper + pencil
- Step ladder
Adding magnetic windows to garage doors
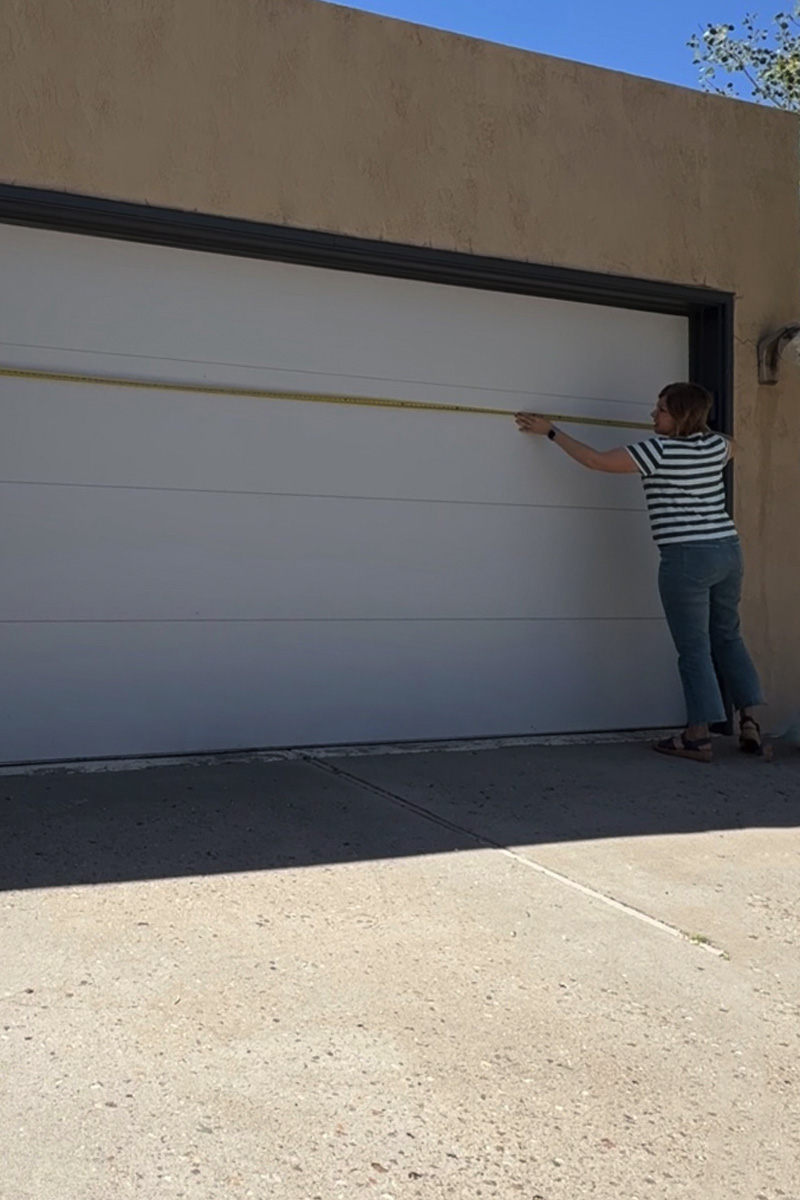
Measure the width
The first step in adding simple magnetic windows to your garage door is to measure the width of your door. Once you have the width, divide that number in half for the centerline of your garage door.
Mark the centerline and sketch layout
Once you know your width to your centerline, you can begin to draw out your basic layout of window panels.
I purchased the garage door window kit with 32 panels. There were four small panels that made a single “unit”. So technically there were 8 panels I was working with… and that meant 4 panels on each side of my centerline.
SKETCH
Once I knew the centerline, I placed a pink post-it note on the garage door so I could mark off the spacing for the windows. You could also use painter’s tape for this step.
Adhering Magnetic windows for garage doors
I originally did 5″ in-between each of the larger units but after laying it out that way, I didn’t like the big empty space that was at the end. It took just a moment to remove the magnet window clings and redo with a wider spacing.
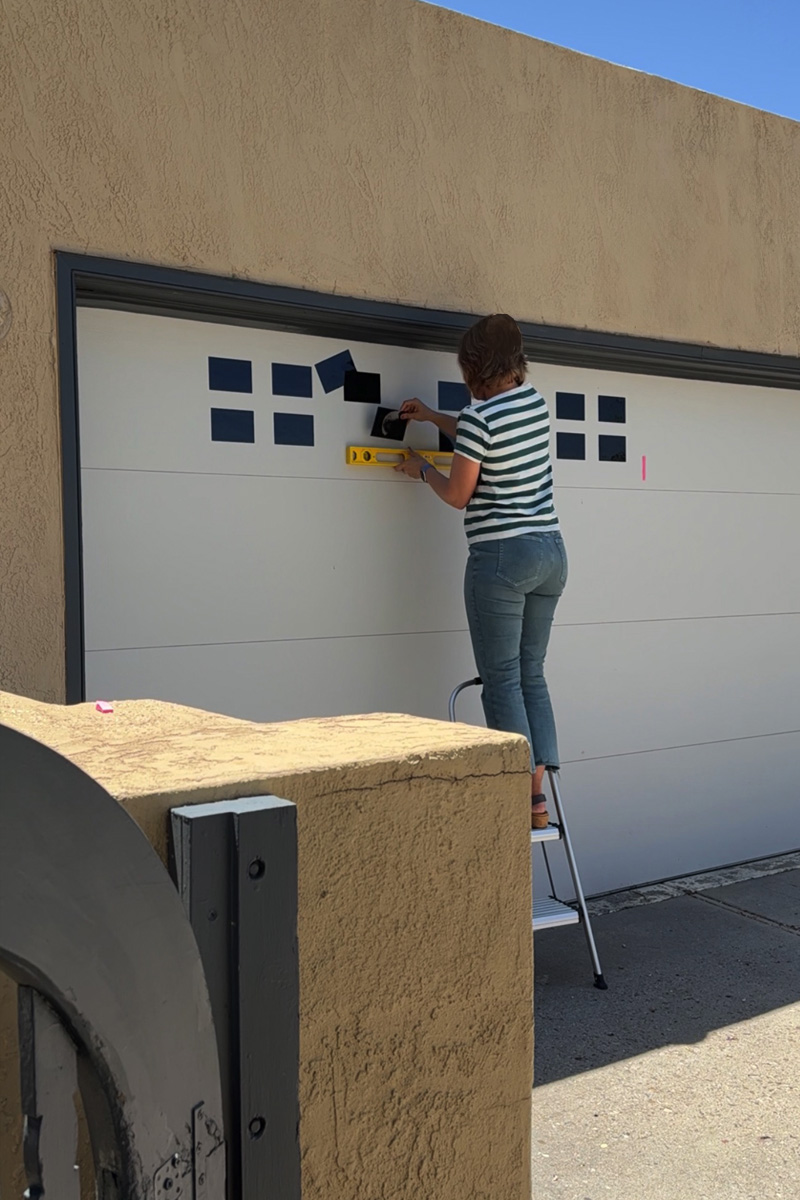
I ended up doing this layout from the centerline horizontally… 4″ over then a cling, 2″ over, then a cling. 8″ over, then a cling, 2″over, then a cling. 8″ over, then a cling, 2″ over, then a cling. 8″ over, then a cling, 2″ over, then a cling.
I ended up doing this layout from the bottom cling nearest to the centerline vertically… start at the cling, 2″ up, then a cling. Repeat that for all of the top row window panels.
**Also note that once I had my centerline marked, I switched over to using my 24″ level with the ruler markings. That really made the process so much faster to be able to measure AND keep things level with the same tool, at the same time.**
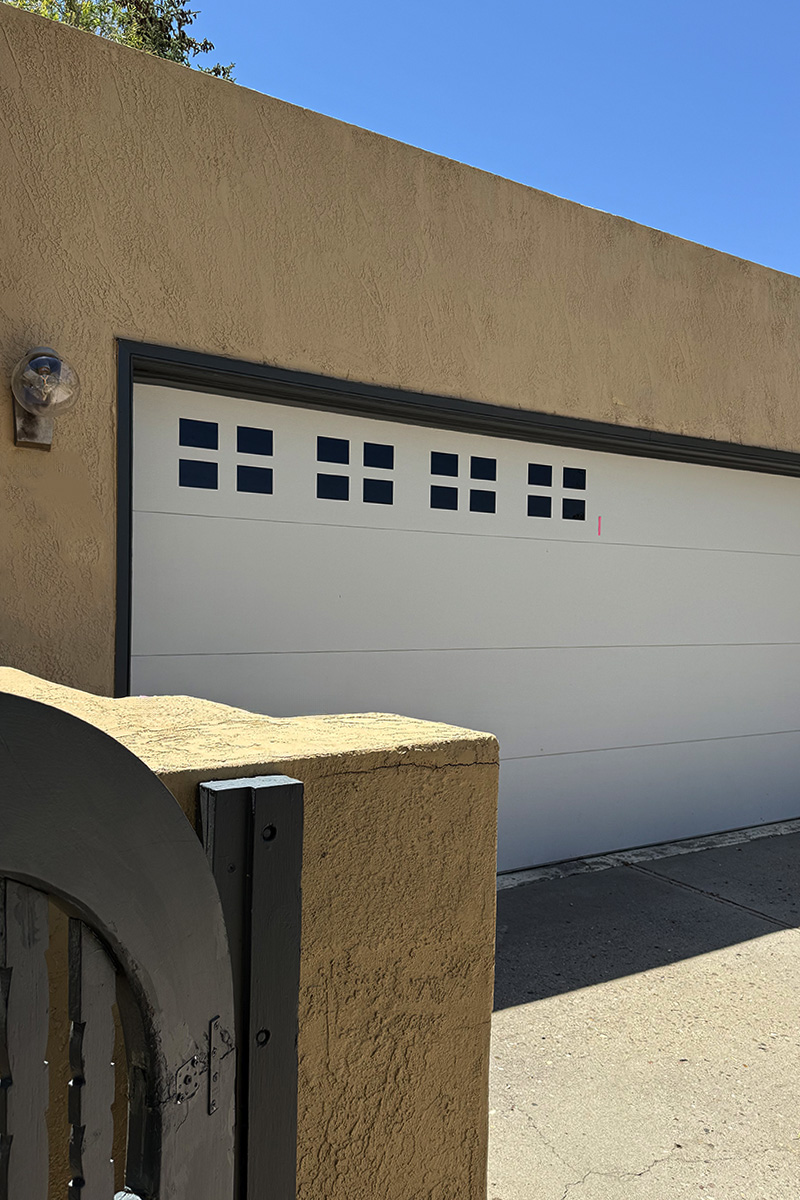
White garage door with windows
Amount of time to complete
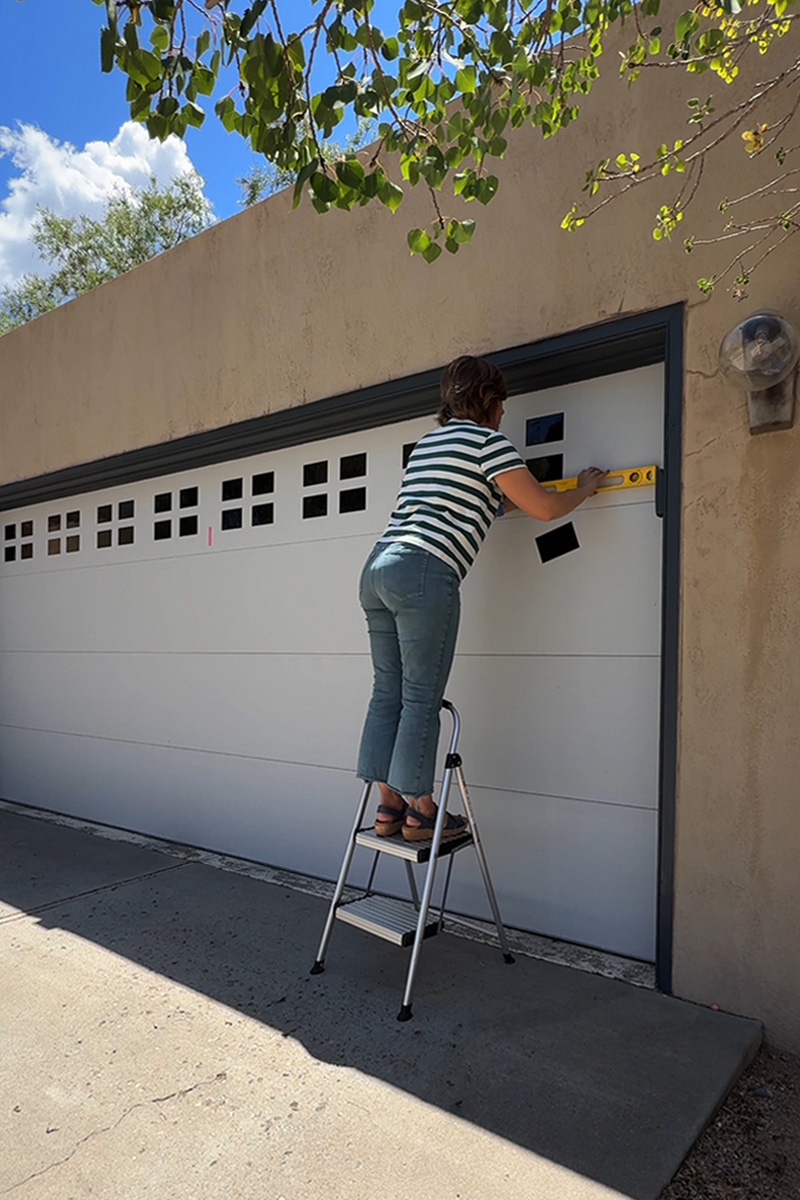
From the start of measuring, doing a layout and not liking it. Then redoing the layout and also filming transitions and all the completed looks, etc… this project took me one hour. I really was in shock. I had set aside the entire morning, thinking it would take me hours and hours.
I think using the level as my measuring tool also really cut down on the time. I placed the 4 window panels on the garage in a stack since they are magnetic, they all stayed put and I wasn’t getting up and down the step ladder a million times.
Cost of magnetic windows
The set I got included 32 panels, 4 panels made up 1 larger unit. So basically there were 8 window units for our two car garage. The total for these was $26 – which is the most budget friendly curb appeal upgrade I have maybe ever done. Even less expensive than a gallon of paint!
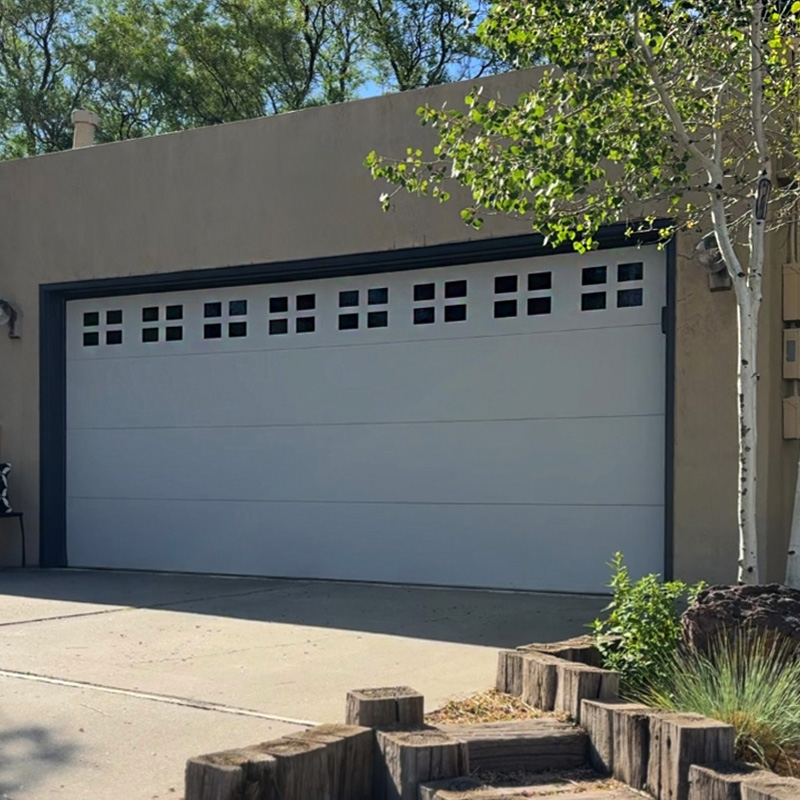
Garage door window
Although these magnetic windows are simply black reflective magnets and don’t actually let light into our garage, their cost and ease of installation makes them a huge win over garage door window inserts or actual garage door window panels.
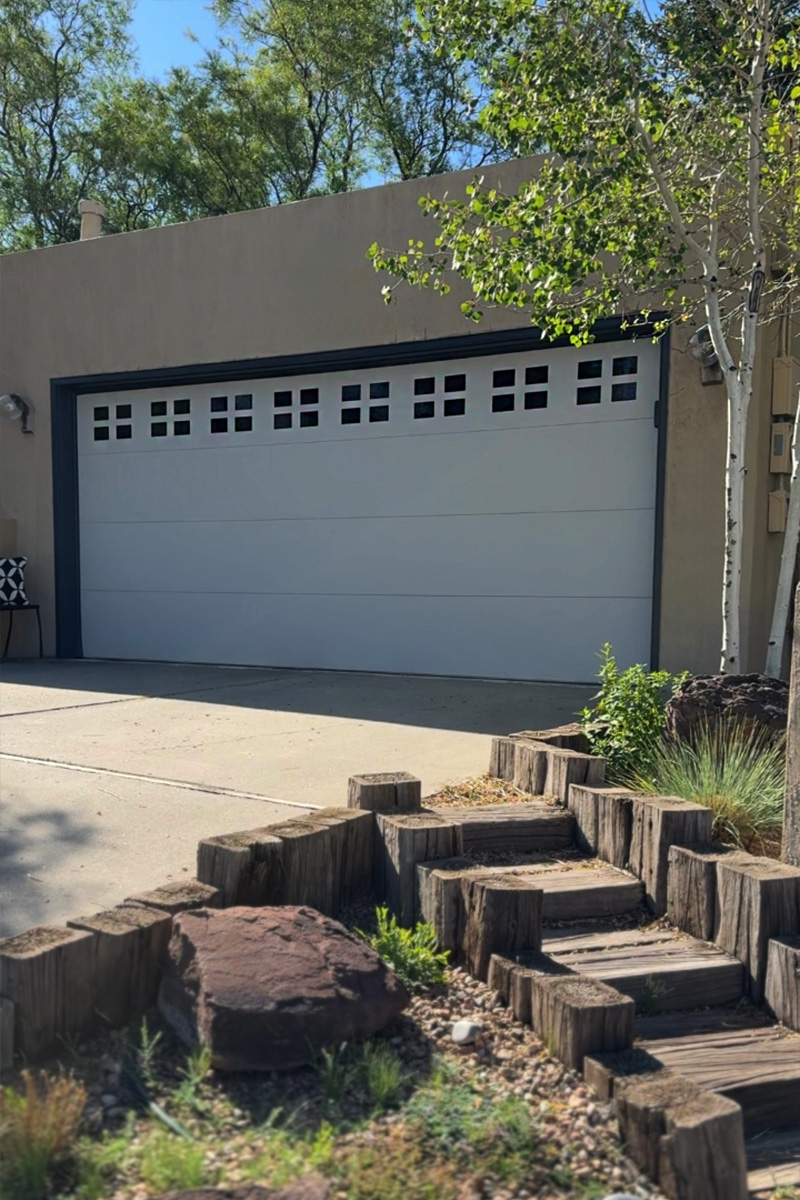
The before and after of our curb appeal has increased by 10 fold after a simple paint of the door and trim and installation of these windows.
I really can’t recommend doing this quick project enough!
And if you are looking for more outdoor ideas, check these out…