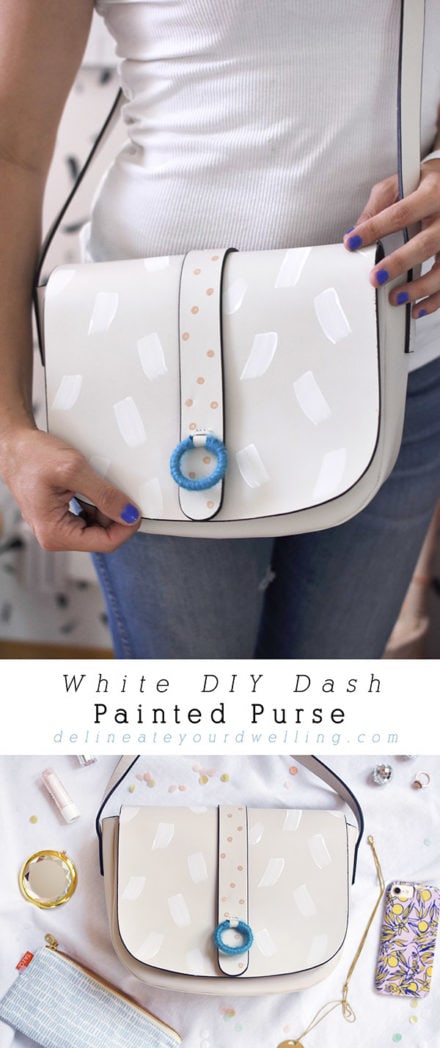
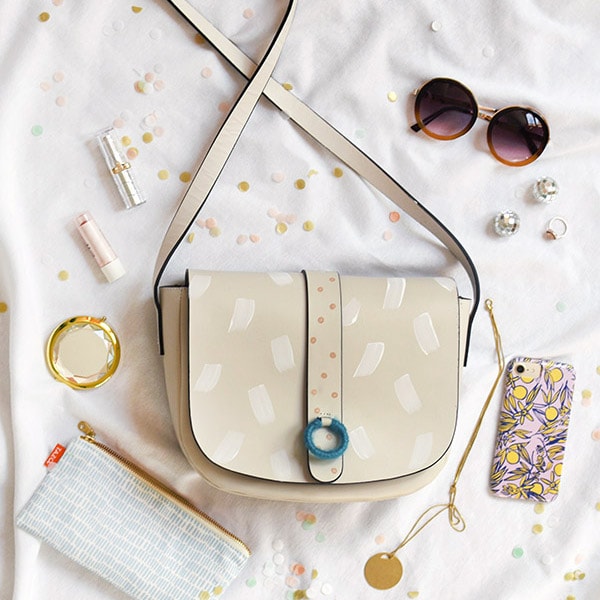
Painted Dash DIY Purse
INSIDE : Transform an ordinary purse into a creative fashion statement with my step by step dash painting tutorial. Learn how to create a durable, eye-catching design that reflects your individual style and turns heads wherever you go with this Painted Dash DIY Purse.
This post may contain affiliate links. See full disclosure here.
This post has been updated since it’s original August of 2018 publish date.
Last week, I did my first Facebook LIVE crafting session! I have been wanting to do them for a long time and decided to take my own advice and just start. I finished up the last final details of the project and wanted to share the final results with you all. So, without further ado let’s dive into this simple, but beautiful Painted Dash DIY Purse.
What supplies are needed to paint on a purse?
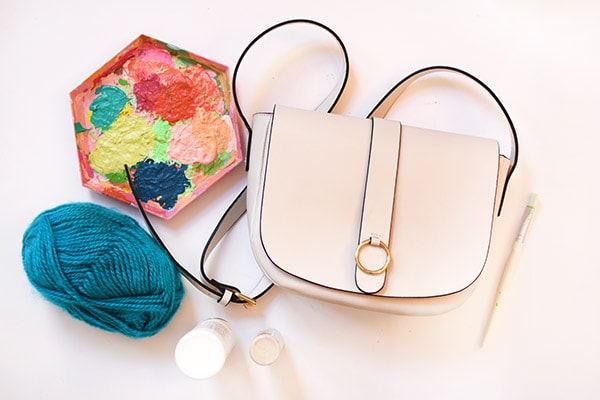
- Simple Purse
- Acrylic Paint
- Patent Leather Acrylic Paints
- Paint Brush
- Q-tips
- Yarn
- Hot Glue

To see the step by step process on how to make a Painted Dash Purse watch the video below or you can keep reading!
How to paint on a purse
I used a combination of acrylic and leather acrylic paints on this project. Both are acceptable for leather, especially for the smooth leather of the purse I bought.
However, it’s generally recommended to use acrylic paints specifically formulated for leather, as they are designed to be more flexible and adhere better to the material. Regular acrylic paints can be used, but they may crack or peel off more easily with wear.
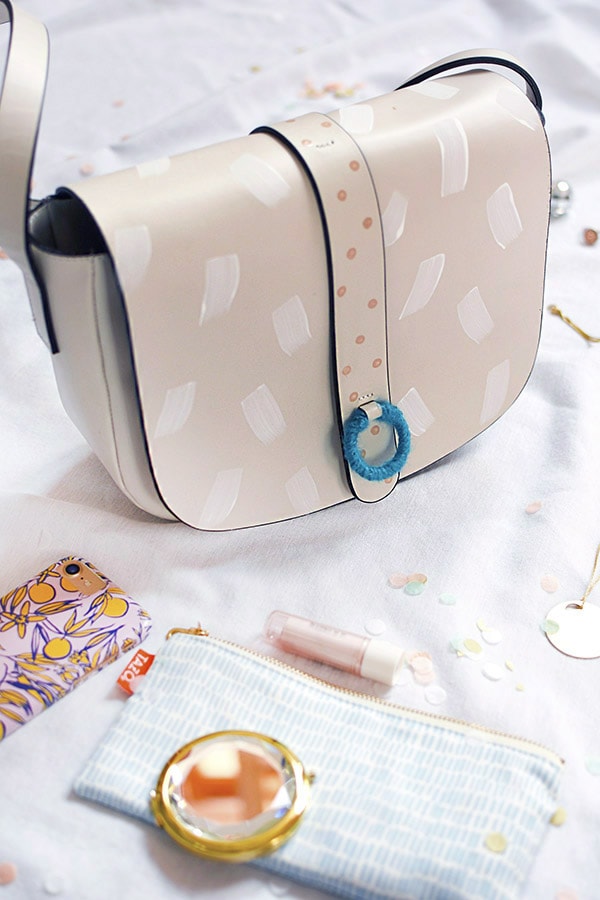
Paint dash patterns on a purse
I started with a basic white dash pattern on the main area of the purse. I used a flat wider brush to accomplish the thickness of the dash I wanted.
Simply pour out some white acrylic paint onto a paper plate and have fun making a few dash patterns.
Paint dot patterns on a purse
Once my dash pattern had dried, it was time to add a cute dot pattern to the center area of the purse.
I grabbed a q-tip and lightly dabbed a simple dot pattern with the leather paint. You can add as many dots as you’d like, but I kept my pattern a bit less is more style.
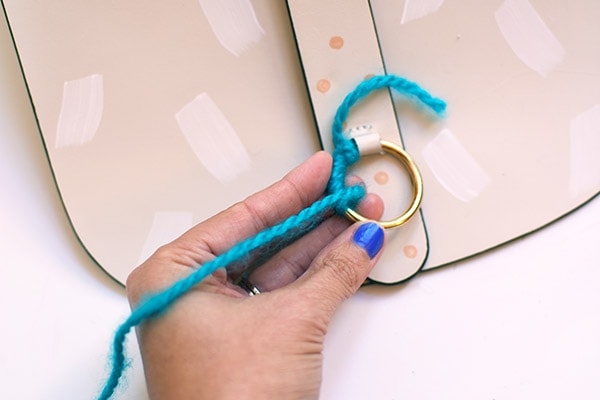
Adding yarn details to a purse
As you saw in the video, I needed to wait until all the paint was dry on my purse before I could work on the final yarn detail. I didn’t want the paint to smear.
After the paint was all dried, I started by tying a very small knot with my blue yarn to the top of the gold ring on my purse. Slowly I began to wrap the yarn around my ring.
Make sure to keep the yarn as tight as you can so no gold metal shows through.
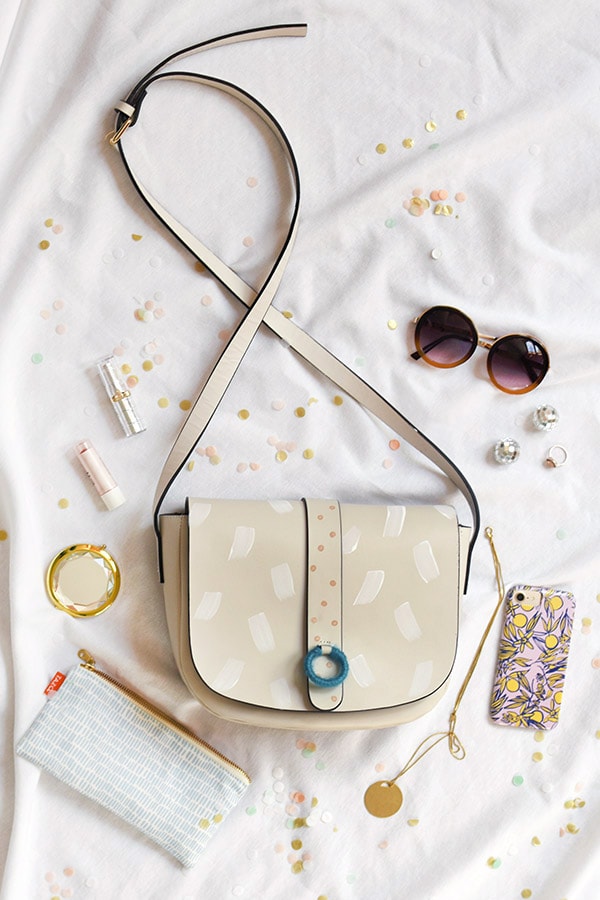
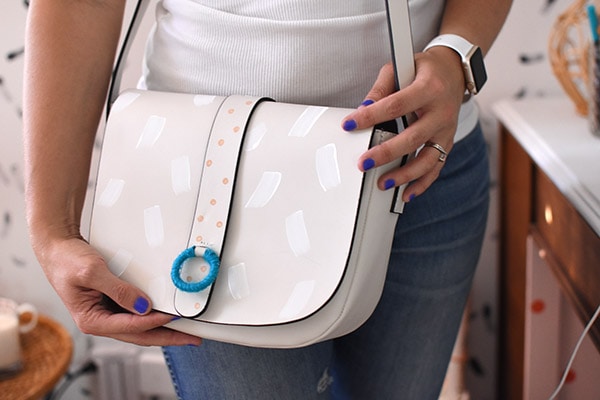
Creative Painted Purse
I love that using simple paint and yarn gave this creative purse a whole new look. It really is a great way to bring some personality to your wardrobe.
And although, I am having a huge moment right now with backpack style purses, I have seen quite a few women jumping back on the across the body shoulder strap purses.
Using easy neutral paints but using them in a fun playful pattern really makes this a statement piece accessory.
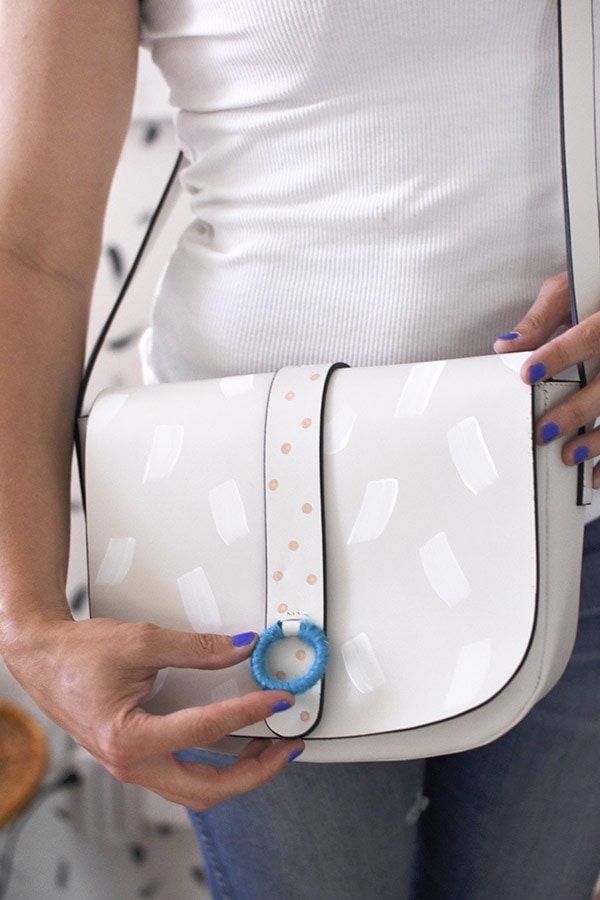
And this is the kind of purse that you can easily dress up or down, depending on how style it with your outfit!
And speaking of fun DIY painted clothing and accessories, you might be interested in a few of my other paint splatter favorites below…
DIY Green Tassel Chuck Taylors
Painted Dash DIY Purse
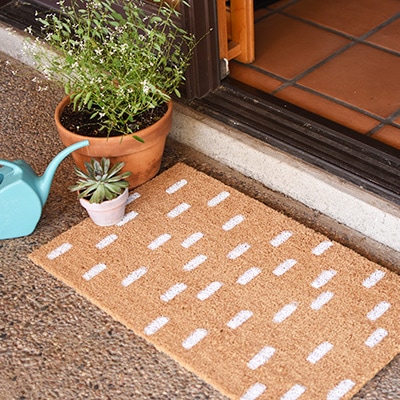
Painted DIY White Dash Doormat
Negative Nature Block Art
The Art of Kintsugi and realizing your REAL beauty
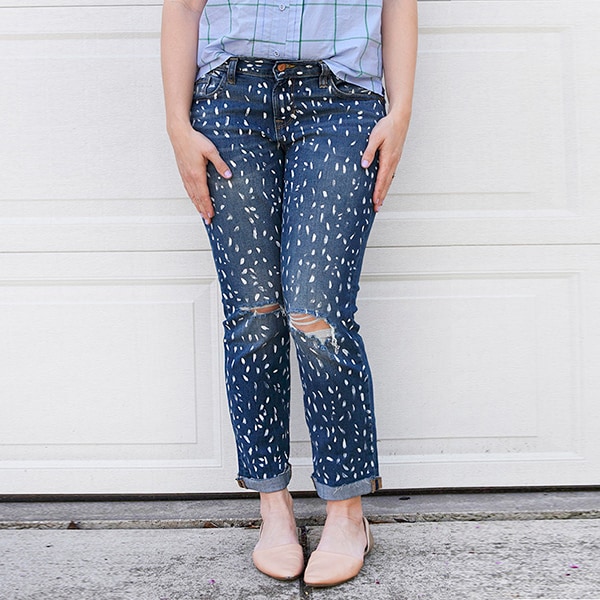
DIY White Paint Patterned Jeans