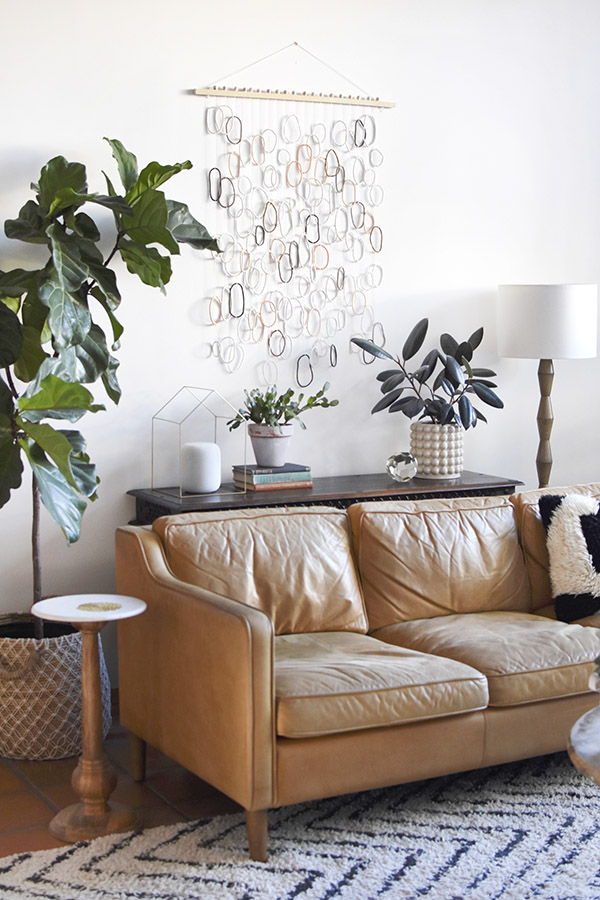
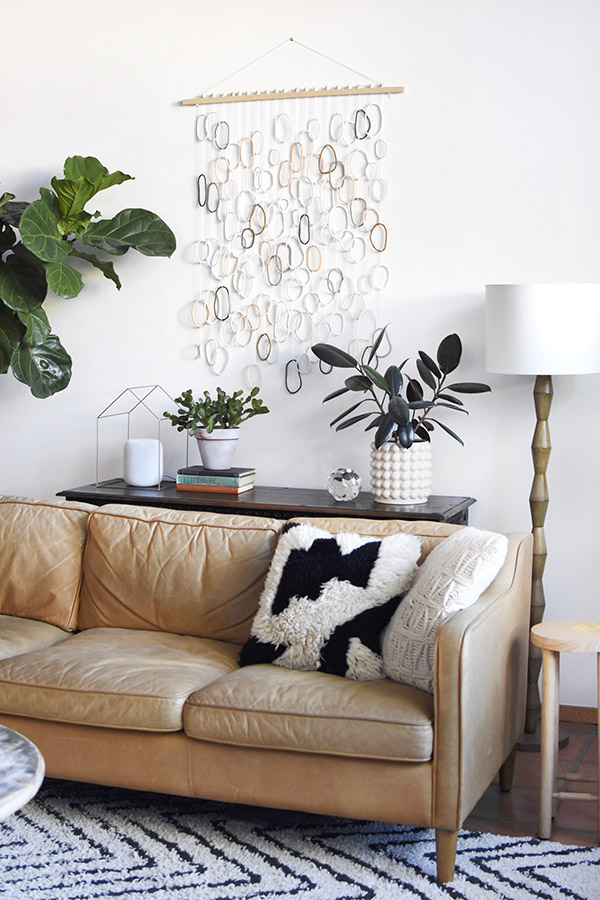
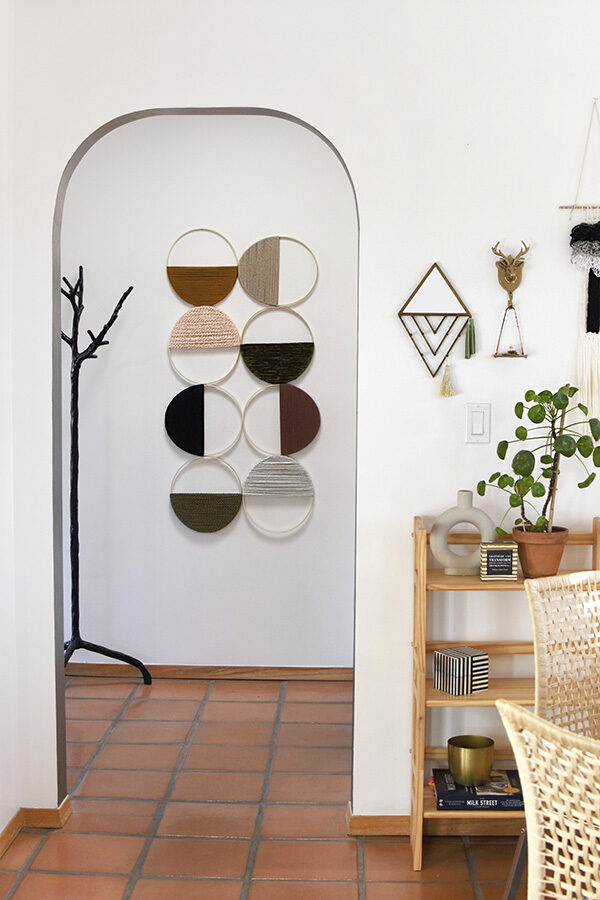
Clay Ring Wall Art Hanging

INSIDE : Learn how to create a gorgeous Clay Ring Wall Art Hanging in your home. The simple circle patterns bring an artistic feel to your walls!
This post may contain affiliate links. See full disclosure here.
I painted a large scale piece of art for our living room a handful of years ago. It fit the space so well and since it was a DIY, I was able to save so much money since it was a 3′ x 4′ size.
However, as with all things, overtime my color choices have evolved and I have been on the lookout for a new piece of artwork. Unfortunately, it is pretty challenging to find something reasonably priced that is even close to that large of a size. So… DIY to the rescue!
This project was also recently featured on HGTV’s social media as part of my Video Contributor work for them.
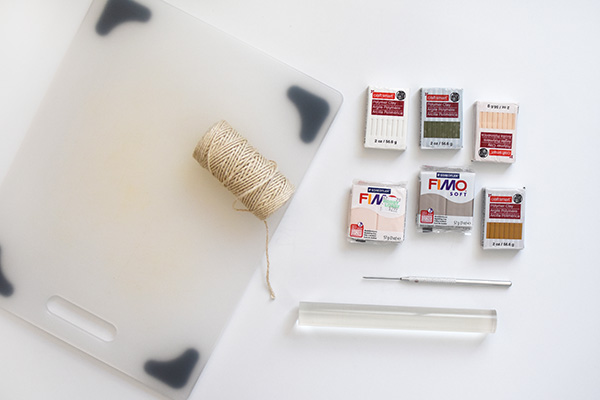
What supplies do I need to make a Clay Ring Art Wall Hanging?
Polymer Baked Clay
– 2 large packages of white clay
– Taupe, Olive Green, Blush, Peach + Ochre clay
Cutting Board or flat surface for rolling out clay rings
Baking Sheet + Parchment Paper
White String or Twine (needs to be thin/small so you can tie around delicate rings)
3′ Square wooden dowel
19 Wooden Beads
Hot Glue
Scissors
Miter Saw or Hand Saw
Electric Drill
5/32″ drill bit
Washi Tape + a Poster board
How do I make Clay Ring Wall Art?
I feel like it’s only fair to share that this wall hanging took quite a bit of thinking. I haven’t seen many people make a wall hanging like this and especially using so many clay rings. So, I had to do a bit of brainstorming and then trial + error to figure out the best way to create this and then break it down into do-able easy to replicate steps.
I’m pretty excited about how this turned out and am so thrilled to share how you can recreate one for yourself!
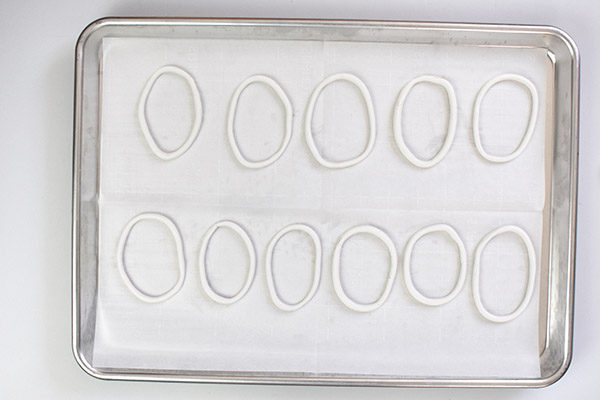
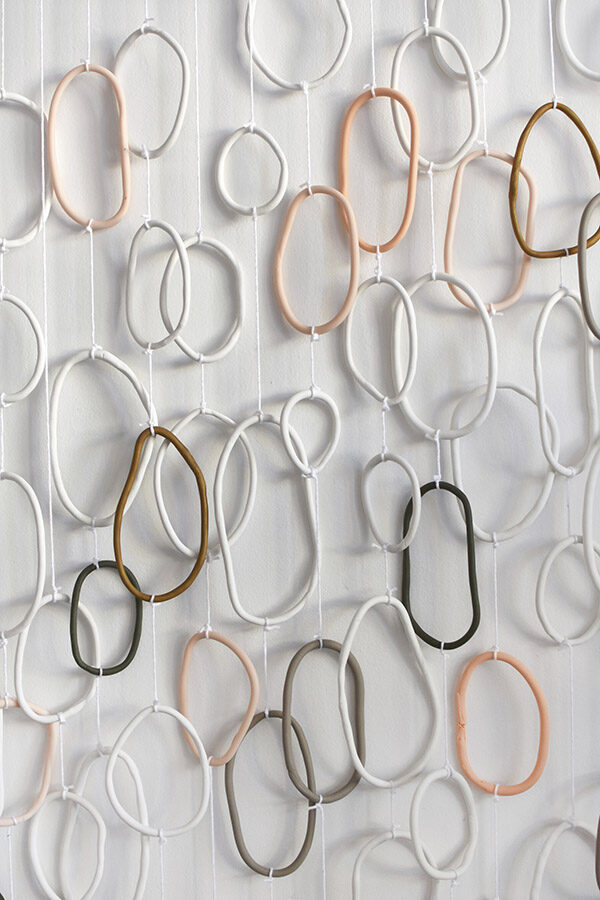
How to make Organic looking Clay Rings:
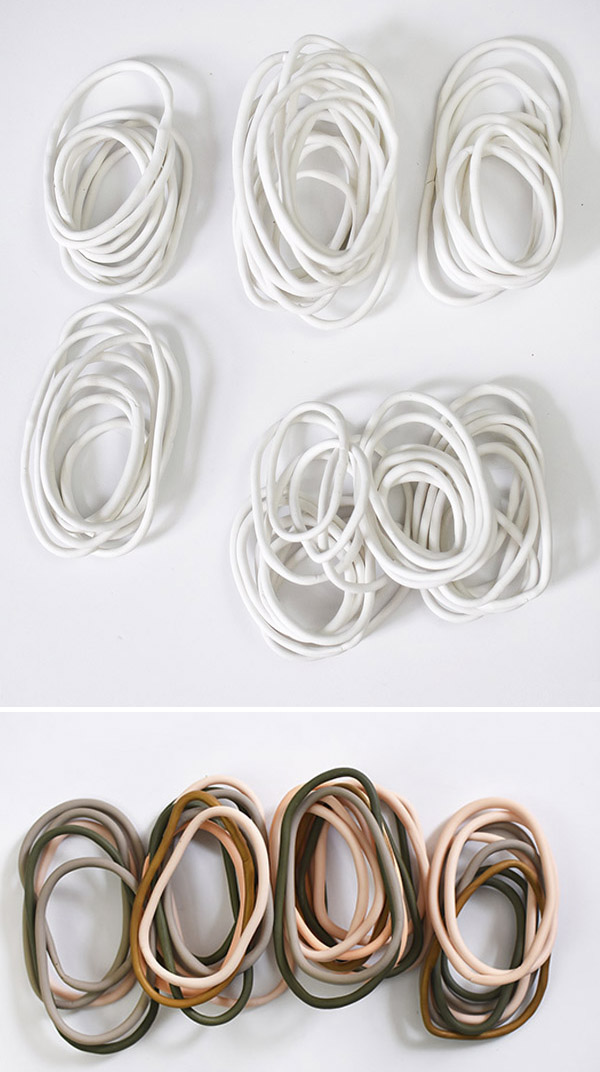
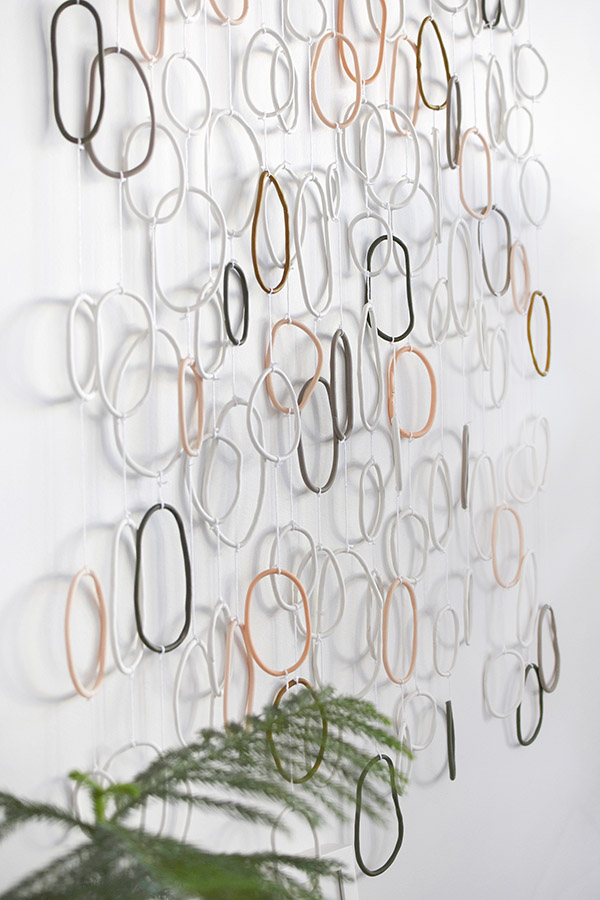
I wanted my dominate clay color to be white. I ended up making 67 various shaped and sized white clay rings.
I would warm the clay in my hands and then would roll out a thin snake shape on my cutting board. Once the snake was fairly thin in size, I would cut the clay down and shape into a ring.
It was intensional to have different shapes and sizes. I like the organic non-perfect look.
Once the rings were made, I placed them on a baking sheet with parchment paper and baked per the directions on my clay.
After all the white rings were baked and cooled. I started on creating the colored rings. I ended up having 8 Taupe, 7 Olive Green, 13 Blush, 3 Peach and 4 Ochre rings.
How to make a Wooden Frame for rings:
Next, it was time to construct the frame for which these rings would be held up. You could easily just wrap string around a wooden dowel and call it good.
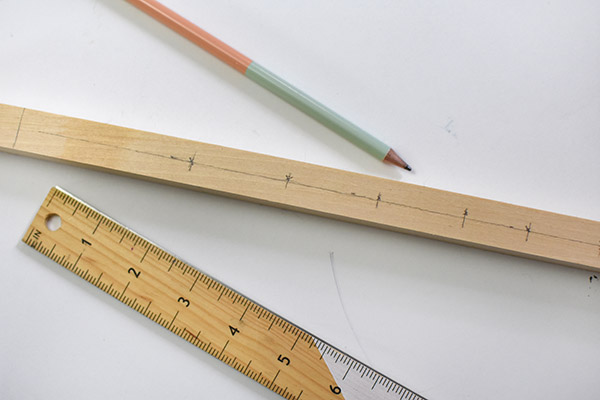
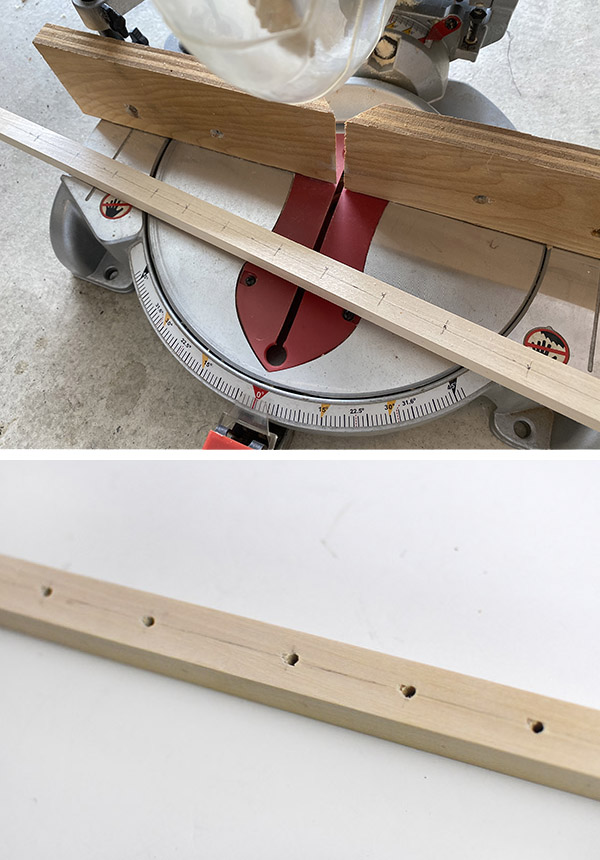
I however decided to drill holes in my dowel to fish the strings through for a more finished look. I also didn’t do perfectly spaced holes for this step. I laid my clay rings out on a piece of cardboard and based off that layout, measured and marked out where the holes would go on my wood.
NOTE : I had 19 holes for the clay strands and then BE SURE TO ADD ONE ADDITIONAL HOLE ON EACH END. These two holes will be to hold the entire art piece on the wall.
I used an electric drill and a 5/32″ drill bit to make the holes and then trimmed down my dowel to the correct size using a miter saw. This could also be done with a hand saw, but I wanted a quick clean line.
As I mentioned above, I wanted a very layered organic look to this piece. And it took me a few times to figure out how to best get that look, while also being able to string up the rings. Here is what I figured out was the best way to do that.
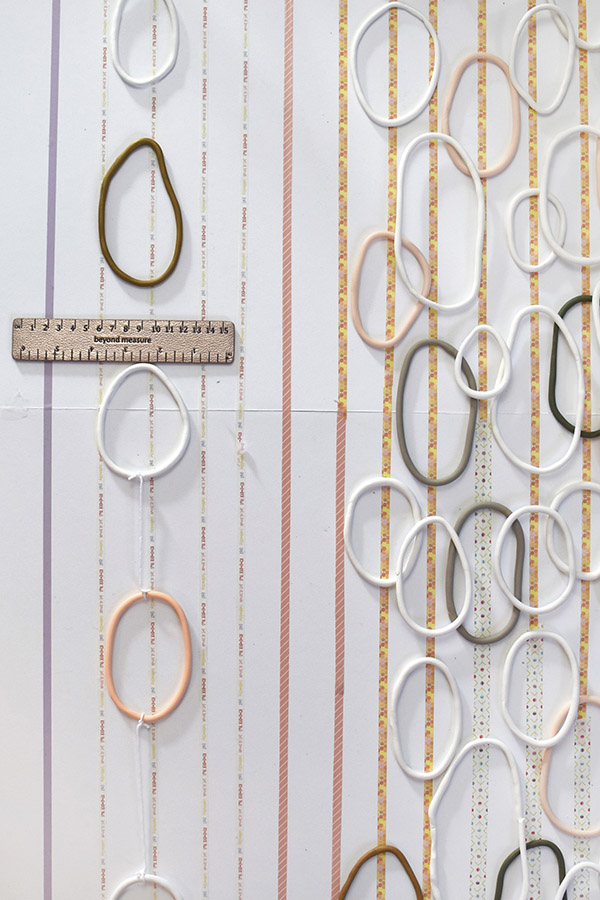
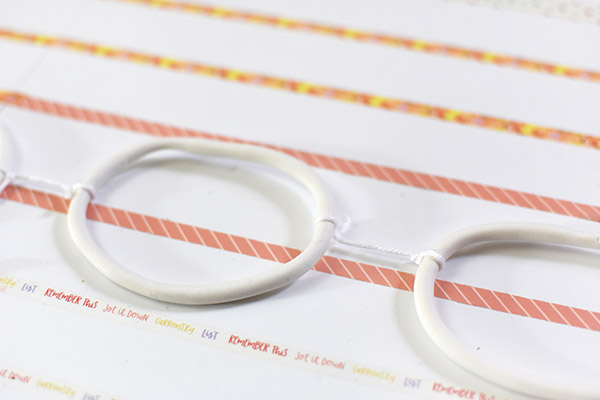
Start by adding washi tape to a piece of poster board roughly 1″ to 2″ apart for the width and the desired length of your artwork piece. Once you have the lines marked, you can start adding your rings in a layered look.
Be sure to watch my video to see how I placed mine.
How to string your Art Rings:
To get the cleanest look, start at the bottom of your board and using white string, slowly start to tie each ring to each other. If you decide to string each ring indivisually then be prepared to have a LOT of strings showing.
How to hang clay rings on the wall:
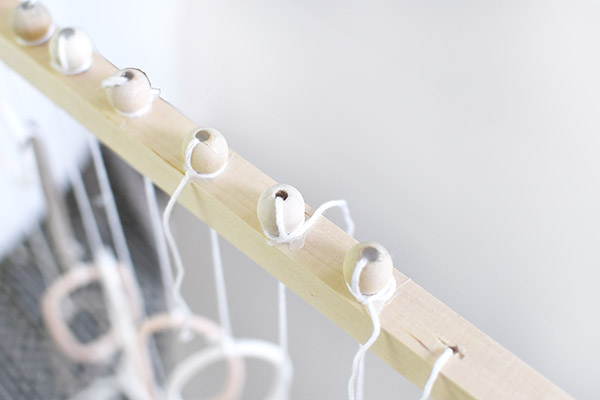
Propping your wooden dowel across the back of two chairs, string your clay strands up through the bottom of your dowel and add one dab of hot glue into the hole.
Next, string your clay strand through a wooden bead. Fill your bead with hot glue and tie a knot with the string around the bead to secure. Trim off the excess string for a nice clean look.
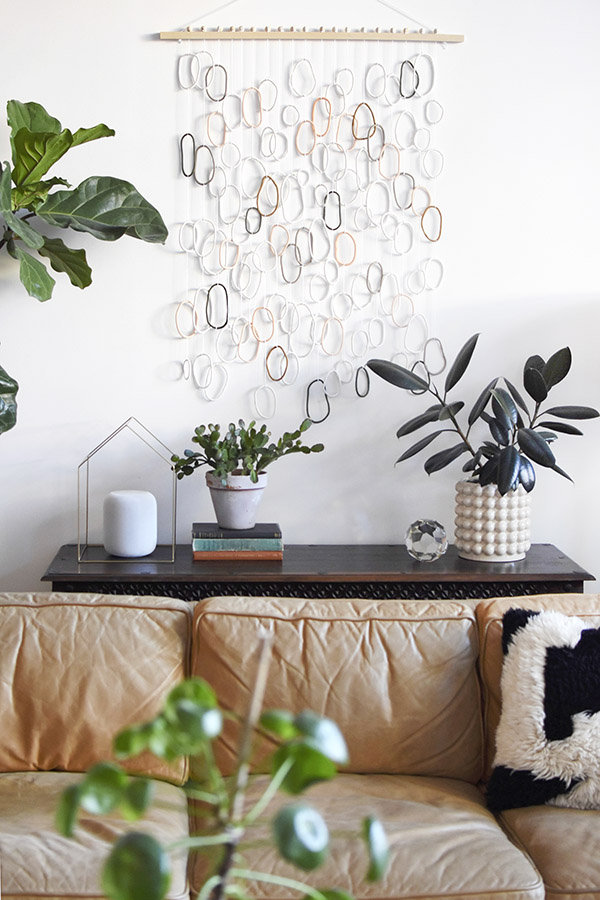
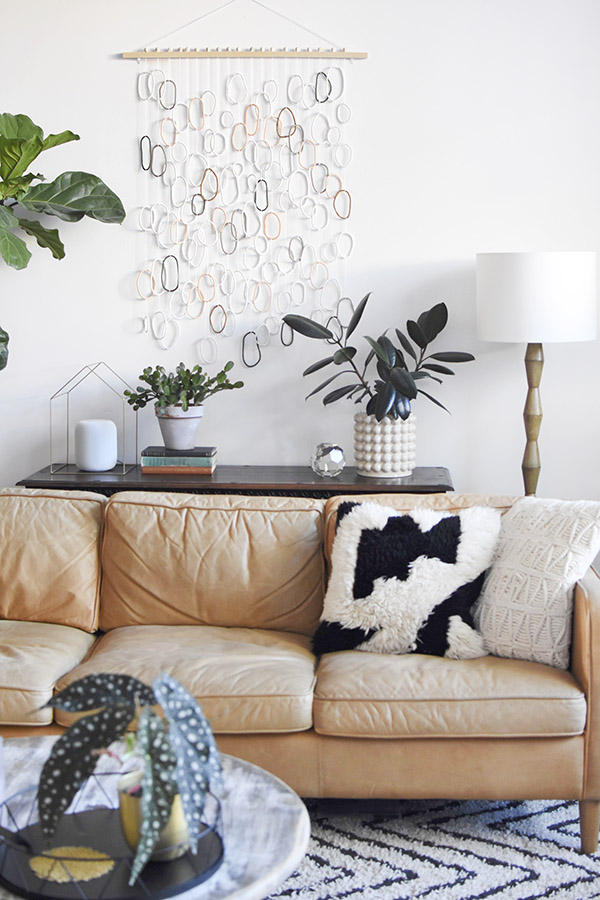
Ring Art Piece
Once you have your strings connected to the wood, you can add one additional string and thread through the outer holes to hang on the wall.
Ironically, I also just finished painting an Arch Accent Wall in our living room on a different wall. Our living room is getting so much love recently!
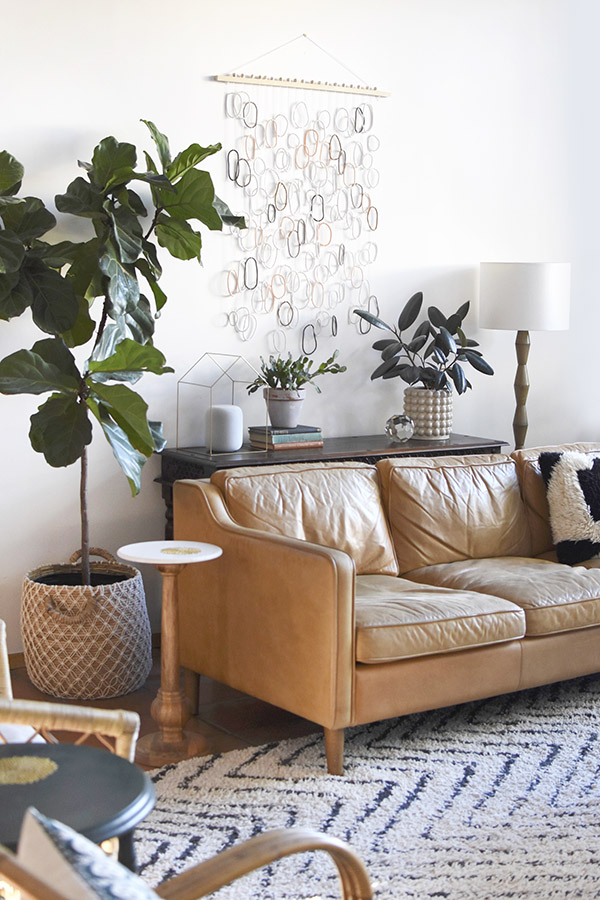
Inexpensive Clay Art
I really love the simple texture this art pieces gives to our wall now. And it’s so large at 3′ wide by 4′ long. With tall walls in our living room, it would be so expensive to buy something that would fit. I love that DIY is a great way to fill the wall for under $30!
Be sure to pin this great project, so you can make your own!
MY Home –> Want to check out a few other rooms in my home?
I love sharing inspiration, tips and inexpensive ways to make your home YOU.
Want to see other great DIY projects?
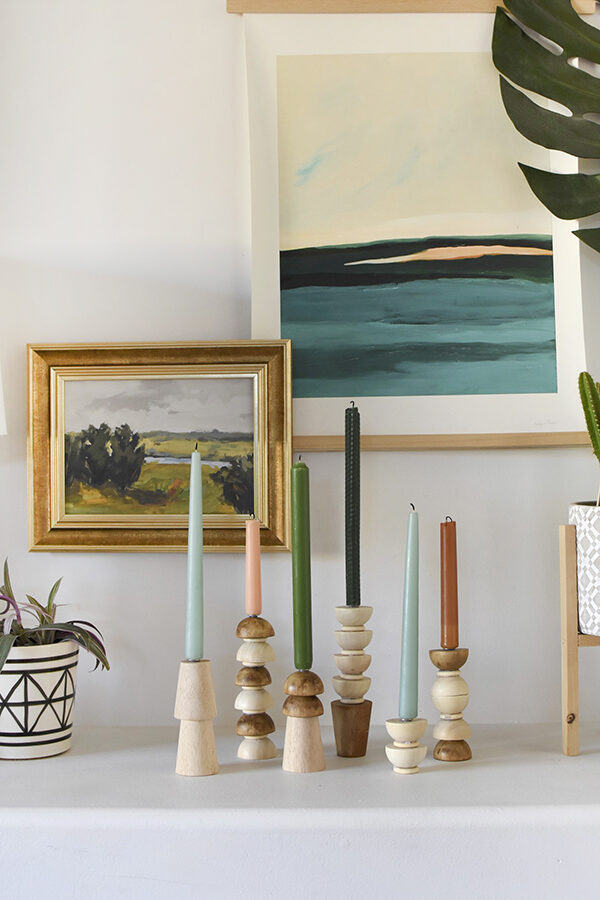
DIY Wooden Candlestick Holders
Thank you so much for the inspiration and the tutorial. I cannot wait to try it.