Make a Trinket Lamp
INSIDE : Need a clutter solution that actually looks cool? Check out the DIY Trinket Lamp I designed specifically for my son’s room. This modern blue table lamp isn’t just a light source; it’s a stylish command center for all those little treasures that clutter a teenager’s desk.

This post contains affiliate links. See my full disclosure.
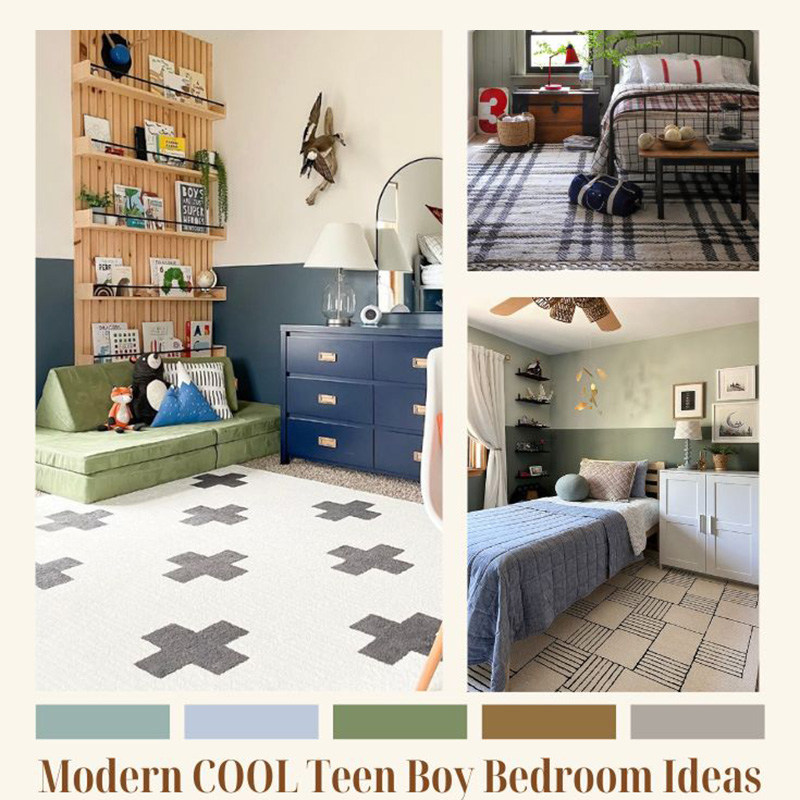
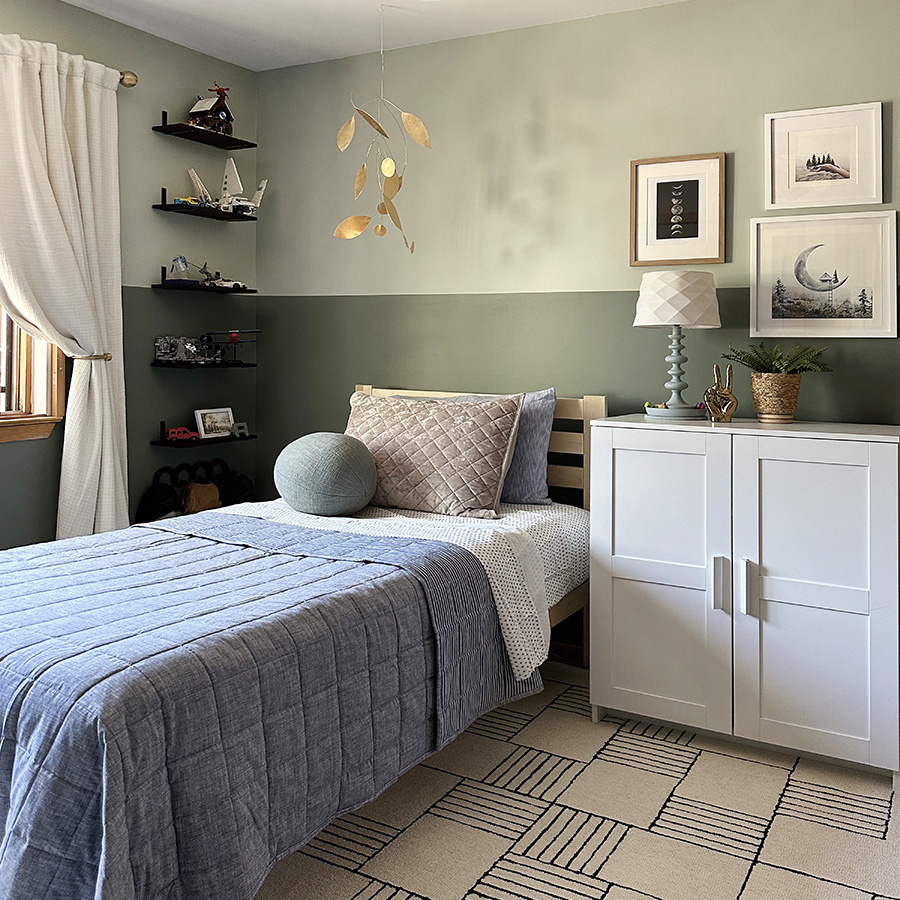
I shared the FINAL REVEAL WEEK of the 8 week Spring 2024 One Room Challenge, where I participated working on my son’s bedroom. You can check out his VERY COOL Modern Teen Boy Bedroom here.
One of the small, but very creative ideas I had for his room was creating a lamp that held and showcased some of his fun little treasures. If you have boys, you know they often gather quite a collection of little items that they want to display – but there isn’t always a place for them. So creating this little trinket lamp was my of finding a way to showcase his smaller finds.
Let’s get into how I made this modern little lamp a reality below!
The before lamp
We’ve had this little green lamp for years and years. I loved it’s unique lamp base shape and it’s served us well, but it was time for a little update to it.
First, I unplugged, unscrewed the light bulb and lampshade.

Supplies needed to create a trinket lamp
- Table Lamp
- HGTV Home by Sherwin Williams Stardew paint
- Tin foil, Plastic Bag + painter’s tape to cover
- Cork Circle Trivet (try to find one about 2″+ wider than your lamp base)
- Small Wooden Dish (try to find one about 2″+ wider than your lamp base)
- Wood Glue
- Rag
Painting a lamp
Once I had removed the lampshade, I covered the top portion that holds the light bulb with tin foil and a spare shopping bag. I also covered the lamp cord with tape.
I took the lamp outdoors and painted it with a soft blue paint. I used a few coats of HGTV Home by Sherwin Williams Stardew paint to cover the lamp and then also painted a large cork circle and a small wooden dish. FYI, for the dish, I wanted to still see the wood grain so I only painted the sides and bottom of the dish. I love that mixed look.
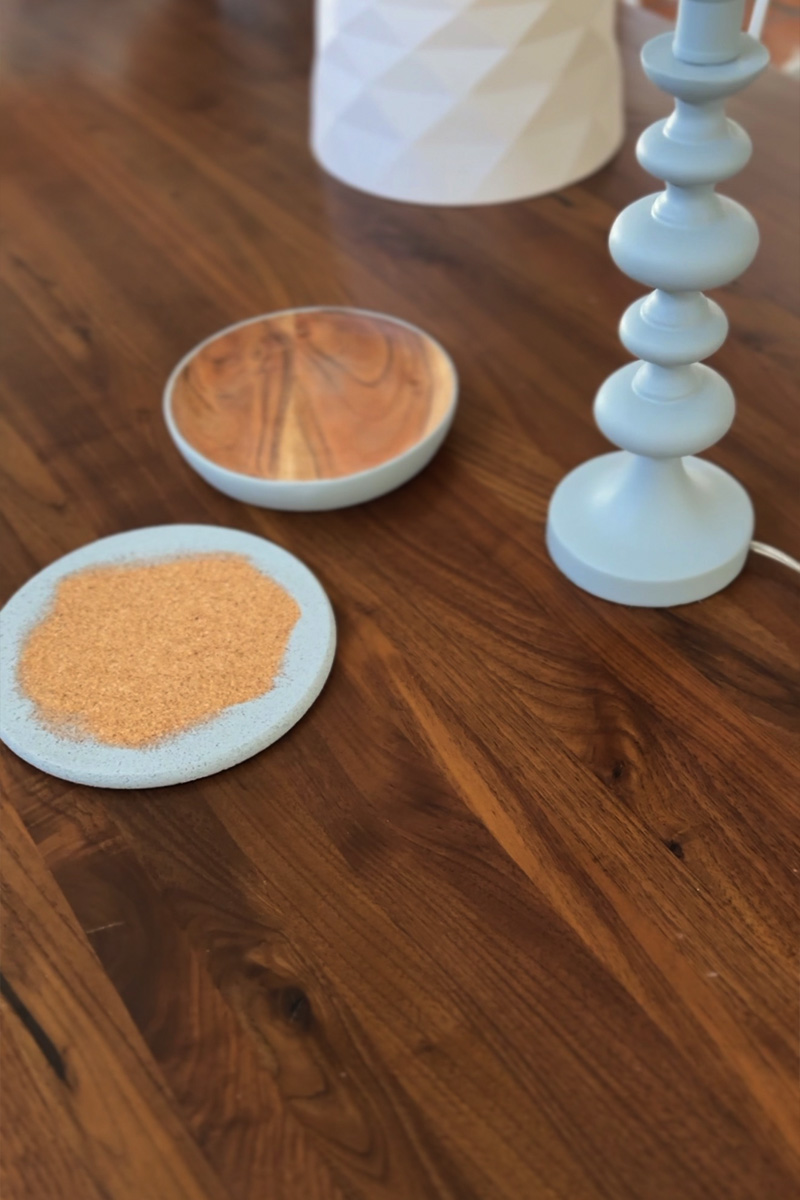
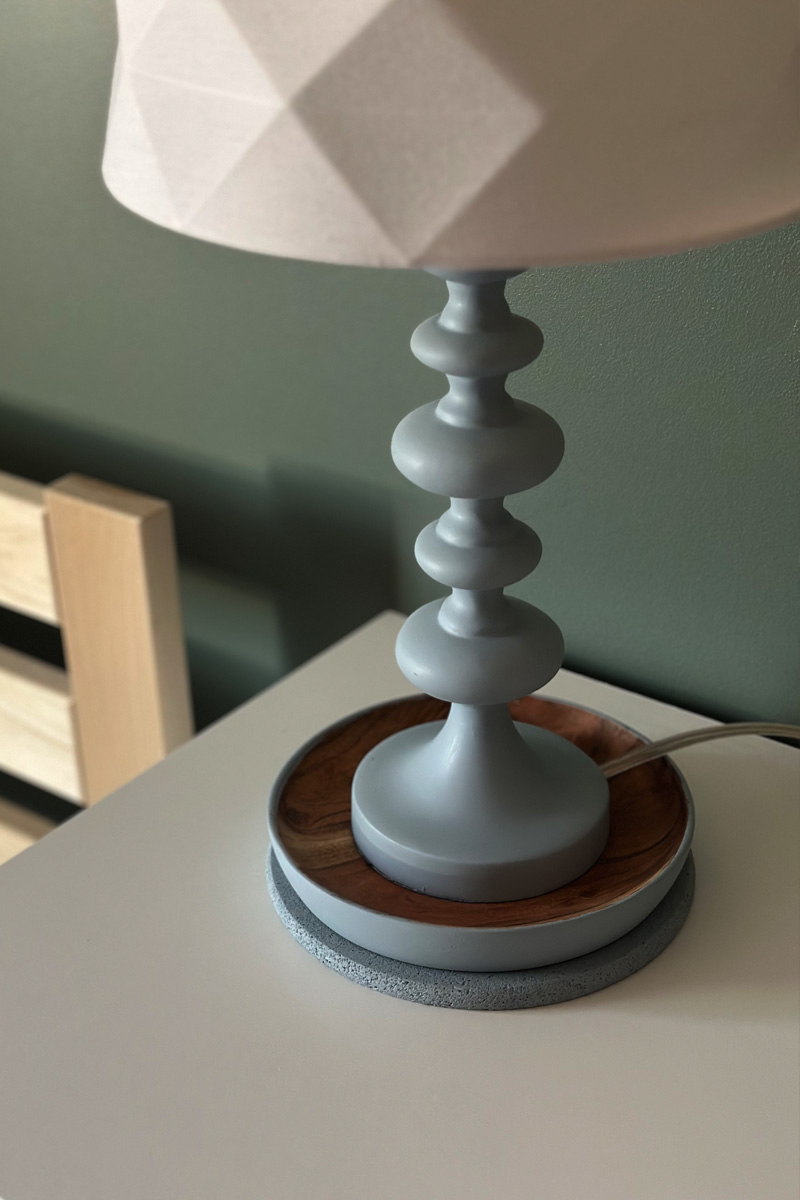
Assemble Lamp Trivet base
Once all the paint has fully dried, it’s time to put together your lamp base and trivet dish.
I used wood glue to secure my pieces together.
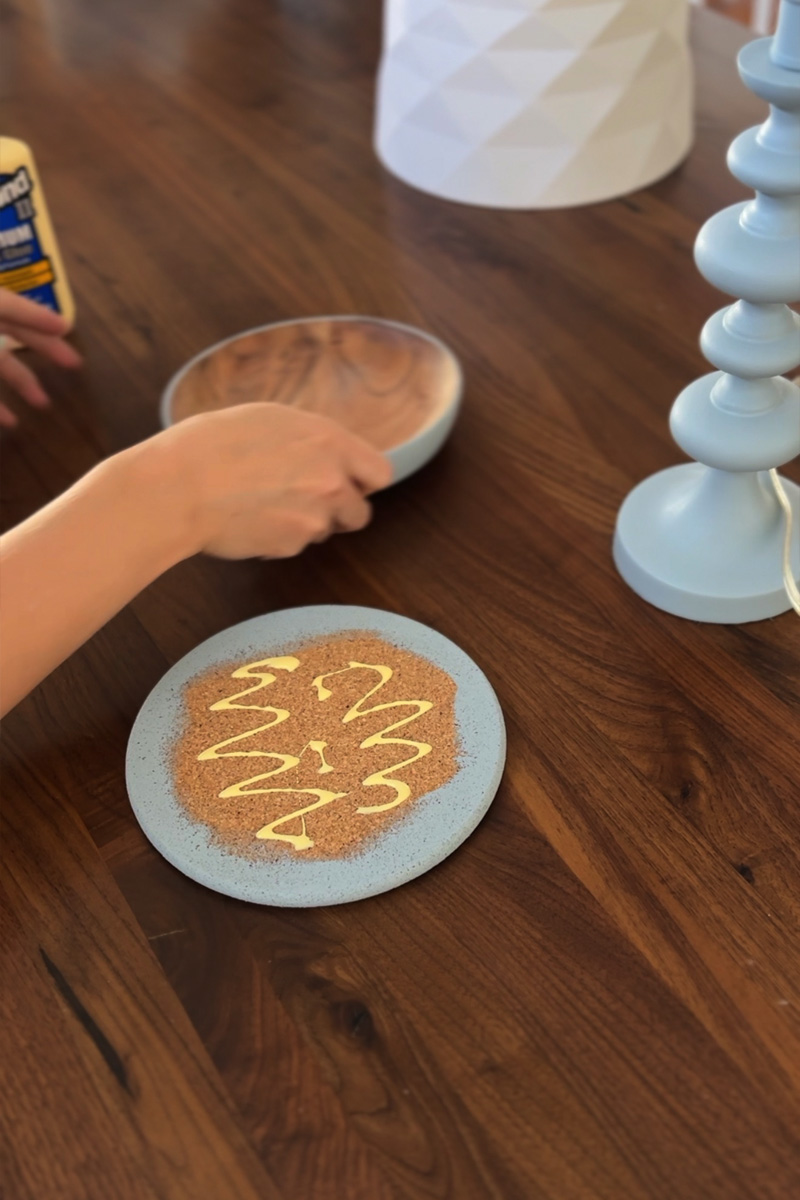
I started by adding a generous amount of wood glue to the center of the cork trivet. This piece isn’t necessary, but it really does give the completed lamp a more layered bulk that feels finished.
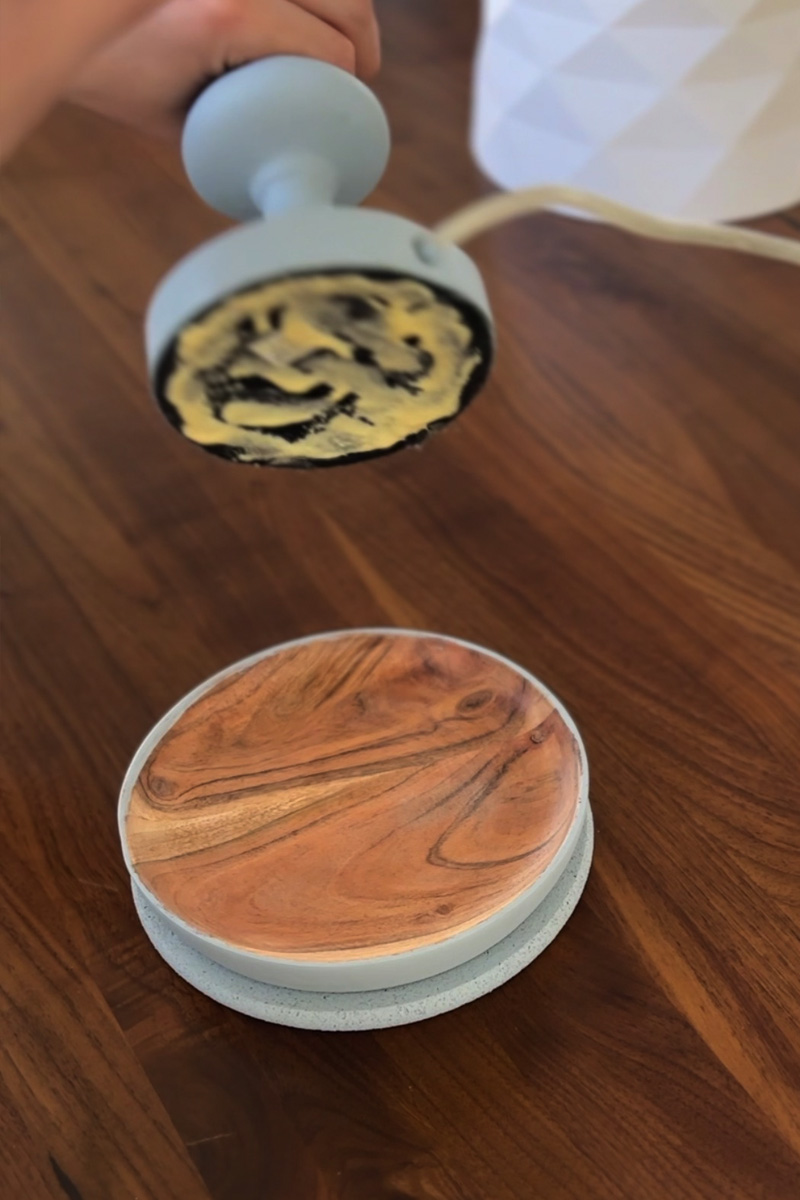
Then, I placed the wooden dish on top of the trivet and made sure it was centered. I placed a heavy book overtop while it dried.
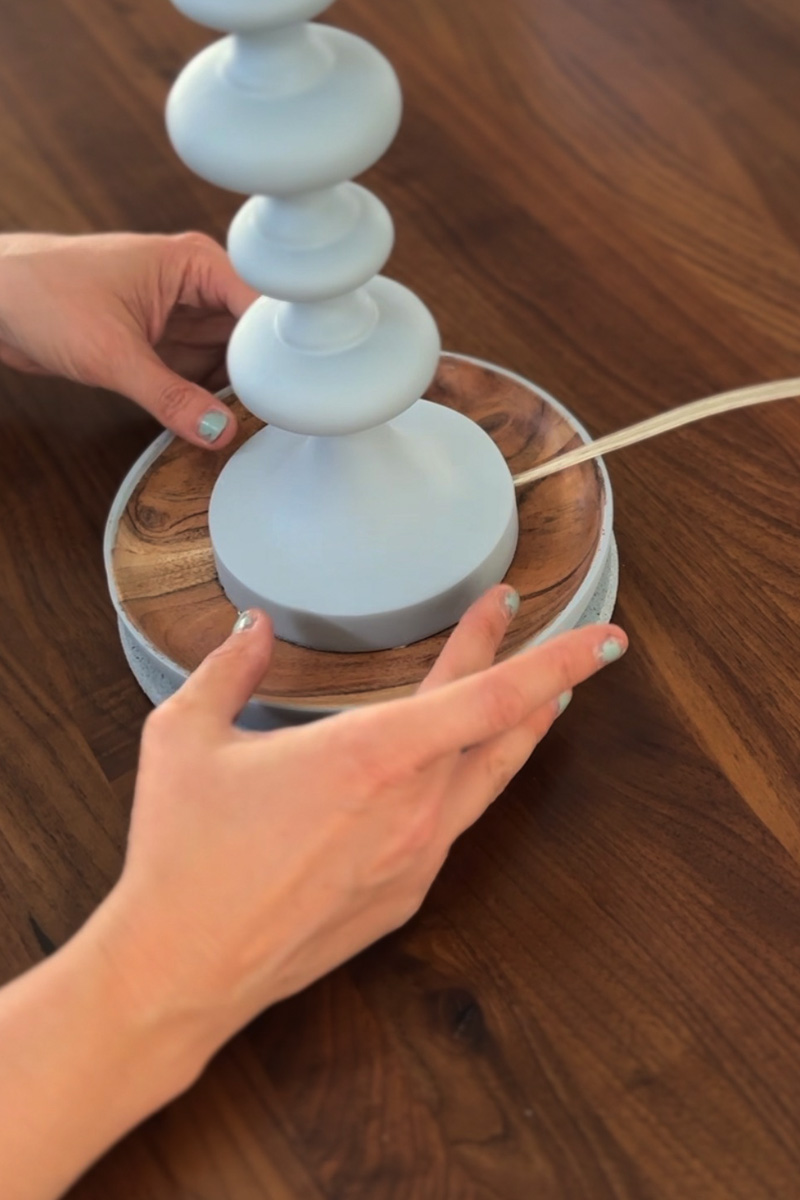
After the base was fully dried, I then applied a generous amount of wood glue to the bottom of the lamp as well.
To the best of your ability, make sure that the lamp is centered on the base.
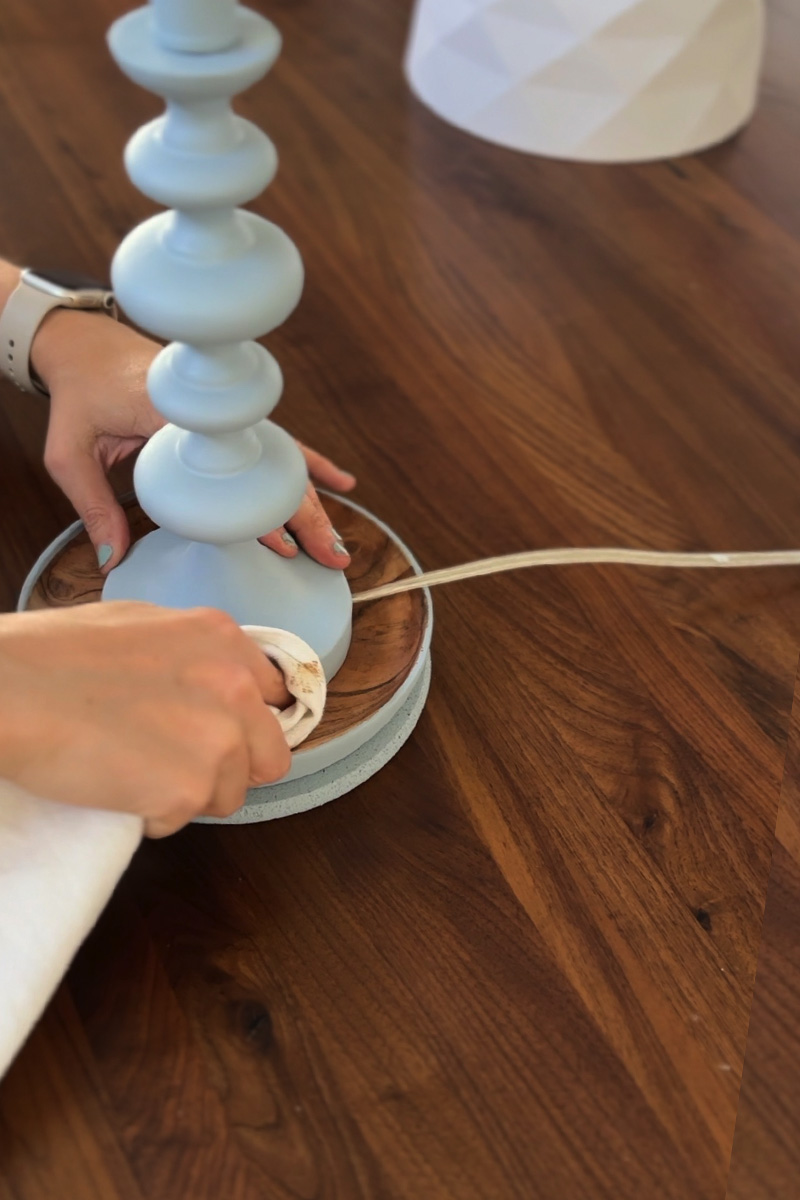
Make sure to wipe any excess glue from the lamp before it fully dries. The wood glue I used dries yellow, so you don’t want to see any of it peaking out.
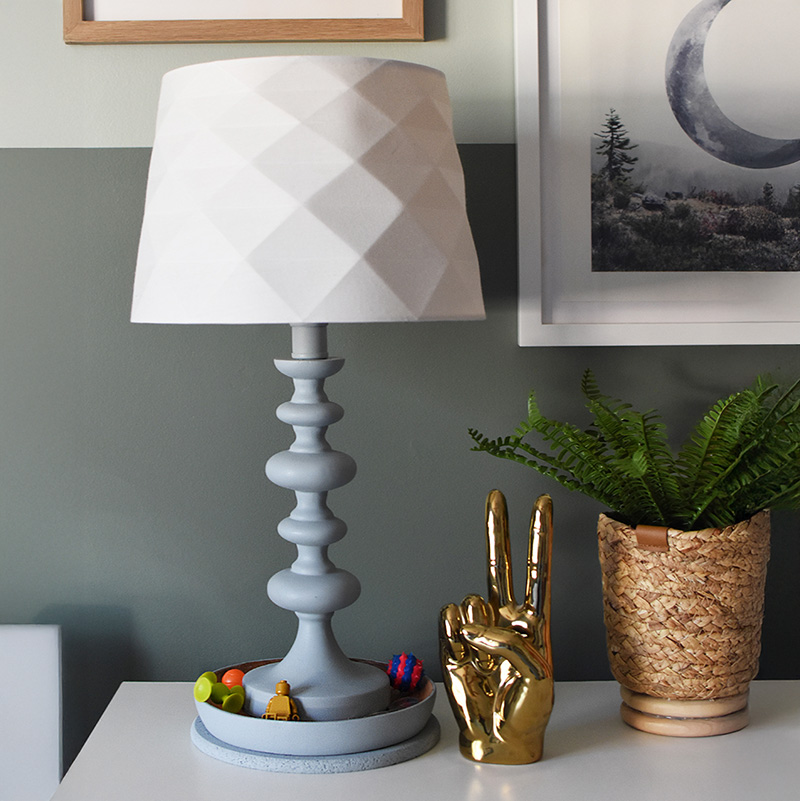
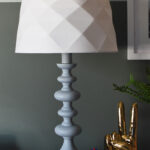
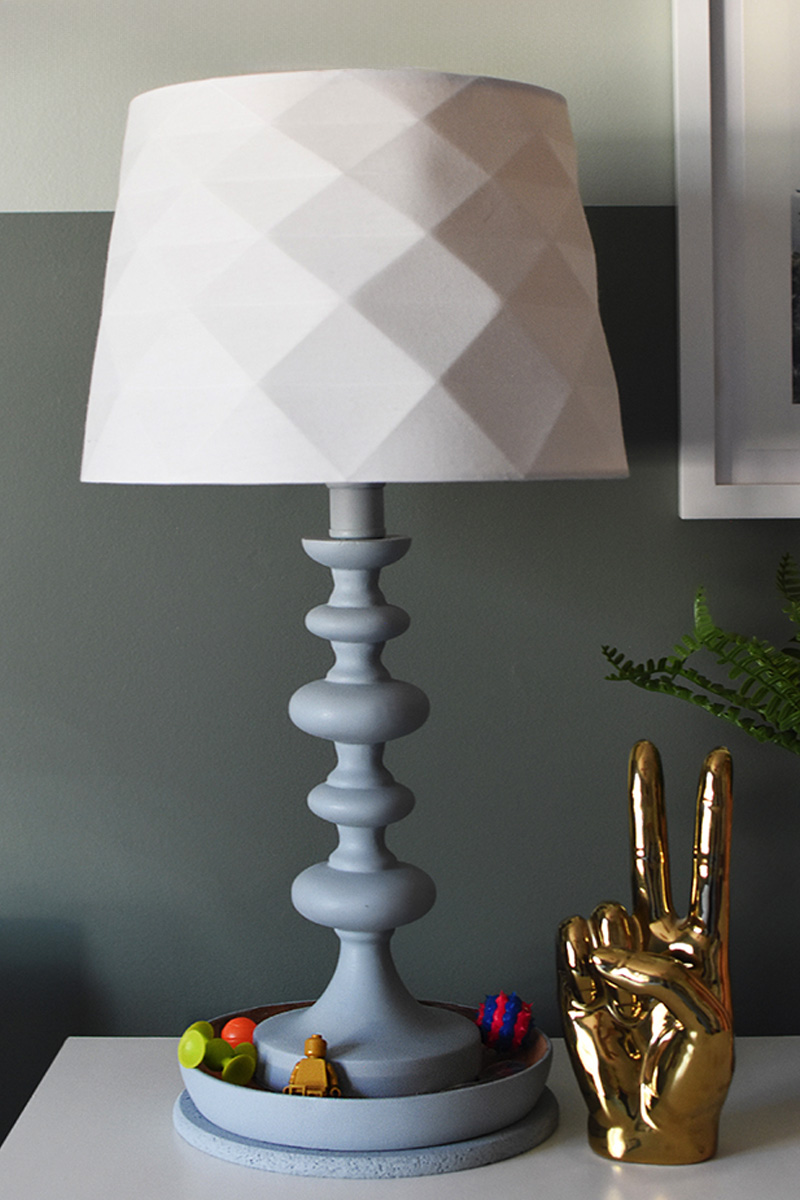
Blue table lamp
I adore how this blue lamp went from a bright green to a calm chill blue color. It fits beautifully in my son’s modern teen bedroom again!
And the contrast of the blue and wood color feels very modern also.

Immediately, my son added a bouncy ball, a gold lego guy and some spare change – ha… just the essentials.

It will never cease to amaze me how easy it is to update things you already own and give them entirely new lives! This blue lamp feels fresh, fun and perfectly teen boy now.
If you’d like to check out some of the other very cool projects I did for his bedroom – click on them below!
Tween Boys Bedroom Schedule
Week 1 Tween Boy Bedroom Plan
Week 2 Checkerboard + Stripe Accent Wall
Week 3 DIY Mobile
Week 4 Styling an Arched bookcase
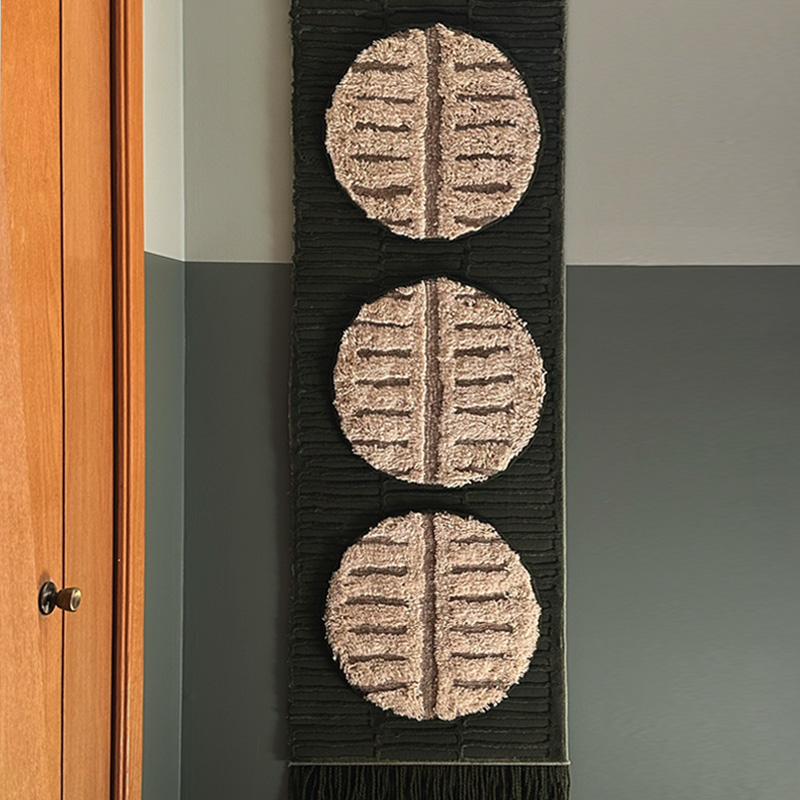
Week 5 DIY Wall Hanging
Week 6 DIY Closet Doors
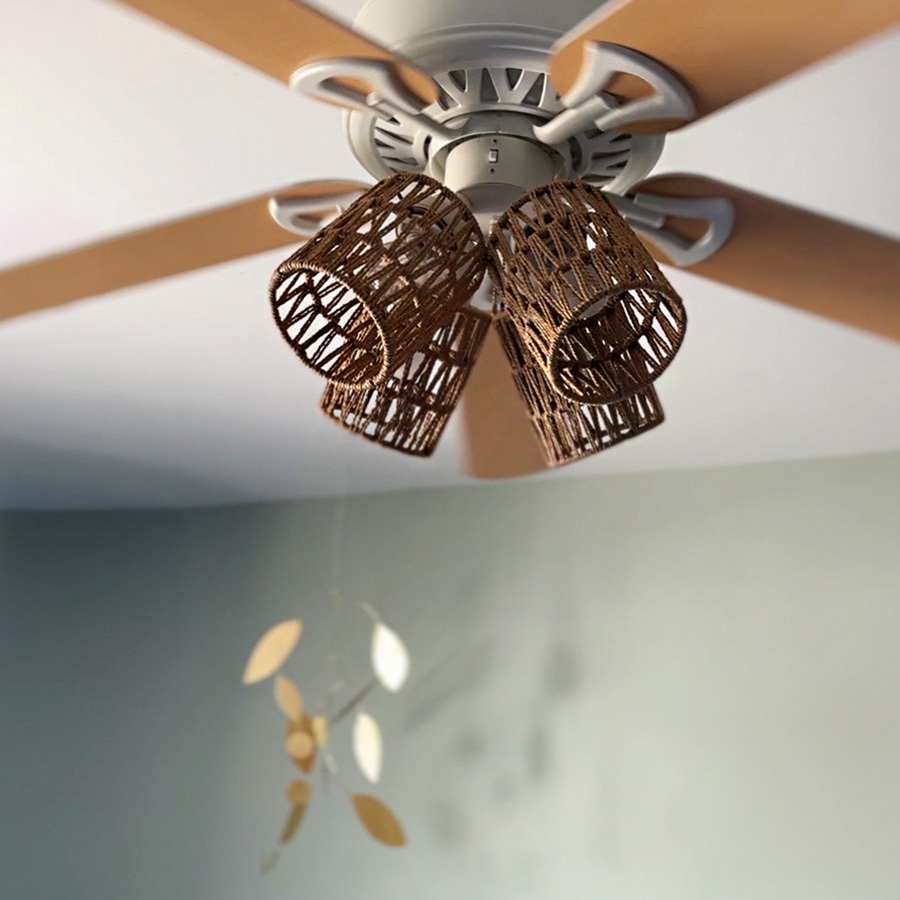
Week 7 Update an Old Ceiling Fan
Week 8 Modern Teen Boy Bedroom Reveal
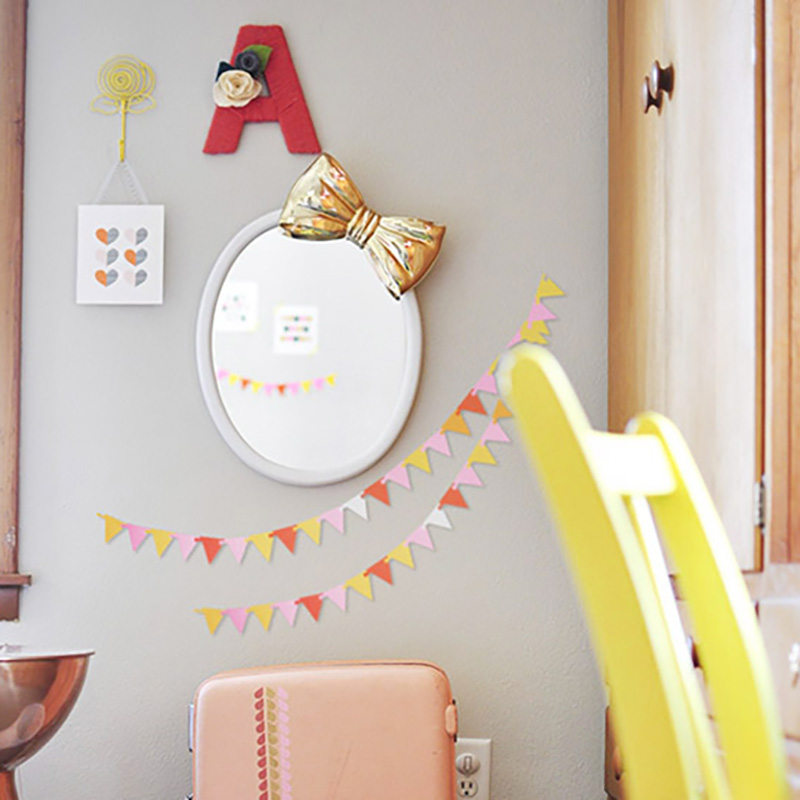
And if you are looking for even more kiddo themed bedroom ideas, check out these below…