DIY Mobile
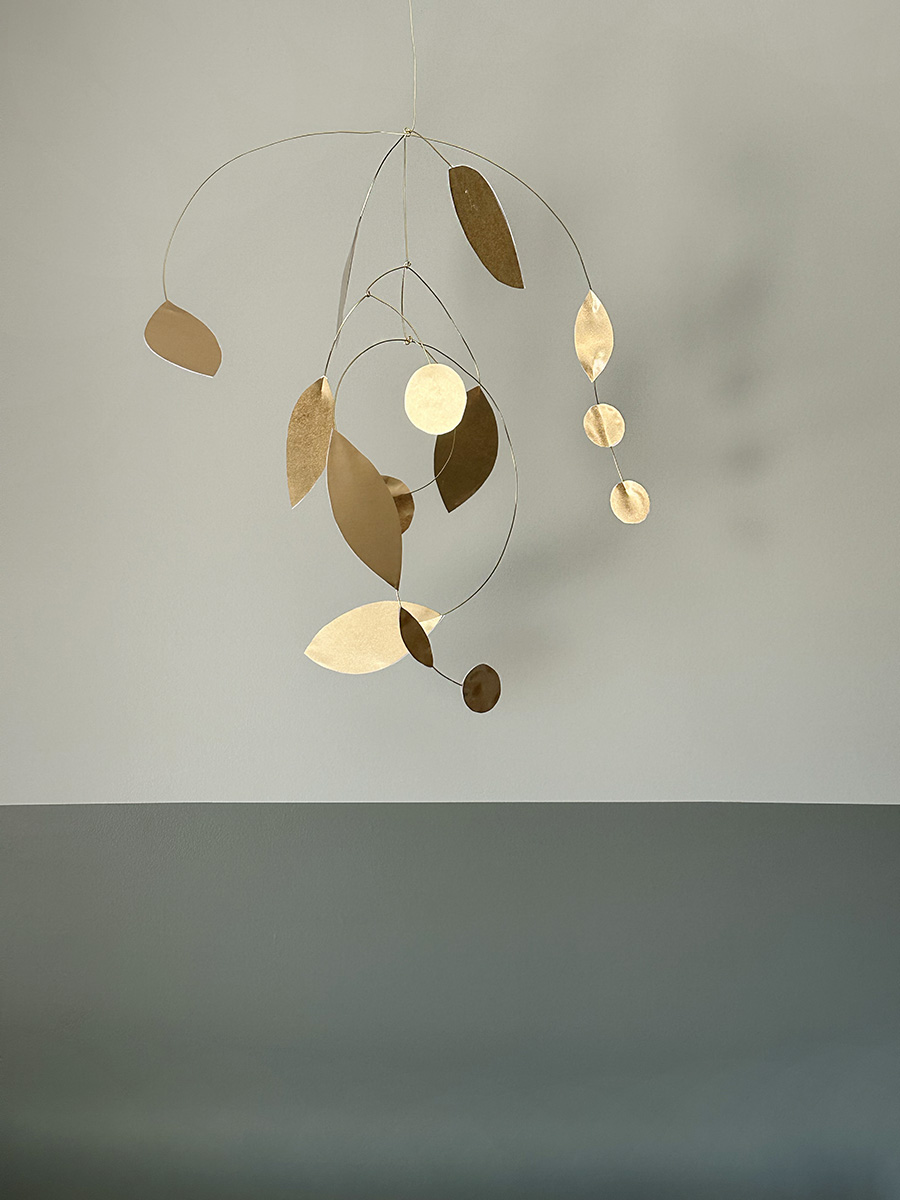
INSIDE : Learn how to create a gorgeous organic metallic DIY mobile to hang in your home for that perfect art statement moment! This afternoon craft project is low budget and so playful it’s fun for any age to make.
This post may contain affiliate links. See full disclosure here.
I am joining as a guest participant in the Spring 2024 One Room Challenge and have decided to take on my son’s bedroom! Now, what is the ORC you might be asking? Well, let me tell you.

Over the next eight weeks, I will be slowly transforming my son’s bedroom along with numerous other bloggers and content creators on Instagram. Every Wednesday I will be sharing an update on his room. It should be fun, but also eight weeks isn’t much time for all I have planned.
So, let’s get to the good stuff!!
Tween Boys Bedroom Schedule
Week 1 Tween Boy Bedroom Plan
Week 2 Checkerboard + Stripe Accent Wall
Week 3 DIY Mobile
Week 4 Styling an Arched bookcase
Week 5 Update Closet Doors
Week 6 DIY Lego Storage
Week 7 DIY Art
Week 8 Tween Boy Bedroom Reveal
This week I wanted to create something fun and whimsical to hang in my son’s bedroom over his bed. I found some stunning mobiles online, but their price point was so high… like $350 high (this, this + this).
I did not want a baby crib mobile and although I did find some DIY mobile kits, they were more like clip photos onto the ends sort of thing.
I was wanting a very elevated art statement piece sort of look… but, budget friendly. So, of course I decided to make my own!
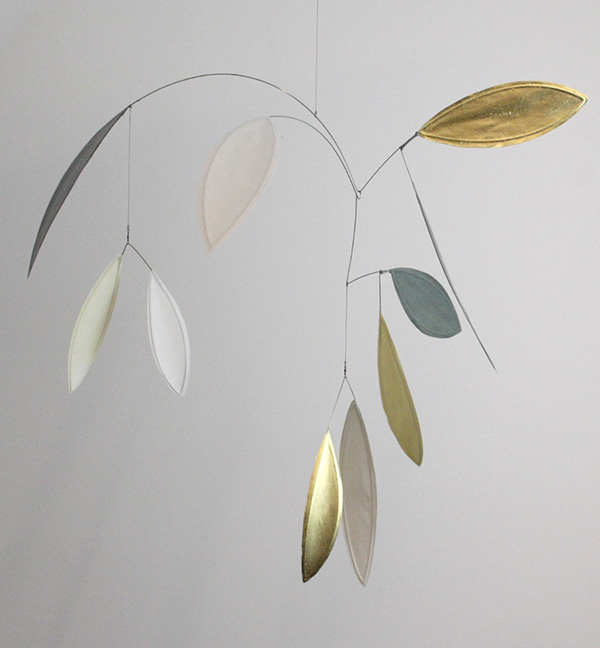
This (below) is my inspiration style of mobile.
If you are looking for the big picture plan, check out this Tween Boy Bedroom Plan post.
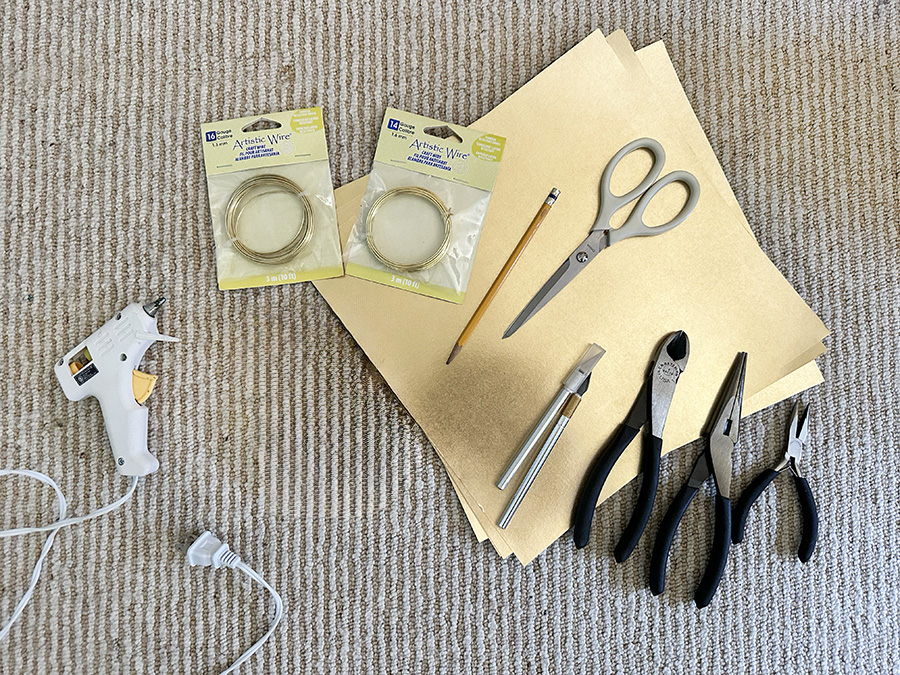
What do I need to make a hanging mobile?
- Gold Metallic Scrapbook paper (3) 12″x12″ sheets
- 14 gauge gold wire
- 16 guage gold wire
- Wire Snips
- Round wire tools
- Scissors
- Hot Glue
What is a hanging mobile sculpture?
A hanging mobile sculpture is a kinetic sculpture that is designed to dangle from the ceiling and move freely in air currents.
Mobiles are typically constructed from lightweight materials such as wire, paper, or wood, and are balanced in such a way that they will spin and sway gently when disturbed.
Mobiles can be purely abstract or they can represent recognizable objects or figures. They are often used as decorative elements in homes and offices and can be a source of both beauty and fascination.
How to create a metallic looking mobile
To create a metallic looking mobile you can use various materials. I did try using balsa wood (was going to paint it gold if it worked) and find fairly thin sheets of sheet metal, but for the cost and the weight of them – I decided ultimately to go with using metallic gold scrapbook paper.
I also liked this metallic pack of various metal colors from Michaels. However, I ended up using (3) 12″ x 12″ sheets… so make sure whatever material you select that there is enough.
Start by drawing out your basic shapes on the backside of your paper with a pencil. I choose to do organic “leaf” type shapes.
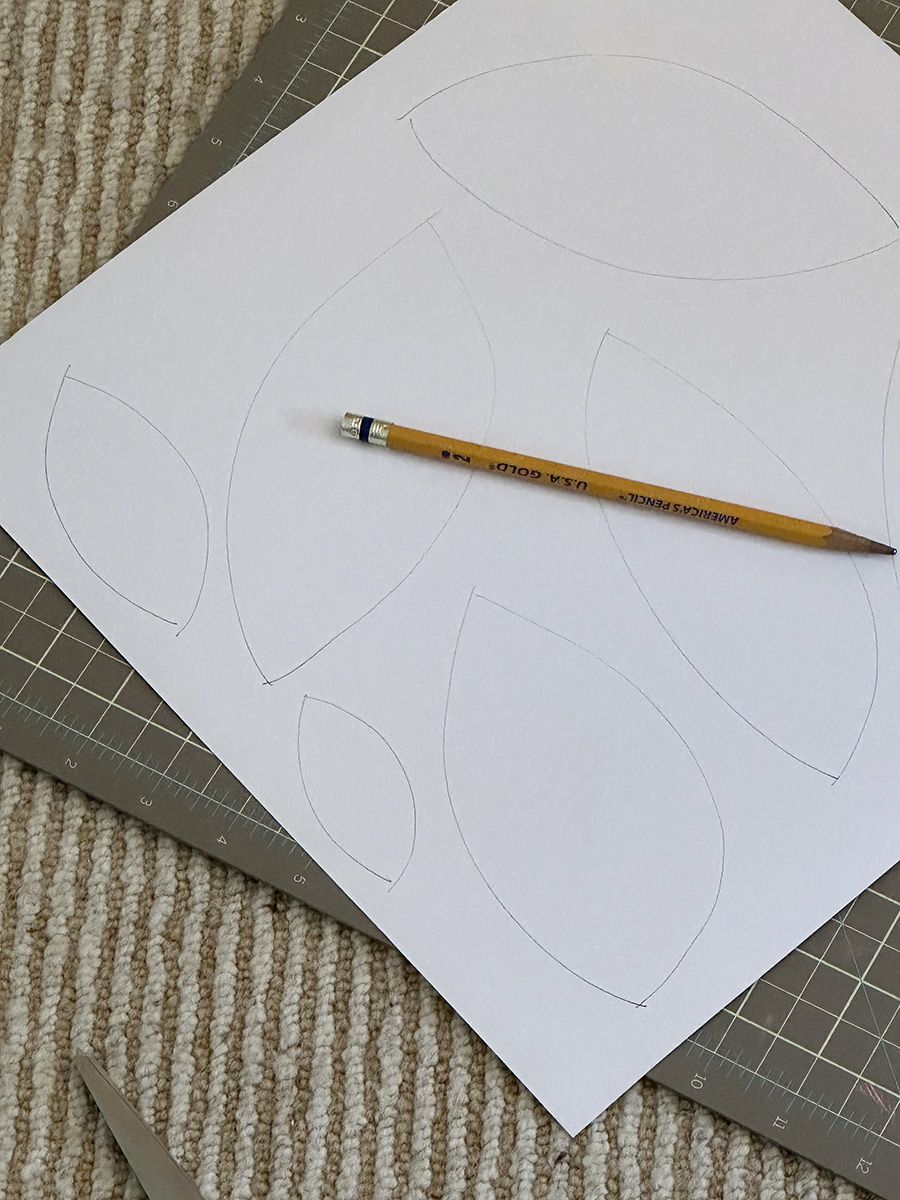
I also used two small biscuit cutters and traced out a few circles shapes, but anything round will work for this step.
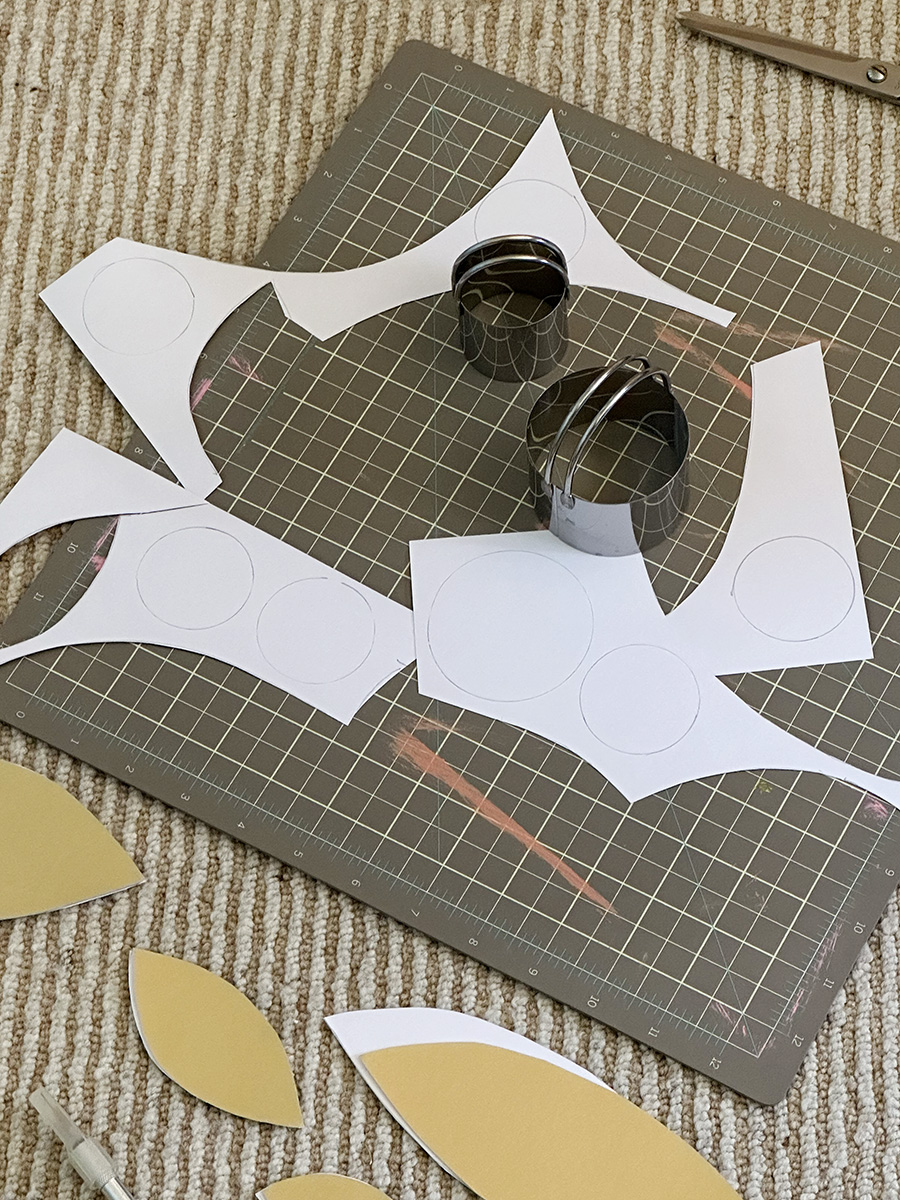
Next, using scissors cut out your shapes. Someone on Instagram when I shared this step mentioned you could also use a Silhouette or Cricut to cut out your shapes and that is 100% true. I ended up cutting in total 14 pieces in total, so if your cutting machine is handy – go for it, but it really wasn’t too much of a time sink to just use scissors.
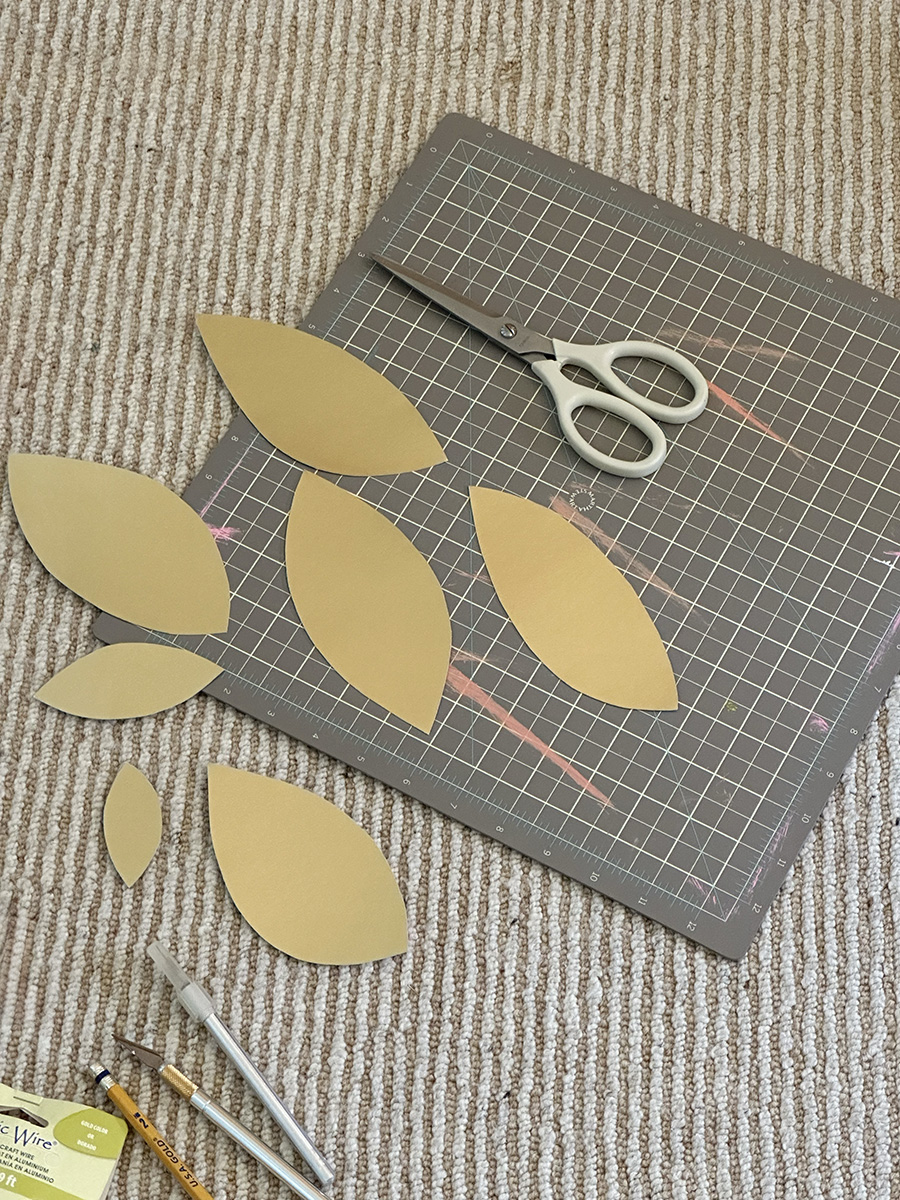
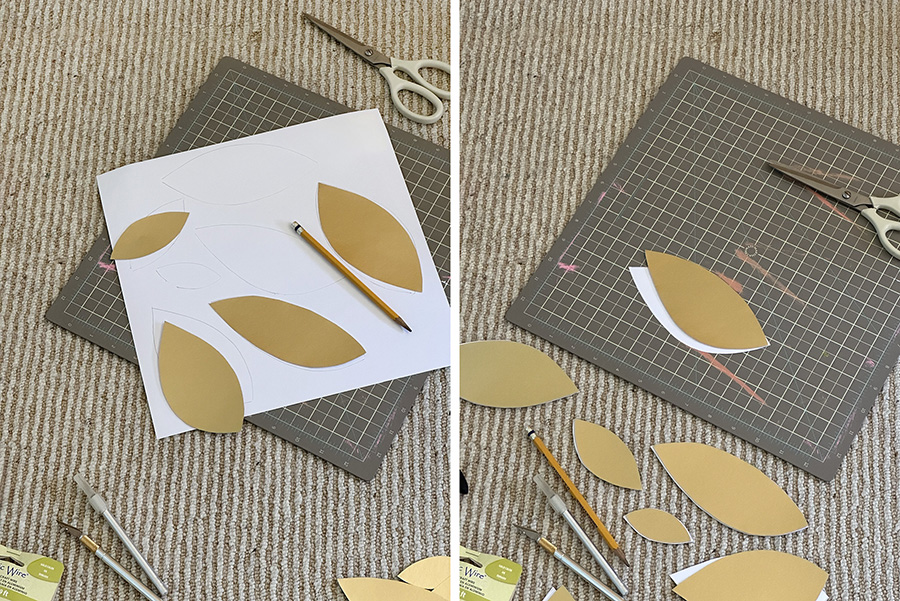
Once you have all your shapes cut out, grab another sheet of paper, trace their exact shape again and cut out the mirror of them. Each shape you have, should have a perfect mirrored shape to match it.
What wire do you use for mobiles?
The wire you use for your mobile completely depends on the main material you use. Since I was using scrapbook paper, I used a lighter gauge wire size. I used 14 gauge and 16 gauge.
I used the lighter wire gauge wire on the lower pieces that weren’t holding as much weight and as I went up in building the mobile and if more pieces were on a “branch” of the mobile, I used the heavier gauge wire.
Creating a mobile wire structure
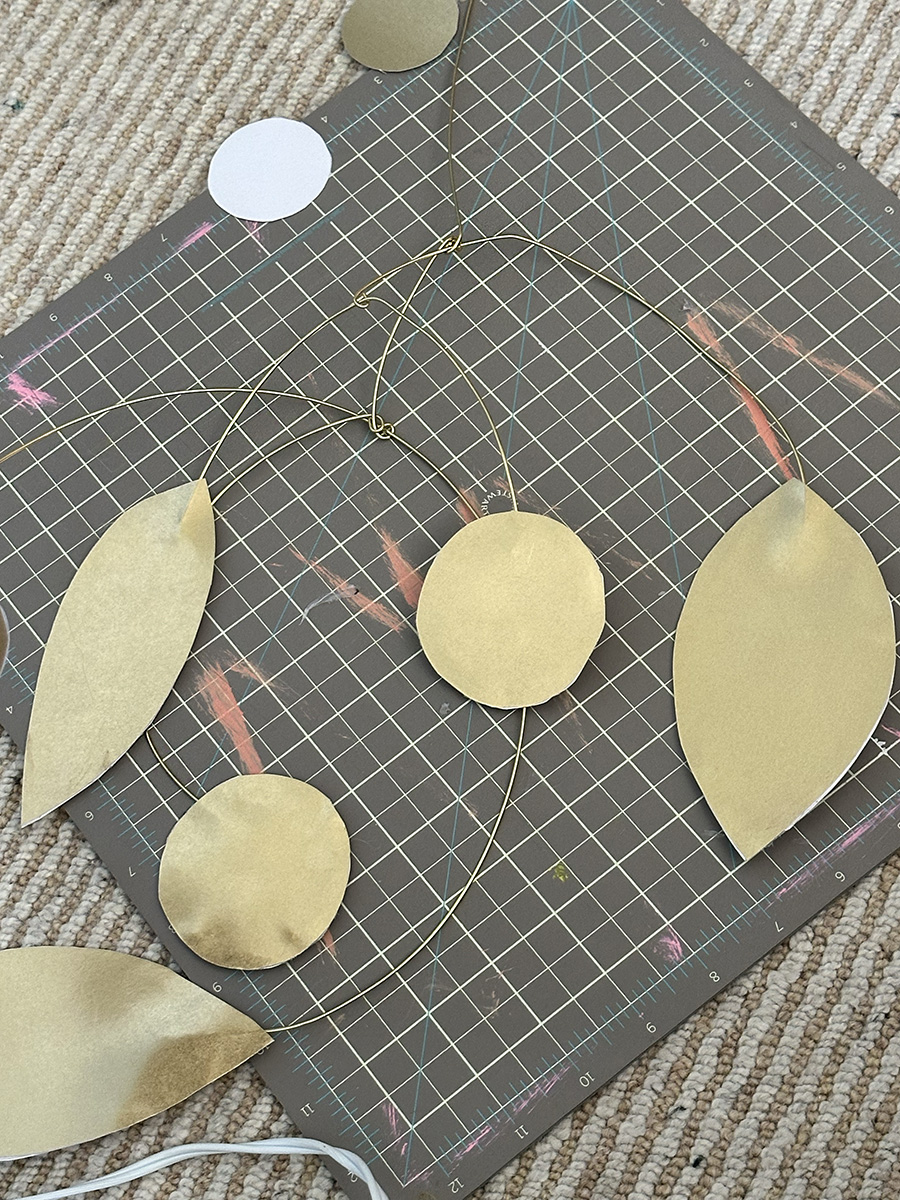
I started creating the structure of my mobile by cutting a few 6-8″ pieces of wire using wire snips. One end I left straight and one end I curled using round wire tools. These curled ends are where you connect the wire structure together.
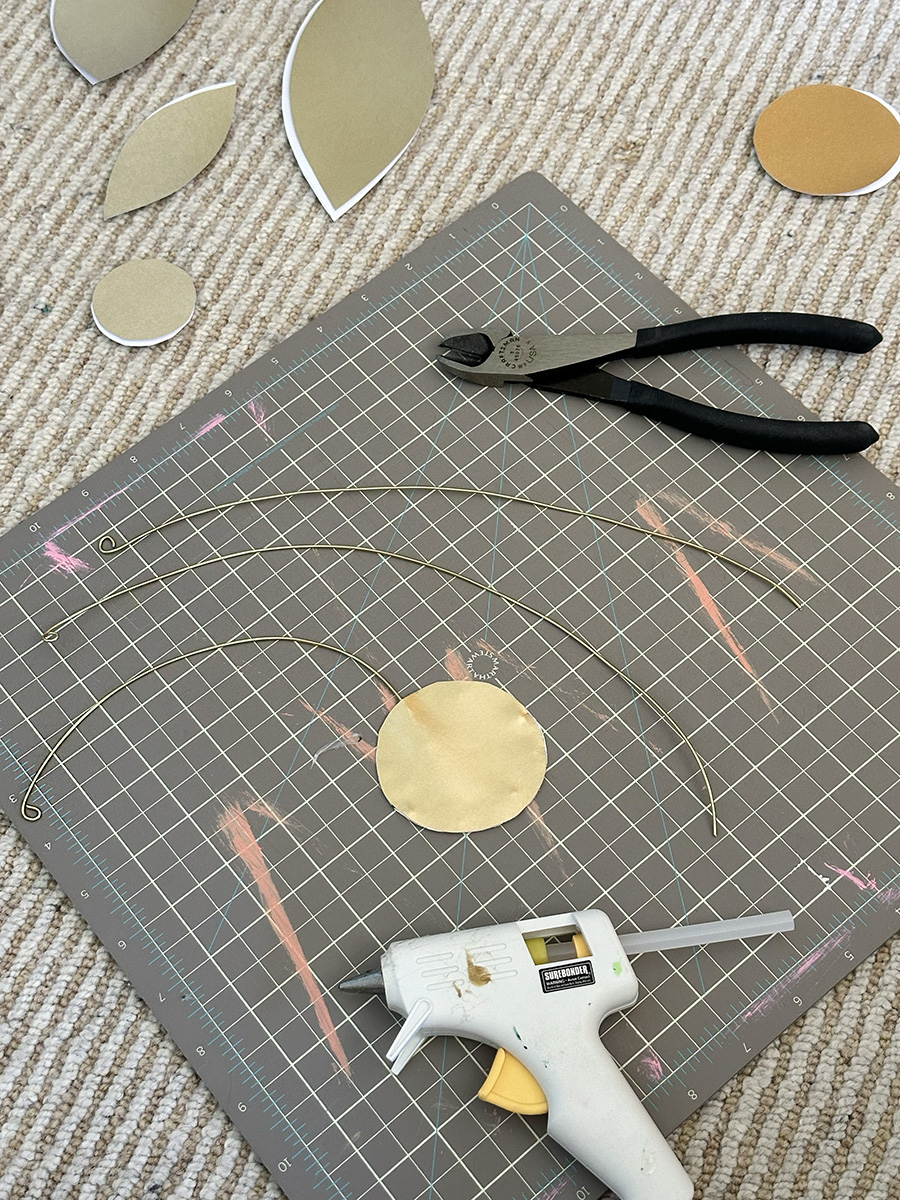
And to secure the metallic paper shapes to the wire, I simply used the sandwich method. I started by hot gluing the inside of the circle to the wire.
Once that was dry, I hot glued the other side of the circle on top of it, metallic side facing out.
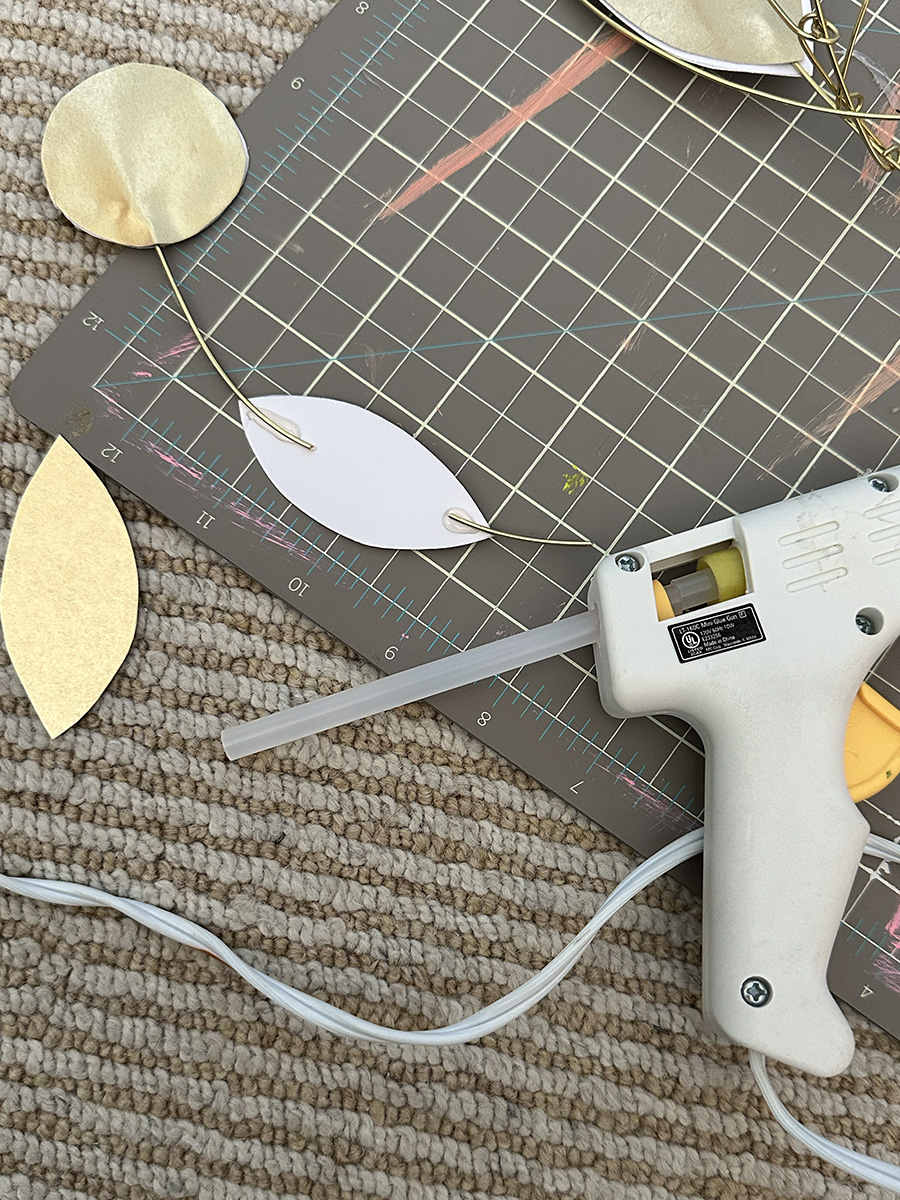
I slowly just bent wire, connected wire, hot glued pieces together and began to build the mobile piece by piece.
How do you balance a hanging mobile?
I often would stop and hold it up to make sure it was semi balanced. If it seemed like one piece was too heavy and pulling too much, then I would hot glue another shape onto that section until the mobile felt more even.
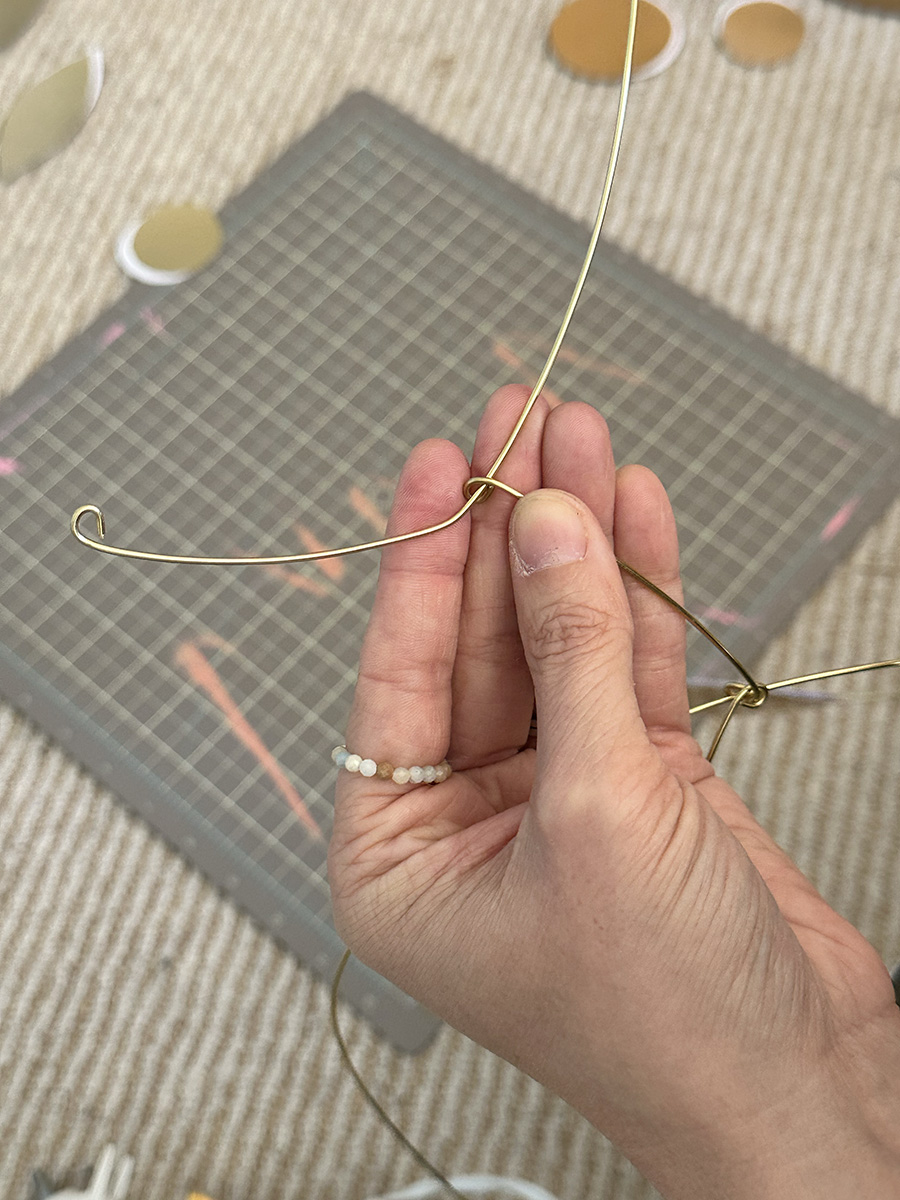
You can see how curling the wire helped to create the mobile structure. Little by little, it took shape.
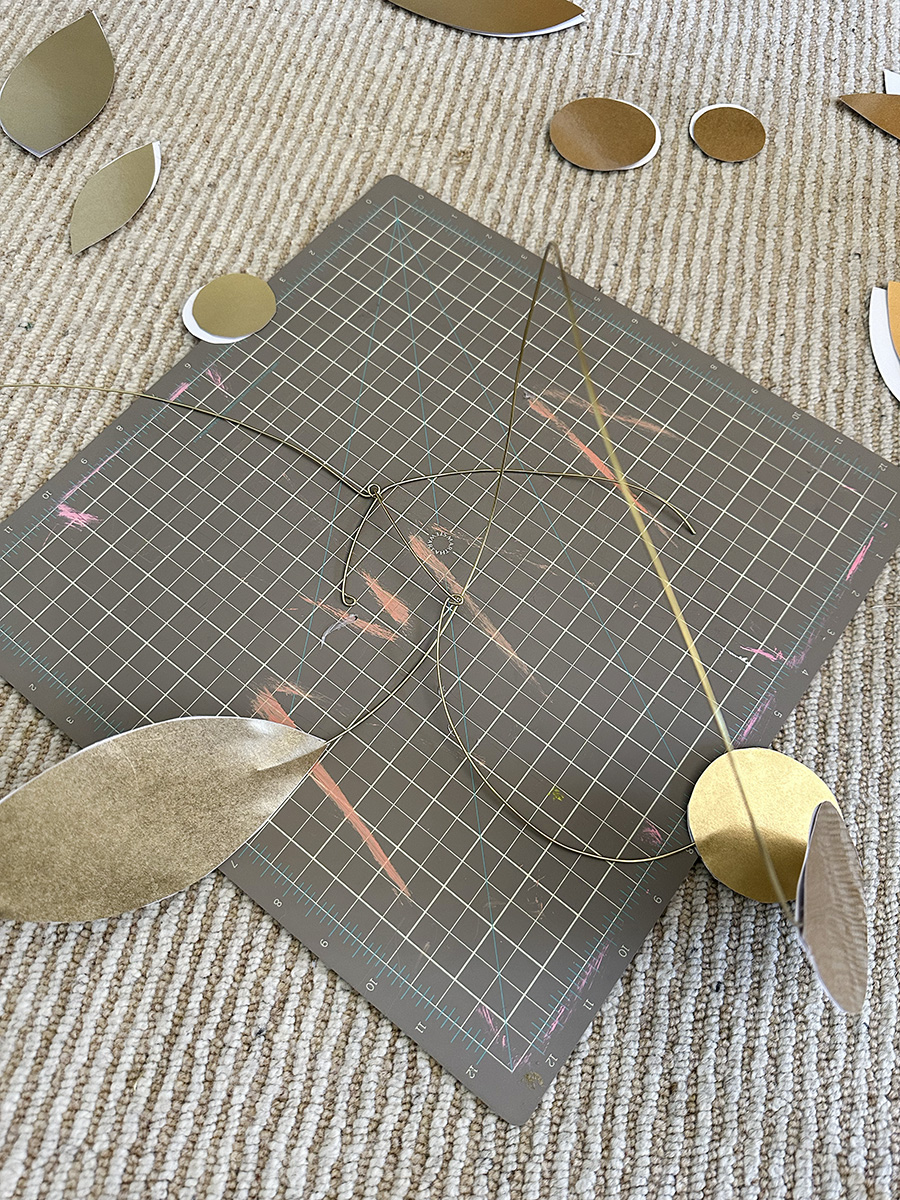
Another tip I have along with holding it up every so often to make sure things are balanced is to try and refrain from over manipulating the wire. The less you can bend and shape it, the more organic and professional it will look.
Too many bends are nearly impossible to smooth out, so I found the less I could mess with the wire shaping the better.
What can I use to hang a mobile?
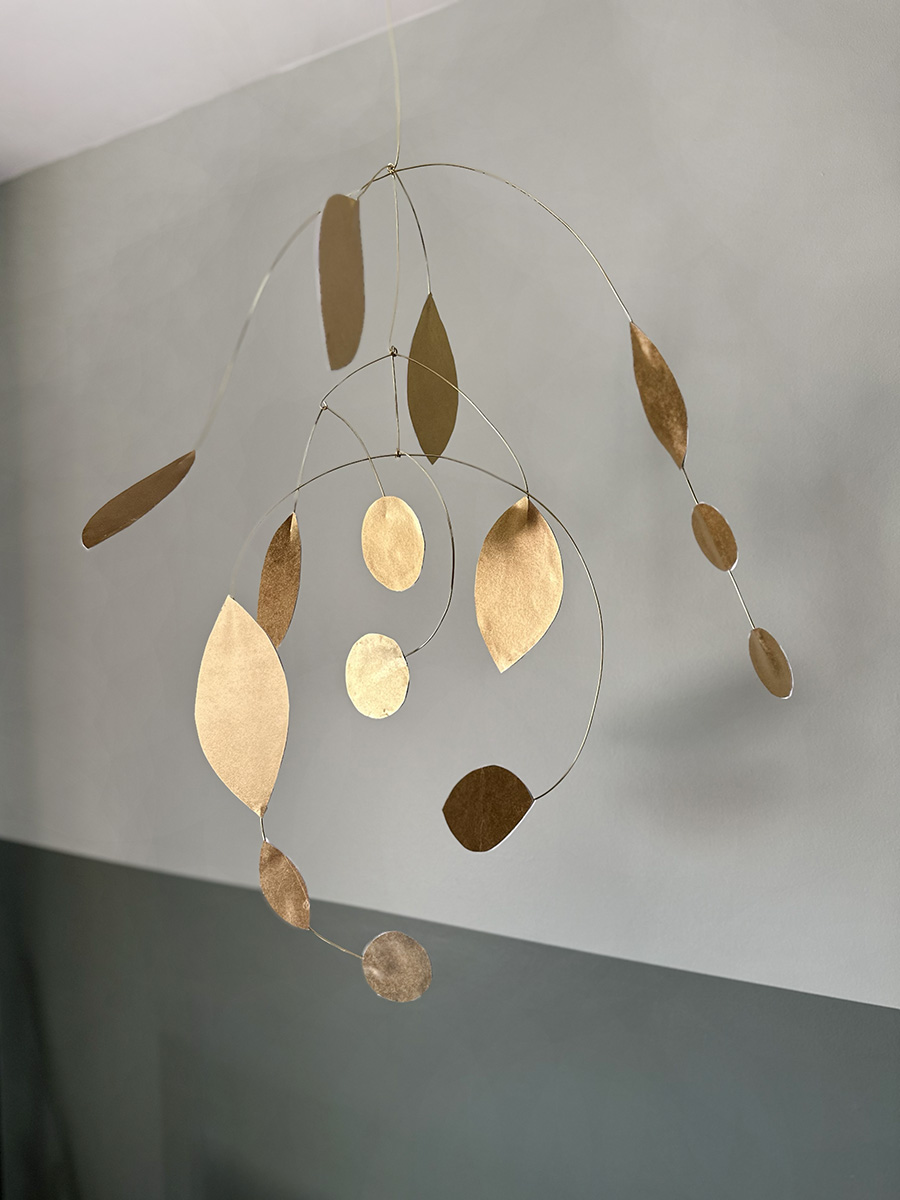
When hanging a mobile on the ceiling, it is important to note first the overall mobile’s weight. Since mine was made of low gauge wire and scrapbook paper it was fairly easy to hang.
I used a piece of straight 16 gauge wire for the top portion and made a final curled loop at the top.
What string do you use for mobiles?
Then I used baker’s twine to tie from the wire top to the j screw hook in my ceiling. I wanted ease of twisting on the ceiling, so the twine has been working perfectly. You could also use a thin metal chain (I could only find large quantities sold when I looked at this option, though) or any variety of thin ropes to hang your mobile, as well.
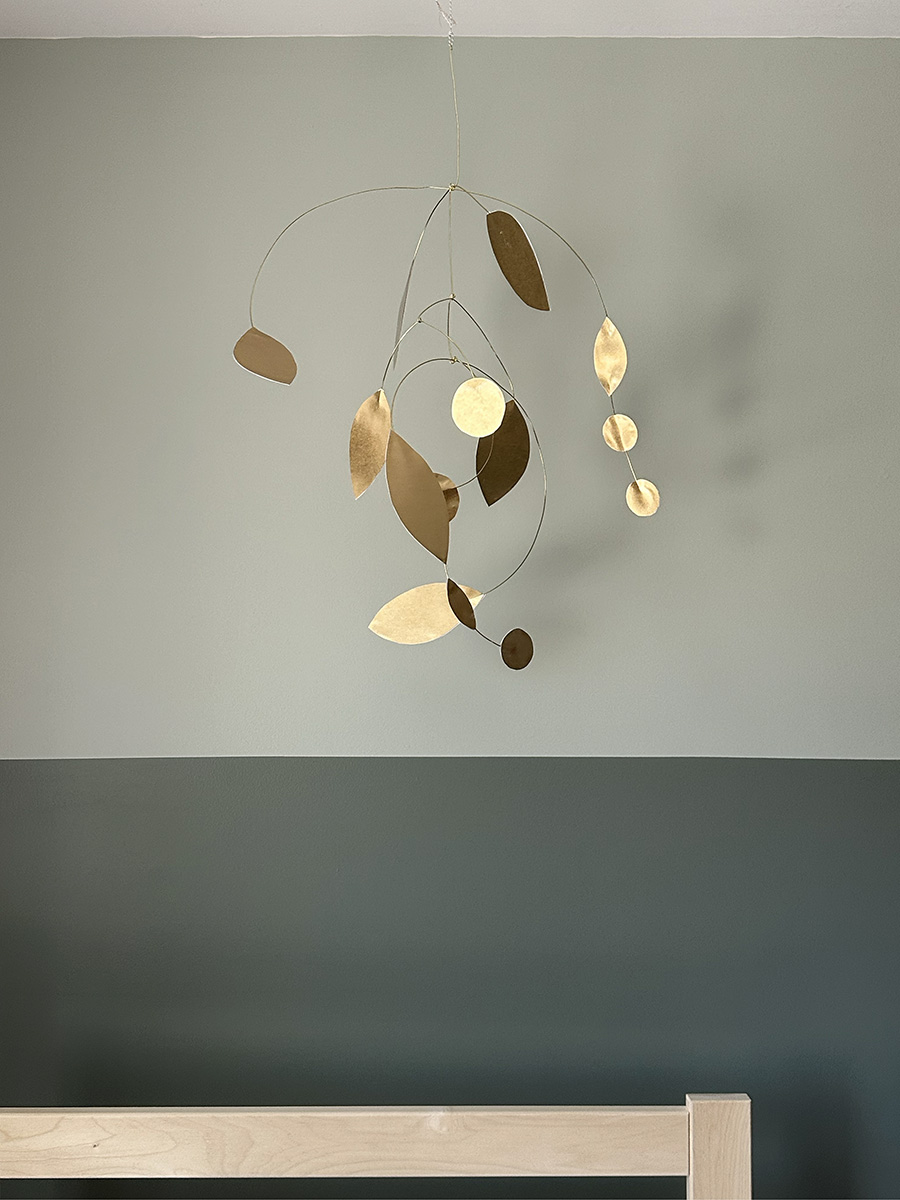
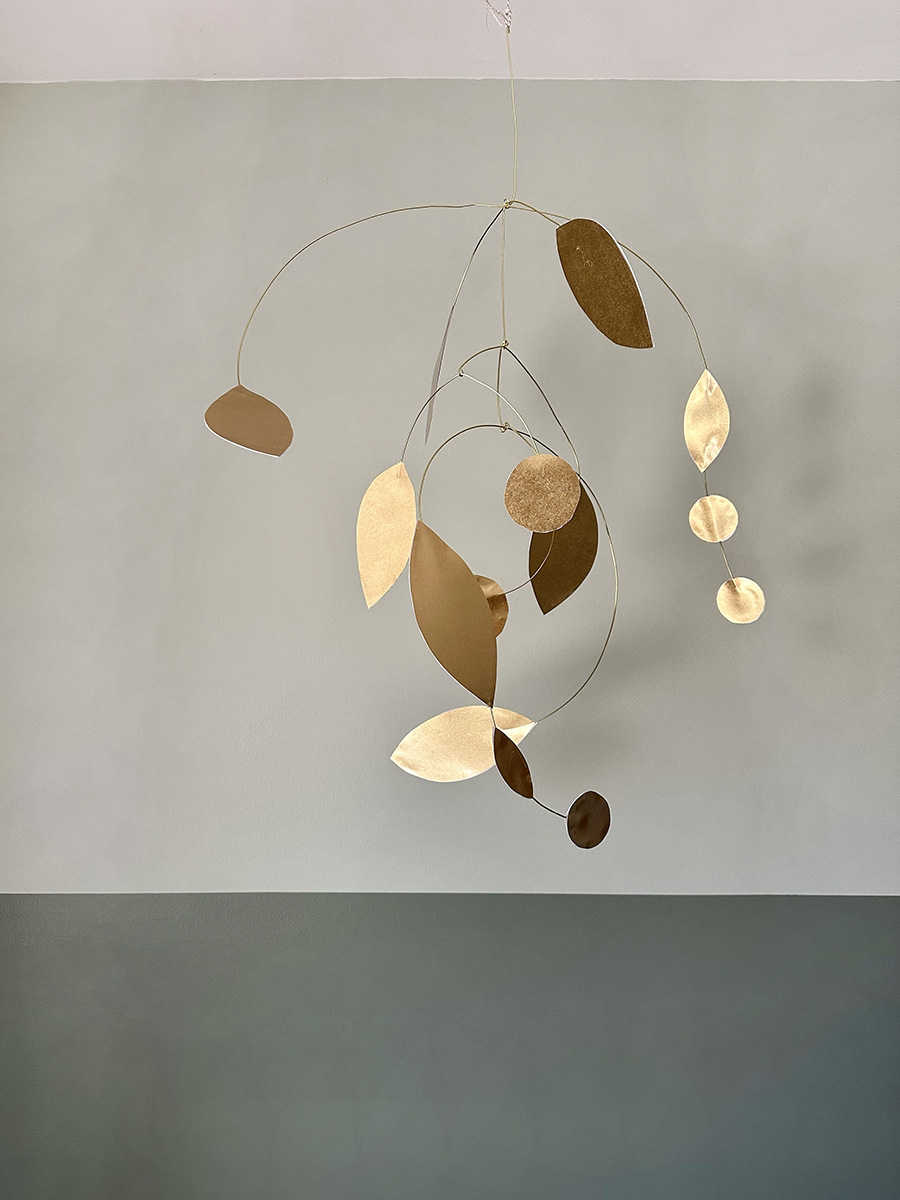
This was a fun project to work on this week after the more time consuming checkered wall last week. I may work on another smaller project next week and then move onto the closet door… which will be a task.
Okay, let’s see how my to do list is going below….
TO DO LIST over next 8 weeks –
Paint Walls basic colorsCreate + Paint Checkerboard / Stripe accent wall- Remove wooden shutters
DIY Mobile over bed- Storage and style an Arched bookcase
- Install Mini Shelf Railing
- DIY Lego Storage cabinet
- Update + repair closet doors
- Assemble new furniture
- DIY rug art
- Bulletin board install
- Style room with new rug, curtains, loveseat + accessories
Here are a few items I have already picked up for my son’s room :

