DIY Closet Doors under $50

INSIDE : Learn how to give an old folding door a new completely new modern look with this DIY Closet Doors under $50 post! A fresh coat of paint, adding some decorative trim molding and modern circular doorknob hardware gives your closet a fresh budget friendly feel.

This post may contain affiliate links. See full disclosure here.
I am a guest participant in the Spring 2024 One Room Challenge and have decided to take on my son’s bedroom! What is the ORC you might be asking? Let me tell you.

Over the next eight weeks, I will be slowly transforming my son’s bedroom along with numerous other bloggers and content creators on Instagram. Every Wednesday I will be sharing an update on his room. It should be fun, but also eight weeks isn’t much time for all I have planned.
So, let’s get to the good stuff!!
Tween Boys Bedroom Schedule
Week 1 Tween Boy Bedroom Plan
Week 2 Checkerboard + Stripe Accent Wall
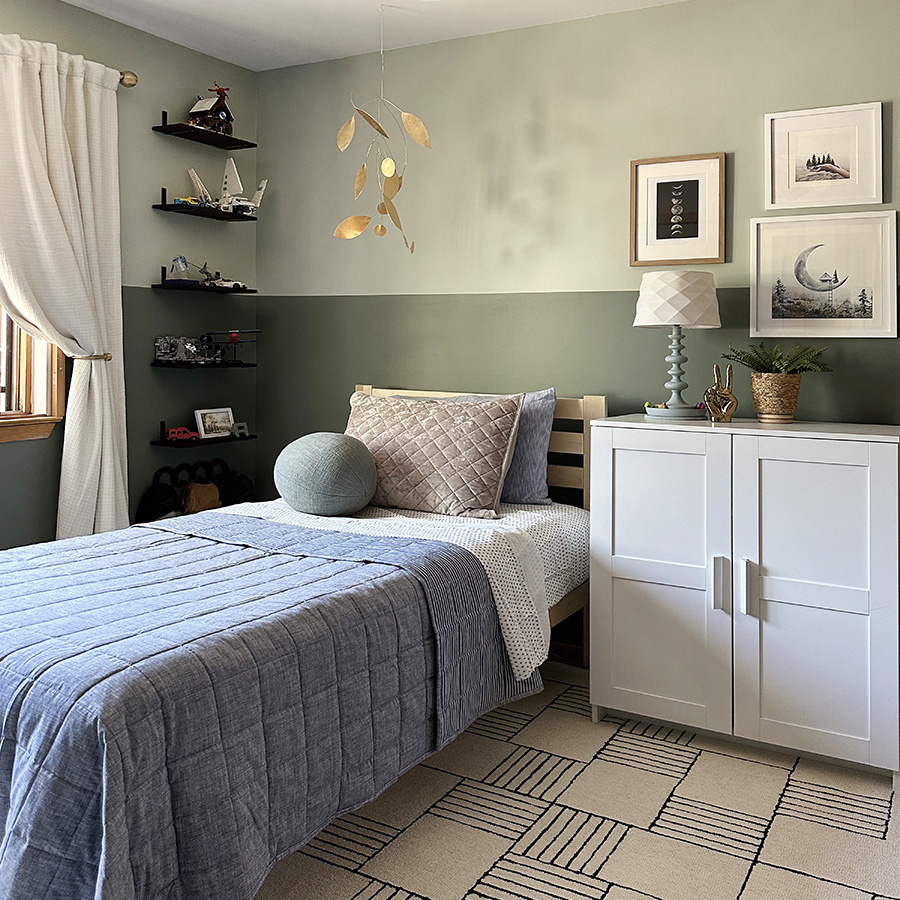
Week 3 DIY Mobile
Week 4 Styling an Arched bookcase
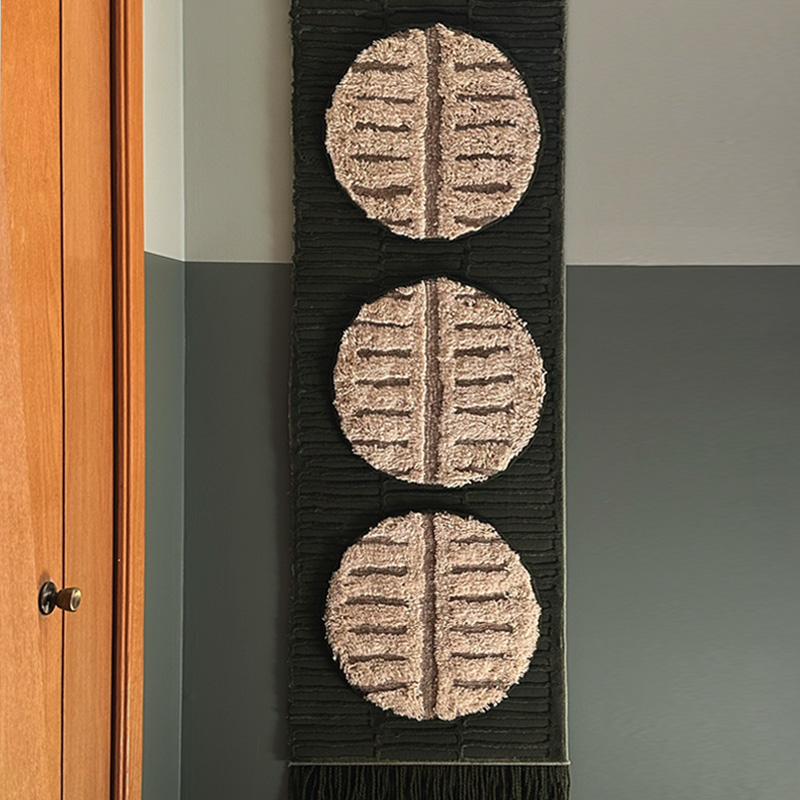
Week 5 DIY Wall Hanging
Week 6 DIY Closet Doors
Week 7 Update an Old Ceiling Fan
Week 8 Modern Teen Boy Bedroom Reveal
A few years ago, I updated his sister’s bedroom ( Modern Tween Girl’s Bedroom) and she had the same closet issue in her room. I did a post on How to Modernized Bifold Doors and it’s been a very popular tutorial. I knew I wanted to do something similar to my son’s closet doors… but with a new look.
Ugly (before) Closet Doors
One of the biggest issues in my son’s bedroom was his bifold closet doors.
The old hinges had been getting very loose with time and many of the screws had fallen out. He is fortunate to have so much closet space in his room with two full sets of bifold doors (read 8 panels in total), but they were literally hanging by a thread.
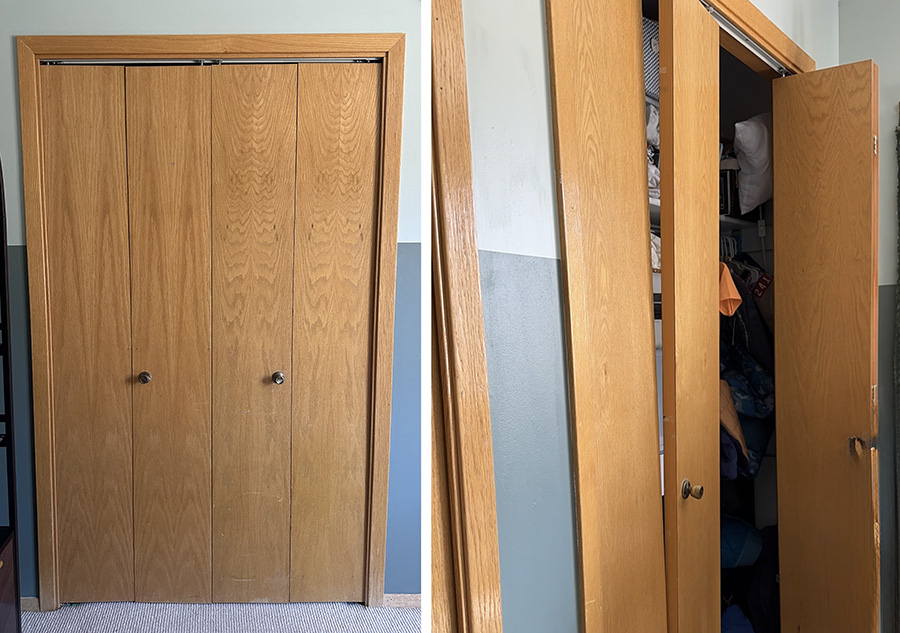
Also I hate the color of wood of these doors. It’s a mix of like red wood / yellow tones.
It was time to bring his closet back to life!
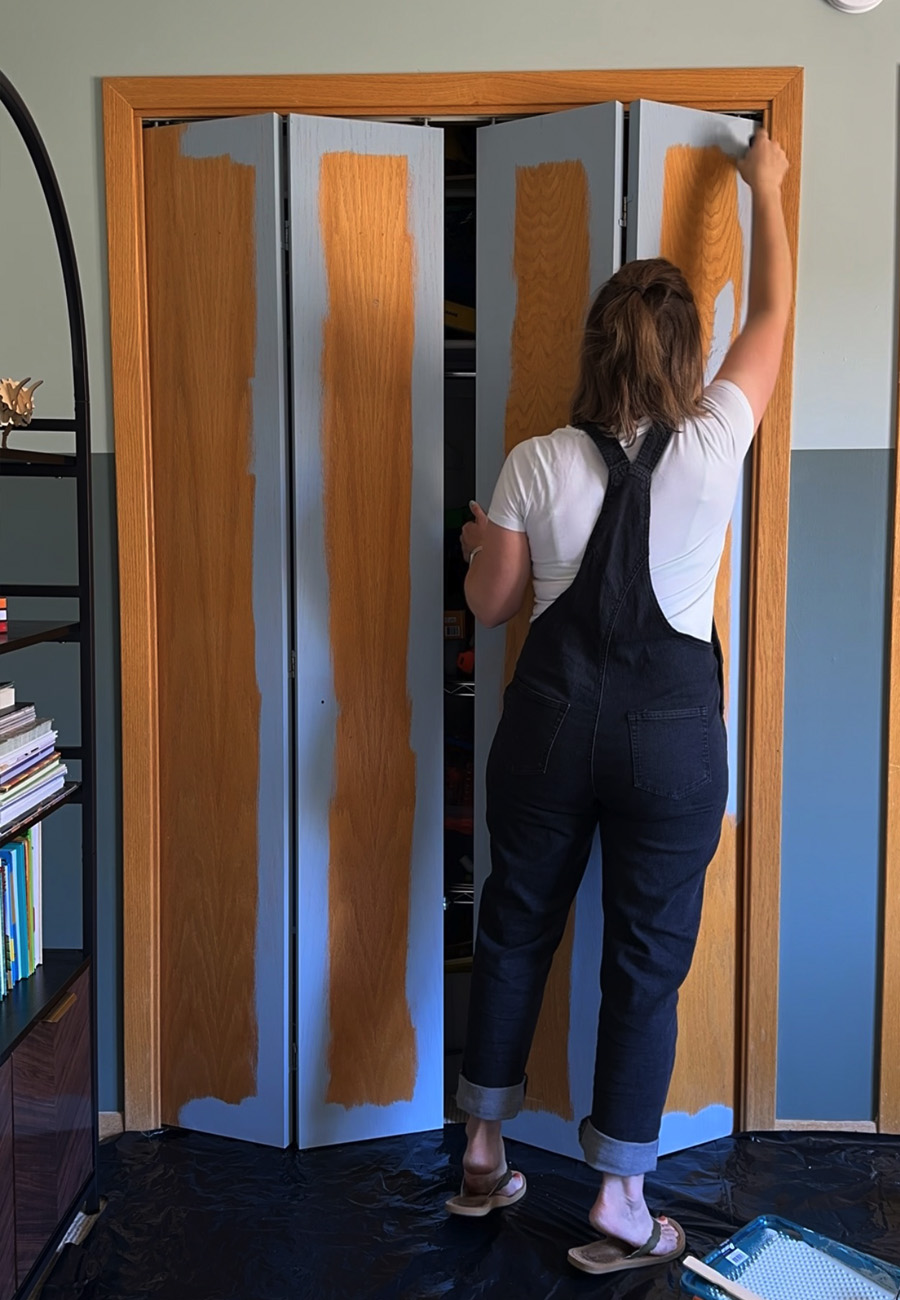
Painting Closet Doors
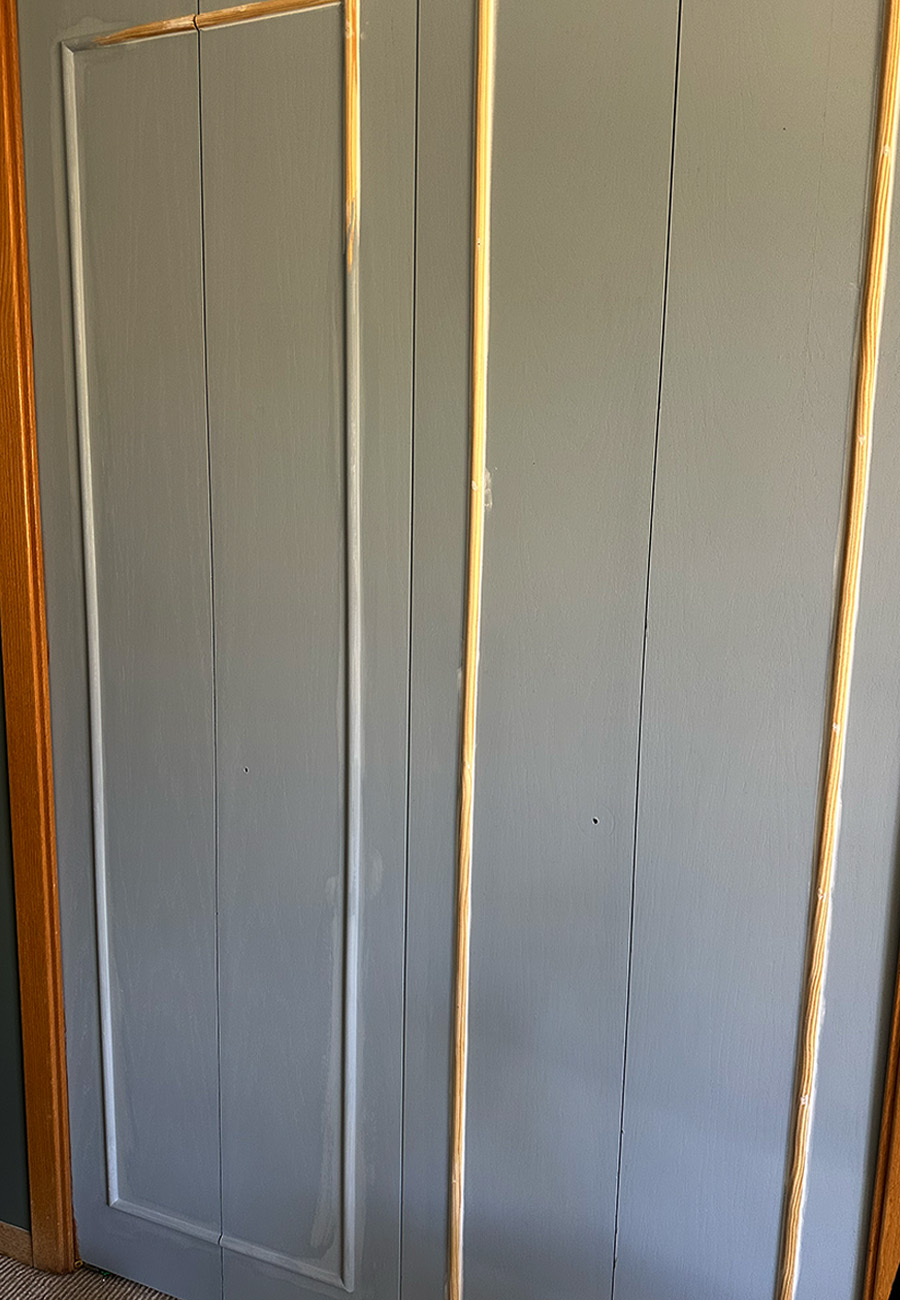
I used my favorite soft blue paint to give these closet doors a new fresh look. I used HGTV Home by Sherwin Williams Stardew. I gave it took 2 coats on the trim and the main flat surfaces.
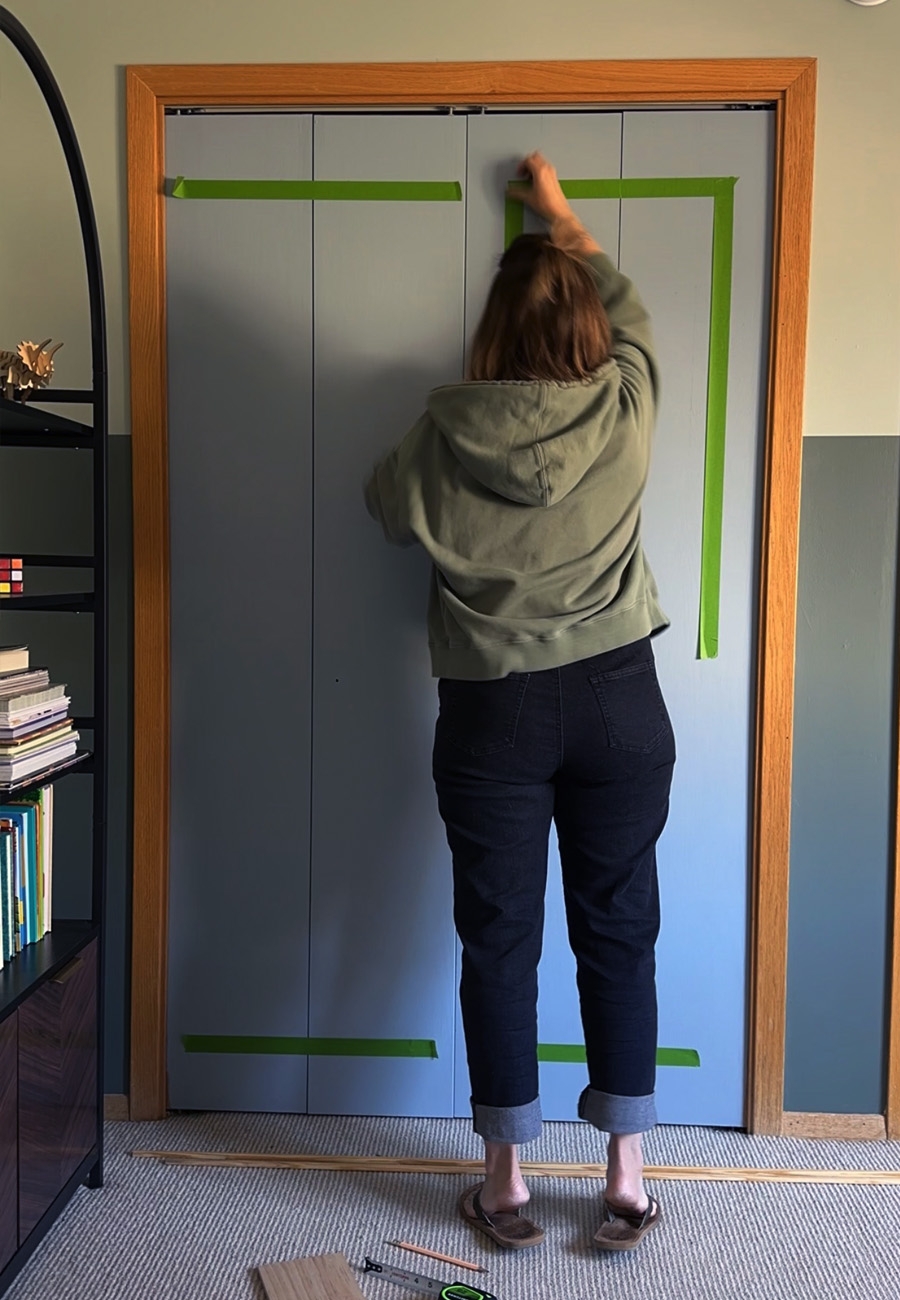
Once the paint was dry, I started to lay out my trim design using painter’s tape to get a feel for how the design would look. FYI, I loved how the design was going to look so it was time to get started on making my design a reality!
Some of my favorite DIY tools, or you can check out my Best Basic DIY Tools blog post here.

How to DIY closet doors
Before you get started on updating your closet doors, make a quick run to your local hardware store for the supplies below. A few items like the miter saw and nail gun are slight investments, but they are very basic power tools and ones that you will likely use for multiple projects down the road.
- (6) 8′ Half Round Trim pieces
- Miter Saw (or you could use a hand held saw)
- Nail Gun
- Brad Nails
- Caulk
- Painter’s Tape
- Level (both a 24″ one)
- Measuring tape
- Pencil
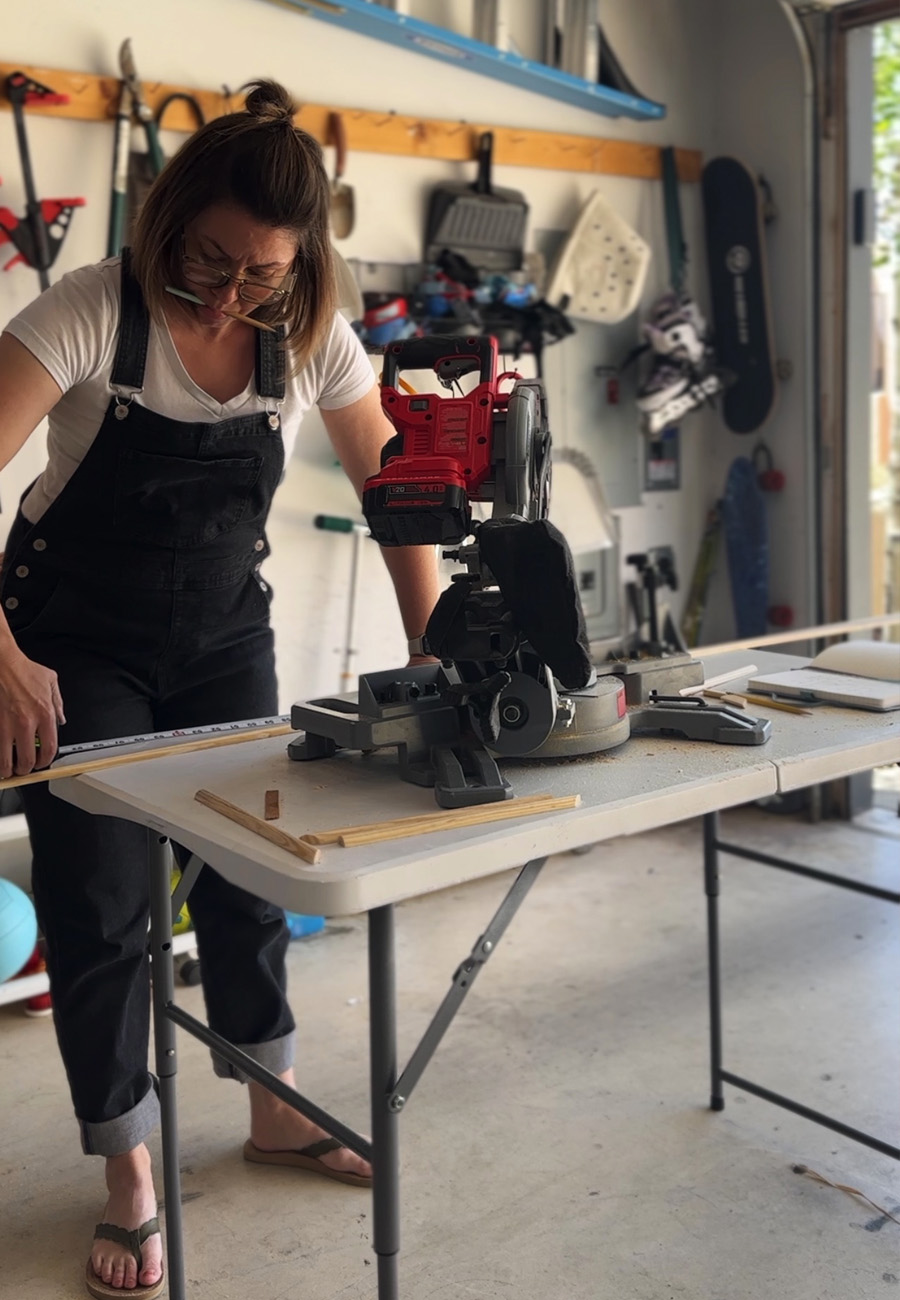
Start by measuring out the height for your rectangle sides. I wanted 5″ on the top and bottom of my closet doors, so I ended up with 69″ lengths.
Since I was doing larger rectangles (one rectangle for every two door fronts), I had a total of (4) 69″ lengths… but then to make things more confusing… I had to sets of closets, so I cut (8) 69″ pieces. You will only need to cut as many as needed for your particular closet door situation.
I used my favorite Craftsmen miter saw for the cuts and it makes things a breeze.
Also note, to make a clean rectangle with sharp 90′ angle joints, cut the ends of your 69″ pieces at a 45′ angle.
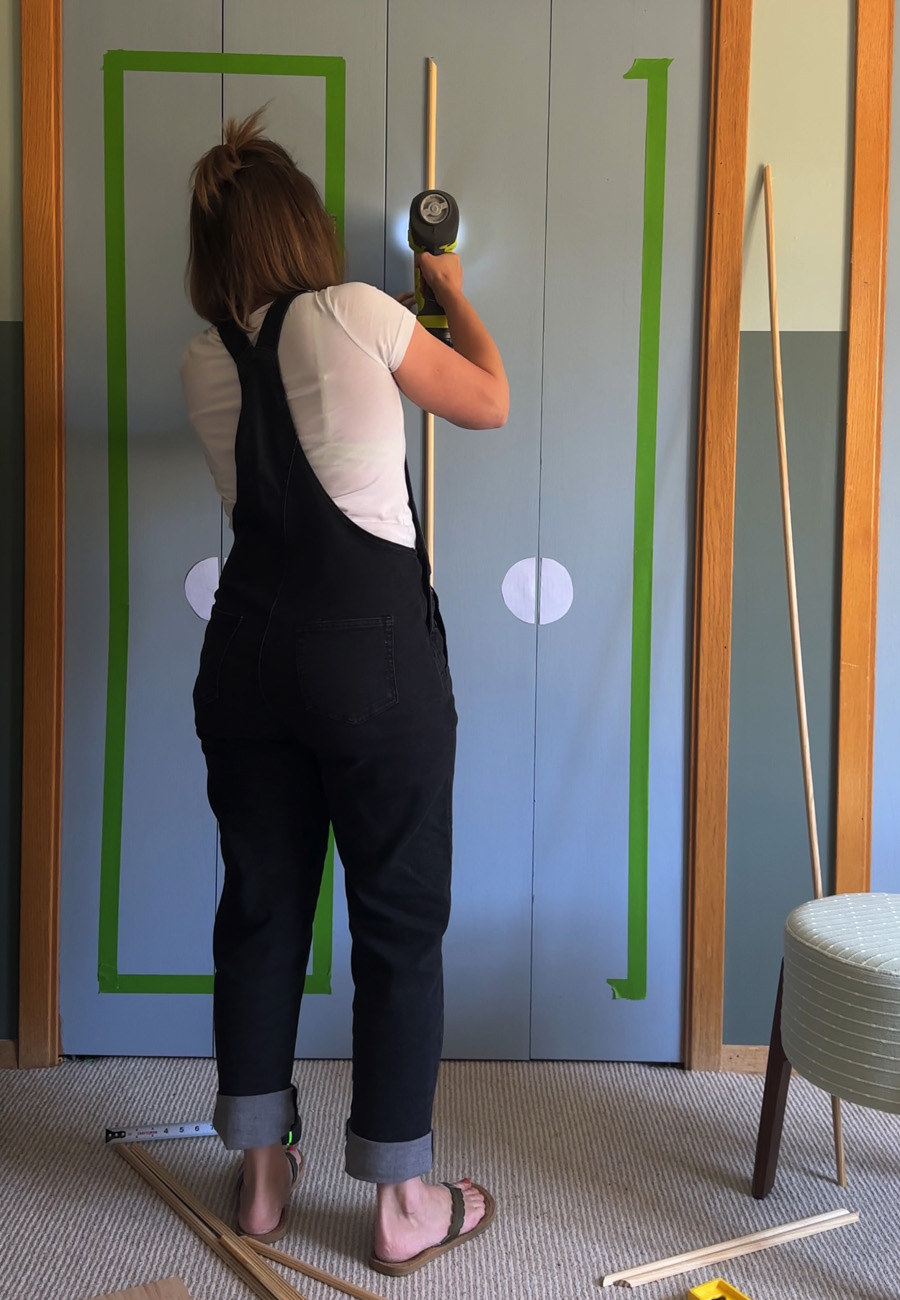
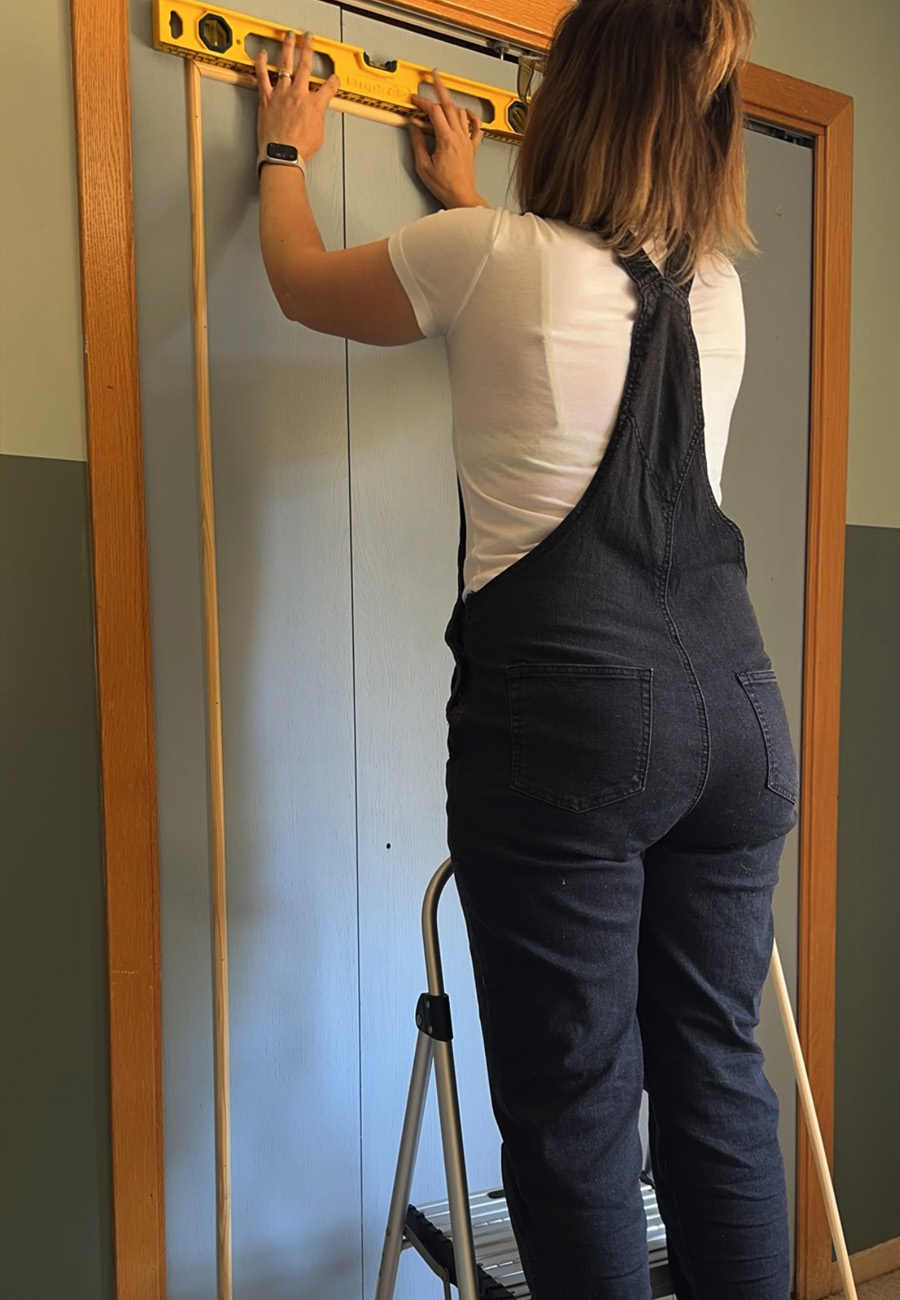
Measure and mark your top 5″ mark and double check you have your first length straight using a level. I recommend using a 24″ level for this project.
Once your length is just where you would like it, use your cordless nail gun and nail about every 8″ or so.
Looking for easy to print and follow directions to modernize your closet doors? Check out my 8 page Ebook on how to prep, measure, cut and install trim on your closet. Purchase it below via the orange button.
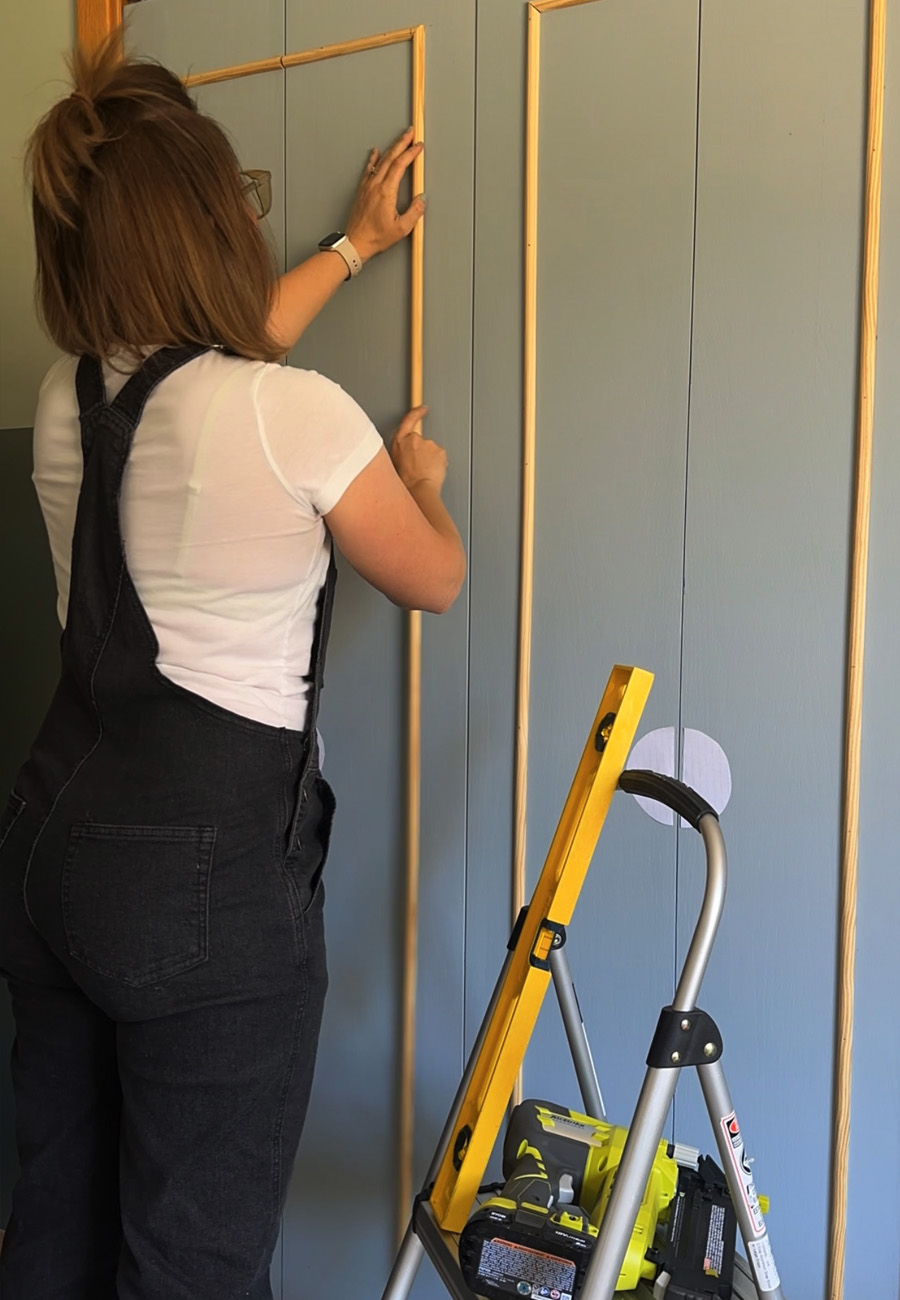
Once you have your vertical pieces installed, it’s time to nail up the horizontal pieces.
For my doors, since I have bi-fold closets, I decided to have the “fold” section of the door be each a half of my trim rectangle design. The space between my two vertical pieces was roughly 16″ and since I was having each on a half of the door, I cut that dimension in half as well.
I ended up with (16 – including the top and bottoms of all the rectangles) 8″ cut pieces.
NOTE – One side of these hortizontal cuts was a 45′ cut and the other cut was straight 90′ cut so they would meet flush to each other.
Be sure to take your time and draw this out before starting the project. I was able to measure, tape it out and make a cut list which really helped in not making any errors when I was making these closet door updates.
Adding Caulk to your Closet Doors
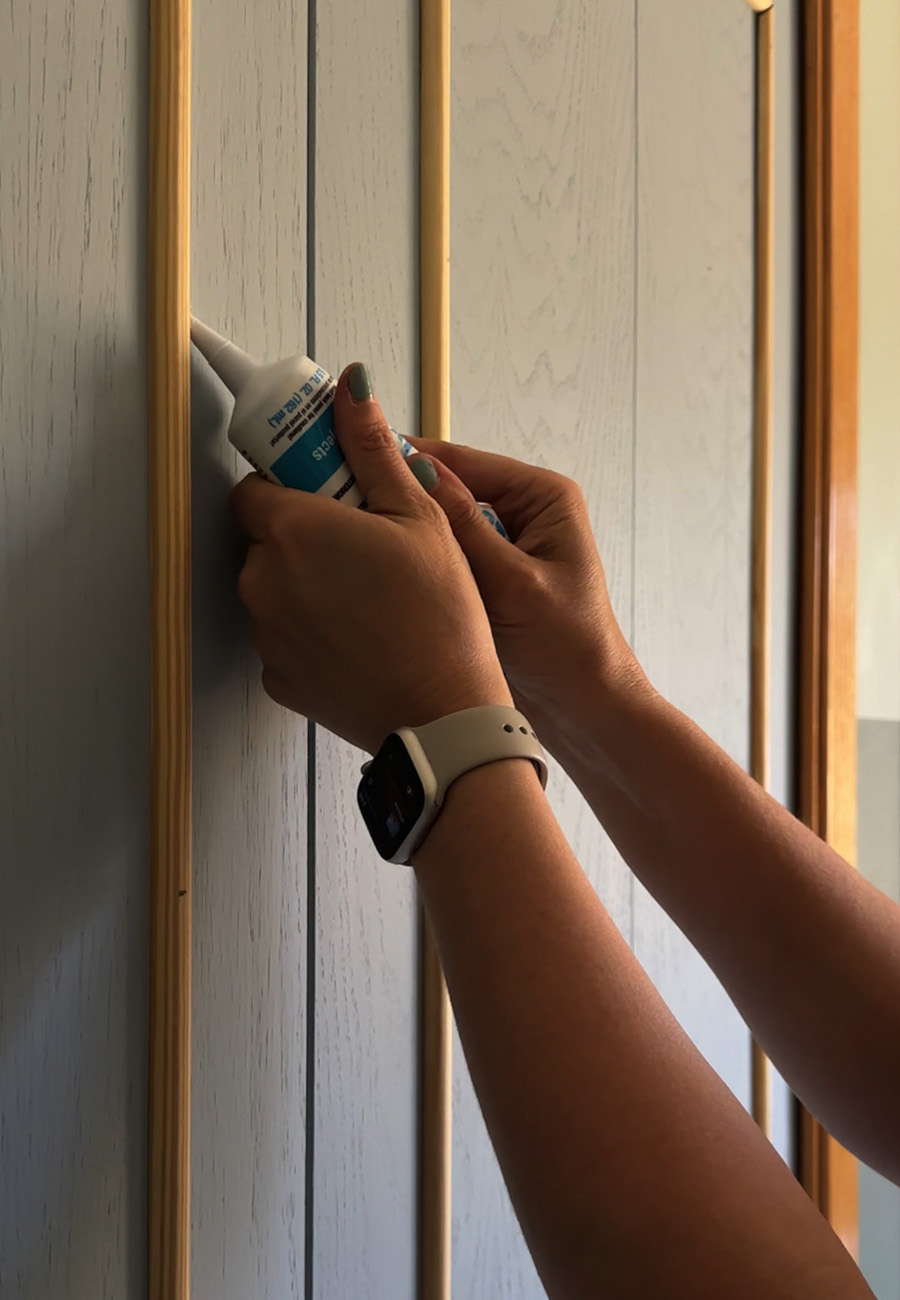
For that final touch, after your trim pieces are all nailed to the door adding caulk on all edges gives your work a professional look. Be sure to use a caulk that is paintable!
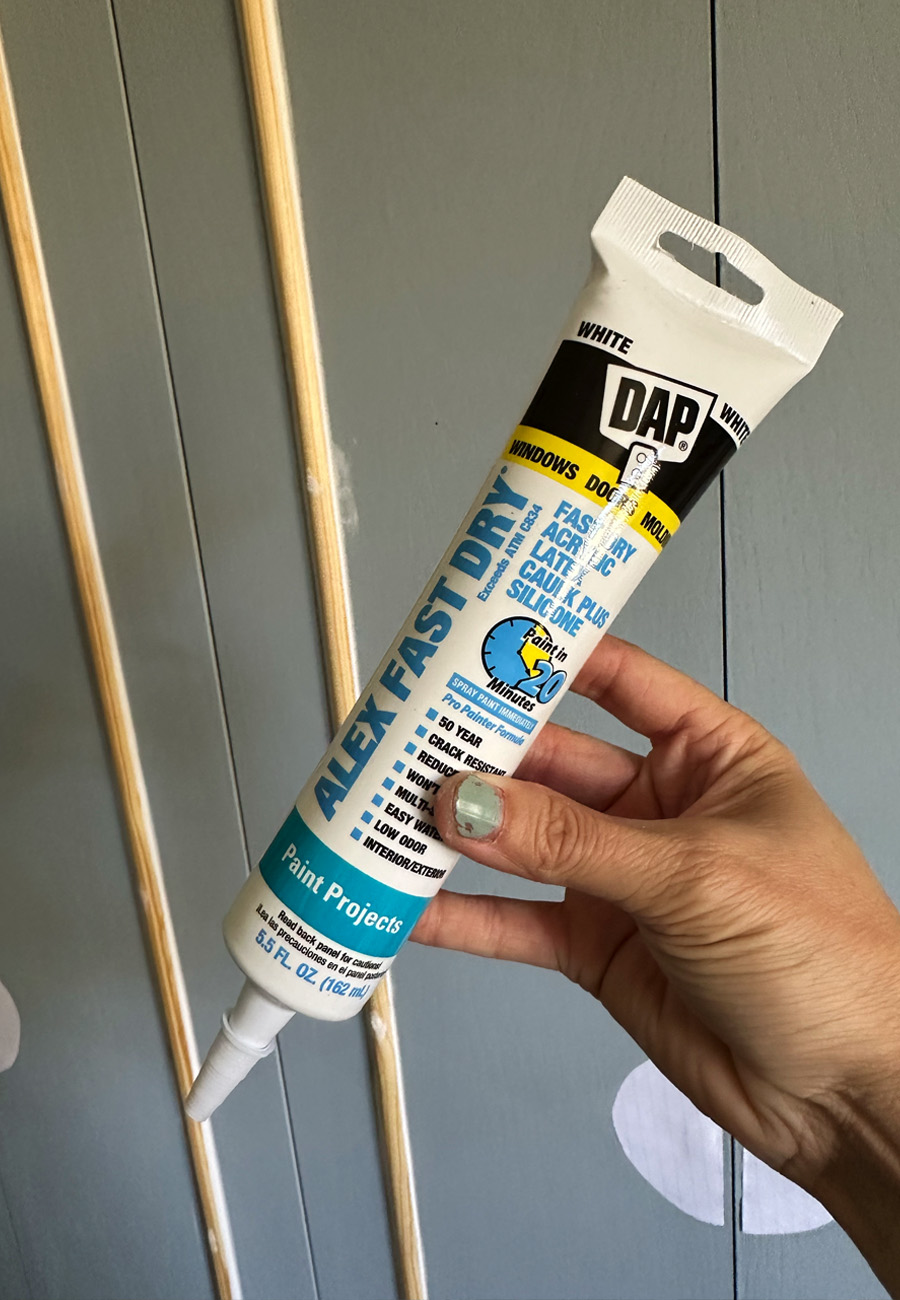
Slowly add caulk to the edges of your trim and then go back with a wet paper towel, damp rag or even a baby wipe to clean up the edges.
Once you have waited the allotted dry time for your caulk, go ahead and paint it. Mine took two coats of paint, just like the door fronts.
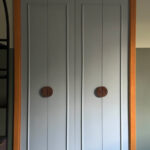
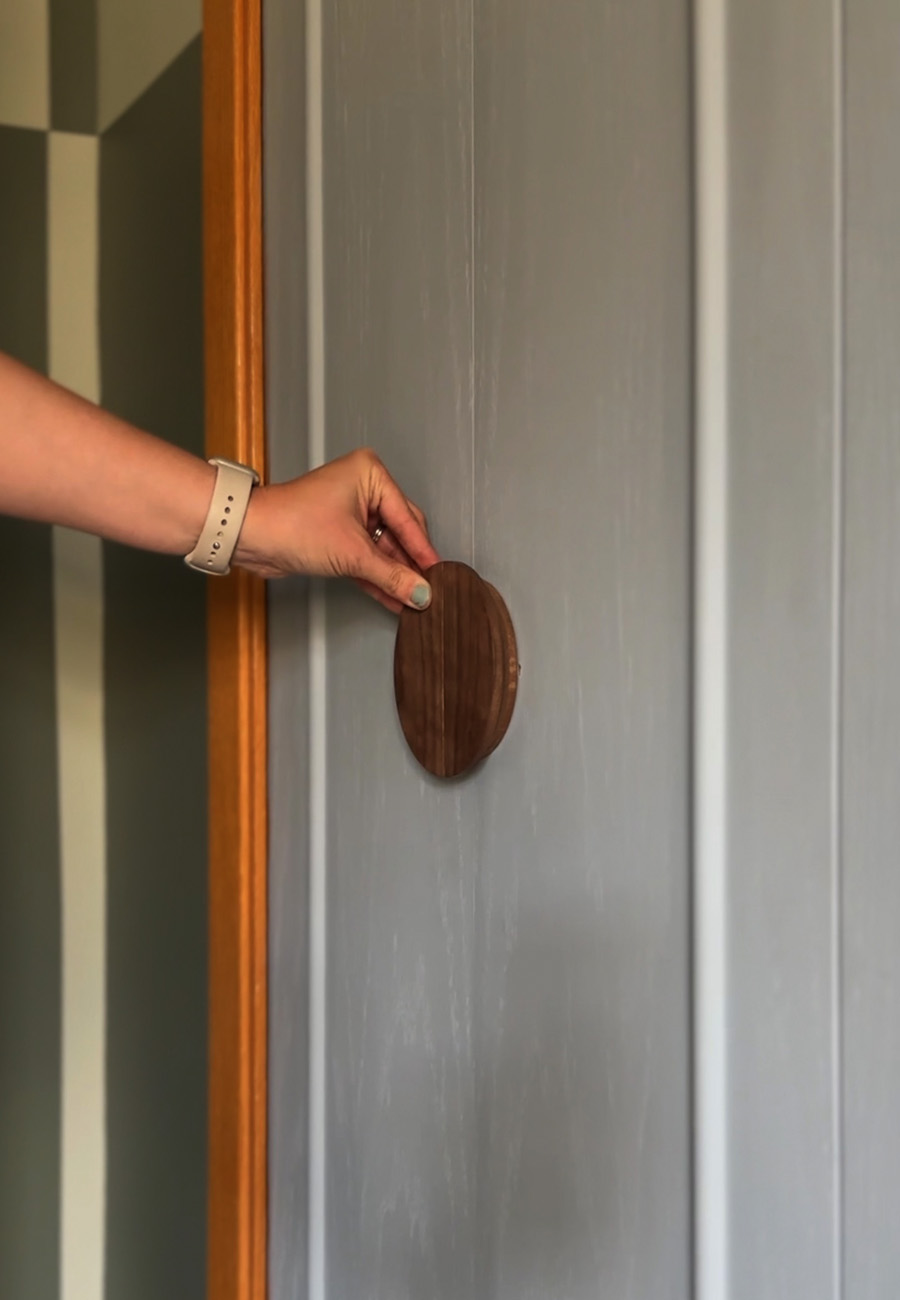
Adding new hardware to your closet doors
I have been obsessed with oversized wooden (round) door knobs and knew this would be the perfect project to use them!
I looked all over the place locally to see if I could find what I had envisioned in my mind and just couldn’t quite find the size or color or shape I wanted. So, I got mine online. You can check out my Best Oversized Round Doorknob post here for all my favorites.
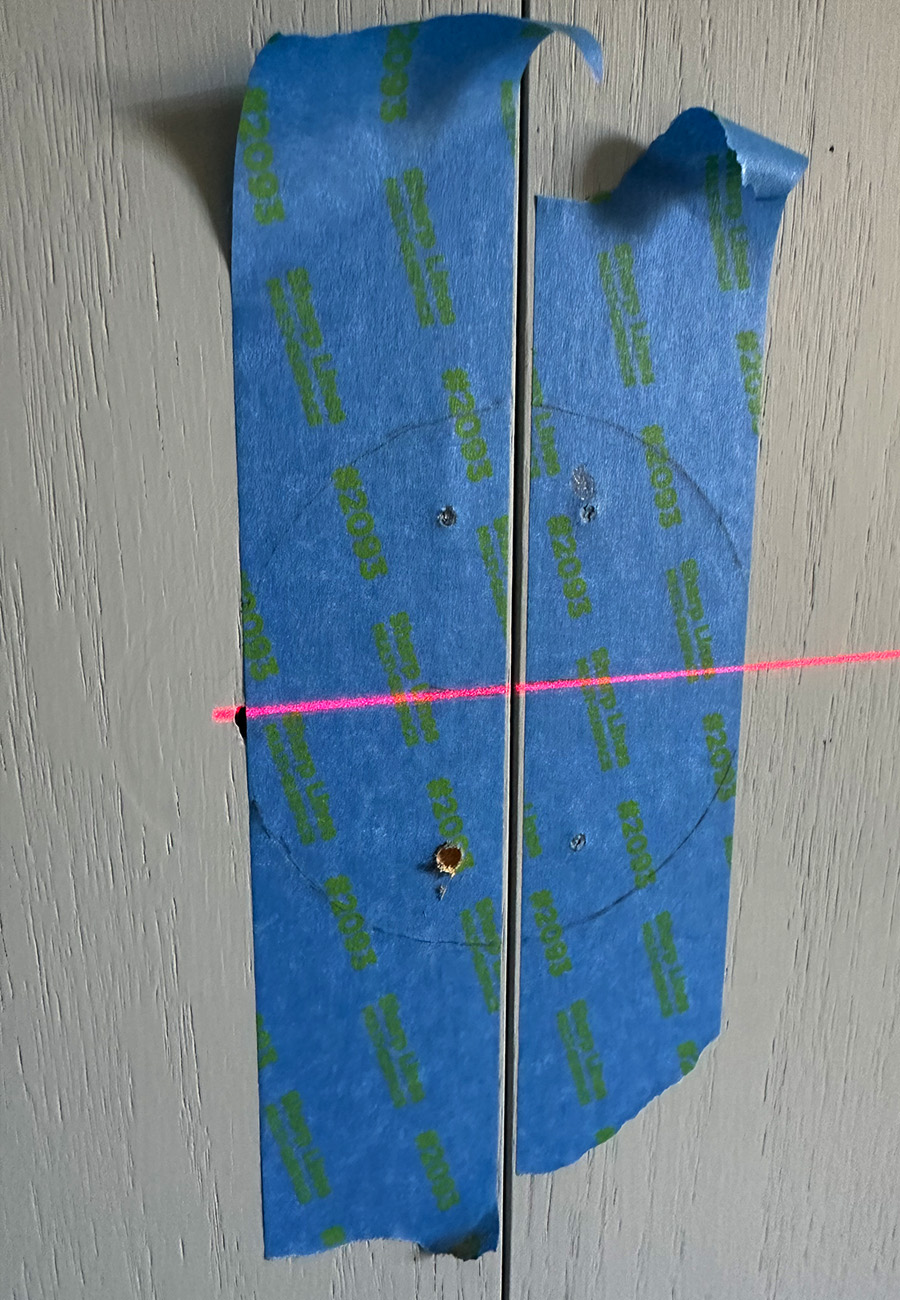
Painter’s tape hardware template
I traced the shape of my round hardware onto a piece of painter’s tape, marked the center of the knobs and made small holes where the screws were located.
Next, I used a laser level to mark across all 8 of the door fronts where I wanted the centerline of my knobs to be located. You typically want this height to be 30″ from the floor.
Once I knew where my centerline mark was and placed each half of the oversized knob equally distant on each side of my door opening, I then used a pencil and marked where my screw holes were going to be located.
Then it was as easy as pre-drilling holes with an electric drill and bit and then screwing the knobs into place! (PS – I would be lying if I said this step was actually easy. It took me walking away a handful of times because it was meticulous and tedious and I thought I was going to lose my mind.)
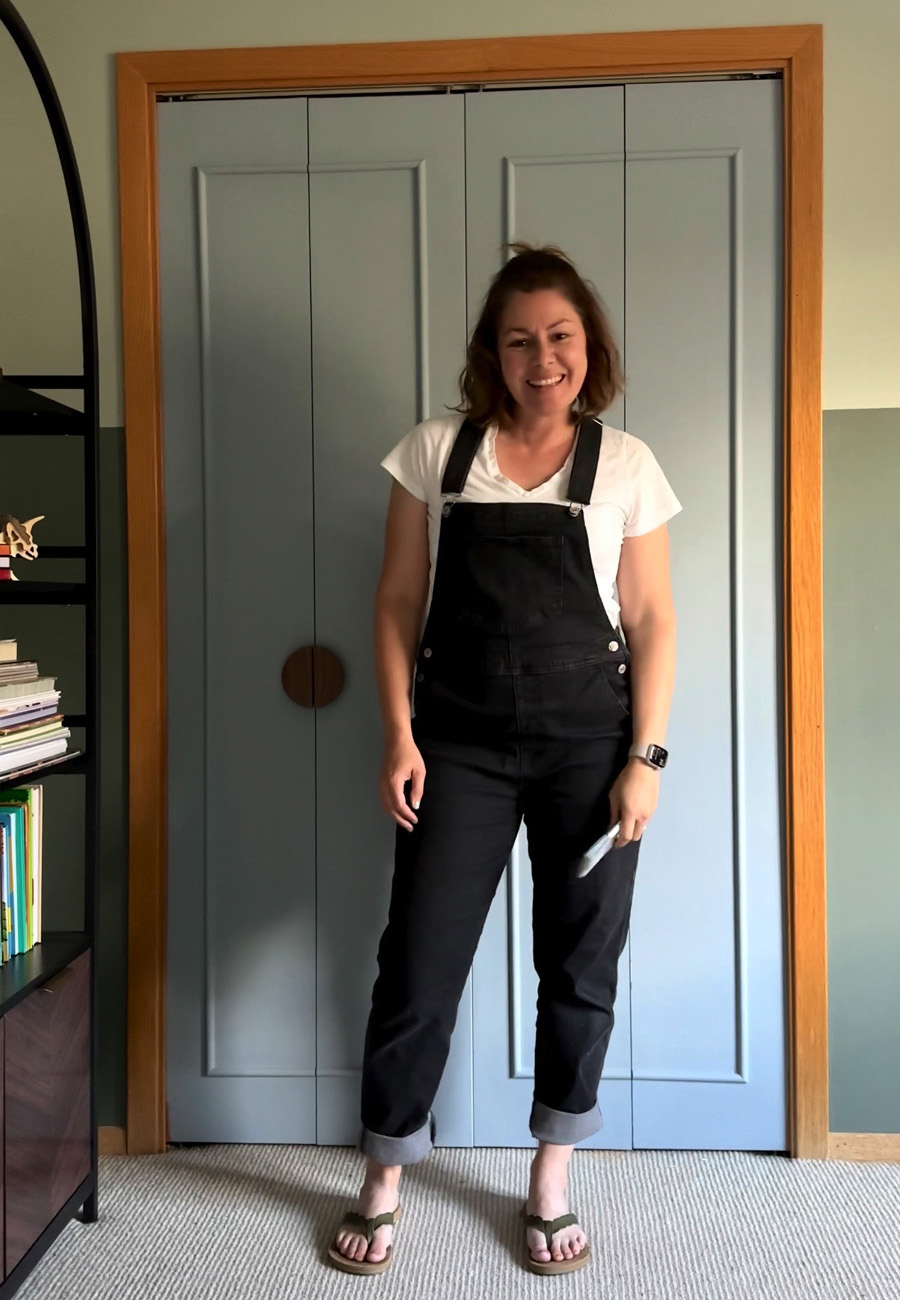
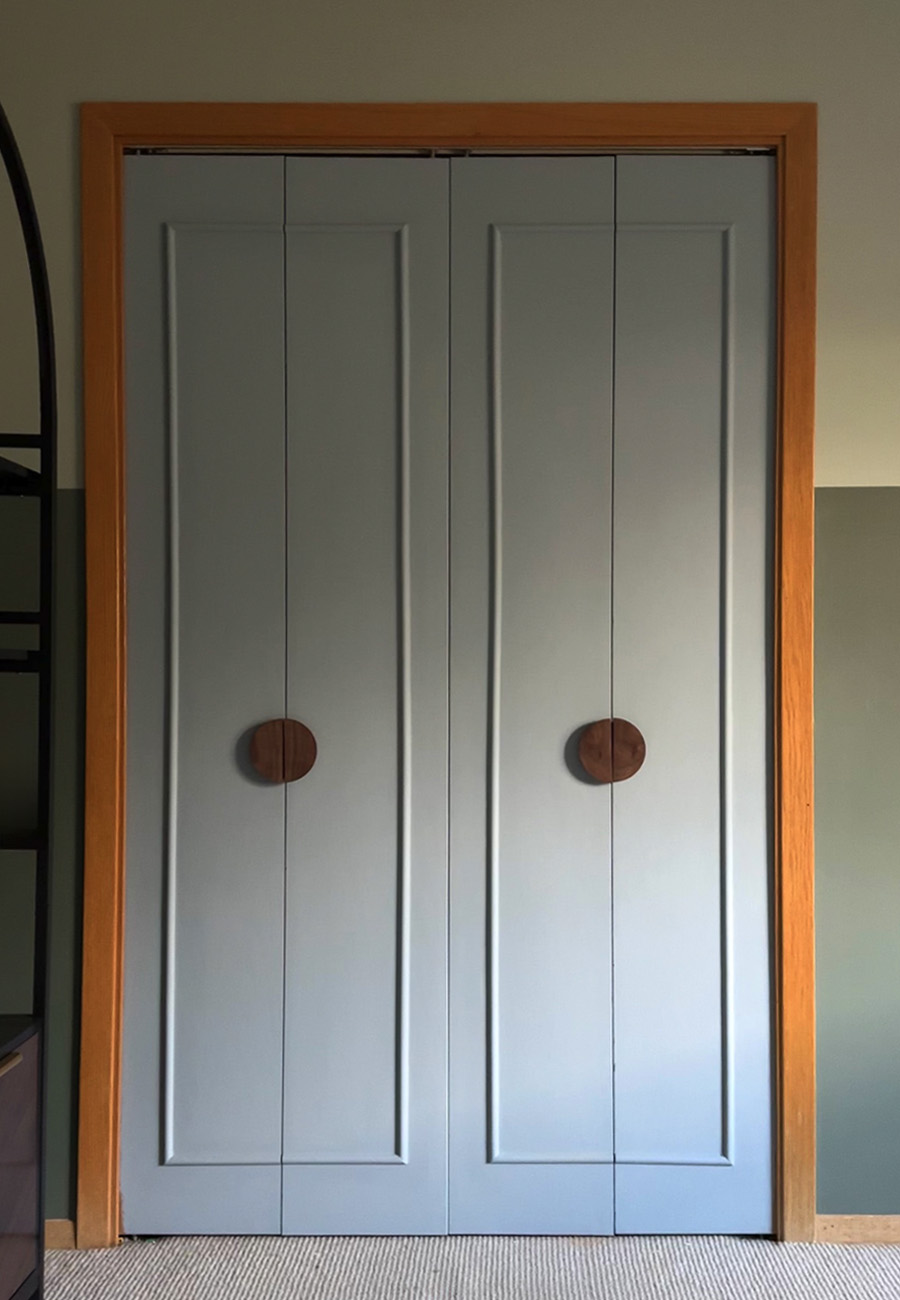
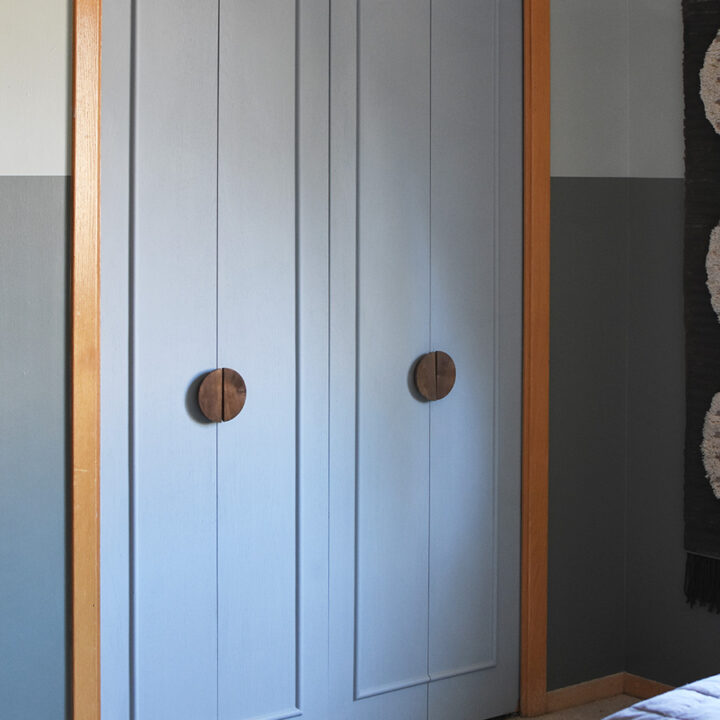
Cheap DIY closet doors
HOWEVER, I am 1000% obsessed with how these doors and knobs turned out! And as soon as I finished the 8th closet door panel… all the work and struggle was very much worth it.
Also, I think if you don’t have bi-fold doors this project would be much faster and straight-forward.
It’s really shocking how budget friendly this DIY Closet update was. Buying new bi-fold closet doors would have cost me around $400 on the low end and mine cost MUCH less!
Cost of DIY Closet door update – $66
- (9) 8-ft Pine Half Round Moulding $63
- Paint (free, I used what I already had on hand)
- Tools (Already owned)
- Caulk $3
DIY Closet Doors under $50
Learn how to give an old folding door a new completely new modern look with this DIY Closet Doors under $50 post! A fresh coat of paint, adding some decorative trim molding and modern circular doorknob hardware gives your closet a fresh budget friendly feel.
Materials
- Paint
- Paint Brush
- Painter's Tape
- (6) 8′ Half Round Trim pieces
- Miter Saw (or you could use a hand held saw)
- Nail Gun
- Brad Nails
- Caulk
- Painter’s Tape
- Level (both a 24″ one)
- Measuring tape
- Pencil
Instructions
Start by measuring out the height for your rectangle sides. I wanted 5″ on the top and bottom of my closet doors, so I ended up with 69″ lengths.
I used my favorite Craftsmen miter saw for the cuts and it makes things a breeze.
Also note, to make a clean rectangle with sharp 90′ angle joints, cut the ends of your 69″ pieces at a 45′ angle.
Measure and mark your top 5″ mark and double check you have your first length straight using a level. I recommend using a 24″ level for this project.
Once your length is just where you would like it, use your cordless nail gun and nail about every 8″ or so.
Once you have your vertical pieces installed, it’s time to nail up the horizontal pieces.
For my doors, since I have bi-fold closets, I decided to have the “fold” section of the door be each a half of my trim rectangle design. The space between my two vertical pieces was roughly 16″ and since I was having each on a half of the door, I cut that dimension in half as well.
I ended up with (16 – including the top and bottoms of all the rectangles) 8″ cut pieces.
NOTE – One side of these hortizontal cuts was a 45′ cut and the other cut was straight 90′ cut so they would meet flush to each other.
Be sure to take your time and draw this out before starting the project. I was able to measure, tape it out and make a cut list which really helped in not making any errors when I was making these closet door updates.
For that final touch, after your trim pieces are all nailed to the door adding caulk on all edges gives your work a professional look. Be sure to use a caulk that is paintable!
Slowly add caulk to the edges of your trim and then go back with a wet paper towel, damp rag or even a baby wipe to clean up the edges.
Slowly add caulk to the edges of your trim and then go back with a wet paper towel, damp rag or even a baby wipe to clean up the edges.
Okay, let’s see how my to do list is going below now that we have just two weeks left! I’m getting so close!!
TO DO LIST over next 8 weeks –
Paint Walls basic colorsCreate + Paint Checkerboard / Stripe accent wallRemove wooden shuttersDIY Mobile over bedStorage and style an Arched bookcaseDIY rug art- Install Mini Shelf Railing
- DIY Lego Storage cabinet
Update + repair closet doorsAssemble new furniture (bed + loveseat)Bulletin board install- Style room with new rug, curtains + accessories
Here are a few items I have already picked up for my son’s room :
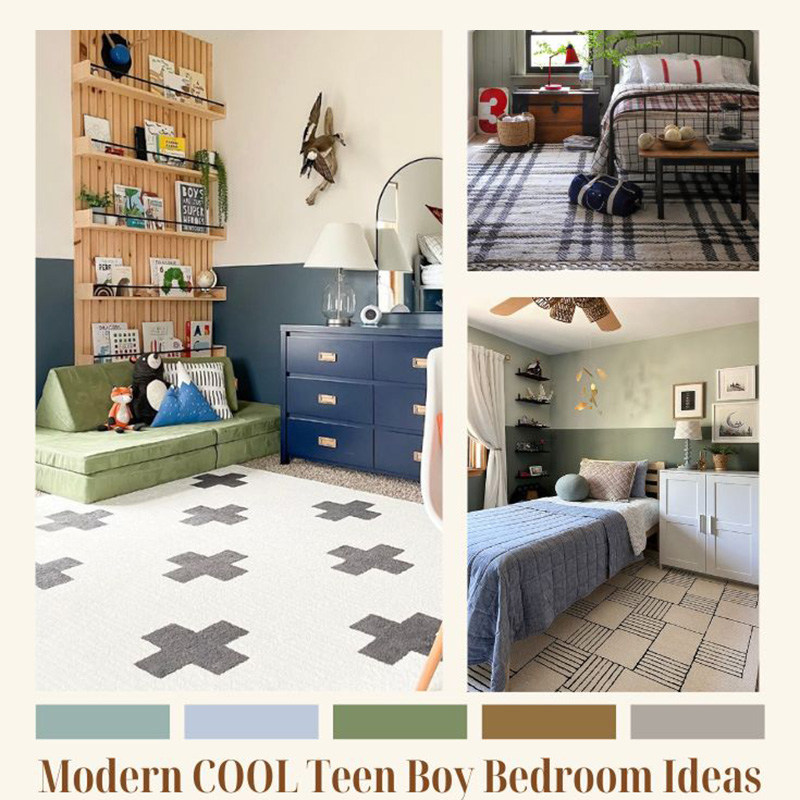
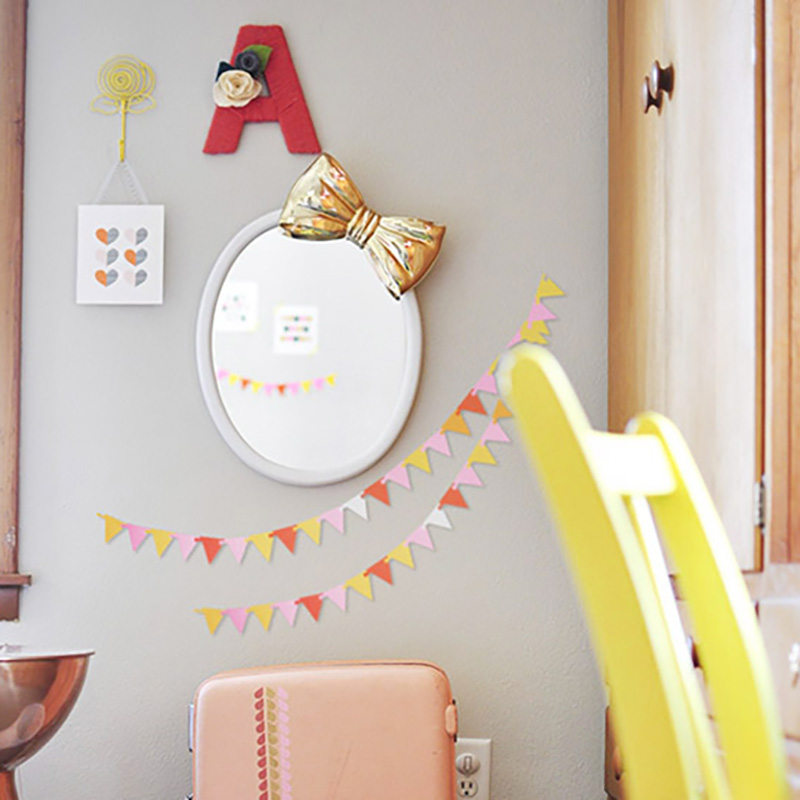
And if you are looking for even more kiddo themed bedroom ideas, check out these below…
I love this idea! It’s amazing what you can do with a little creativity and a budget. I can’t wait to try these DIY closet doors for my space—thanks for the inspiration!
These DIY closet doors are such a game changer! I love how you broke down the cost and materials—it really makes this project feel achievable. Can’t wait to give it a try in my own space! Thanks for the inspiration!
I love this DIY idea for closet doors! The budget-friendly tips are super helpful, and I can’t wait to try it out in my own space. Thanks for the inspiration!
I love this DIY idea for closet doors! It’s amazing to see how affordable and creative solutions can transform a space without breaking the bank. The step-by-step instructions are super helpful, and I can’t wait to try it out in my home. Thanks for sharing such an inspiring project!
I absolutely love this DIY closet doors idea! The budget-friendly tips and creative designs are so inspiring. I can’t wait to try this in my own home. Thank you for sharing such practical and stylish solutions!
I loved this DIY project! It’s amazing how a little creativity can transform a space without breaking the bank. Your tips on materials and step-by-step instructions made it super easy to follow. I can’t wait to try this in my own home! Thanks for the inspiration!
I absolutely love the creative ideas in this post! The budget-friendly options are such a game changer for a small space. I can’t wait to try out the sliding door concept—it adds such a chic touch! Thanks for sharing these inspiring DIY tips!
What a fantastic idea! I love how affordable and stylish these DIY closet doors are. It’s amazing how a little creativity can transform a space without breaking the bank. Can’t wait to try this out in my own home!
I absolutely loved this DIY closet doors project! The ideas are creative and budget-friendly. I can’t wait to try the fabric option you suggested. Thank you for sharing such clear instructions and beautiful inspiration!
I love this DIY closet door idea! It’s so budget-friendly and the tutorial looks super easy to follow. I can’t wait to try it out in my own space! Thanks for sharing!
I absolutely love this DIY closet door idea! It’s amazing how budget-friendly solutions can transform a space. Thanks for the clear instructions and inspiration—I can’t wait to tackle this project over the weekend!
This DIY closet door idea is fantastic! I love how you made it budget-friendly while still looking stylish. Can’t wait to try this out in my own space! Thanks for the inspiration!
I love this idea! It’s amazing what a little creativity can do without breaking the bank. The step-by-step guide makes it feel so approachable. Can’t wait to try this in my own home!
I love this DIY idea for closet doors! It’s amazing how you transformed such a basic element of a room into something stylish and affordable. I can’t wait to try this out in my own space! Thanks for sharing the step-by-step process!
I absolutely love this DIY closet door idea! It’s amazing what you can create on a budget. The step-by-step instructions were clear and easy to follow, and I can’t wait to try this in my own home. Thanks for the inspiration!
Online games are so much fun, especially when playing with friends.
I love this idea! The DIY closet doors are not only budget-friendly but also add a unique touch to any space. Can’t wait to try this out in my home. Any tips for beginners on the best materials to use?
I love this idea! The budget-friendly options are so creative, and I can’t wait to try the sliding door concept for my closet. Thank you for the inspiration!
I love the creative ideas in this post! The budget-friendly options for closet doors are inspiring, and I can’t wait to try some of these DIY techniques in my own home. Thanks for sharing such detailed instructions!
I love this idea! DIY closet doors can really elevate a space without breaking the bank. I can’t wait to try this project with a few tweaks of my own. Thanks for the inspiration!
I love this idea! It’s amazing to see how you transformed the space without breaking the bank. The step-by-step instructions are so clear and easy to follow. Can’t wait to try this out in my own home! Thanks for the inspiration!
I absolutely love this idea! It’s amazing how you transformed those closet doors with such a budget-friendly approach. The creativity and step-by-step instructions make it feel doable. I can’t wait to try this in my own space—thanks for sharing such an inspiring project!
I love this DIY idea for closet doors! The cost-saving tips and the step-by-step guide make it so accessible. I can’t wait to try this in my own home. Thanks for sharing!
I absolutely love this DIY closet door idea! The under $50 price point makes it so accessible, and I can’t wait to try it in my own home. The step-by-step instructions look easy to follow, and I’m excited to see how much it transforms my space. Thanks for the inspiration!
I love this DIY idea for closet doors! The budget-friendly approach is fantastic, and the step-by-step instructions make it feel achievable. Can’t wait to try it in my own space! Thank you for sharing!
I love these ideas for DIY closet doors! They’re stylish and budget-friendly. Can’t wait to try the sliding door option in my own space. Thanks for the inspiration!
I love this idea! It’s amazing what you can do on a budget. The step-by-step approach makes it seem so doable. Can’t wait to try this out for my own closet! Thanks for the inspiration!
I love the ideas in this post! These DIY closet doors are so budget-friendly and look amazing! Can’t wait to try out some of these techniques in my own space. Thanks for the inspiration!
I love this DIY idea! It’s amazing how you transformed those closet doors on a budget. The step-by-step instructions are really helpful, and I can’t wait to try this out in my own space. Thanks for the inspiration!
Wow, I love these DIY closet door ideas! It’s amazing how much character you can add to a space without breaking the bank. The tips on materials and tools are super helpful—can’t wait to give this a try for my bedroom. Thanks for sharing!
I love this idea! The step-by-step guide is super clear, and I can’t believe you can create such stylish closet doors for under $50. I’m excited to give this a try in my own home. Thanks for the inspiration!
Great job Amy! Can’t wait to see it all put together.
Thanks Vicki! It’s looking so fun!!
Love the handles you put on these doors! Following along for more, looking forward to seeing the finished product. Cheers, Trisha – fellow ORC participant
Oh thanks so much!