How to Modernize Bifold Doors

INSIDE : Learn how to easily update old closet doors in your home with minimal effort. Adding DIY trim detail is one great way to modernize bifold doors.
This post may contain affiliate links. See full disclosure here.
Today marks the fourth Tuesday of our New Year, New Room Refresh Challenge! Thank you to Stephanie of Casa Watkins Living for coordinating this challenge.
Over the course of the last few weeks, 12 bloggers including myself have been working away on a room in our home. Each Tuesday, we will be sharing progress update posts on our blogs and instagram. The final reveal is NEXT WEEK so be sure to check back.
Read to the bottom of the post to see everyone’s progress this week!

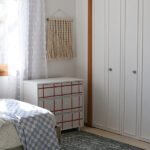
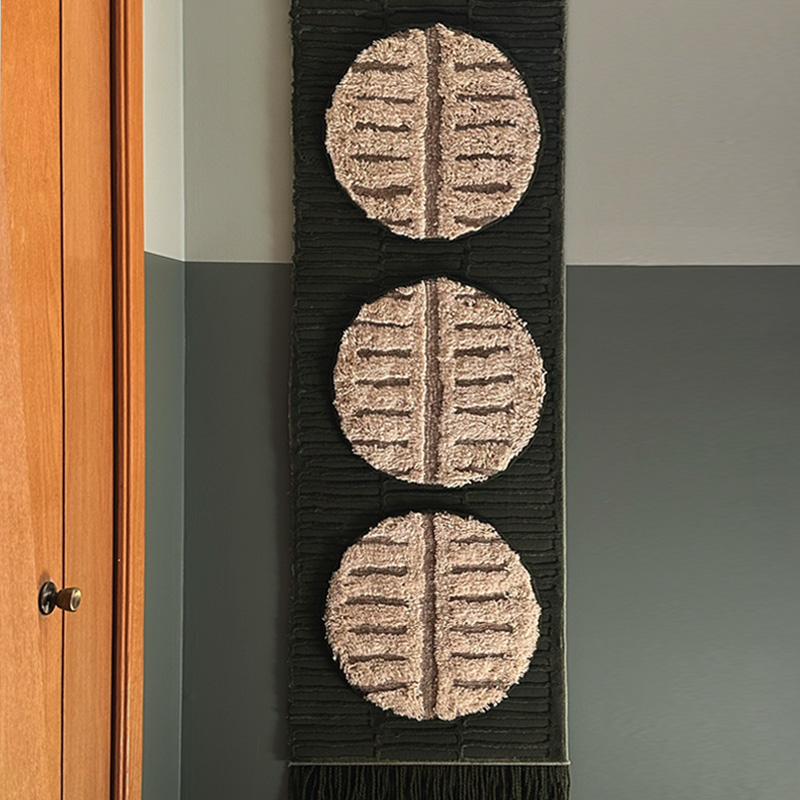
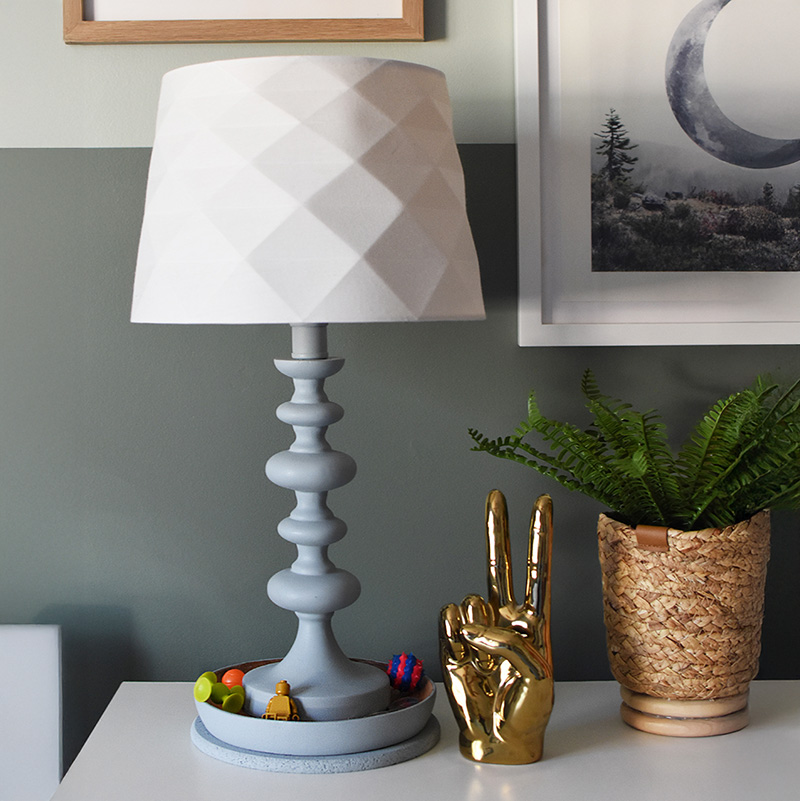
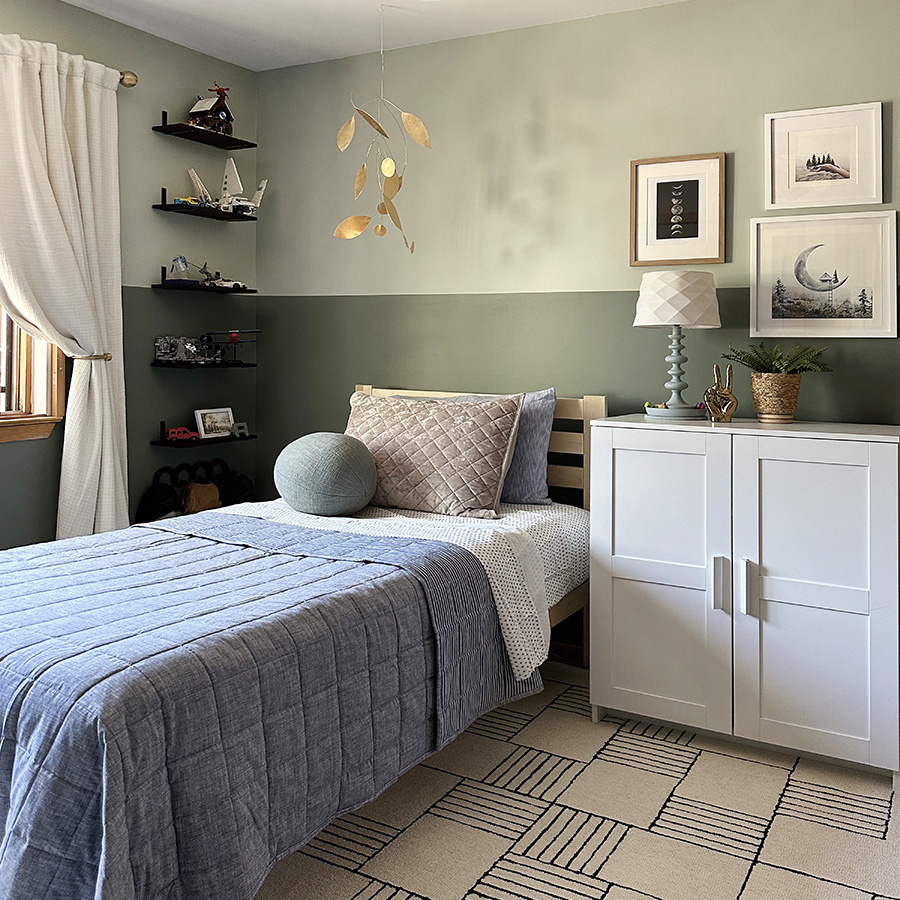
As you recall, I am updating my 11 year old daughter’s “tween” bedroom. She’s growing up and has very strong opinions about what colors and patterns are used in her room. No pink is allowed. No little kid stuff. I’ve taken her requests and thoughts and together we are crafting an amazing space for her.
Want to check out all the projects?
- Week 1 Little Girl’s Updated Bedroom Plan
- Week 2 Tween Girl Modern Bedroom Accent Wall
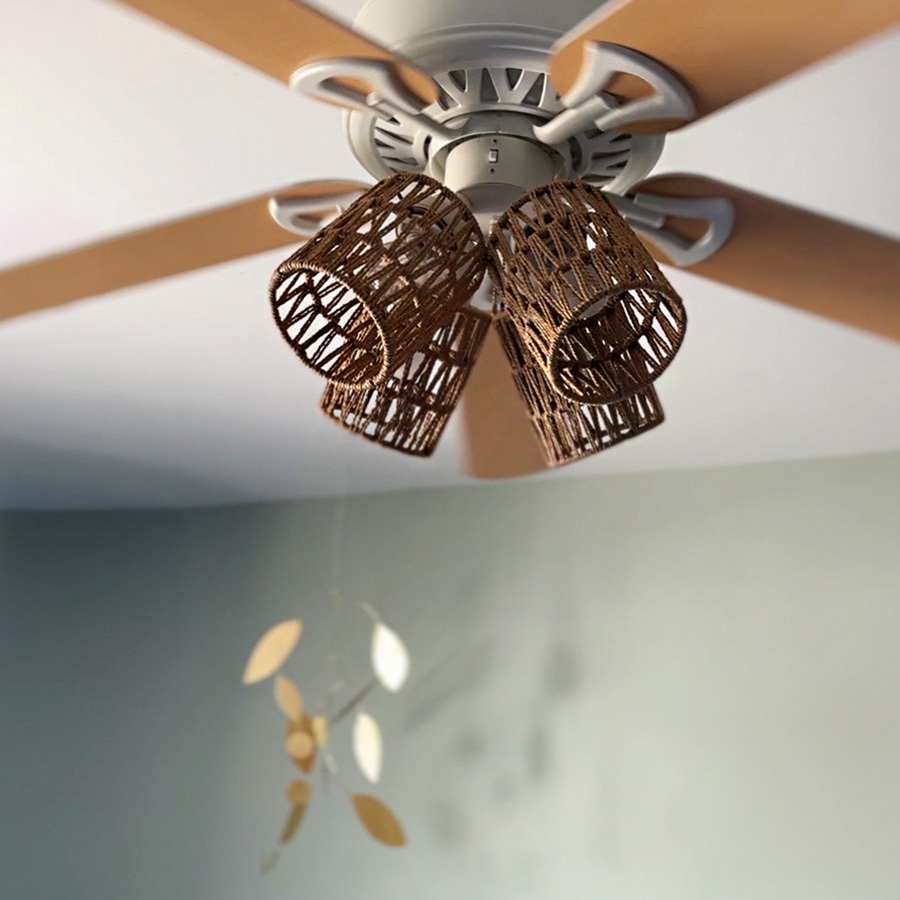
- Week 3 DIY Woven Plant Stand
- Week 4 How to Modernize Bifold Doors
- Week 5 Selecting Tween Artwork
- Week 6 Modern Tween Colorful Bedroom reveal
- Simple Dresser update with Wallpaper
- Adding Duvet Ties
- Organizing a Tween Bookshelf
Last week, I shared the cool plant stand I built for her room and today I am sharing how I was able to give a serious update to her otherwise old and outdated bifold closet doors. These doors are getting a major mordernization!
Let’s get into how to make this beautiful update.
You might like my DIY Closet Doors project I made for my son's bedroom, also! His doors are a beautiful Stardew blue paint color and I did a different trim design - very fun.

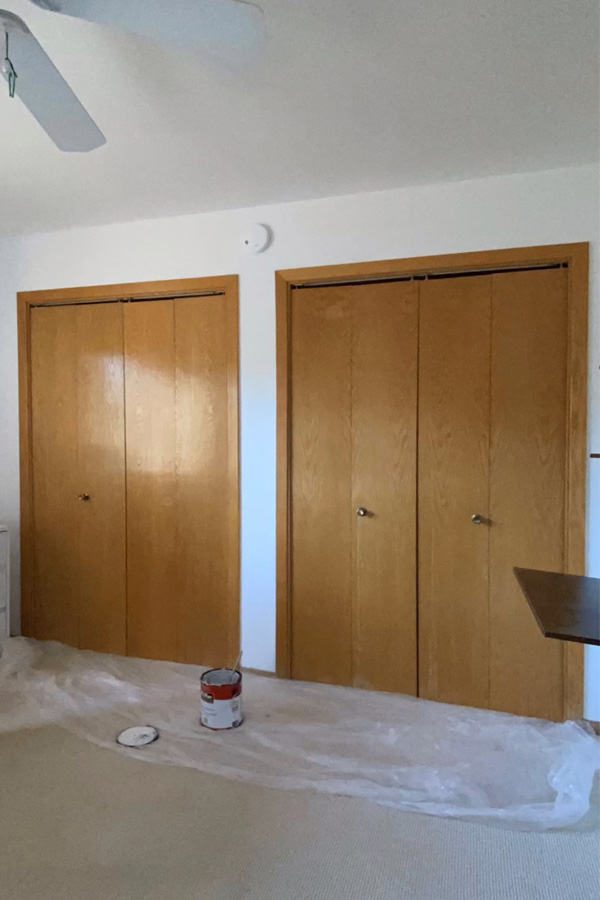
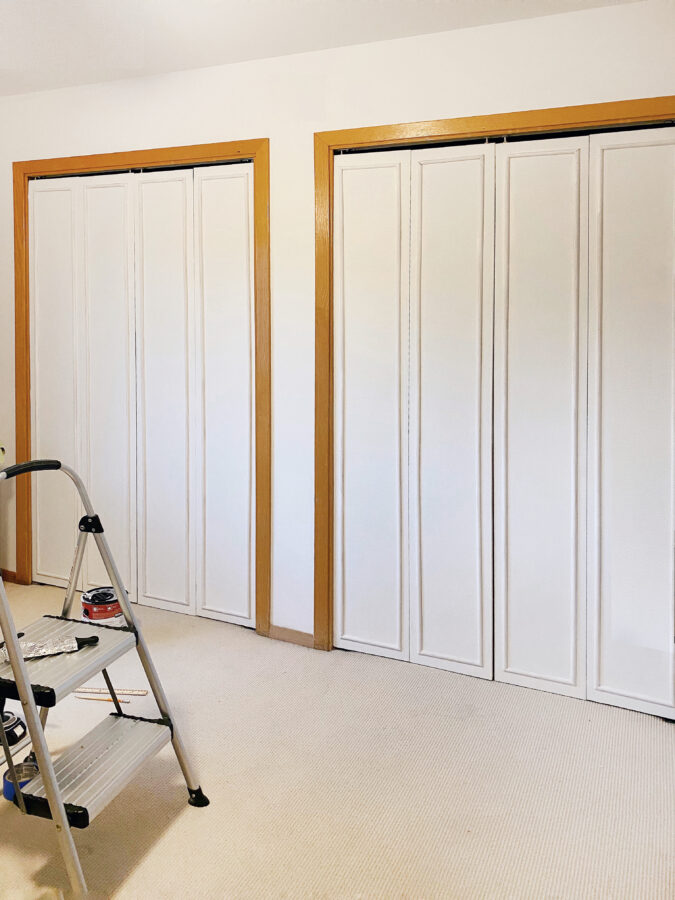
Bifold Closet doors BEFORE
It pains my heart just a bit every time I have to see the yellow wood color that is so dominant in our very southwest home. If it wasn’t the wood color on all our baseboards, all our window shutters, the vigas, trim work and all doors in our home… I would paint them. But, it’s overwhelming how much there is.
Both of my children have enormous closet space in their bedrooms, which we are so very thankful for. However, because of this the bright yellow wood color is quite an eye sore in their space.
In addition, the knobs keep falling off of my daughter’s closet and it’s in disrepair. I had planned on removing and installing completely new bifold doors, but it ended up being a task I couldn’t take on right now.
Modern Bifold Upgrade
My plan to modernize our bifold closet doors are as follows:
- Paint White
- Remove old knobs, patch and paint
- Add modern wood trim accents
- Install new modern knobs
How to repair and prep old doors-
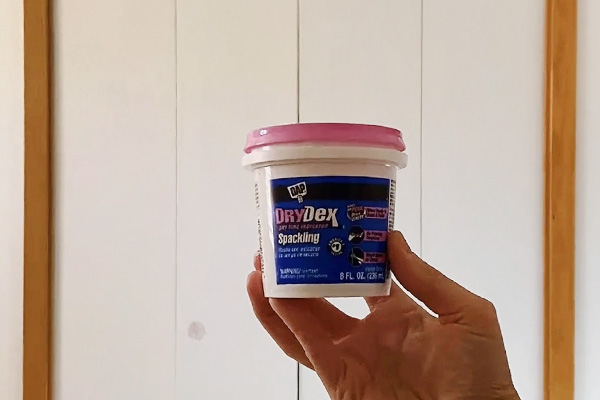
Old doors often come with scapes, gouges and a few imperfections in the wood from wear and tear over the years. Using wood filler is my favorite way to fill in any of those issues. I always use DAP Plastic Wood pink wood filler. I like that it goes on pink so you can see it and it dries white.
Once it has dried, use sand paper to lightly remove any excess from the filler and knock down any bumps or dings on your door. You do not need to sand down your doors to the raw wood however.
Finally, use a microfiber cloth to remove the sanding dust from the door’s surface.
Priming Old Doors
Not all paint jobs require priming.
You do need to prime if you have a new raw wood door, your door was previously painted with oil based paint or your are going from a very dark paint color to a very light paint color.
You don’t need to prime if you have a new wood door that has been pre-primed, if you are painting latex over latex, if your paint is a primer + paint combo.
My daughter’s bifold closet doors are not great quality and this upgrade is more of a temporary fix. However, the paint I used is my favorite Behr’s Premium Plus Paint (Bit of Sugar) that has a primer + paint combo.
How to paint old Bifold Doors
The first thing you need to do when painting old bifold doors is gather up all your supplies and tools.
Door Painting Supplies
Wood filler
Putty Knife
Sandpaper
Plastic drop cloth to protect your floor
Painter’s tape
Paintbrush – My FAVORITE BRUSH EVER
4″ woven rollers with 1/4″ nap
Roller handle for 4″ rollers
I always start with cutting in. I never paint trim with any brush other than the Wooster. It fits perfectly in my hand and it’s bendable handles never gives me a hand cramp. I do at least coats on the edges of the surface I’m painting.
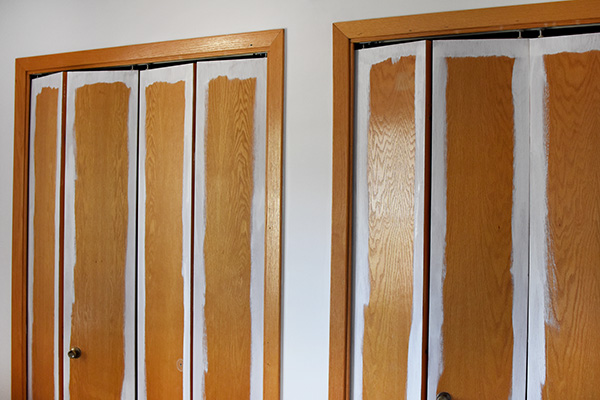
Once the edges have dried properly, it’s time to paint the front faces of the doors. I removed the knobs and using a small roller, do two coats of paint… allowing the proper dry time in between.
Looking for easy to print and follow directions to modernize your closet doors? Check out my 8 page Ebook on how to prep, measure, cut and install trim on your closet. Purchase it below via the orange button.
How to update Bifold Doors
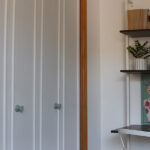
Once my paint was completely dry, it was time to finally give these old closet doors a new more modern look using simple half round trim.
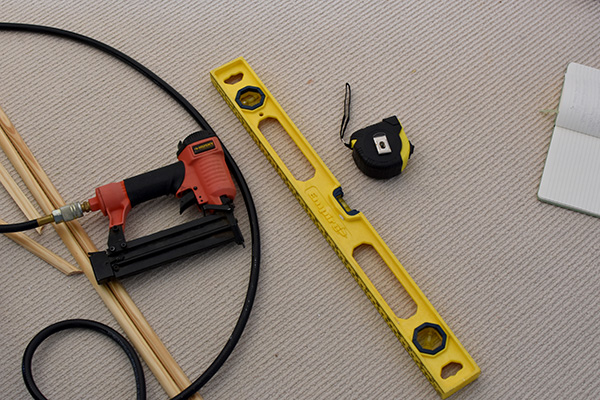
Supplies for updating closet doors-
(12) 8′ Half Round Trim pieces (or these)
Miter Saw (or you could use a hand held saw)
Nail Gun + Compressor
Brad Nails
Caulk
Painter’s Tape
Level (both a 2′ one and a small handheld)
Ruler (or measuring tape)
Pencil

Building Wainscoting Trim on your Closet Doors-
Start by deciding how long and wide you want your trim boxes to be. I wanted mine to be 1.5″ from the top and sides of each closet panel.
Once you have your trim measurements, get out your miter saw and move your blade to a 45′ angle. And wearing proper safety glasses, make all your cuts needed.
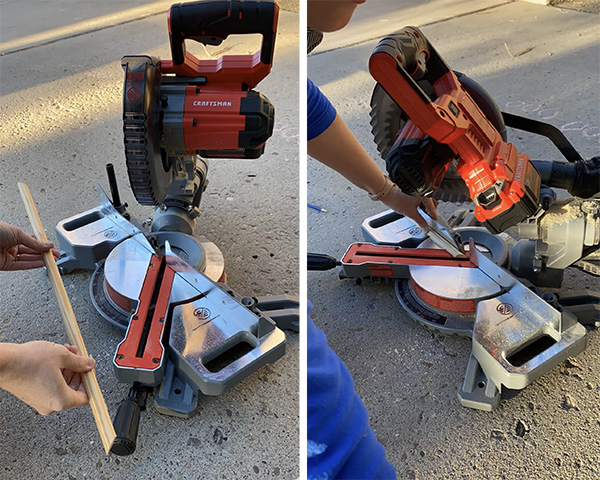
I found it best to measure up from the ground 1.5″ and mark. Then using my level, I would use painter’s tape and tape a bottom trim piece to the door panel.
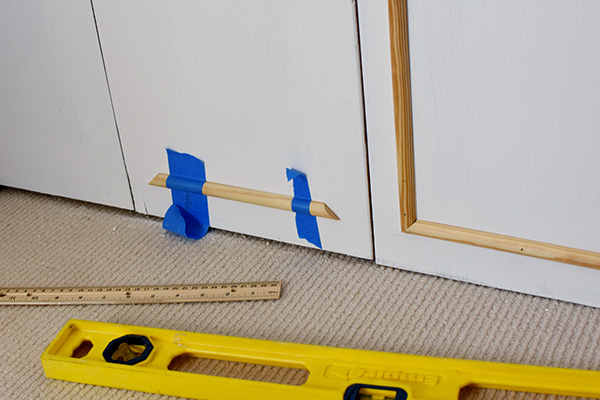
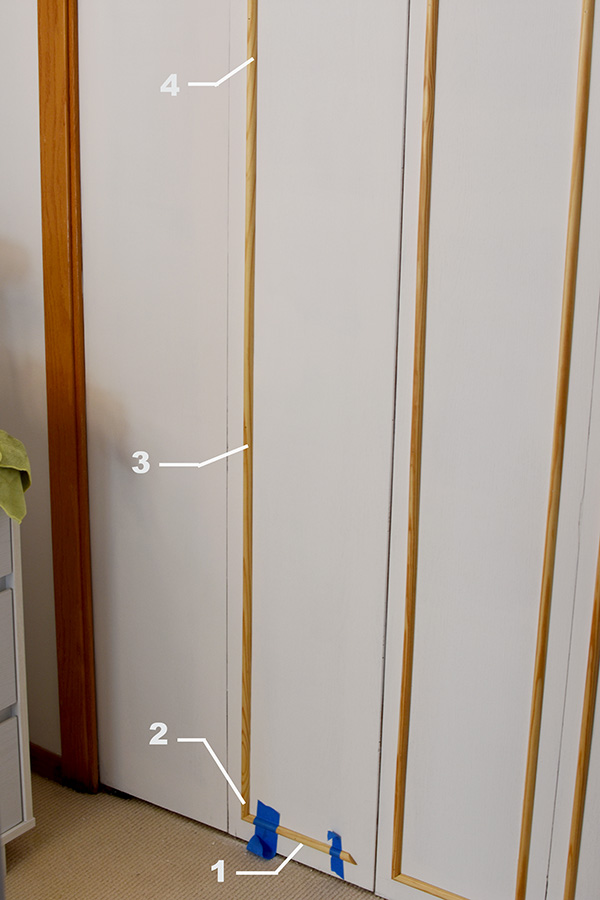
Using my nail gun, I then added a nail in the center of my bottom trim, see below on the image (1). Next, I would hold and line up the left side vertical 8′ piece. It was easy to use one hand to keep the two 45′ angles together and nail the bottom corner, see below on the image (2).
Once that bottom corner was nailed in, I used my 2′ level and could easily swing the vertical piece a little to the right or left to make it straight. Once it was level, I’d nail in around (3) on the image below. Moving a little further up, I would repeat this once more… checking to make the vertical piece level and nailing around (4) on the image below.
Note, do NOT nail the top portion yet. Leave the top portion of your vertical trim piece as is. You will nail it down later.
Interested in learning more about the Best Beginner DIY Tools? Check out this post!
After you have the left hand vertical side nailed, repeat these steps on the right hand vertical piece. Also leaving the very top portion un-done.
The last step is adding your top trim piece, making it level and nailing it on in the center. Once you’ve done this, you can still maneuver both right and left trim pieces slightly to make them match up correctly. Once they are lined up, you can add you final nails at each corner.

Next, paint your trim. Then caulk all your seams and the nail holes. I love using DAP Alex Dry Caulk because it’s paintable and easy for me to work with.
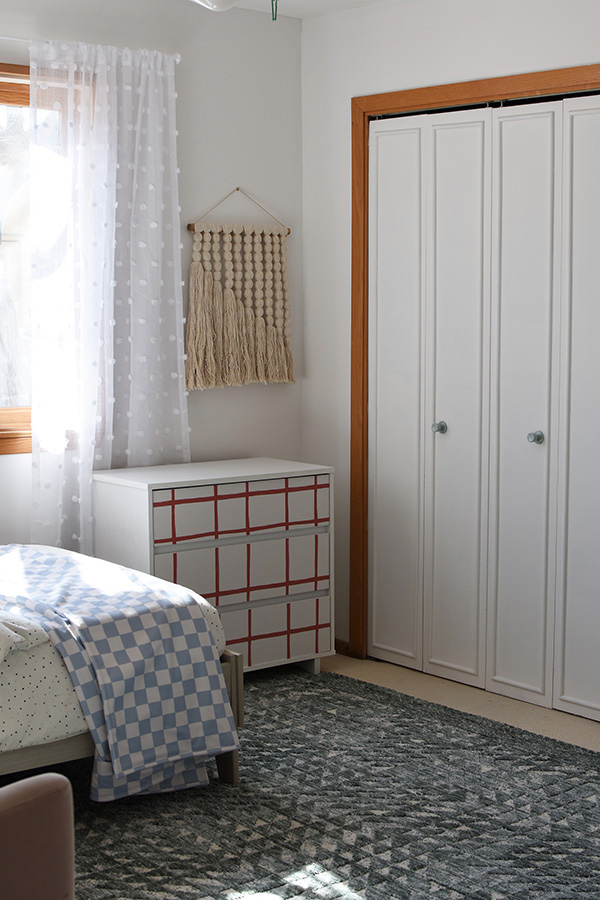
Once the caulk had dried, I added one more coat of paint to the trim detailing! WHAT A TRANSFORMATION.
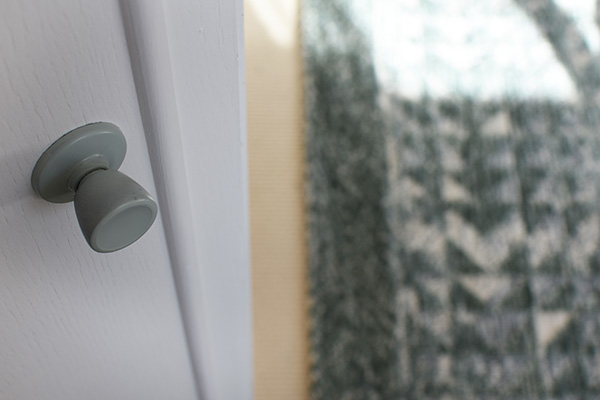
Adding doorknobs to old bifold doors
Once the doors were patched, painted and caulked, it was time to add doorknobs back on so they would be functional again.
I simply spray painted the old knobs a fun soft blue color, drilled a hole the size of my screws with my electric drill and installed the hardware. So easy!

Modernize Bi-Fold Doors
Learn how to easily update old closet doors in your home with minimal effort. Adding DIY trim detail is one great way to modernize bifold doors.
Materials
Painting Doors
- Wood Filler
- Putty Knife
- Sand Paper
- Plastic drop cloth to protect your floor
- Painter’s tape
- Wooster Paintbrush – My FAVORITE BRUSH EVER
- 4″ woven rollers with 1/4″ nap
- Roller handle for 4″ rollers
- Updating Closet Doors
Updating Closet Doors
- (12) 8′ Half Round Trim pieces
- Miter Saw (or you could use a hand held saw)
- Nail Gun + Compressor
- Brad Nails
- Caulk
- Painter's Tape
- Level (both a 2′ one and a small handheld)
- Ruler (or measuring tape)
- Pencil
Instructions
- Begin this project by cutting in the paint with a Wooster brush. Do at least two coats on the edges of the surface you are painting.
- Once the edges have dried properly, paint the front faces of the doors. Remove the knobs and using a small roller, do two coats of paint… allowing the proper dry time in between each coat.
- Decide how long and wide you want your trim boxes to be. I wanted mine to be 1.5″ from the top and sides of each closet panel.
- Once you have the trim measurements, get out a miter saw and move the blade to a 45′ angle. Wearing proper safety glasses, make all the cuts needed.
- Measure 1.5" from the ground and mark. Then using a level, use painter’s tape to keep the bottom trim piece in place.
- Using a nail gun, add a nail in the center of the bottom trim. See on the image (1). Next, hold and line up the left side vertical 8′ piece. It was easy to use one hand to keep the two 45′ angles together and nail the bottom corner, see below on the image (2).
- Once that bottom corner was nailed in, use a 2′ level and swing the vertical piece a little to the right or left to make it straight. Once it was level, nail in around (3) on the image below. Moving a little further up, repeat this once more… checking to make the vertical piece level and nailing around (4) on the image below.
- DO NOT nail the top portion yet. Leave the top portion of your vertical trim piece as is. You will nail it down later.
- After the left hand vertical side nailed, repeat these steps on the right hand vertical piece. Also leaving the very top portion un-done.
- The last step is adding the top trim piece. Make it level and nail it in the center. Once you’ve done this, you can still maneuver both right and left trim pieces slightly to make them match up correctly. Once they are lined up, you can add you final nails at each corner.
- Next, paint the trim to match your door color. Then caulk all your seams and the nail holes. I love using DAP Alex Dry Caulk because it’s paintable and easy for me to work with.
- Enjoy!
What can Bifold Doors be replaced with?
If you simply are ready to move on from the bifold closet door look, there are numerous options you can either DIY or buy. A few of them are –
TWEEN GIRL BEDROOM TO-DO LIST :
With only ONE WEEK left, I need to wrap up a lot of tasks!
Paint the cream walls a crisp clean white.Add Accent Paint Wall.- Remove Wooden Shutters and hang curtains.
Remove and Install new Closet Doors.- DIY art/yarn focal point.
- Add new rug.
- Assemble new furniture.
Be sure to check out the other amazing Room Refresh plans from the other participating bloggers! I can’t wait to see what they all will be working on.
Casa Watkins Living
Delineate Your Dwelling
Domicile 37
House by Hoff
Iris Nacole
JZ Holmes
Live Pretty on a Penny
Love Your Abode
My Eclectic Nest
Our Fifth House
This is Our Bliss
Uptodate Interiors
Check here for the full resource list:
And be sure to check out more of my home tour projects!
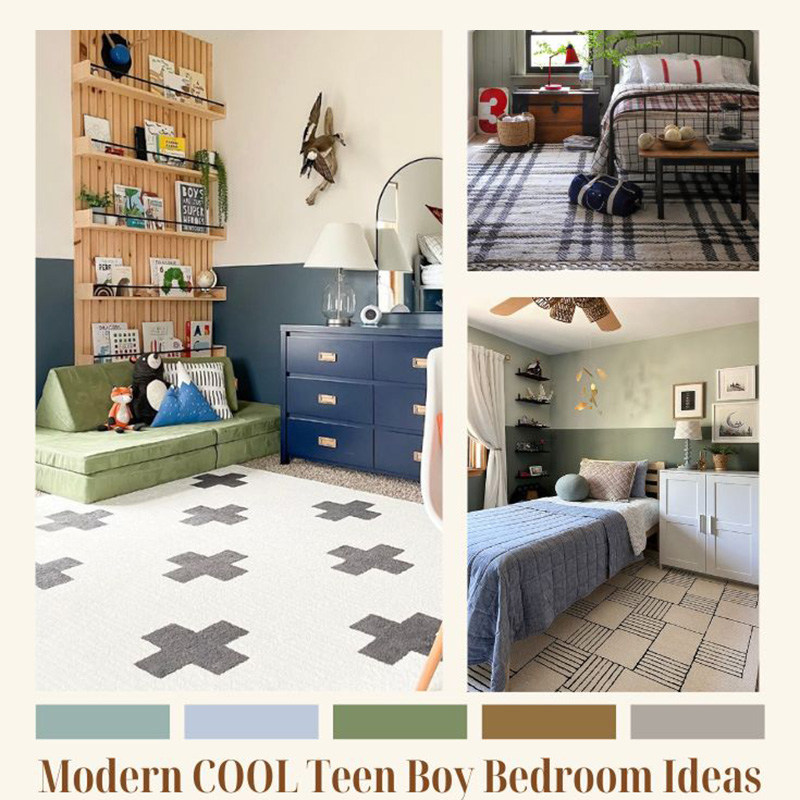
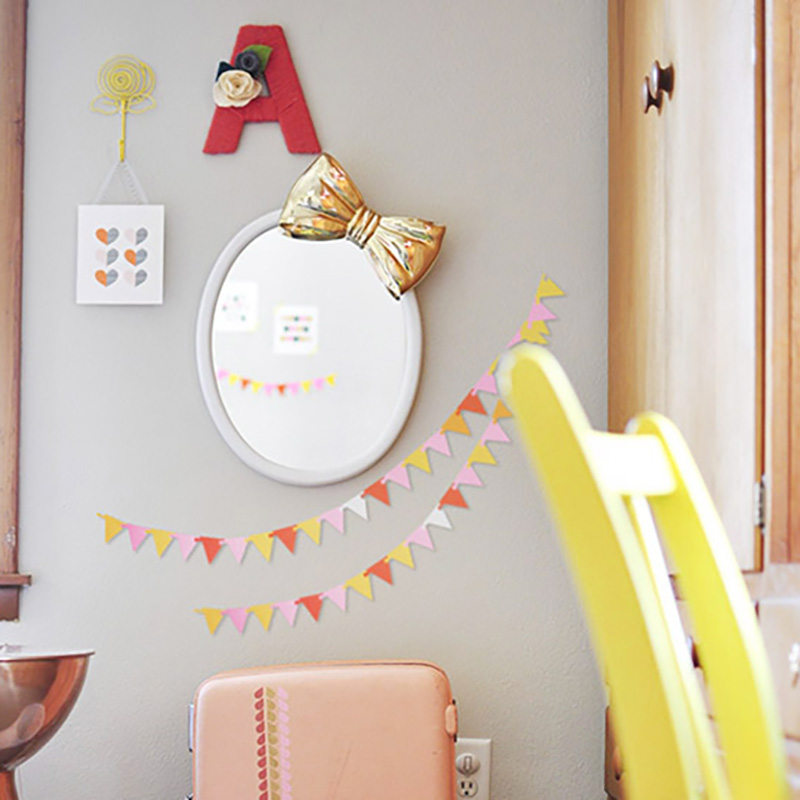
And if you are looking for even more kiddo themed bedroom ideas, check out these below…
Great tips on modernizing bifold doors! I love the idea of adding custom hardware for a more contemporary look. Can’t wait to try out some of these ideas in my own home!
Great tips! I love the idea of adding a fresh coat of paint to the bifold doors. It’s an easy and cost-effective way to modernize them. Also, the suggestion about incorporating decorative hardware really adds a nice touch. Thanks for sharing these ideas!
This post was incredibly helpful! I love the idea of adding some contemporary hardware to my bifold doors. The tips on choosing the right paint color really inspired me to freshen up my space. Thanks for sharing!
Great tips on modernizing bifold doors! I love the idea of adding a fresh coat of paint and updating the hardware for an instant upgrade. Can’t wait to try some of these ideas in my own home!
Great tips on modernizing bifold doors! I especially loved the idea of incorporating different materials and finishes. It really opens up so many design possibilities! Thanks for sharing these insights!