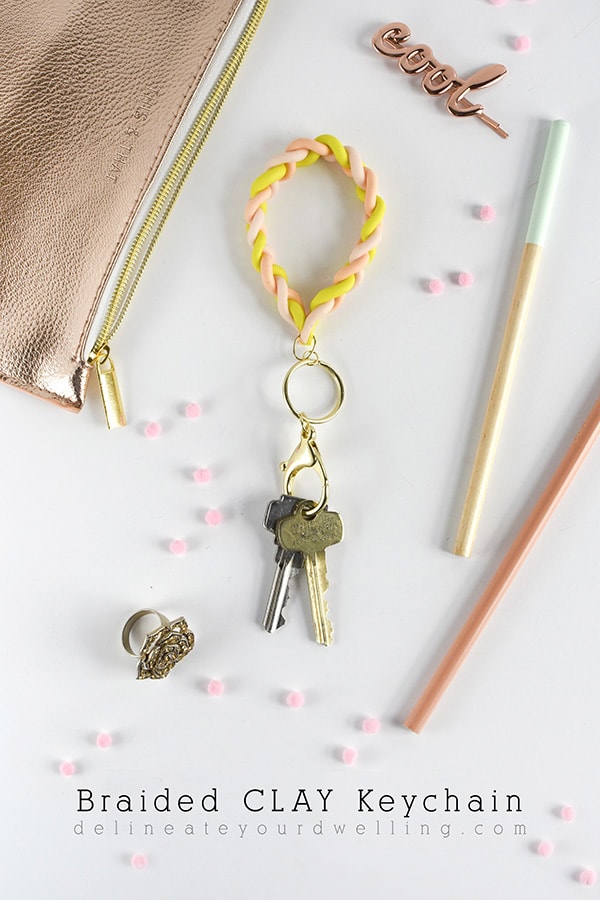
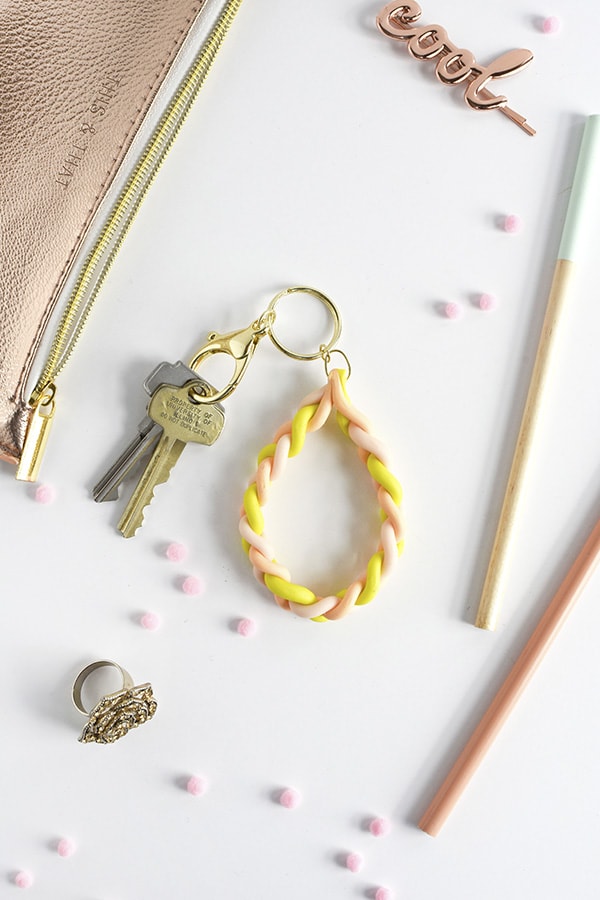
Braided Clay DIY Keychain
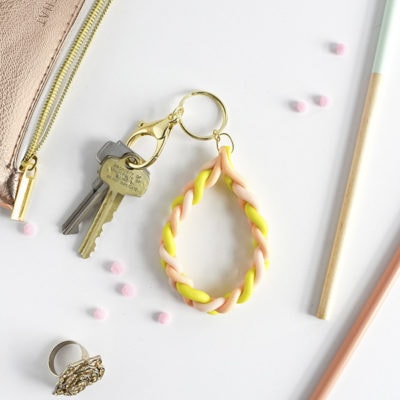
INSIDE : Learn how to make a simple Braided Clay DIY Keychain to keep your keys organized and looking pretty at the same time. Win win.
This post contains affiliate links. See my full disclosure.
I’m doing it! I’m sharing the second of my three clay keychains today. Last week, I showed you how to make a Marbled Clay Keychain.
I love using one product for multiple projects in a row and being able to share all the different ways you can use it. If you thought marbling clay was fun, wait until you see this one!! Today’s post is how to create a Braided Clay DIY Keychain!
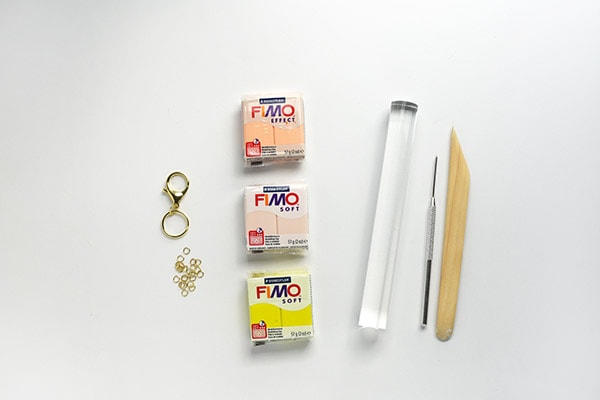
What supplies do I need to make a braided polymer clay keychain?
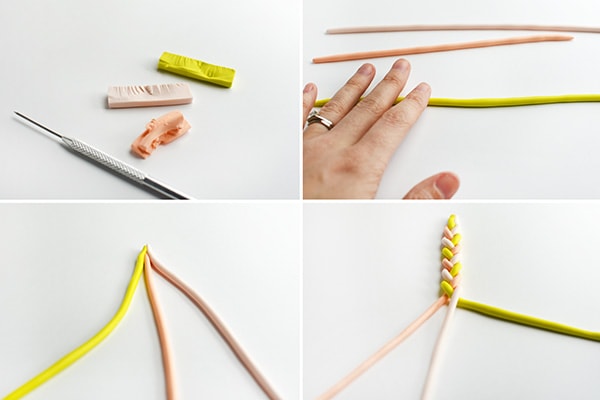
How to braid clay
Start this easy DIY by removing a small portion of each color of clay.
Next, using your hand roll each individual color into a long thin snake shape. Just remember the thickness you roll will determine how wide your overall keychain is. I rolled each of my colors until they were a little bit thinner than a pencil.
Then, gently pinch the three colors together to secure. Do not squeeze too tightly, just using a light touch will keep the clay together.
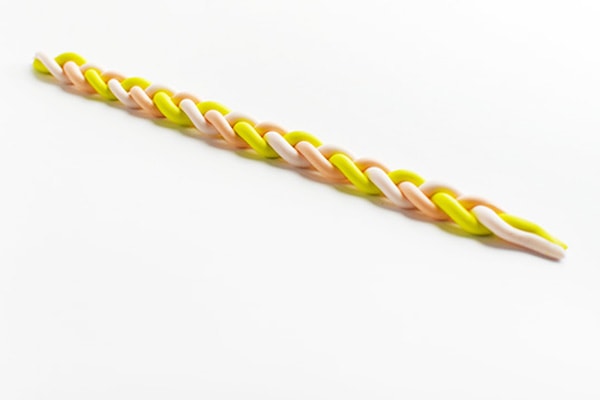
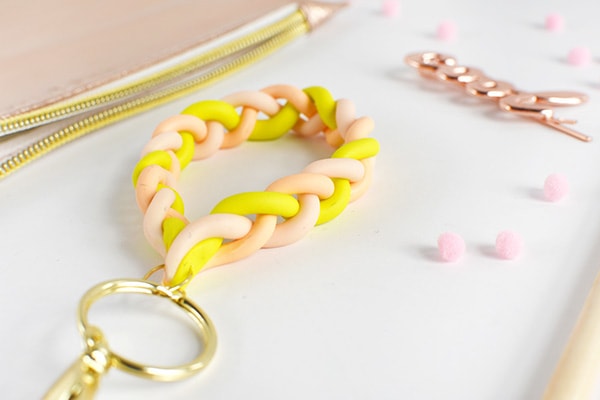
And finally, start braiding your clay. It’s amazing how the polymer clay can bend and twist without breaking!
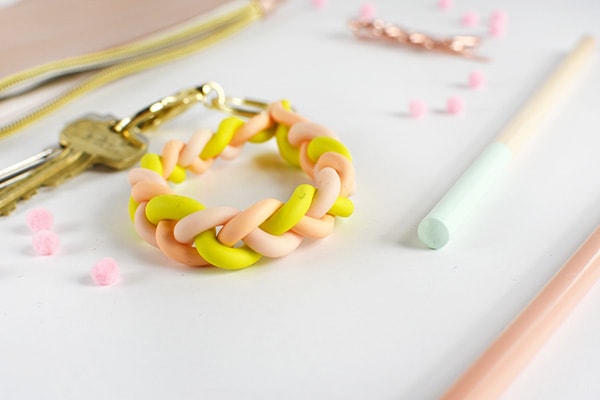
I LOVE braiding clay. I’ve used this same technique before when creating a braided clay bracelet.
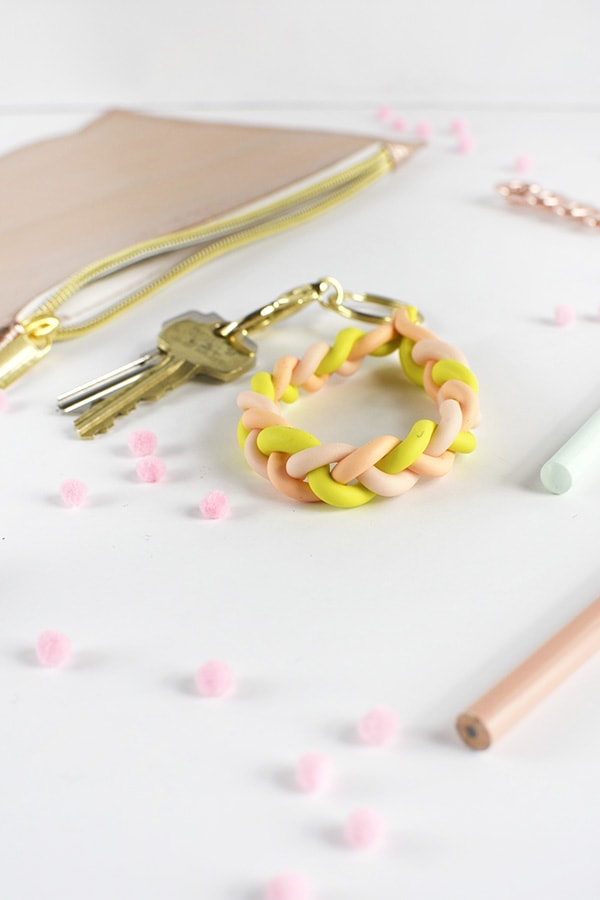
After you have the braided clay, it’s time to create a tear drop shape and secure the ends together. Using your sharp clay tool, pierce a hole in the top for your jump rings.
Bake your polymer clay
Bake your clay per the directions on your specific clay. Mine required baking at 230 F for 30 minutes. Then, remove from the oven and allow to cool.
Next, all that is left is securing your jump ring and lobster keychain onto the clay!
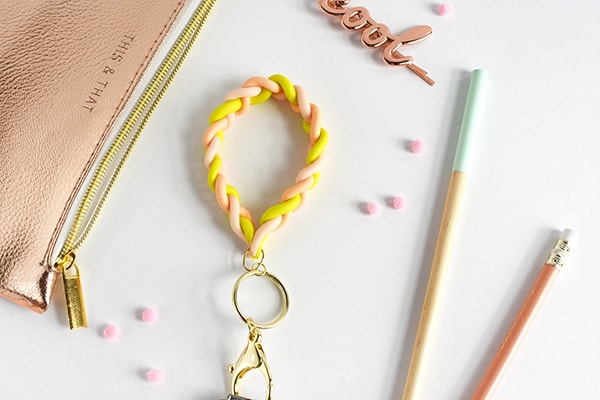
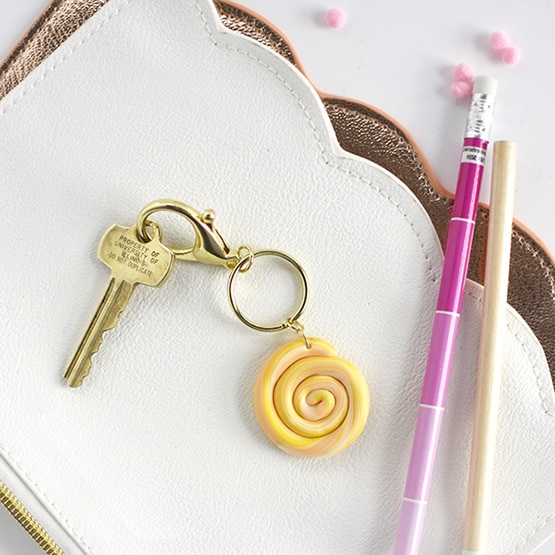
I was so pleased with how the colors turned out on this keychain.
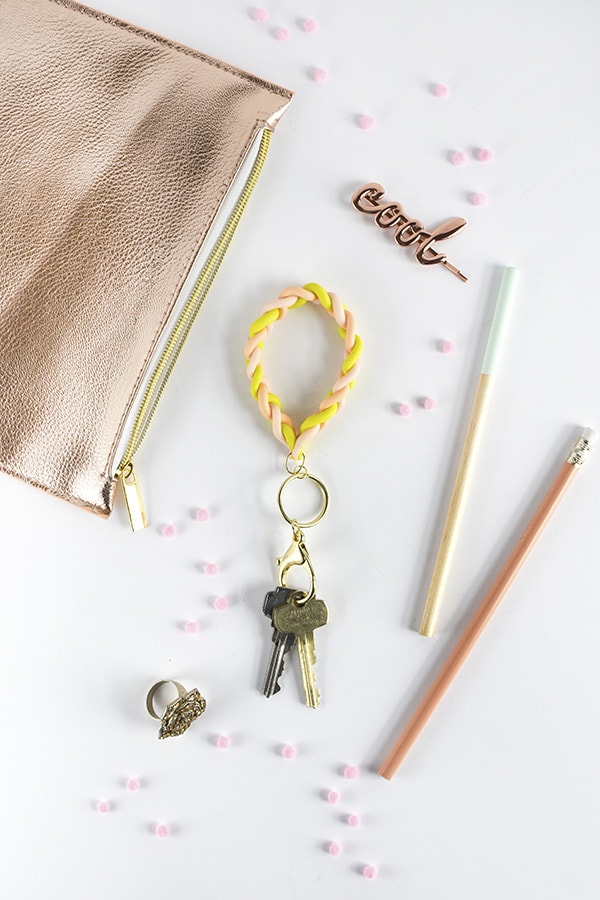
And similarly to my braided bracelet, once baked, this polymer clay has quite a bit of give to it. I’ve not had any trouble with it breaking in my purse. However, I’m sure given enough force, it would break.

Braiding Polymer Clay Keychains
Learn how to make a simple Braided Clay DIY Keychain to keep your keys organized and looking pretty at the same time. Win win.
Materials
- Gold Keychain
- Gold Jump Rings
- Polymer Clay
- Roller
- Clay Tools
Instructions
- Start by removing a small portion of each color of clay.
- Next, roll each color into a long thin snake shape. I rolled each of my colors until they were a little bit thinner than a pencil.
- Gently pinch the three colors together to secure together at the top. Do not squeeze too tightly, just using a light touch will keep the clay together.
- Start braiding your clay into a long rope.
- After you have the braided clay, create a tear drop shape and secure the ends together. Using your sharp clay tool, pierce a hole in the top for your jump rings.
- Bake your clay per the directions on your specific clay. Then, remove from the oven and allow to cool.
- Secure your jump ring and lobster keychain onto the clay.
- Enjoy!
Notes
- Remember the thickness you roll will determine how wide your overall keychain is.
Interested in some other polymer clay project ideas? Check these out.
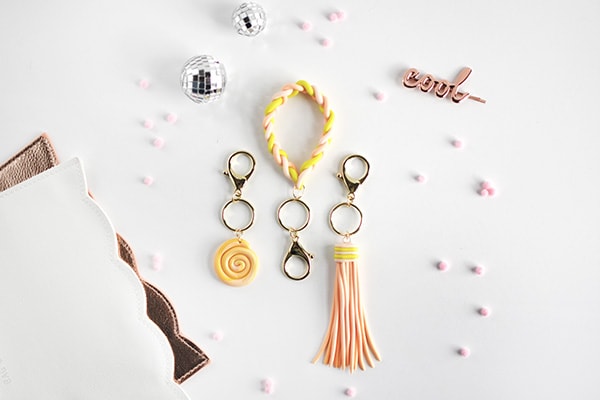
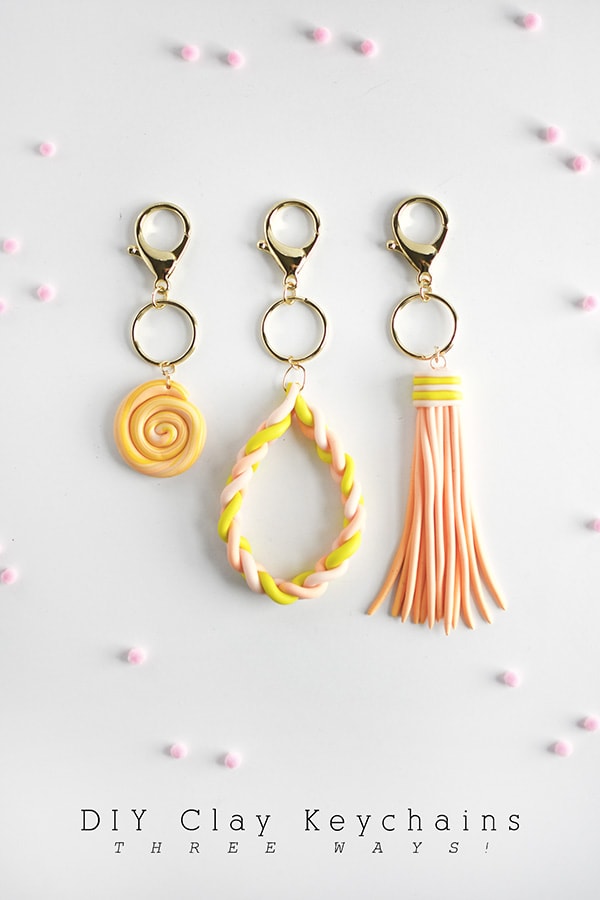
If you are interested in checking out my other two Clay Keychains, you can see them all together below!!
DIY Marbled Clay Keychain + DIY Clay Tassel Keychain
Other Clay projects –
DIY Marbled Clay Keychain

Clay TDAY Banner

Fourth of July Tea Light Holders
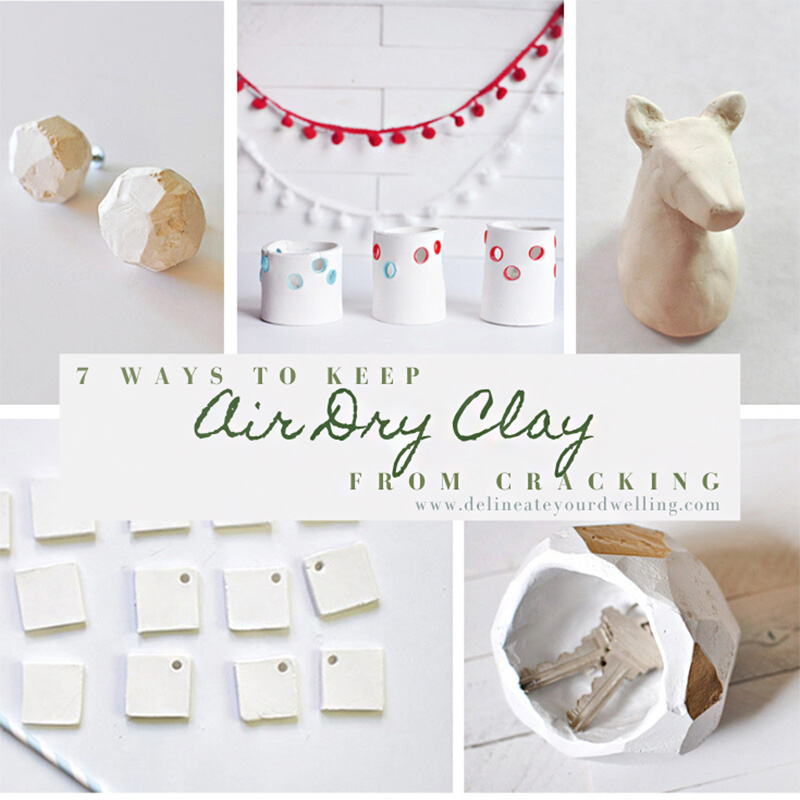
8 ways to keep air dry clay from cracking

Best Air Dry Clay products

35 Air Dry Clay Projects that will instantly inspire you!
This is so fun! Blown away that this is made from FIMO!
Thanks, Cyd! I really was thrilled at how well this little DIY came together. (And get ready for next Monday’s post!!)