His + Her DIY Face Planters
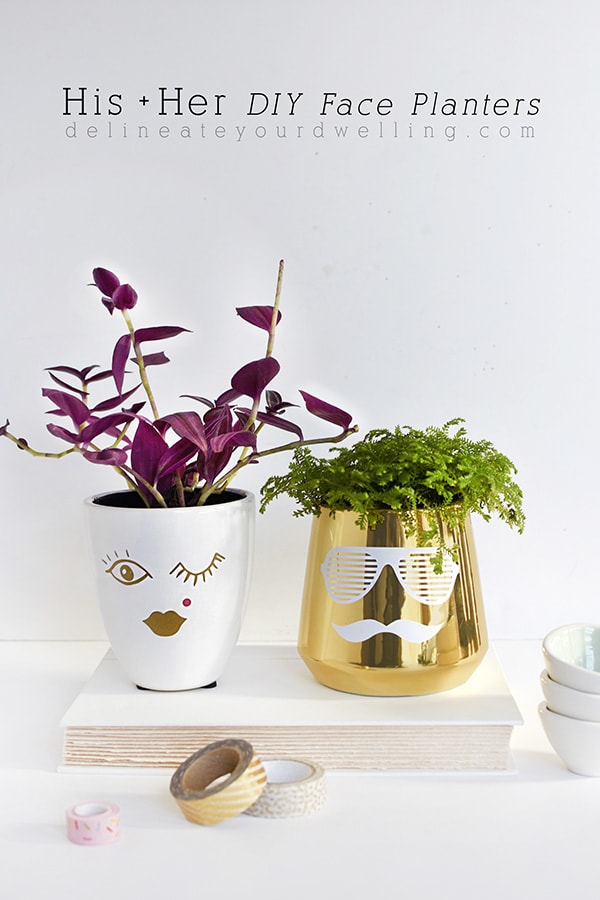
INSIDE : Learn how to make a simple craft His + Her DIY Face Planters using a plain vase and vinyl stickers! You won’t regret making this cheerful succulent ceramic planter with faces.
This post contains affiliate links. See my full disclosure.
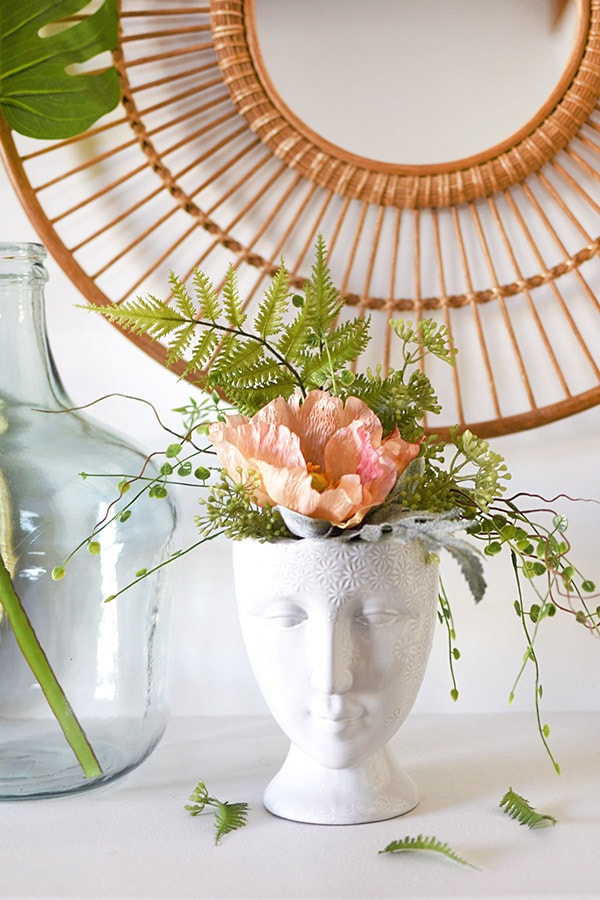
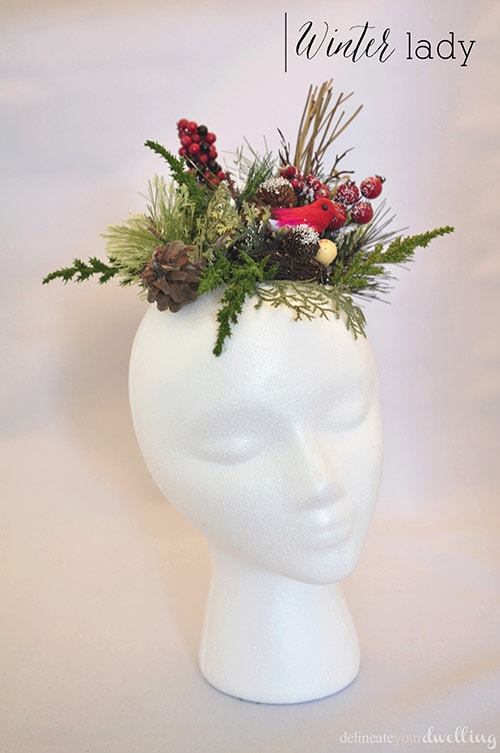
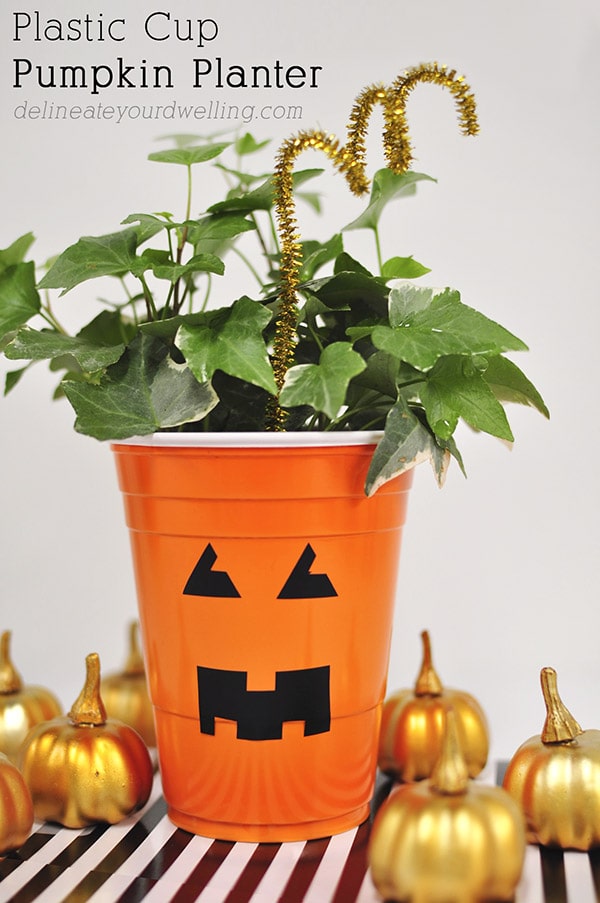
It should be of no surprise to find out that I have willingly and happily jumped on the crafting face planter train. I actually having been making some version of “face vases” for a whiiiiiiile. Check out my Christmas Winter Lady, Plastic Cup Pumpkin Planter and my Face Vase with Faux Plants.
I first saw Jonathon Adler come out with a face bud vase a few years ago. Then they slowly started popping up here and there, but were still almost impossible to get your hands on a set.
Magically fast forward to current day and they are now all over the place. I have had one from Anthropologie on my wish list for so long and my husband got it for me for Christmas!! She’s SO beautiful.
LOOKING FOR SOME OTHER CREATIVE PLANTERS?
Ceramic Planter
However, it’s officially time. That’s right, it is time for me to get my DIY on and make an adorable set of His + Her DIY Face Ceramic Planters for myself!! Guys, this idea has been years in the making – I’m so happy right now.
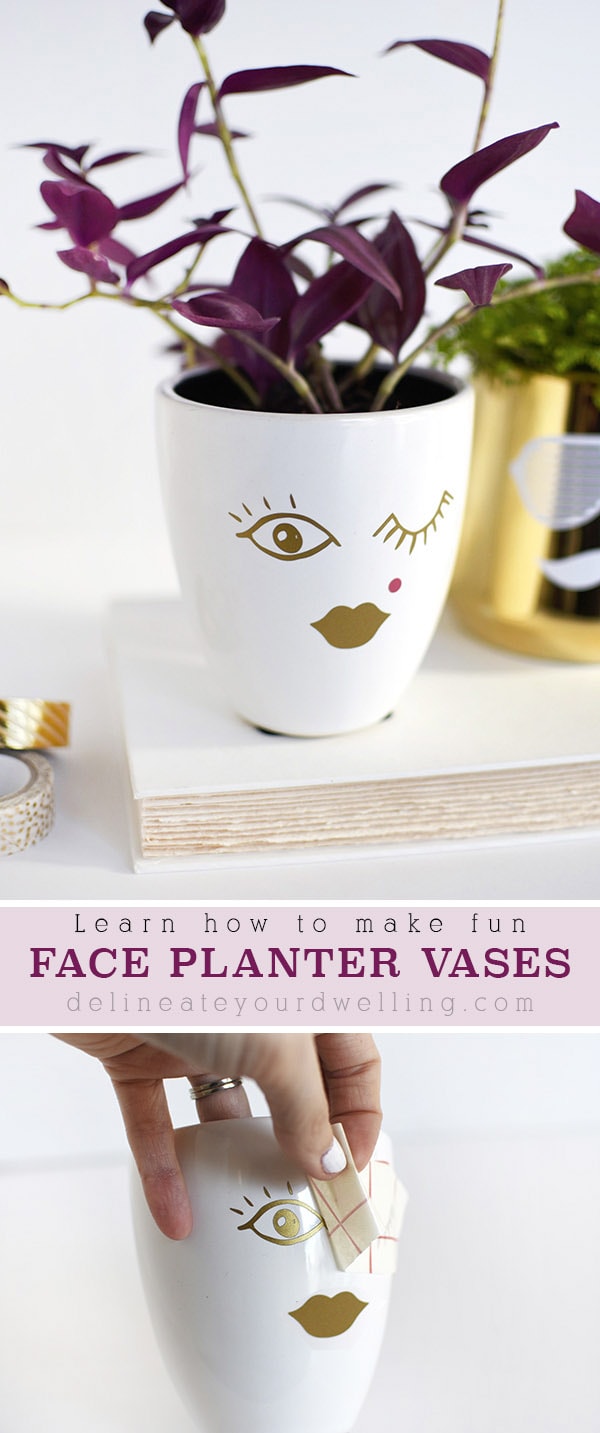
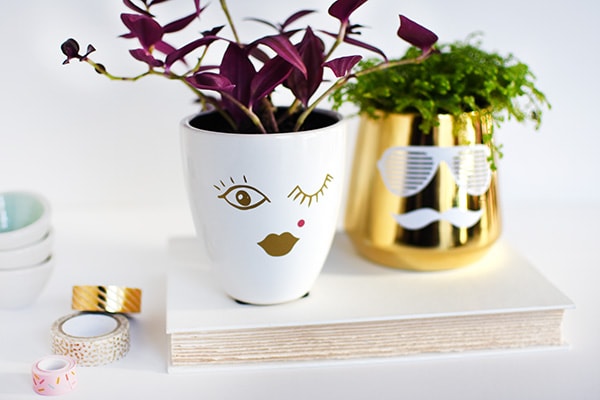
I am ready to make an entire family now because look how precious these two are!
What supplies do I need to make a Mr. + Mrs. Head Planter?
Silhouette Portrait
Vinyl : Gold + White + Pink
Transfer Paper
Vinyl Tool
Two simple pots : White + Gold
Plants
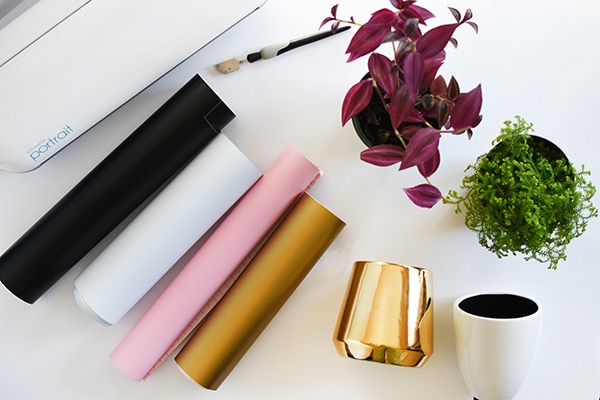
Do my pots need a drainage hole?
Yes! Always yes. It is so important to make sure your pots come with a drainage hole. Often times the more decorative pots do not. If they don’t you can always use a drill bit and add one to the bottom of your planter. Or another option is to leave your plant in the plastic grow pot it came in from the nursery and then place that into your more decorative “pretty” pot.
This allows for the water to run through the soil when watering and you can pour out any excess water, so the roots are sitting in water.
Make DIY Ceramic Face Pots using a Vinyl cutter-
I already own a Silhouette Printer, but if you don’t you can STILL make this project! A silhouette simply makes it a little easier to get the exact shape and detail you are looking for.
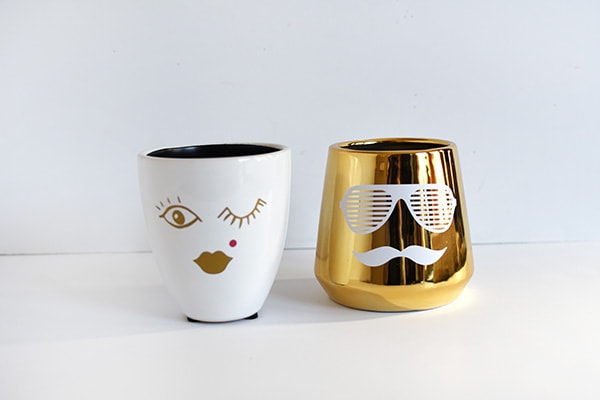
My first step was to buy and download a set of eyes, glasses and lips from the Silhouette Store online. Then, I selected my vinyl colors (white, gold and pink) and had the printer cut out the shapes.
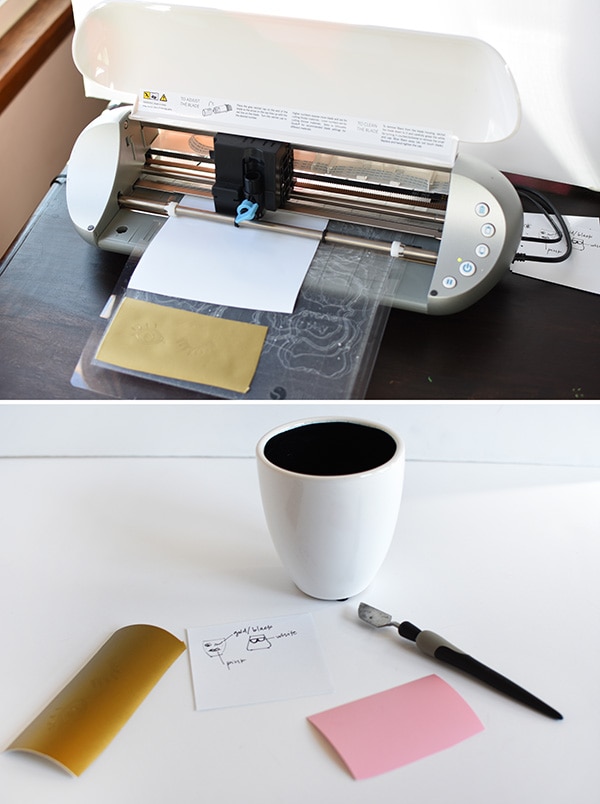
As you will note from the images below, I started off with sweet little pink lips on my Mrs, but eventually decided to keep with all gold on her and changed up her smile while I was at it.
Using Transfer Paper for small planter Face details
Also, here is my HUGE tip for this project. If you have a ton of detail on your face items, I highly recommend you use transfer paper. I can’t tell you how many projects I’ve had to do 8+ times because I wasn’t able to center the vinyl properly or it was at an odd angle.
Once your shape is cut, remove the excess vinyl so you are left with just the items you are going to apply. Then remove the backing from the transfer paper. Using the sticky side, adhere the transfer paper to the front of your vinyl items.
You should be able to see through the transfer paper and using the grid on the paper, you can align everything perfectly.
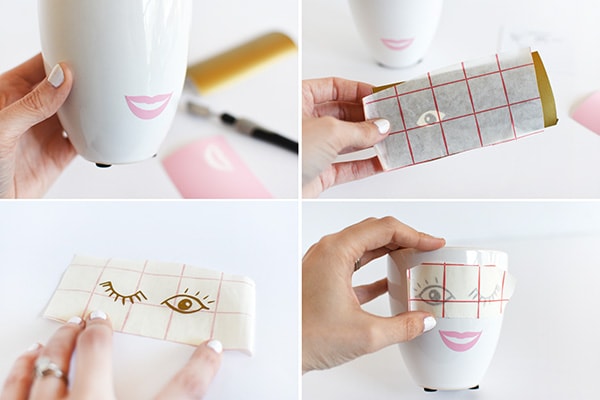
Rub gently and then remove the transfer paper. Your adhesive vinyl should stick just perfectly.
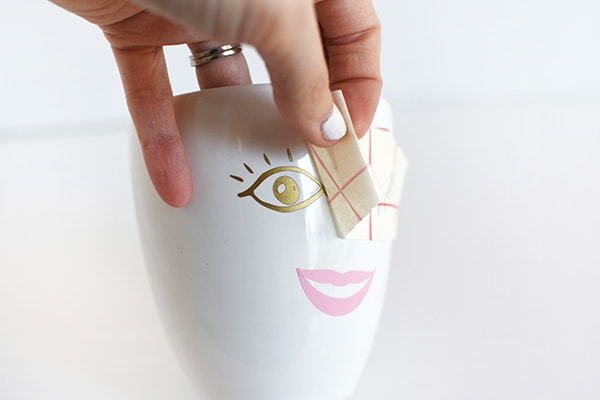
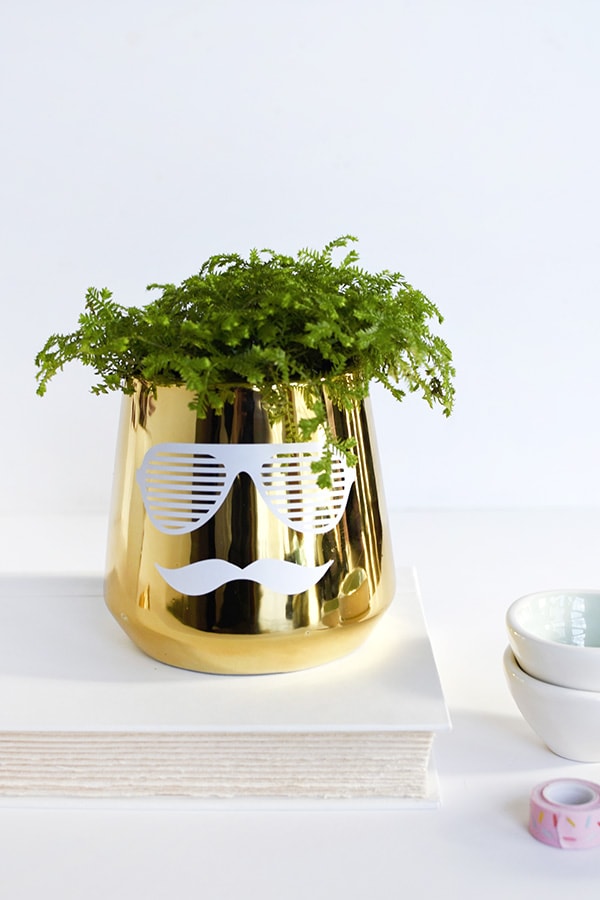
Repeat the process for your Mr face planter now. Aren’t those the best glasses – ha?!!
Add a plant in it
Once your Mr + Mrs DIY planters with faces on them have come to life, it’s time to go plant shopping!!
I selected a gorgeous purple Wandering Jew for my Mrs and a soft textural fern/moss for my Mr planter with faces on them.
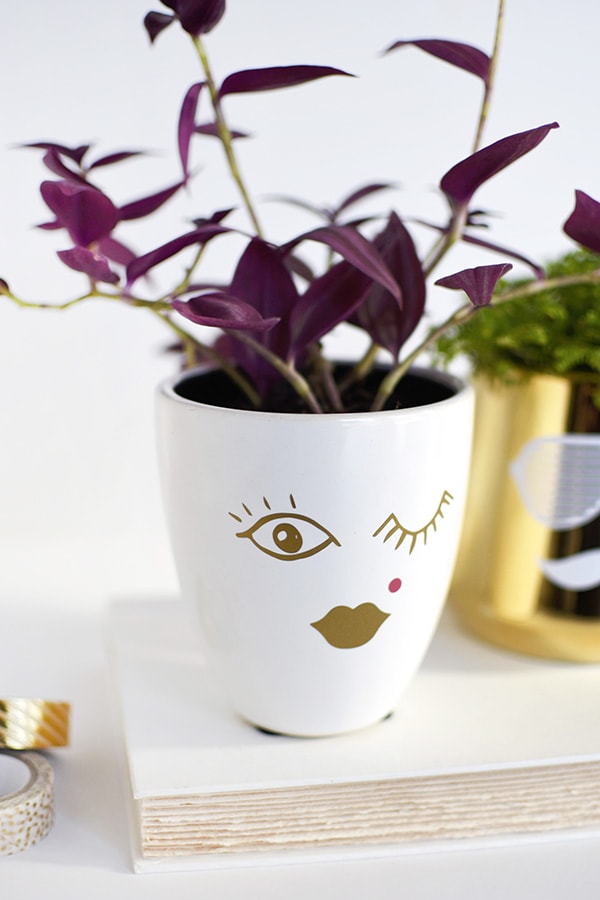
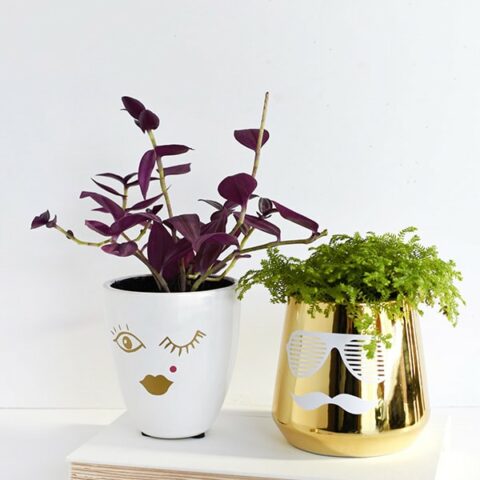
DIY Face Planter Vases
Learn how to make simple craft His + Her DIY Face Planters using a plain vase and some vinyl stickers! You won't regret making this cheerful succulent planter with faces.
Materials
- Gold Vinyl
- White Vinyl
- Pink Vinyl
- Transfer Paper
- White Vase
- Gold Vase
- Plants
Instructions
- Start by purchasing and downloading a set of eyes, glasses and lips from the Silhouette Store online. I used white, gold and pink vinyl colors and using a Silhoutte printer cut out the shapes.
- Once your shapes are cut, remove the excess vinyl so you are left with just the items you are going to apply.
- Using the sticky side of the transer paper, adhere the transfer paper to the front of your vinyl items.
- Using the transfer paper and using the grid on the paper, you can align everything so it appears straight.
- Rub gently and then remove the transfer paper. Your adhesive vinyl should stick perfectly.
- Repeat the process for your Mr face planter.
Notes
- If you have a ton of detail on your face items, I highly recommend you use transfer paper.
My next line of business is working on names for them. I could stick with Mr + Mrs… but Hank and Henrietta also have been thrown out there! What do you think??
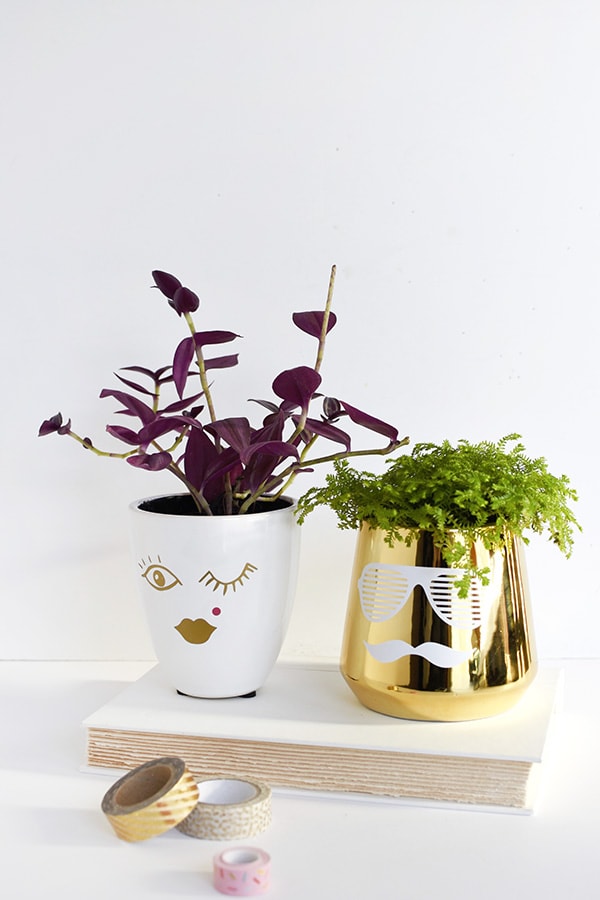
If you are looking for more plant DIYs, I’ve got you more than covered!
- Fiddle Leaf Fig black and white print
- Painted Peony Bags
- DIY Ring Planter with Baking Soda
- DIY Geode Planter
Looking for other face vases I have made? You might like these!
Face Vase with Faux Plants
Christmas Winter Lady


LOVE These!!! Could you tell me where you got the gold planter???? Thanks!!!
Thanks so much, Sarah! I got both of the planters at Hobby Lobby. 😉
Super cute and fun! Love the little pink beauty mark. Visiting from BFF Party.
That beauty mark is my favorite part, hee hee! 😉
Such cute and whimsical decorations for a planter! Well done! Blessings, Janet
Hee hee, thanks for your support Janet! xo
AWESOMELY CUTE !!
Thanks so much!
I love these so much! Such an inexpensive, creative and easy DIY! I may have to invest in a Silhouette! Thank you for sharing.
Neelam
http://patternsandprosecco.com/
Oh thank you so much, Neelam! You could simplify the faces a bit and probably cut them out with scissors or an x-acto knife, too.
Ahhhh these are ADORABLE! Love love love them both!
Hee hee, thanks so much!! They are happily living on my fireplace mantel. 😉