DIY Ring Planter with Baking Soda and Spackle
INSIDE : Loving the recent trend of Ring Planters, but goodness they can be pricey! So I headed to the Dollar Store and made my own for $9. Check out how to make this awesome DIY Ring Planter with Baking Soda and Spackle.

This post may contain affiliate links. See full disclosure here.
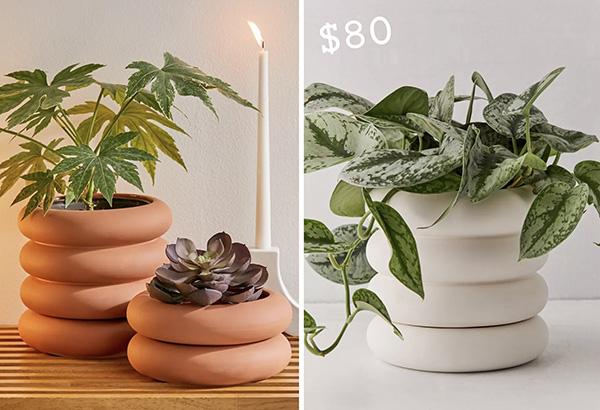
If you know me at all, you know I love a good plant related craft project. And I have been seeing these ring style planters showing up all over and I knew immediately I wanted one. I loved the shape and bold rings, but at $80 I wasn’t sure it was worth it for a planter. However, DIY to the rescue!
LOOKING FOR SOME OTHER CREATIVE PLANTERS?
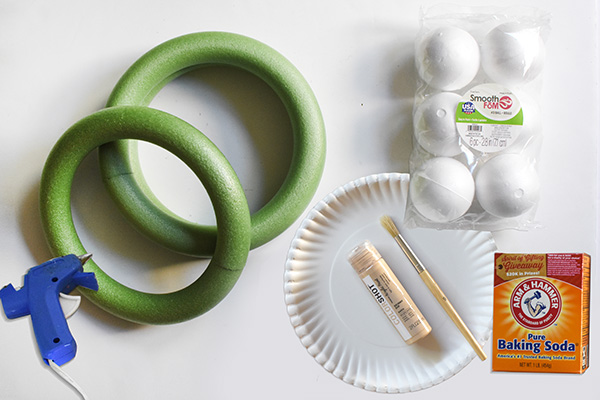
What do I need to make a DIY Ring Planter?
(8) 8″ Foam Rings
(2) Foam Balls (You will be cutting them in half.)
Hot Glue Gun
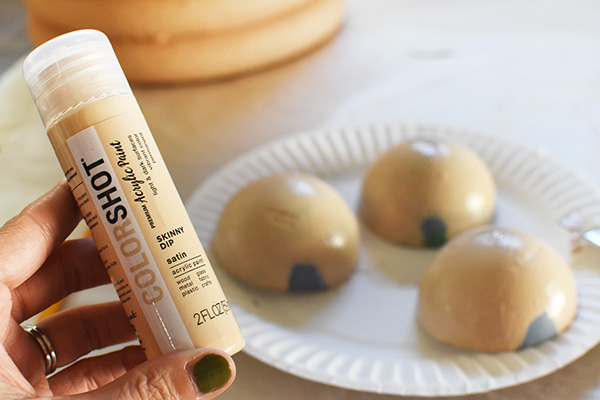
Acrylic Paint (I used Colorshot Skinny Dip, but any beige paint will do)
Baking Soda
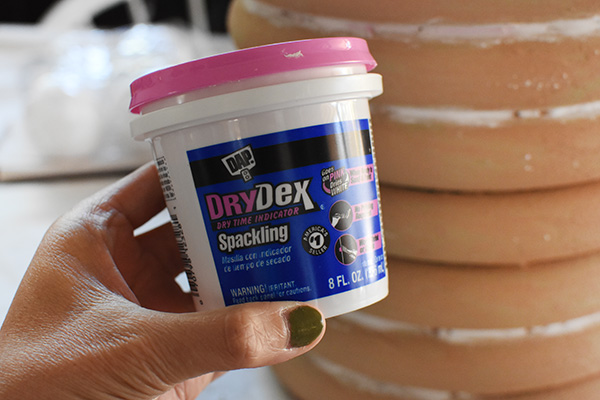
Quicky Dry Spackle
Paint Brush
Scissors
Spare piece of cardboard
Looking for other creative texture projects using baking soda? Check out 14 Incredible Baking Soda Paint projects.
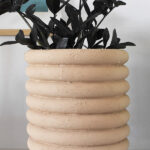
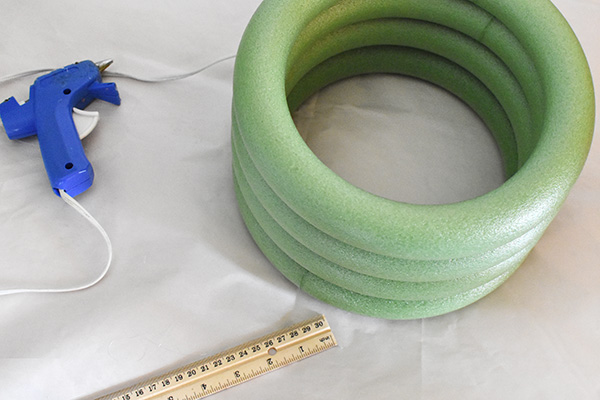
Build a ring base for a DIY planter
The first step to building a ring base is stacking each foam ring on each other. I used hot glue to secure them together and used a ruler after placing each one to make sure they were standing as straight as I could.
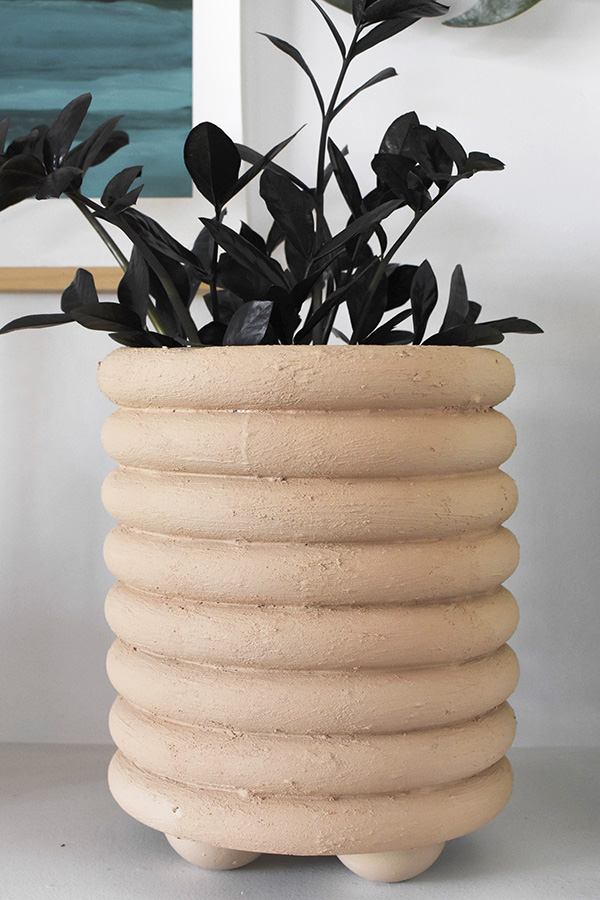
You can create your planter as tall as you would like. Mine is 8 rings tall.
Create a base for your DIY Planter
Next is creating the base for your plant to actually sit on. I found a spare piece of cardboard (hello Amazon boxes for the win!) and traced both the inside and outside of the ring onto my box. It should look like the below shape.
Next, cut out your outer circle and then make small slices to the inner circle line. This will help with folding your cardboard to fit and hold inside the planter.
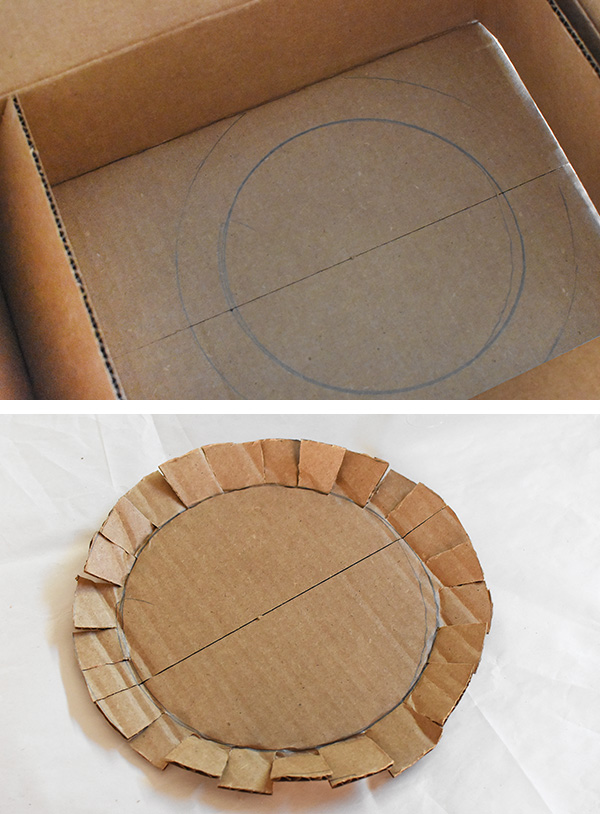
With the cut flaps folded, start at one side and slowly fit your cardboard into the bottom ring hole. You may need to go slowly to make sure all the flaps fit securely. The key is making sure it’s flush once inserted.
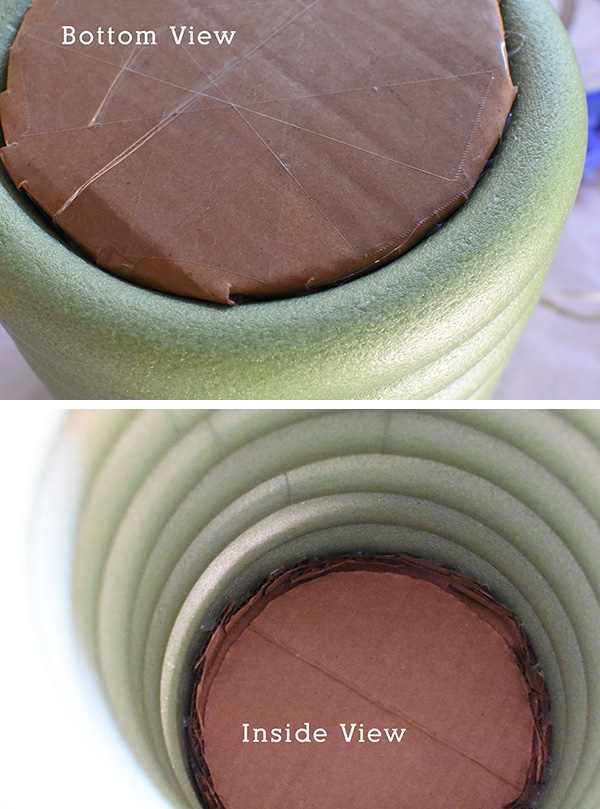
Once you have it inserted, add daps of hot glue along any spots that are gapping. Next, you will flip the planter over and glue glue glue the inside flaps flush with the sides. See the below image for what that will look like.
And once that step was completed, I decided to add one more small cardboard circle on the inside for extra strength, as well as adding just a bit of packing page to the bottom.
Add Baking Soda Paint texture to your planter
I shared step by step instruction and a video on how to do the perfect Baking Soda + Paint technique here. It gives even the most simply vase such beautiful texture that I’ve been on the lookout for another place to try it out. This ring planter was the perfect place!
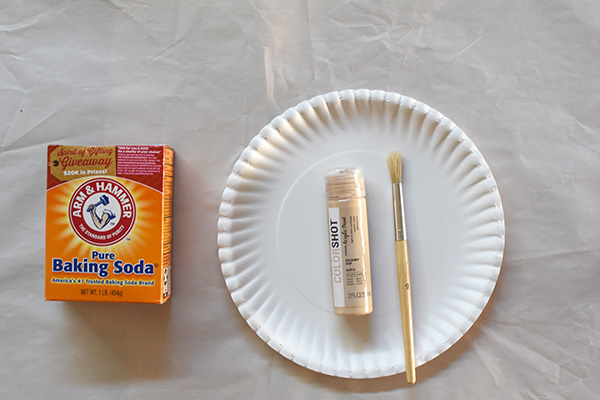
This time around, I knew I was going to need a lot of paint to cover my planter so I didn’t do any measuring on the quantities. I pour a small pile of baking soda onto a paper plate and added paint until it felt thick and textured.
I was wanting more texture on the first pass to help fill in some of the gaps between the rings. So be liberal with the paint mixture.
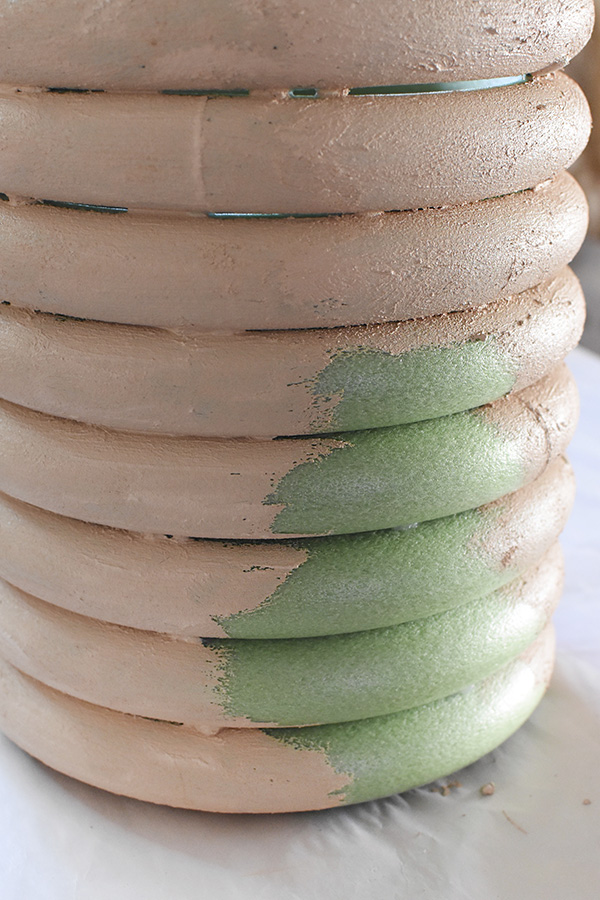
After the first coat of paint dried, which when using baking soda with your paint it actually dries fairly fast… 15 minutes or so, I decided to add in the some spackling. I’ve used this spackle for my Spackle DIY artwork and recently to fill gaps on my Modern Wood Slat wall. It’s great and I love that it’s pink but dries white when done.
After the spackle was dry, I did another coat of the Baking Soda and Paint. This last coat I was fine with it being a bit more paint than baking soda. It worked wonderfully.
Make Half Circle Foam Ball Legs
Next up, was creating the legs for my DIY planter. I used a skinny hand saw and cut the balls in half. PLEASE BE CAREFUL WITH THIS STEP. Thankfully the foam was a cinch to cut through and I was able to slice them in two with ease. However, still be careful and take any safety precautions needed.
I changed my mind twice before deciding to land on the same color for the legs. I started off with a beautiful sage green and then repainted these legs to a stunning dusty blue. I felt like they took away from the coolness of the planter, so eventually I decided to keep everything the same color.
Using the hot glue gun again, I added the three half circle legs to the bottom of my ring planter.

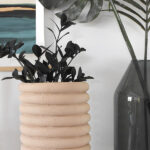
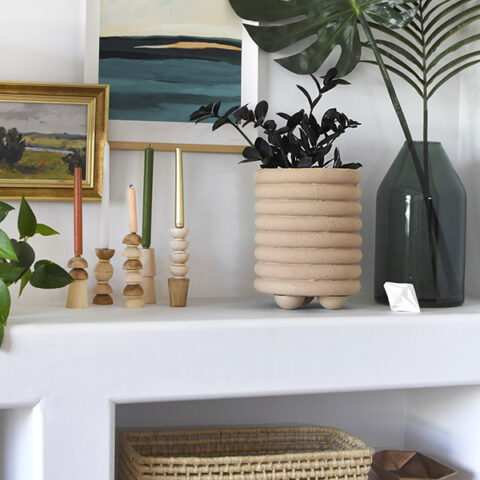
Add a plant to your ring planter
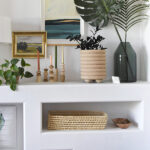
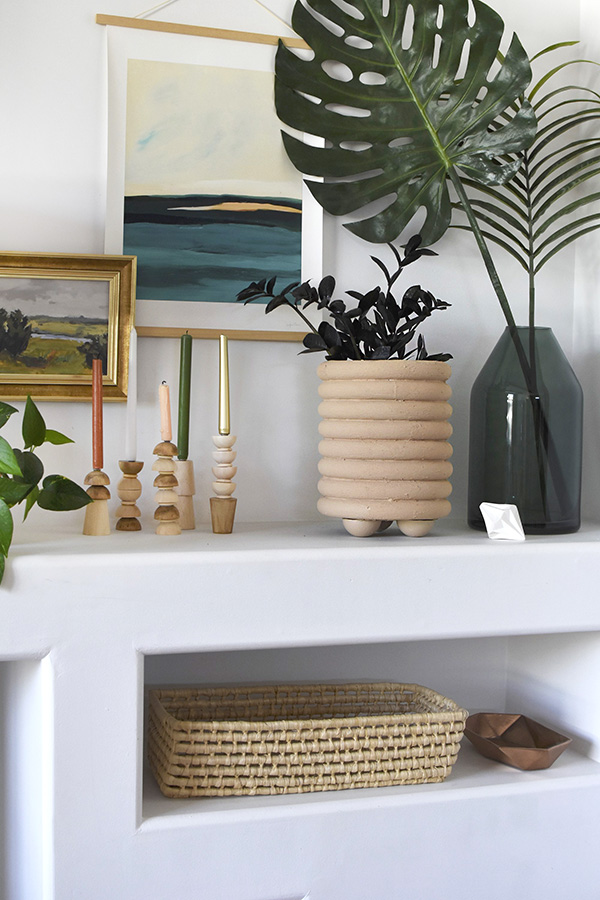
Since my planter is so tall, I took an unused plastic pot and flipped it upside down and put that at the bottom of my planter. This gives my gorg Black Raven ZZ plant the perfect height!
DIY Ring Planter with Baking Soda and Spackle
Loving the recent trend of Ring Planters, but goodness they can be pricey! So I headed to the Dollar Store and made my own for $9. Check out how to make this awesome DIY Ring Planter with Baking Soda and Spackle.
Materials
- (8) 8″ Foam Rings
- (2) Foam Balls (You will be cutting them in half.)
- Hot Glue Gun
- Acrylic Paint (I used Colorshot Skinny Dip, but any beige paint will do)
- Baking Soda
- Quicky Dry Spackle
- Paint Brush
- Scissors
- Spare piece of cardboard
Instructions
- The first step is stacking each foam ring on each other to create your planter's main shape. Use hot glue to secure the rings together. You can use a ruler after gluing each ring to make sure they are standing straight.
- Next is creating the base for your plant to sit on. Using a piece of cardboard, trace both the inside and outside of the ring onto your box.
- Cut out the outer circle of cardboard and make small slices that go to the inner circle line. This will help with folding your cardboard to fit and hold inside the planter.
- Fold up the cut flaps and starting at one side and slowly fit your cardboard into the bottom ring hole. You may need to go slowly to make sure all the flaps fit securely. The key is making sure it’s flush once inserted.
- Once the cardboard base is inserted, add daps of hot glue along any spots that are gapping. Then, flip the planter over and glue the inside flaps flush with the sides.
- For extra strength, you can add one more small cardboard circle on the inside for extra strength, as well as a bit of packing page to the bottom.
- Pour a small pile of baking soda onto a paper plate and add paint until it feels thick and textured to your desired look.
- After 15 minutes or so, add in spackling at any major crack areas between the rings.
- After the spackle was dry, apply a final coat of the Baking Soda and Paint. This last coat I was fine with it being a bit more paint than baking soda.
- Next up, cut your foam balls for the legs. Using a skinny hand-saw, cut the balls in half. PLEASE BE CAREFUL WITH THIS STEP. It should be a cinch to cut through, however, still be careful and take any safety precautions needed.
- Paint and hot glue foam ball halves to the underside of your planter.
- Take an unused plastic pot , flip it upside down and put that at the bottom of your planter. This gives your plant the perfect height!
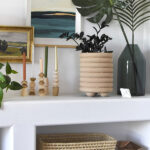
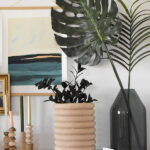
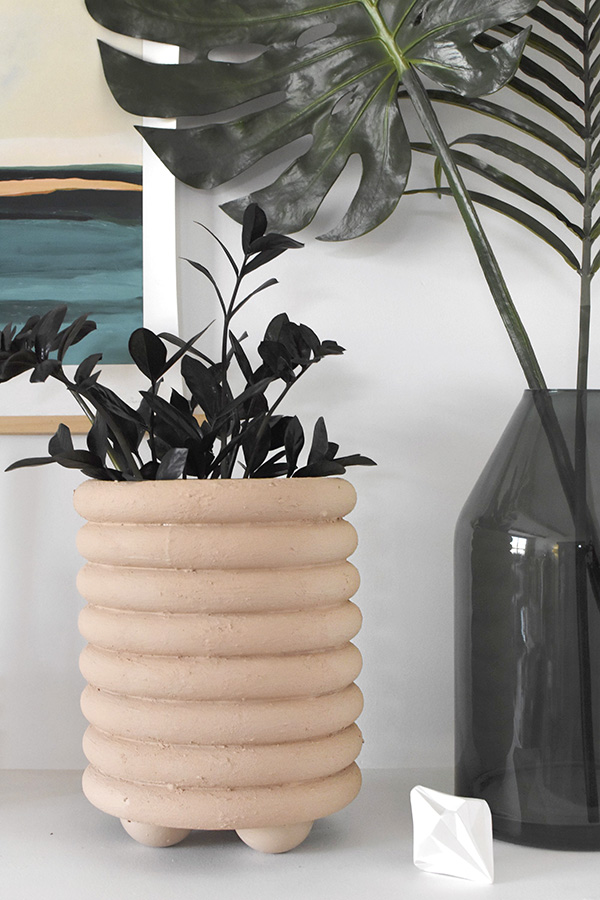
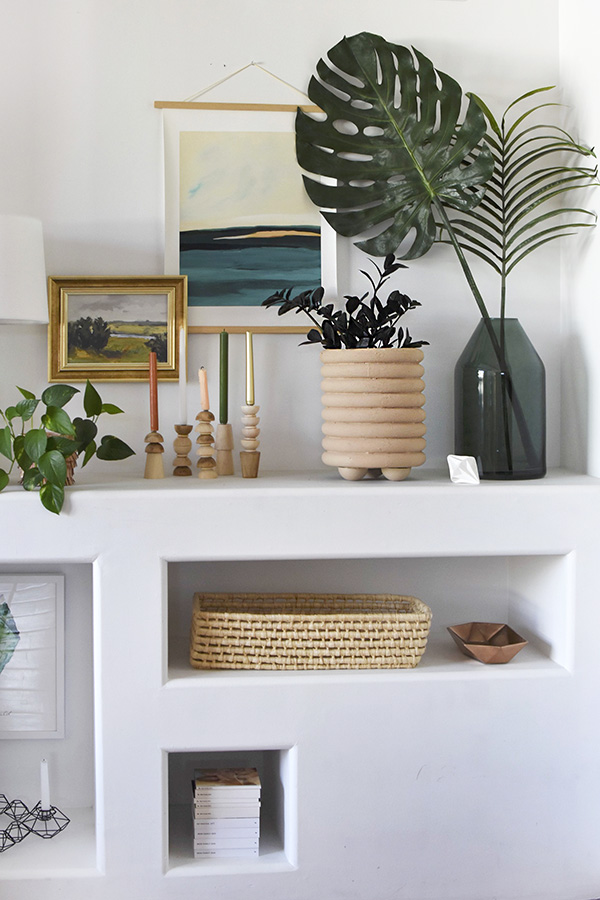
I am so so thrilled with how this quick project turned out! It was fun to make and I love how many ways you could customize it to fit perfectly in your home.
It’s the perfect trend to jump on, but at only costing $9 to make this yourself… you won’t feel badly in a year so or when it may not be quite your jam anymore. I love fun trendy inexpensive projects like that.
If you make one, be sure to tag me on Instagram so I can share how great this project is with the world!
Hi, If I don’t have a hot glue gun, would super glue / gorilla glue work?
They would definitely work. The only issue is those don’t dry quite as quickly, but they will work wonderfully.
Hi,
How did ur paint stick? My acrylic with baking soda is cracking when the pot is touched .:(
Oh interesting! Hm… I did a few coats of the acrylic paint + baking soda. I’ve not had any cracking. I wonder if you didn’t put it on thick enough? I’m sorry that happened to you!