DIY Marbled Clay Keychain
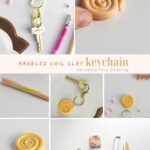
INSIDE : Learn how to make a DIY Marbled Clay Keychain in a simple coil shape! This is a fun beginner friendly craft project that takes very few supplies, but is so fun to make.
This post contains affiliate links. See my full disclosure.
This post has been updated since it’s original publish date of February 2017.
Today starts a three part mini series! I love using one product for multiple projects in a row and being able to share all the different ways you can use it. I’ve done it for felt, cork, air dry clay and now is my second series of polymer clay.
So, starting today and the following two Monday’s I will be sharing various polymer clay keychains! Today I am kicking it off with a DIY Coiled Clay Keychain!
If you are looking for more information about everything involving marbling, my Marbling 101 post might be just what you are looking for!
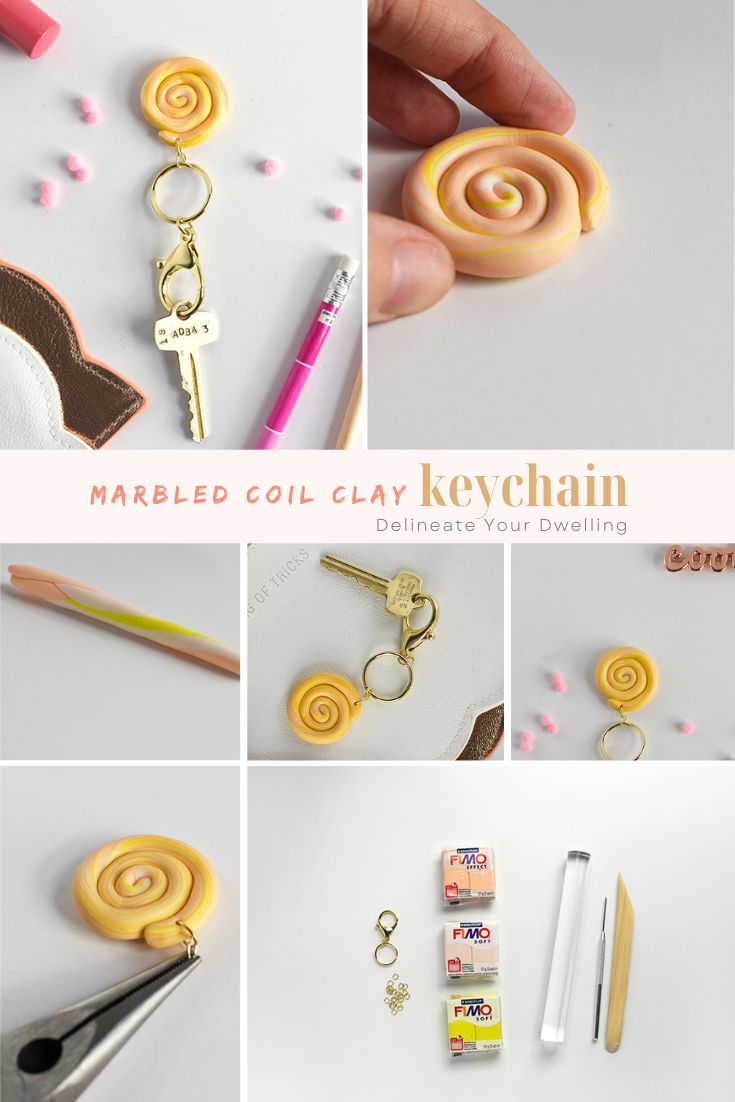
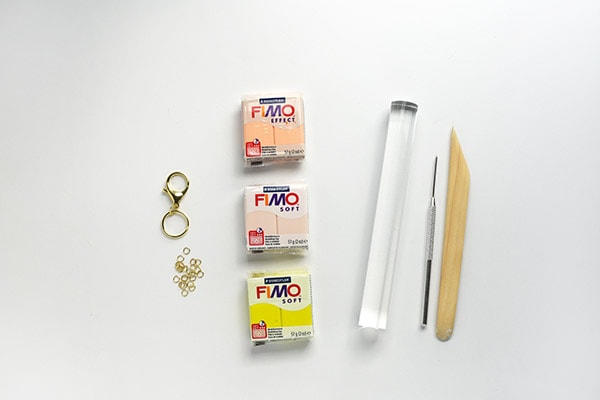
Supplies needed to make a coiled clay keychain
How to marble clay
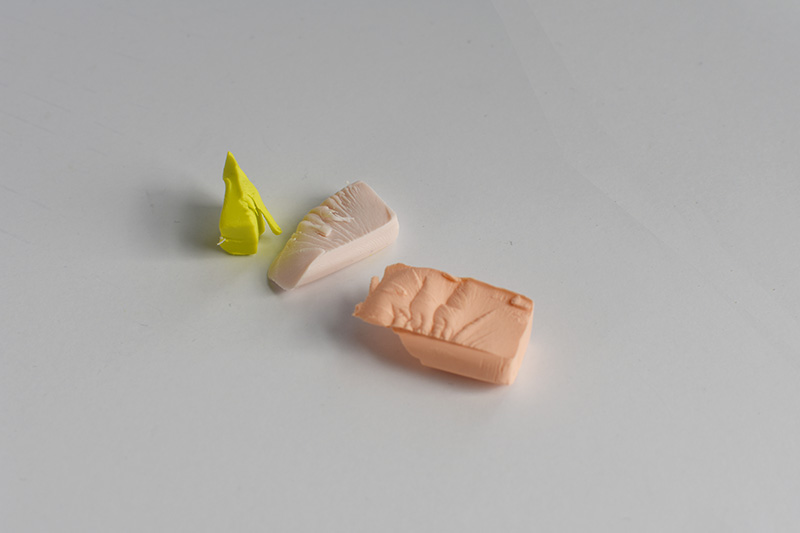
To marble clay, start by removing a small portion of each color of clay.
It’s always helpful with polymer clays to warm them in your hand a little bit before using, as they get more pliable with a little heat.
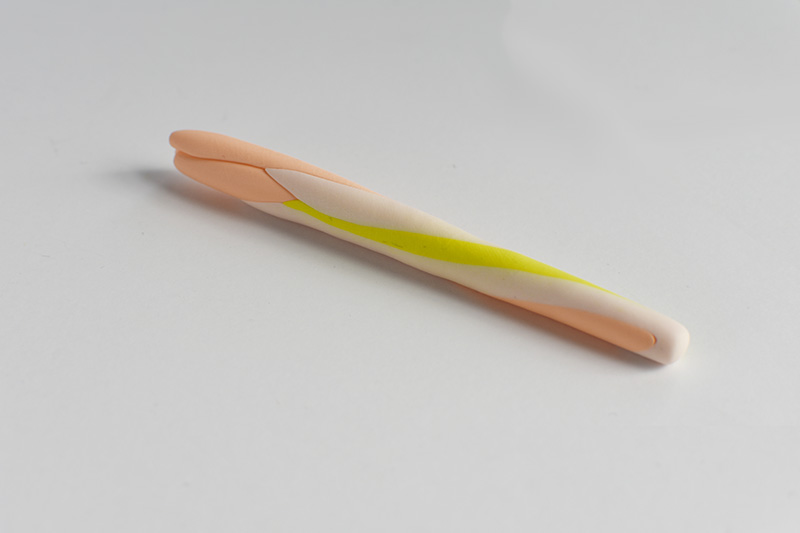
Make a clay coil
Next, make a clay coil by rolling the colors all together in a long narrow log shape. The more you roll, the more marbled (and mixed) your clay will become. Make sure to roll the clay a little bit, but not too heavily.
Also remember the circumference of your log, will be the end result of your keychain… so make the log a little more thin than thick.
Coil your clay log
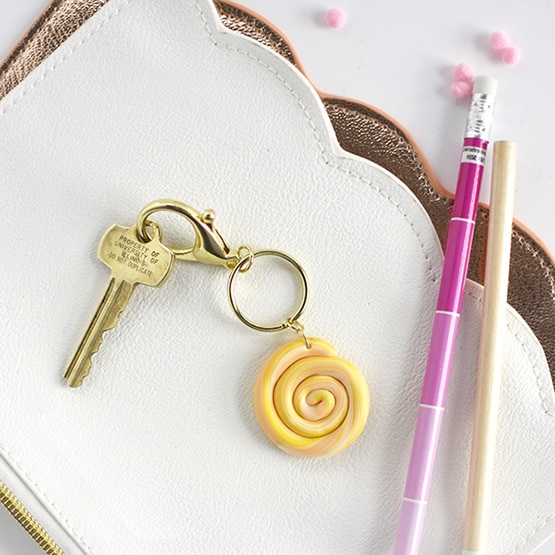
Once all the clay is sufficiently rolled, starting in the center place the log down and coil the clay into your fun keychain shape.

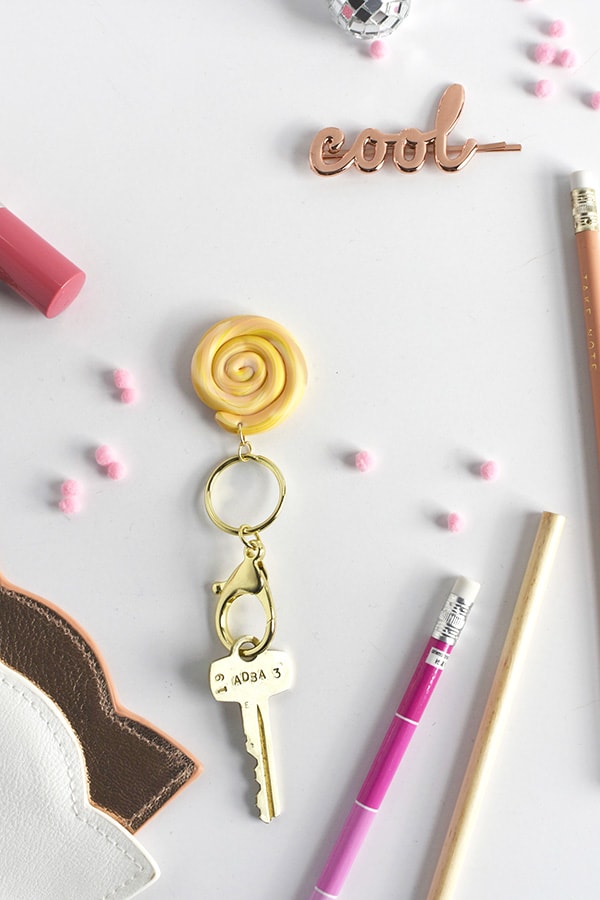
Add a metal jump ring
Once the coil shape is finalized, be sure to use your clay tool or even a toothpick to create the hole for your gold jump ring. I used needle nose pliers to help with this step.

Bake your clay
Bake your clay per the directions on your specific clay. Mine required baking at 230 F for 30 minutes.
Then, remove from the oven and allow to cool.
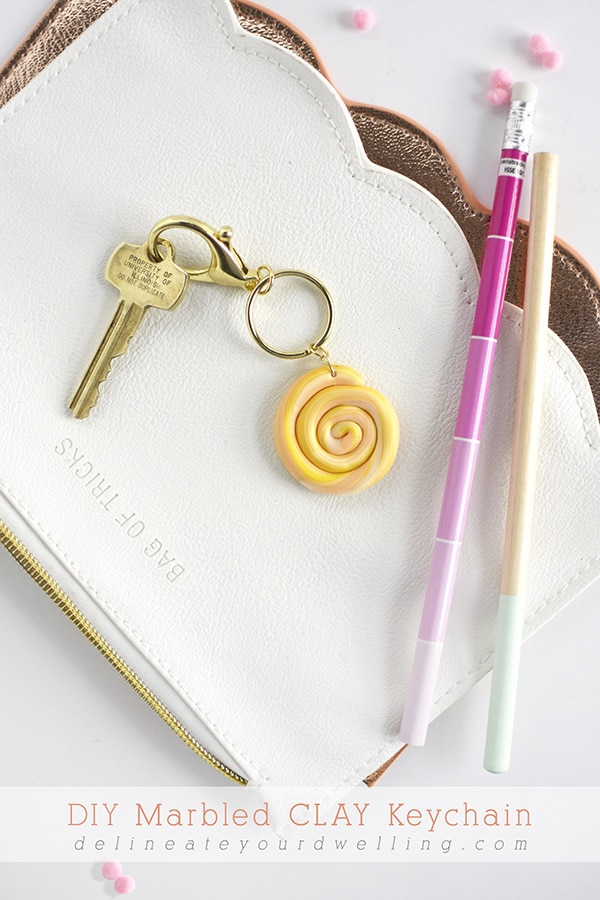
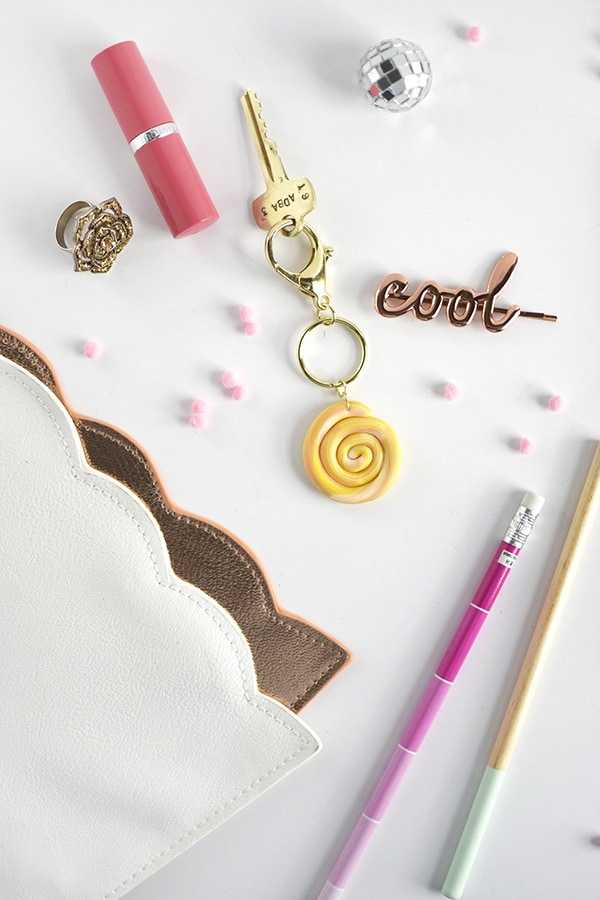
All that is left is securing your jump ring and lobster keychain onto the clay!
I love how this turned out, but I am slightly upset with the colors. Clay sometimes changes color after baking in the oven and this turned out a bit more tangerine colored than I had intended.
I wanted more soft peach, but overall I really love the marbling and playful coil shape.
Are you a fan of polymer clays? What have you made with them?
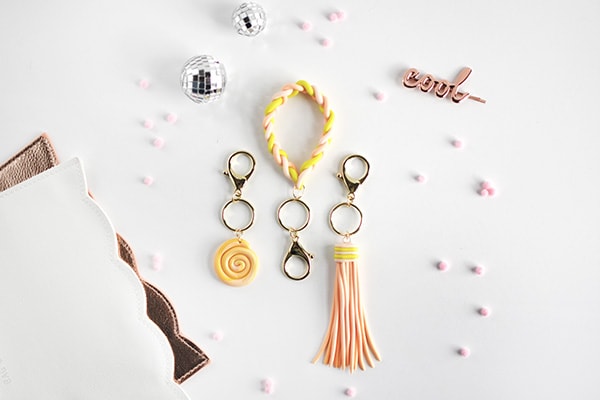
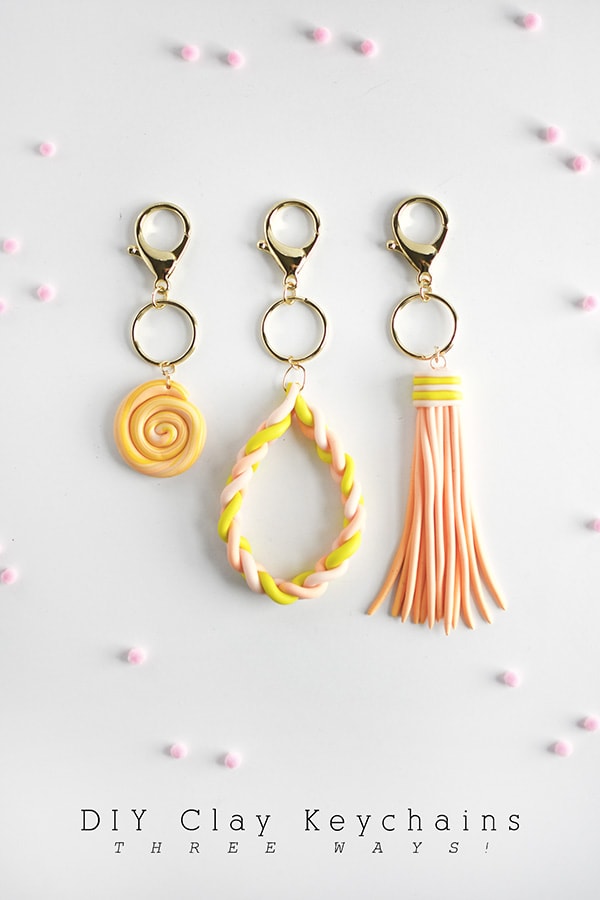
If you are interested in checking out my other two Clay Keychains, you can see them all together below!!
DIY Tassel Clay Keychain + Braided Clay DIY Keychain
Interested in other creative Clay projects?


The key chain is amazing, you never fail to amaze me with your many talents. I will have to look into polymer clay. I try hard to make jewellery but I have to do everything by feel as my sight is so very limited (registered blind). Is polymer clay like Femo or is that entirely different?
Hugs’n’stuff,
Christina
First off, you are amazing! Secondly, yes FIMO clay is polymer clay. FIMO is one of the brands that most people use, but there are other types, too.