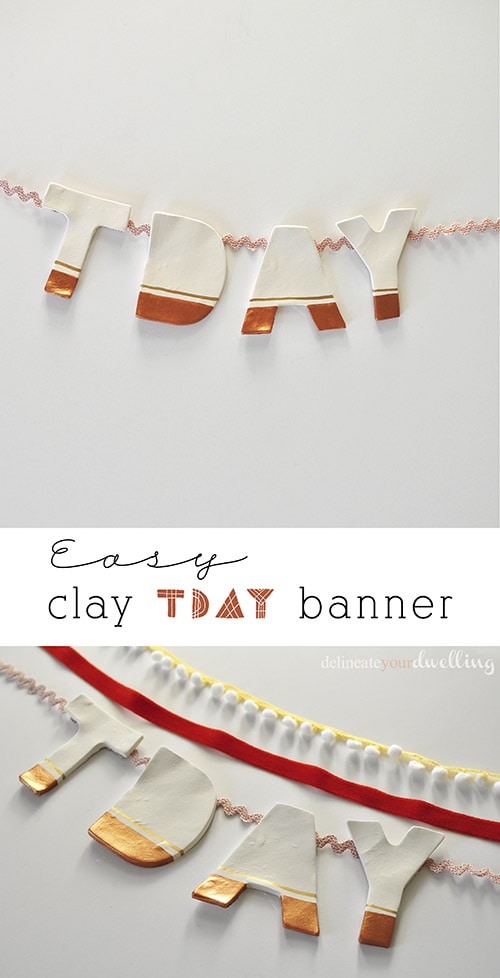
Clay TDAY Banner
INSIDE : Learn how to create this easy Air Dry Clay TDAY Banner. It is perfect for hanging in your home during the fall season for a fun Thanksgiving decoration!
This post may contain affiliate links. See full disclosure here.
This post has been updated since it’s original publish date of November 2014.
Friends, it’s November and Thanksgiving is on the way! I know most of us are focused on turkey and stuffing, but I have an easy Clay TDAY Banner for you because the table setup is one of my favorite things about turkey day!
It’s so simple and perfect for a little festive table setting when your family is over come turkey day! I also using this Clay TDAY Banner in my Thanksgiving Tablescape post on Monday as a festive plate garnish.
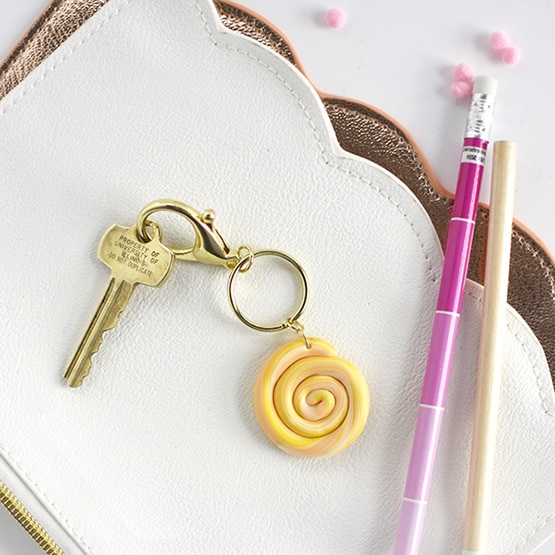
Air Dry Clay is becoming my newest favorite craft supply. I’ve been making so many fun projects with it and for the cost of a large tub at $10, it’s been well worth it!
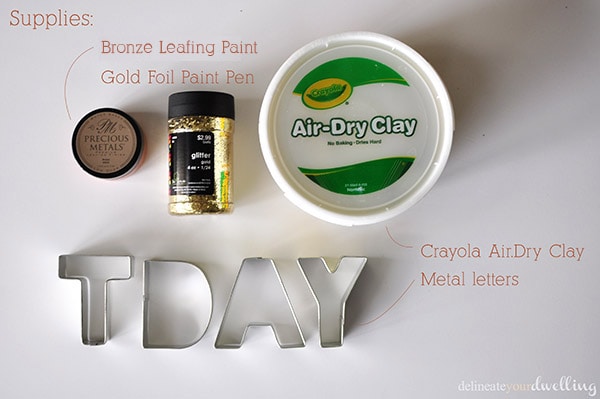
What supplies are needed to make a clay banner?
- AirDry Clay (I’ve been using Das recently and think it’s the best clay out there!)
- Copper Leafing Paint (I also really like this brand)
- Gold Foil Paint Pen
- Metal cookie punch Letters
- Ribbon
- Hot Glue
How to make a banner out of clay?
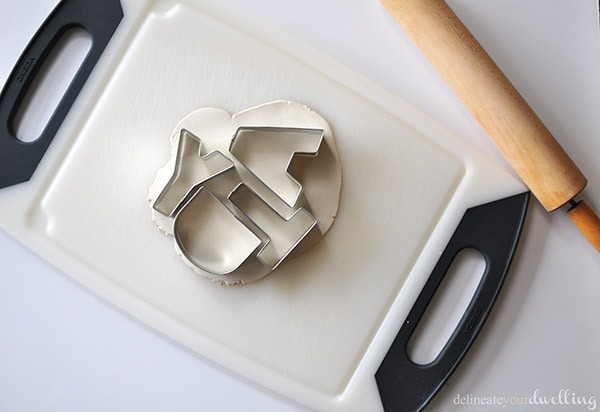
The first step for creating this banner was to roll the clay out nice and thin.
Next, arrange your letters on the clay and press them out with the cookie cutters. Since I was doing a Thanksgiving banner, I choose TDAY as my letters.
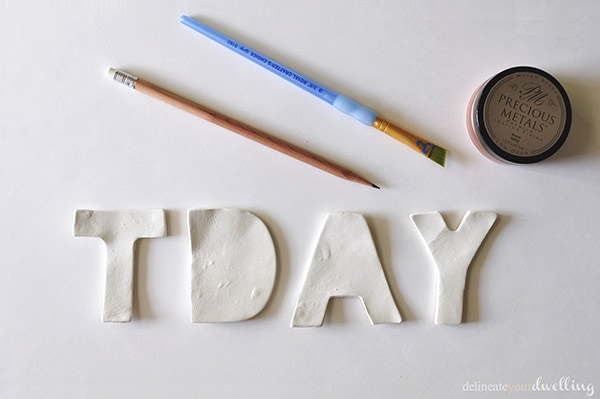
Once your letters are cut out, set them aside to begin the drying and hardening process. I left mine on a cutting board to dry.
As the letters start to dry because they are fairly thin, they tend to curl upwards so every so often as I walked by, I would flip them over to try and keep them drying flat and equally.
Painting Clay Banner
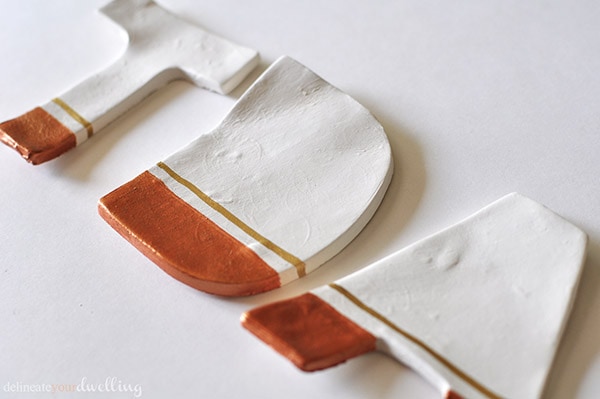
Next was paint time. I wanted most of the letters to stay white, but also have a bit of a simple color blocking look. I got out my Copper Leaf paint and a gold paint marker.
I lightly marked on each letter with a pencil to keep the same height and gave them a few coats of the Copper Paint below that line.
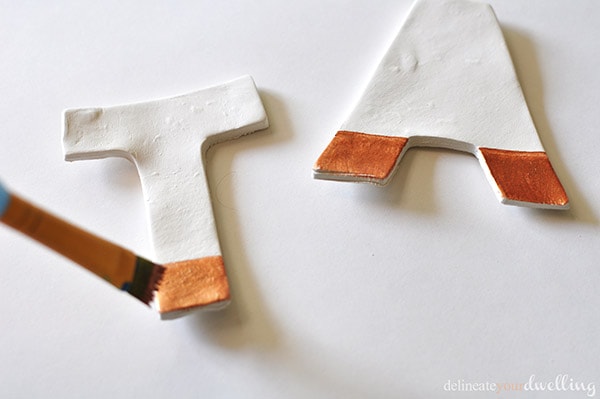
Once the copper paint was dry because I’m a gold lover, I used a gold foil paint pen and added one thin stripe to finish them off.
I also wrapped the paint and marker line around the edges of the letters, which I thought was a fun detail.

Make a Clay Thanksgiving Banner
Learn how to create this easy Air Dry Clay TDAY Banner. It is perfect for hanging in your home during the fall season for a fun Thanksgiving decoration!
Materials
- AirDry Clay
- Copper Leafing Paint
- Gold Foil Paint Pen
- Metal cookie punch Letters
- Ribbon
- Hot Glue
Instructions
- Gather a chunk of clay and then the first step for creating this banner was to roll the clay out nice and thin.
- Next, arrange your letters on the clay and press them out with the cookie cutters. Since I was doing a Thanksgiving banner, I choose TDAY as my letters.
- Once your letters are cut out, set them aside to begin the drying and hardening process. I left mine on a cutting board to dry.
- As the letters start to dry because they are fairly thin, they tend to curl upwards so every so often flip them over to try and keep them drying flat and equally. It will take about a full 24 hours to have your letters fully dry out.
- Next was paint time. I wanted most of the letters to stay white, but also have a bit of a simple color blocking look. I got out my Copper Leaf paint and a gold paint marker.
- Lightly mark on each letter with a pencil to keep the same height about a quarter to a half inch from the bottom of the letter and give them a few coats of the Copper Paint below that line.
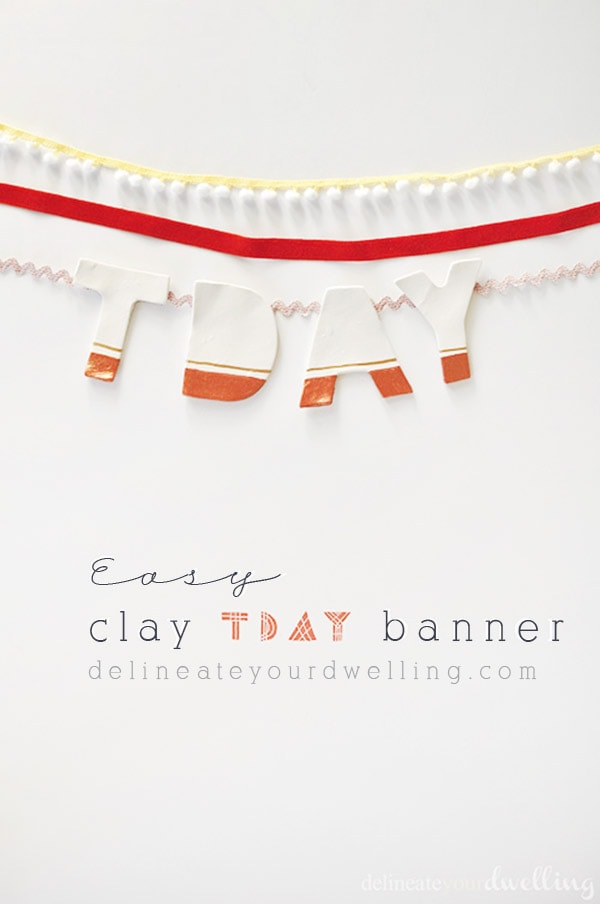
- Once the copper paint was dry because I’m a gold lover, I used a gold foil paint pen to add a finishing touch. I added one thin stripe to finish them off. I also wrapped the paint and marker line around the edges of the letters, which I thought was a fun extra detail.
- I found some fun ribbons to hang my banner on. I used a pale pink ric rac ribbon first and hot glued it to the back of my letters. The letters are light weight so this was a perfect solution. I also strung a velvet orange ribbon and a small yellow ribbon with white pom poms to give some whimsy to the banner.
- I can’t wait to use this Easy clay TDAY banner in my Thanksgiving decorations. Enjoy!
Hanging your clay banner
I found some orange and white ribbon and hot glued it to the back of my letters. The letters are light weight so this was a perfect solution.
I can’t wait to use this Easy clay TDAY banner in my upcoming Thanksgiving decorations!
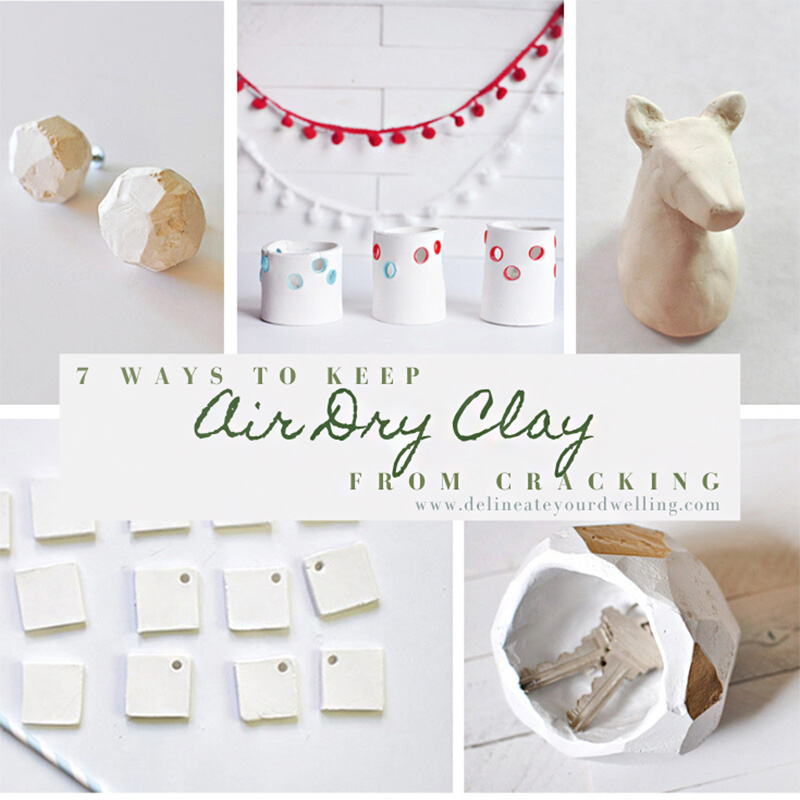
Looking for MORE Air Dry Clay projects? Hope you are inspired by them!