How to paint stripes on your walls
INSIDE : Learn how to paint stripes on your walls! Add this classic trend to your home in bold colors or neutral colors. Follow my step by step tutorial for extra help on creating this simple pattern on your wall.
This post may contain affiliate links. See full disclosure here.
I love a good accent wall. I have done numerous in my home! There is something about bringing in geometric shapes, moments of fun color and sprinkling them in various rooms that brings me joy.
Here are some of my favorite accent walls in our home…
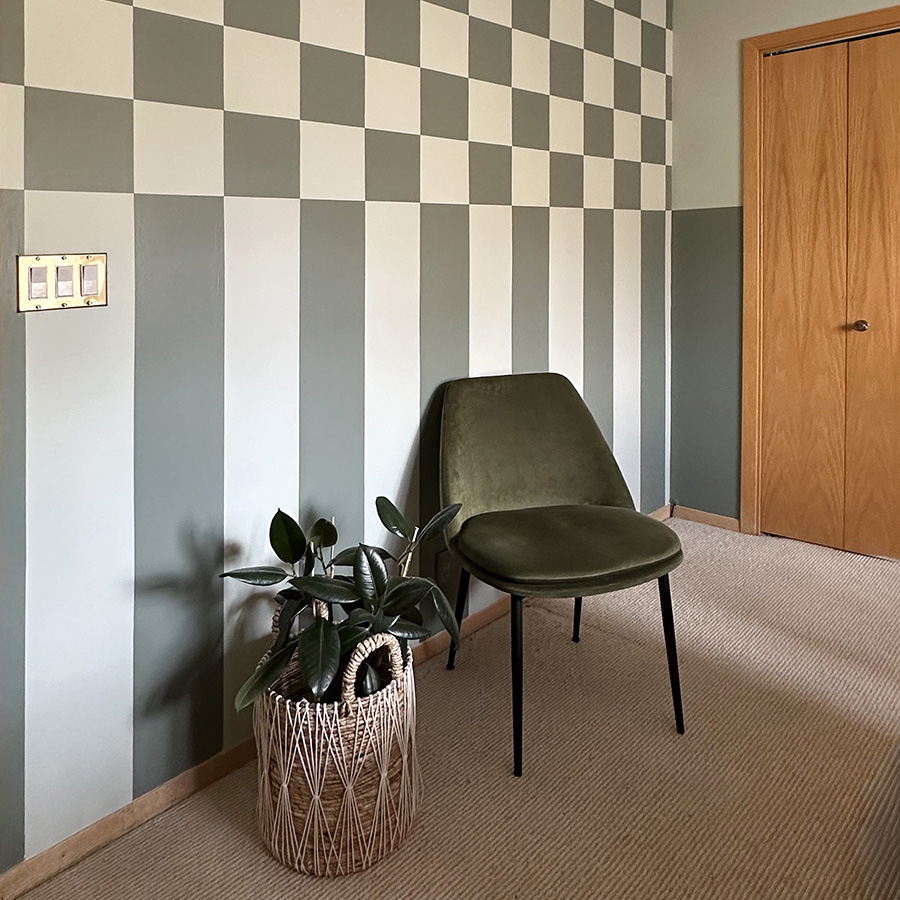
- How to Paint a Checker Accent Wall
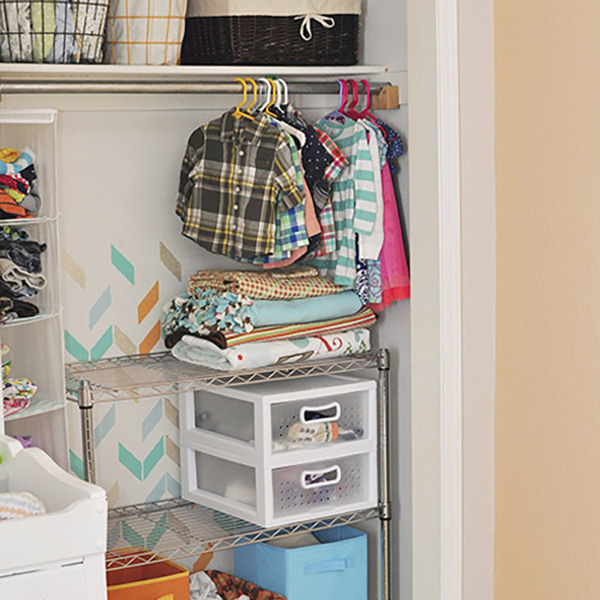
- How to Stencil a Wall with Acrylic Paint (Laundry Room)
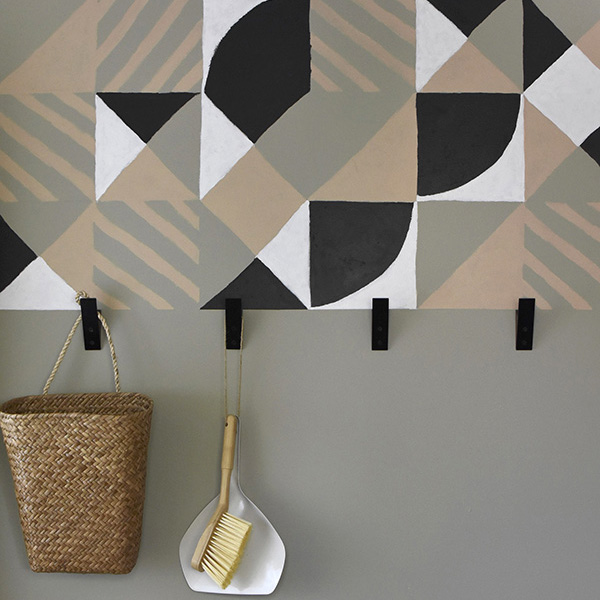
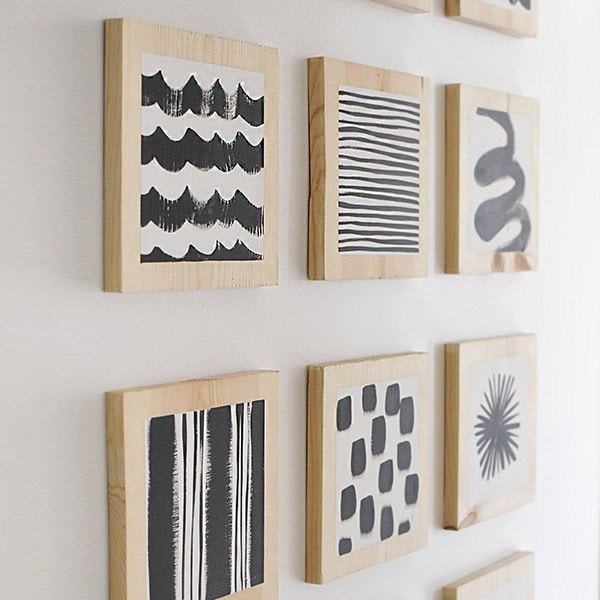
- DIY Organic Paint Line Accent Wall
- Tween Modern Stripe Bedroom Accent Wall
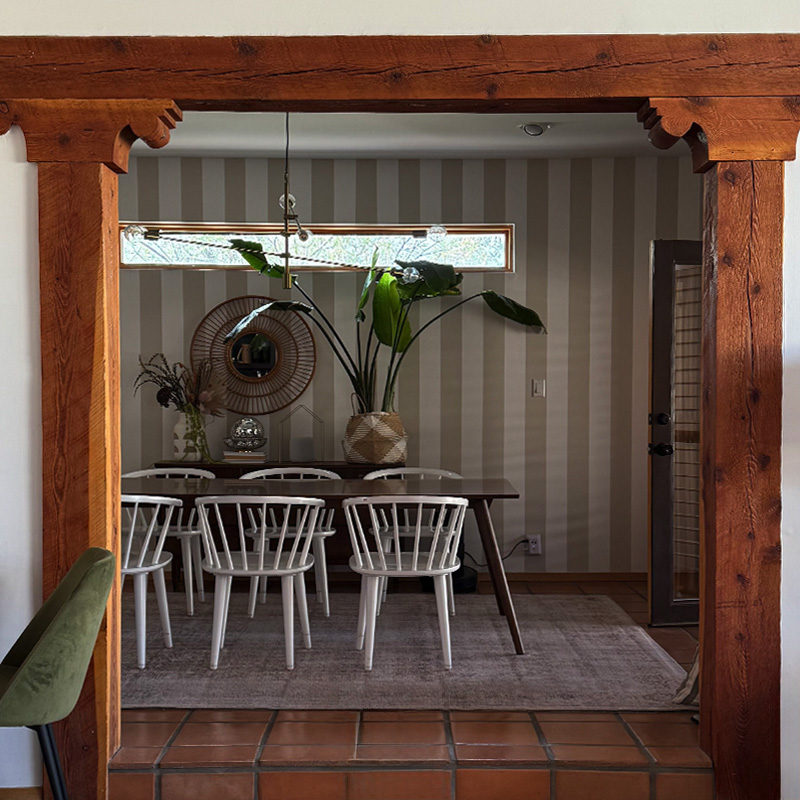
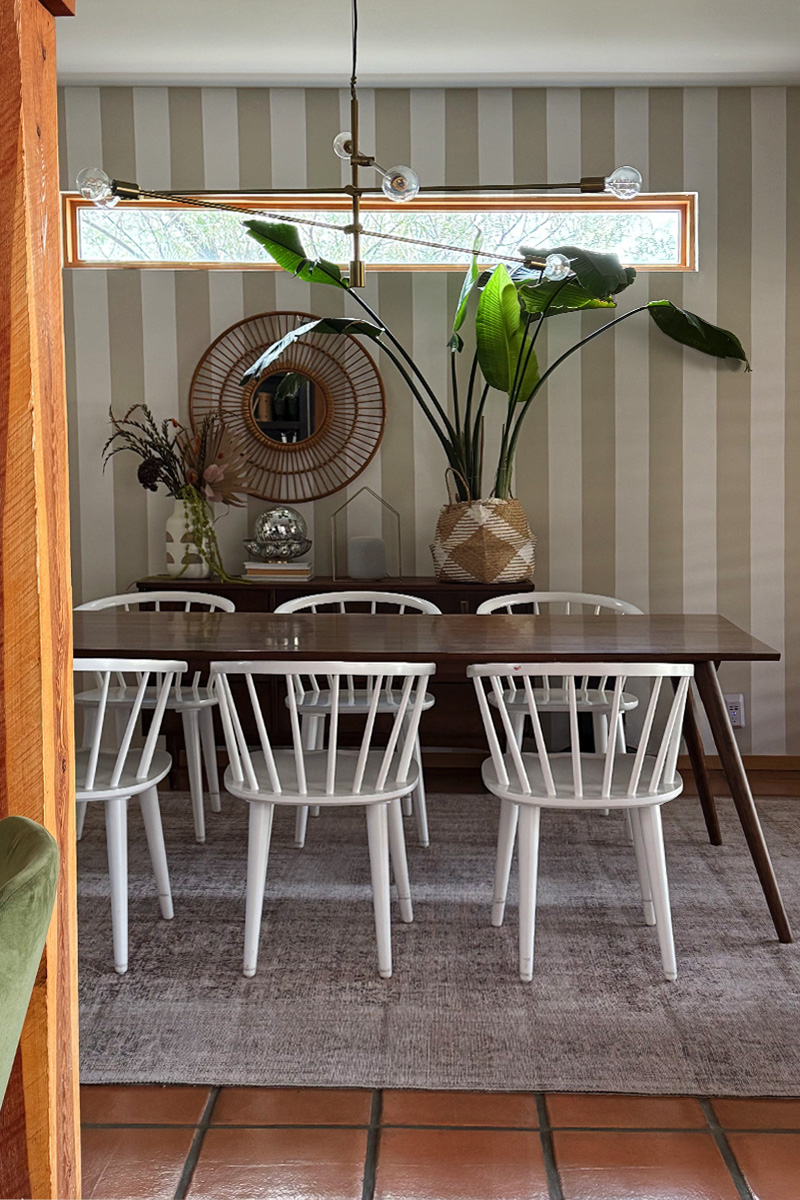
Today I am sharing how I updated my dining room from a simple design I had done many years ago (a diamond decal wall treatment), to a much more modern on trend style… STRIPES!
What supplies to paint stripes on a wall
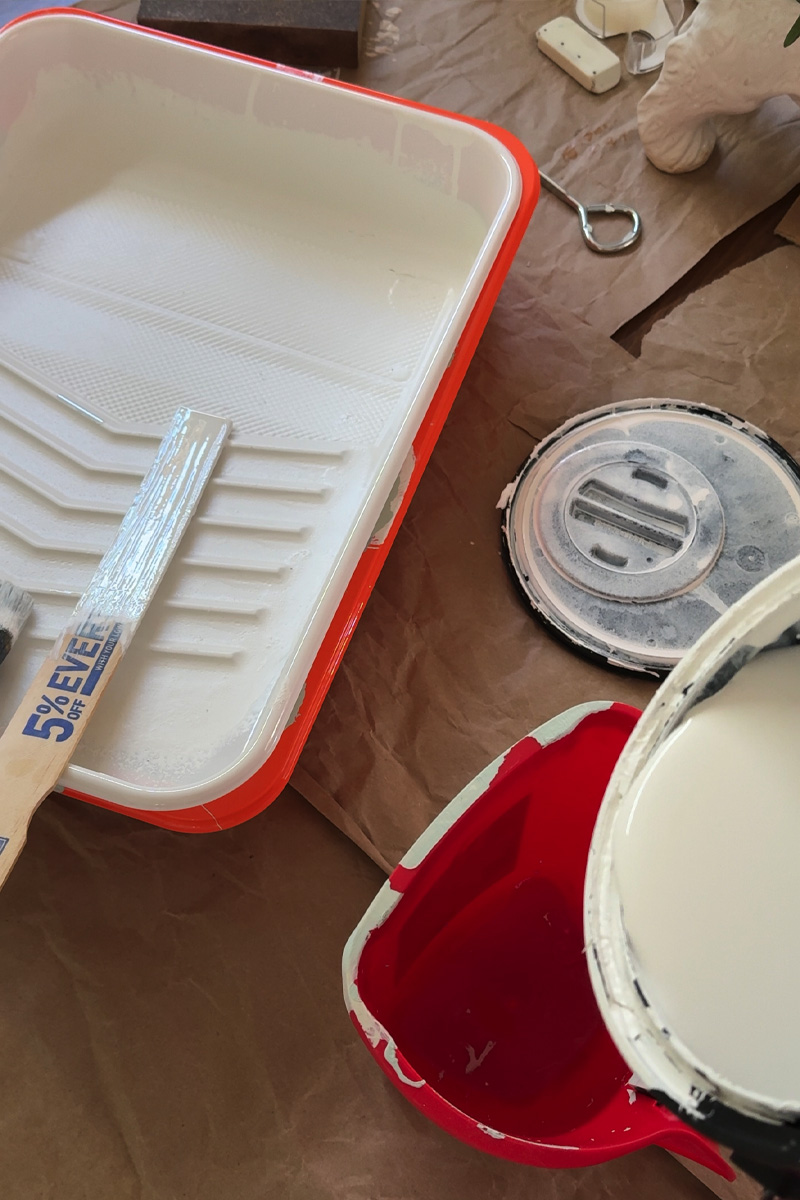
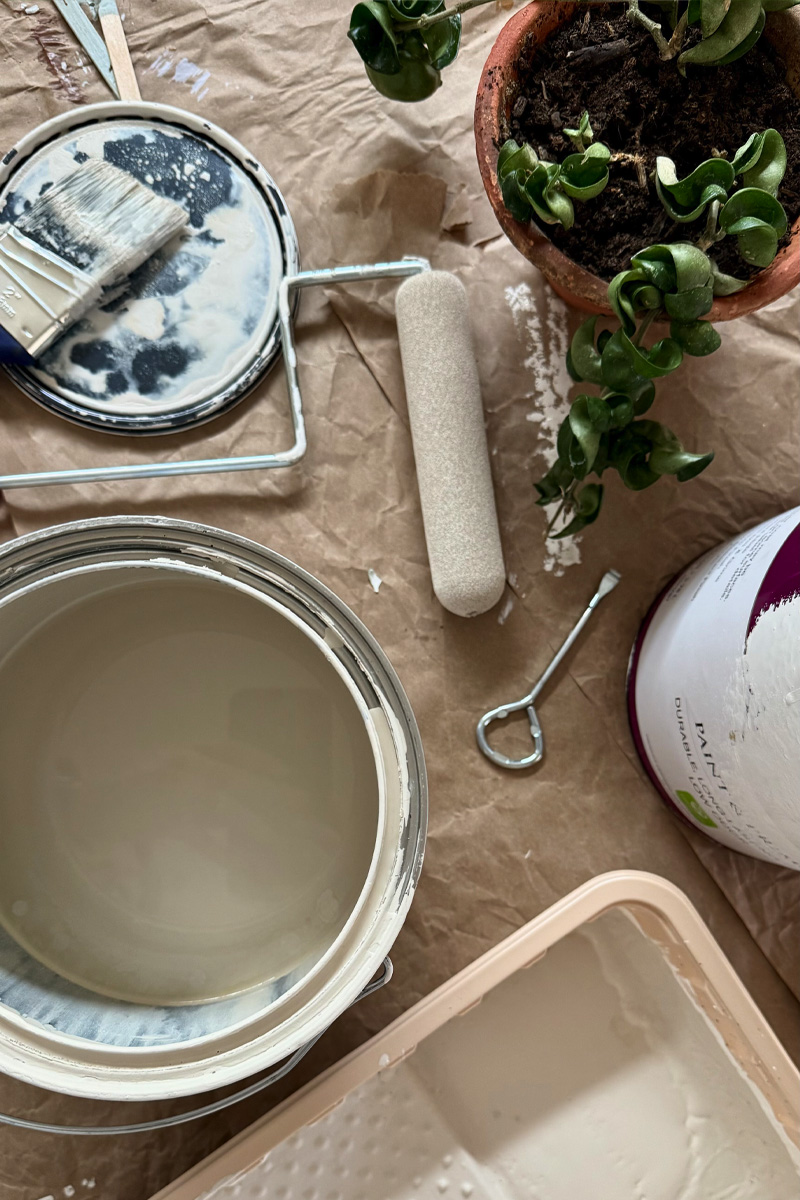
- Two interior paint colors (I used Bit of Sugar + Warm Putty)
- Paint roller + tray
- Wooster hand held angled brush
- Frog Painter’s Tape (I did two walls and used three rolls of tape)
- Small detail brush
- Laser Level / 36″ level / Measuring Tape
- Pencil
Shop the paint’s in my home…

How do you paint stripes on a wall?
When getting ready to paint vertical stripes on your wall, there are a few steps that are important to take.
You can measure the width of your wall and evenly divide it into equal stripe widths or just settle on a width that you like and make it work for your space (this is what I did).
I had a pass through on one wall and wanted my stripe to perfectly match up with that focal point. As I went around the room at corners, I just folded the stripe width around two walls to keep the lines a consistent size – but it really is just a personal preference here.
Prep walls
Start by removing all art and decor off the walls. Patch any holes or dings that may have resulted from hanging art and life.
I love using these repair kits that have the putty, a putty knife and a sander all built in one.
Paint the base color
If your walls are a different color than one of the paints you plan to use in your stripe, then pick a “base color” and paint your entire wall that color. Be sure to cut in and do the trim. Allow to fully dry and do a second (or third coat, if needed).
Painting STRAIGHT stripes on wall
When you are adding creative striped painted walls to your home, the very last thing you want is for them to look unprofessional. We can be creative AND do an excellent job at the same time!
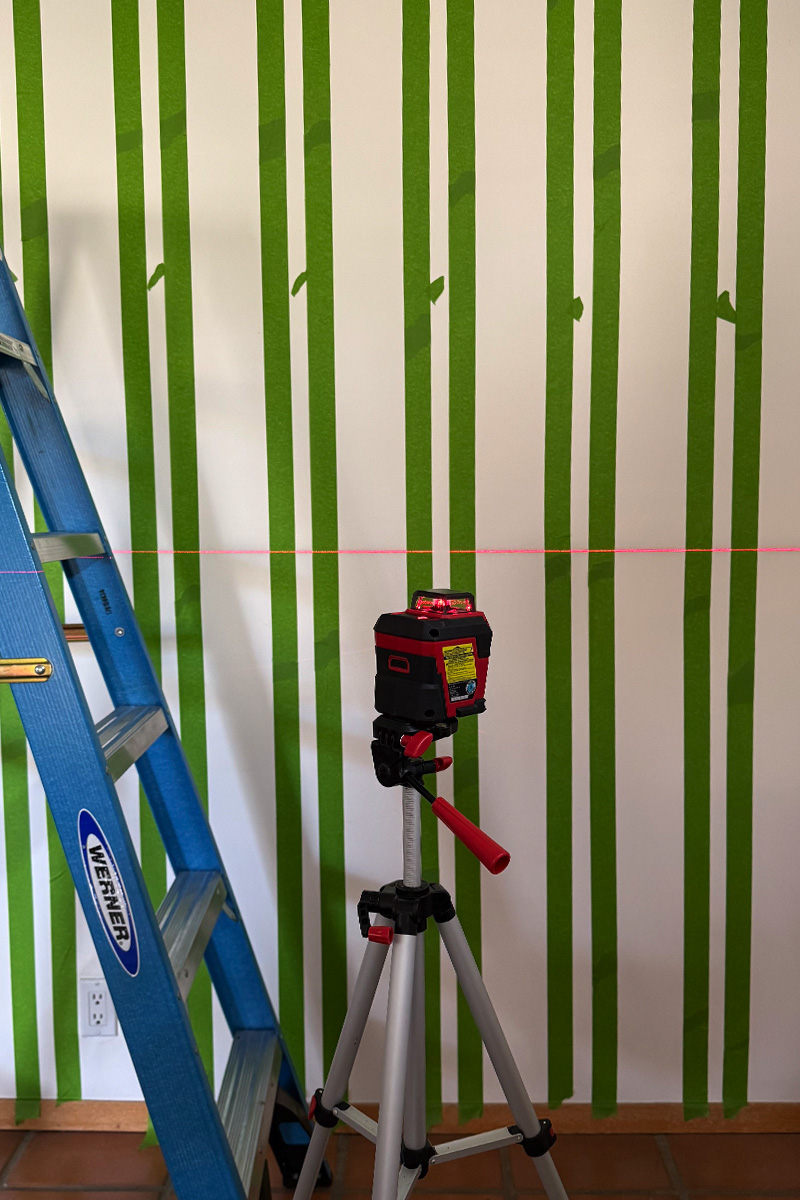
So the key to getting straight stripes on your wall is using a 36″ level OR a laser level. I used a laser level and a measuring tape and found it to be the most helpful combination.
Setup your laser level
Setting up a laser level sounds possibly intimidating, but really it’s as simple as getting the tripod opened up and placing your level on top. My level comes with two modes and I prefer using the mode where no mater what angle your actual laser level is at – it will shine horizontal and vertical lines perfectly plum straight.
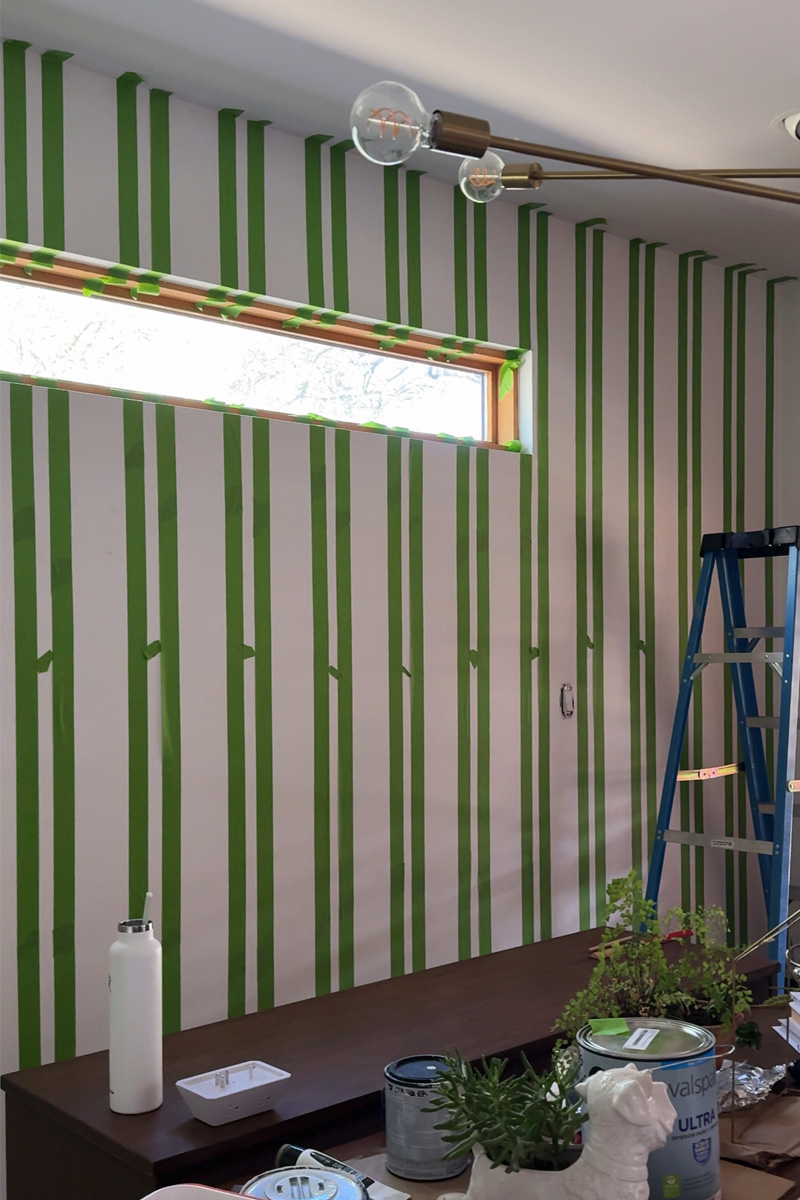
Once you have your first perfectly plum line, add Frog painter’s tape from baseboard to ceiling. Determine your stripe width (mine was 5″) and using a ruler/measuring tape mark 5″ over at two spots. I did a mark at the upper 1/3 of the wall and a 5″ mark on the lower 1/3 of the wall.
Then it’s as simple as moving your laser level over to meet up those two lines.
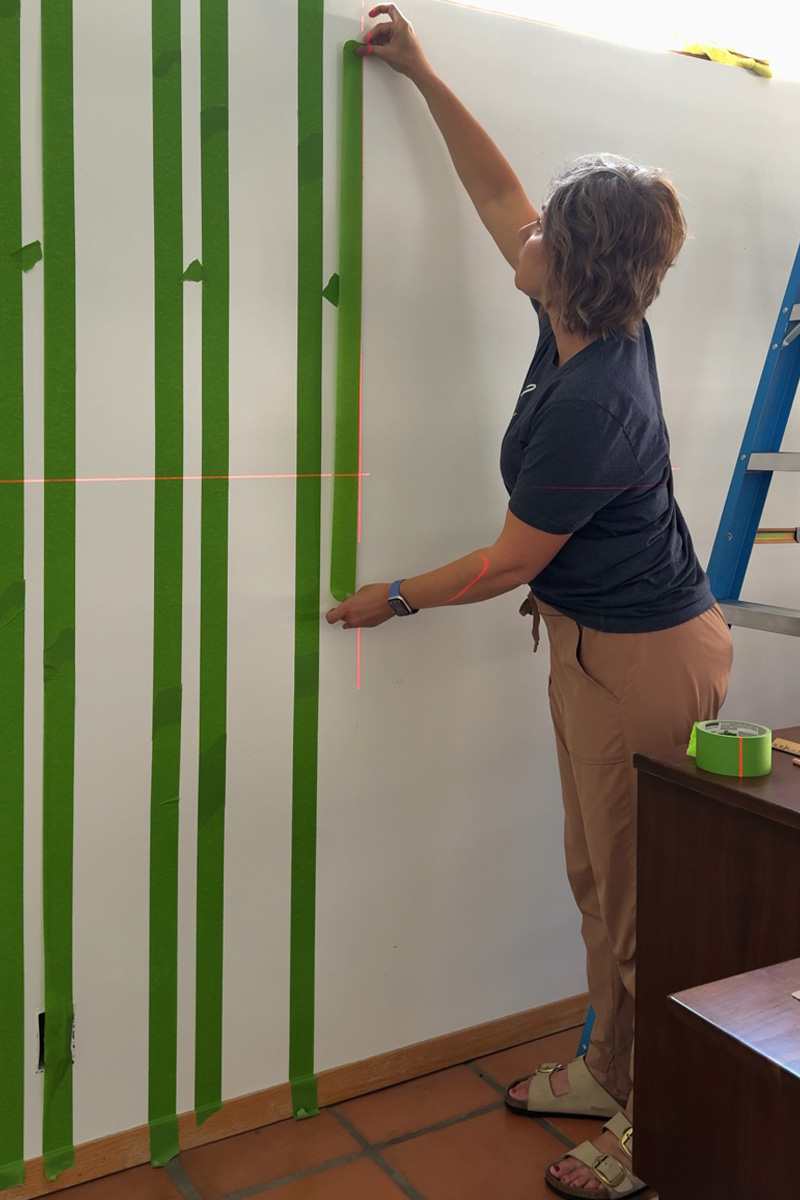
Add painter’s tape
Using your painter’s tape, mark on the OUTSIDE edge of your laser level line.
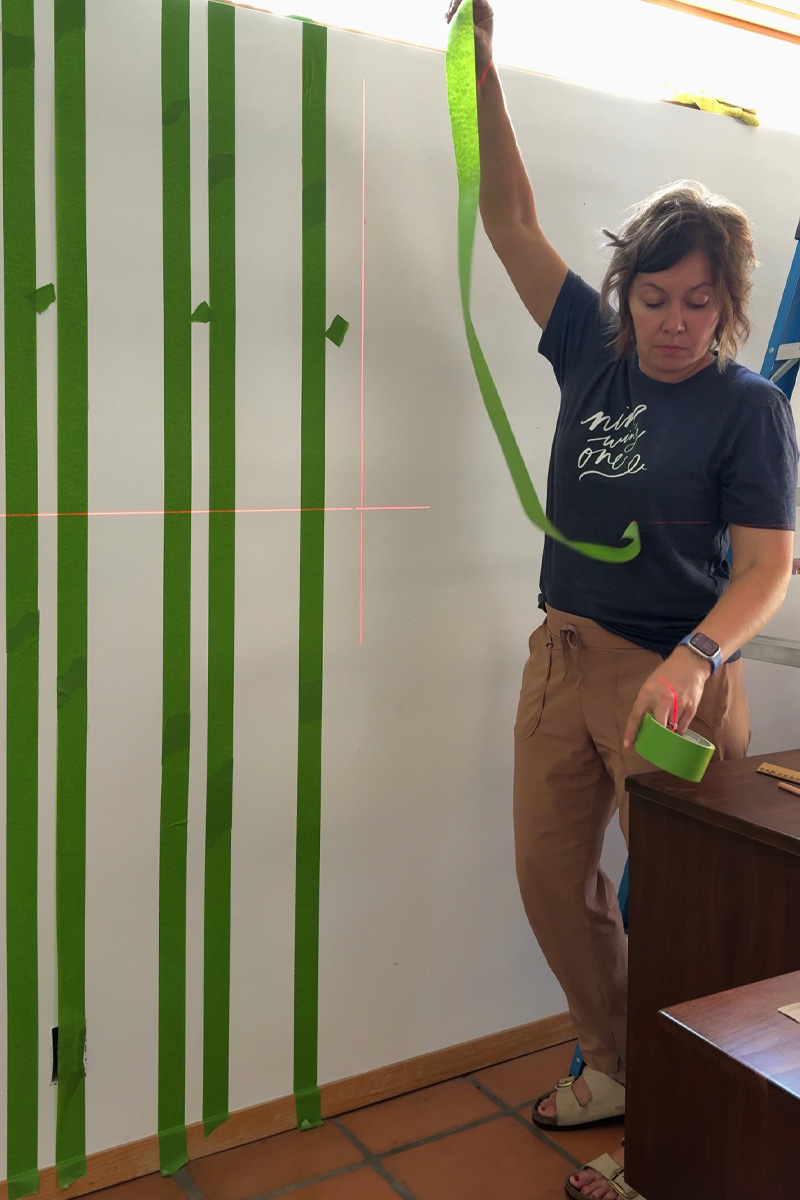
From that same 5″ mark, measure over another 5″ and move the laser level. Now place your painter’s tape on the INSIDE of that line. It will appear like your stripes are different sizes after doing this, but it’s one of those optical illusions. I also tore off a small piece of tape and then placed it inside those smaller lines so that I could remember that was my BASE color stripe.
You will only be adding your stripe color on the 5″ from edge to edge areas.
Repeat this process until you have taped off your entire wall / room. Make sure to buy enough painter’s tape as you will use quite a bit. I did two walls and used three rolls of tape.
Paint your Base color again
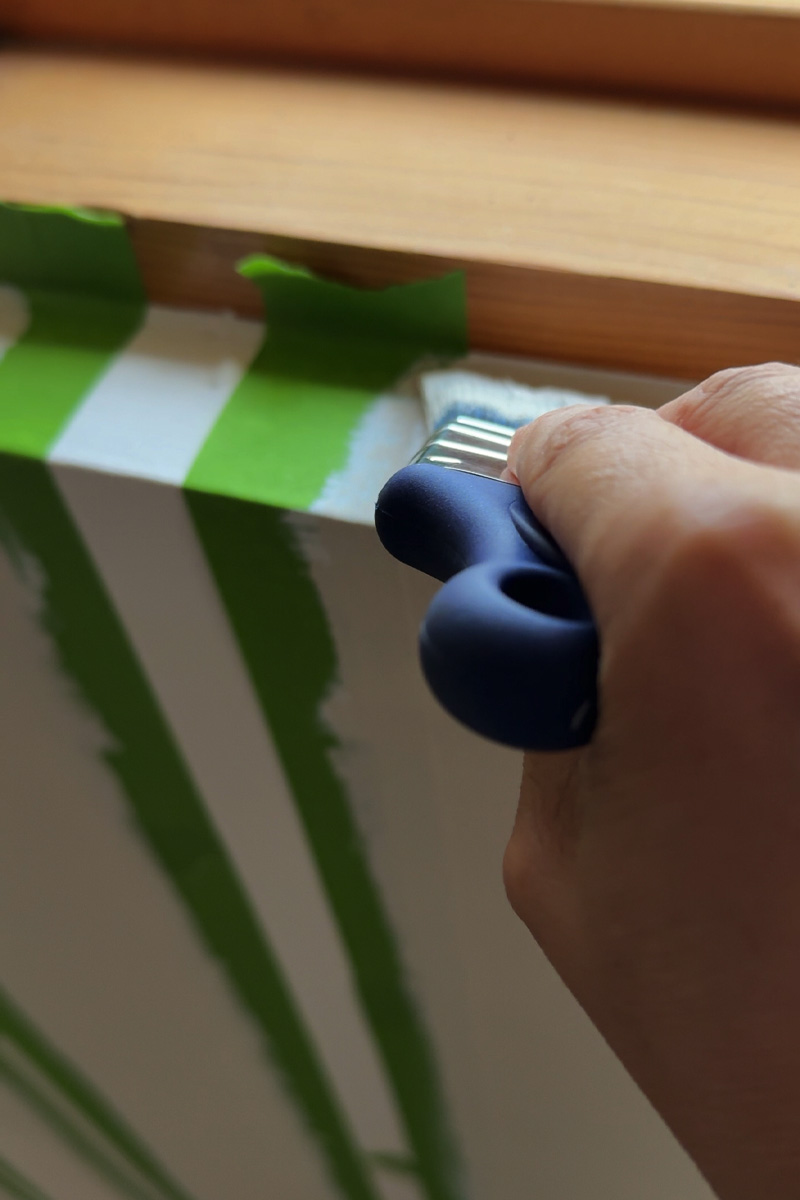
This is the biggest CRISP line wall painting trick out there… READY? Once you have taped out your entire wall area, go back over the tape lines that are your 5″ width WITH YOUR BASE PAINT COLOR. Yes, you read that correctly.
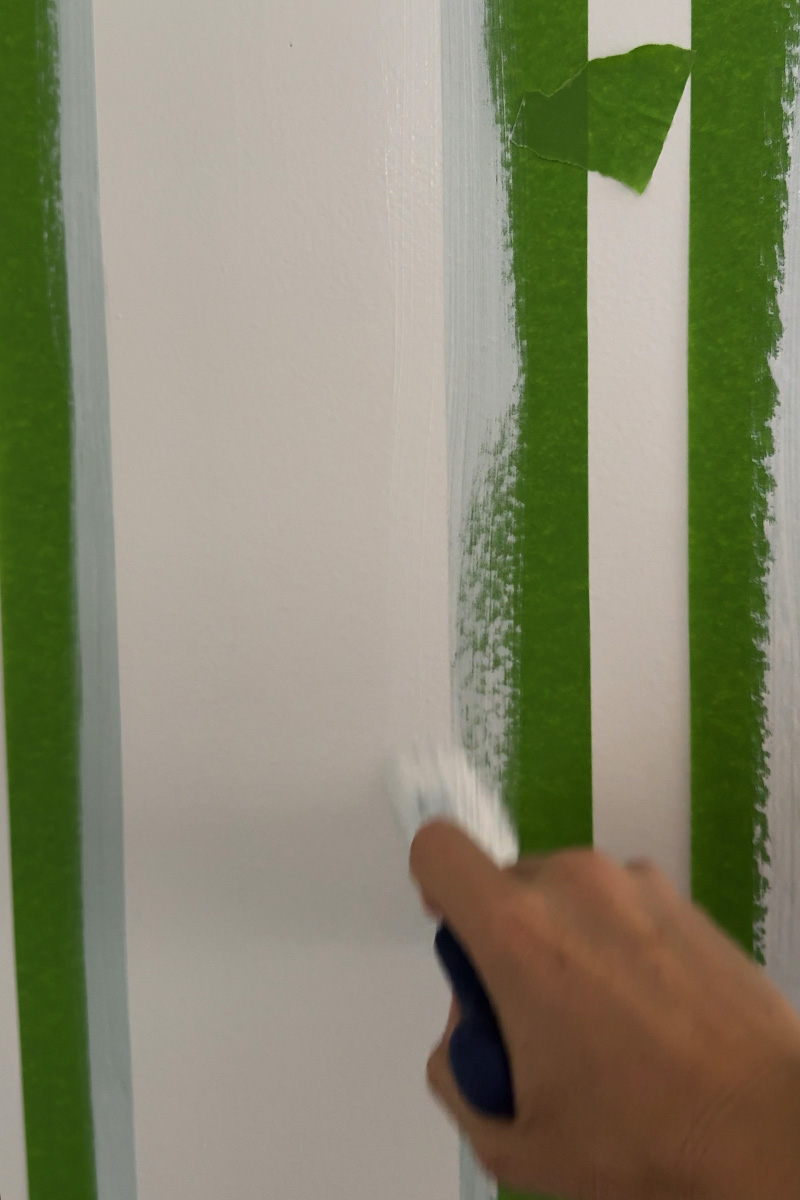
Doing this tip, will help any paint that bleeds underneath the tape to be your main wall color. (You do not need to paint over the tape lines that are closer together with your small tape piece in the center.)
It feels a little tedious to paint your base color again, but believe me this will give your stripes the most crisp clean line ever!
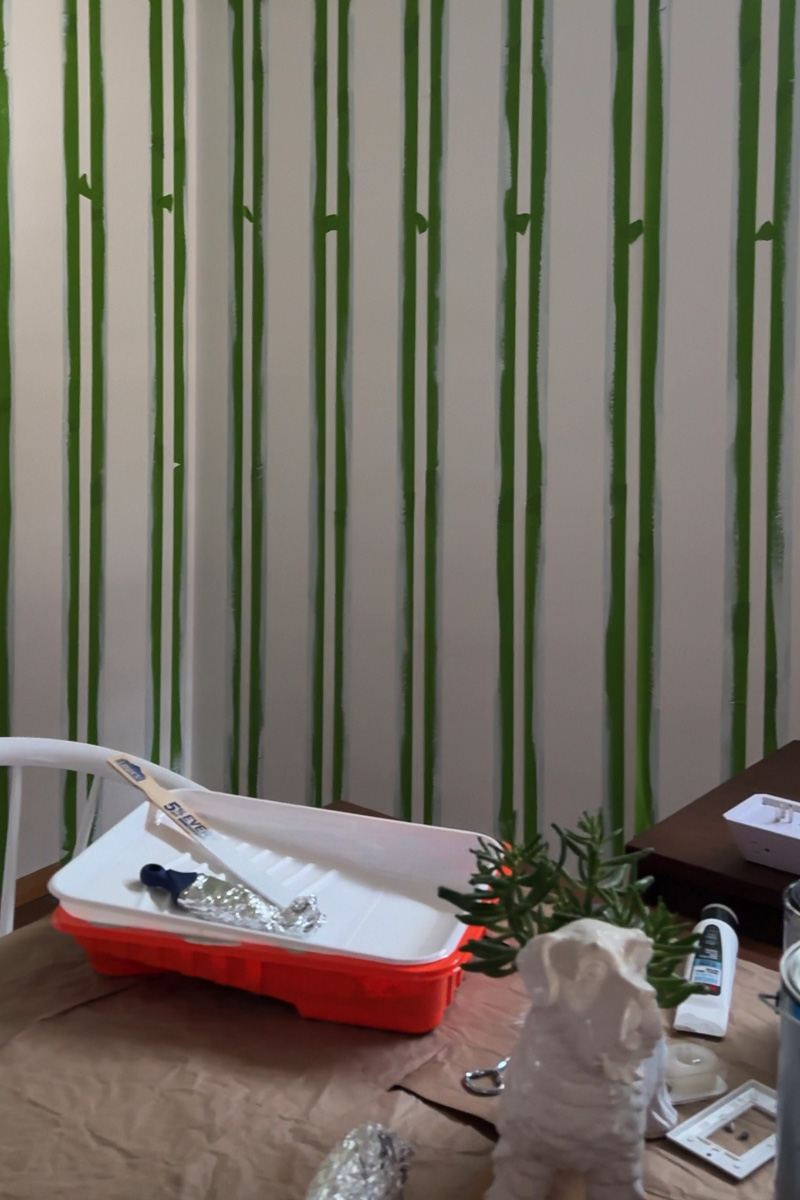
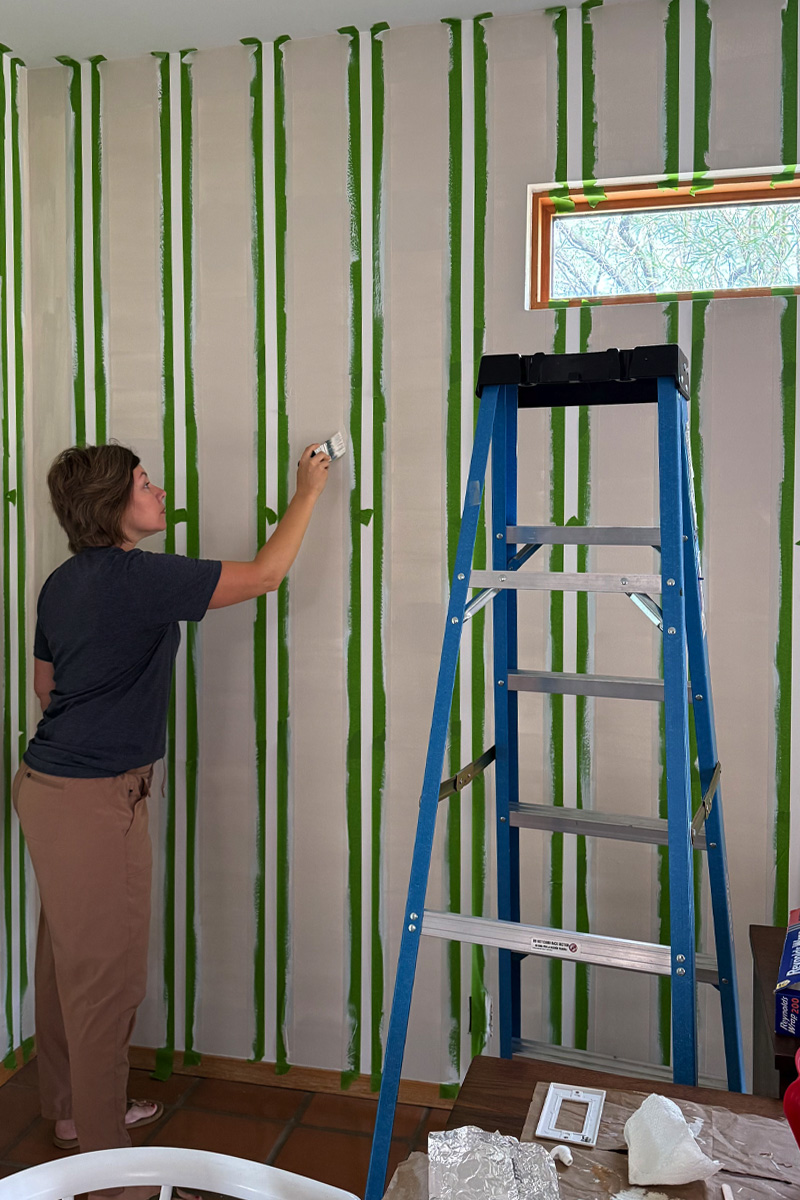
Paint your Stripe color
After all that wall prep, measuring, laser levels, taping and painting base colors… it is officially time to add in your stripe paint! This is the final step for this project and after all that work, getting to finally add in your other color feels really wonderful.
I gave my Warm Putty paint a good mix and using my favorite hand held brush, the Wooster, painted all the trim (ceilings and floorboards) two coats. Next, I got out the paint roller, painted all the 5″ edge to edge stripes.
I ended up doing three coats of my stripe Warm Putty paint.

Two will be sufficient if you are using a quality paint brand (Behr is my favorite).
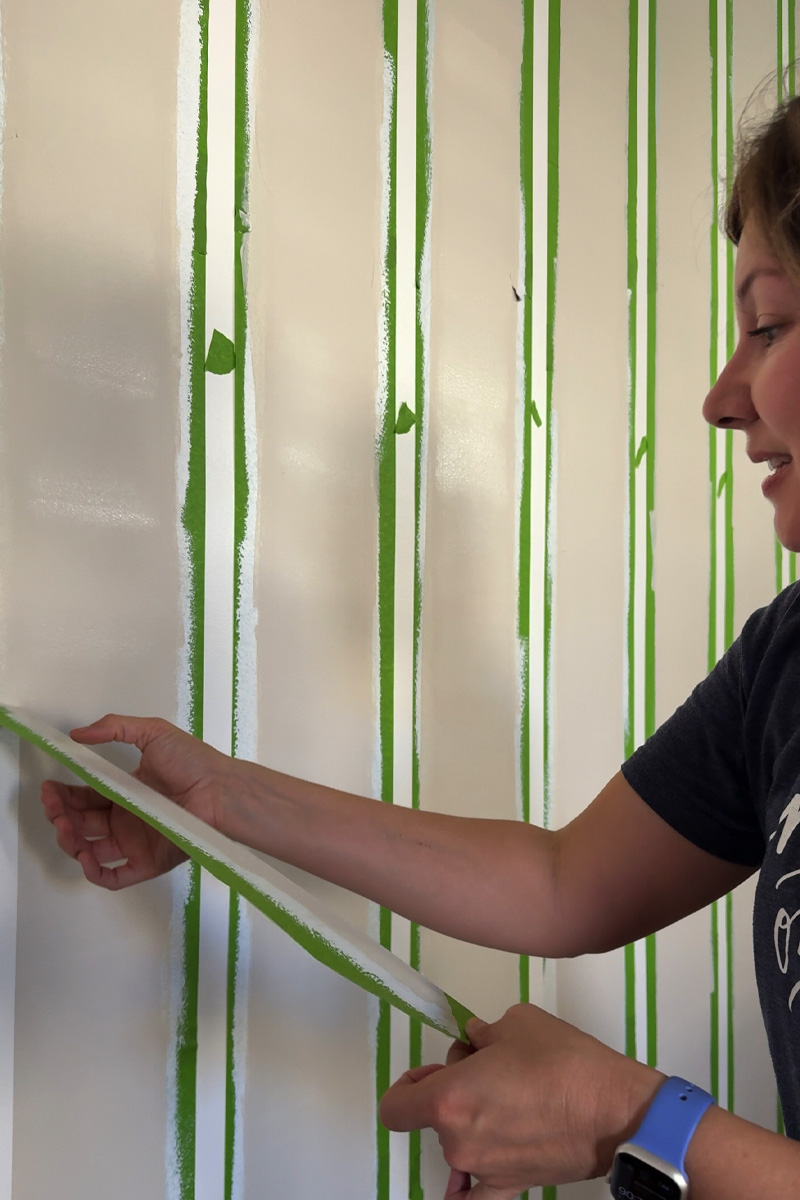
Remove all tape lines
I prefer removing my tape when the paint is still a bit tacky, but I waited until I had painted the entire two walls three times – so by the time I went to remove the tape, my paint was pretty dry. There wasn’t any issue with it being dry, so do what works best for you on this step.
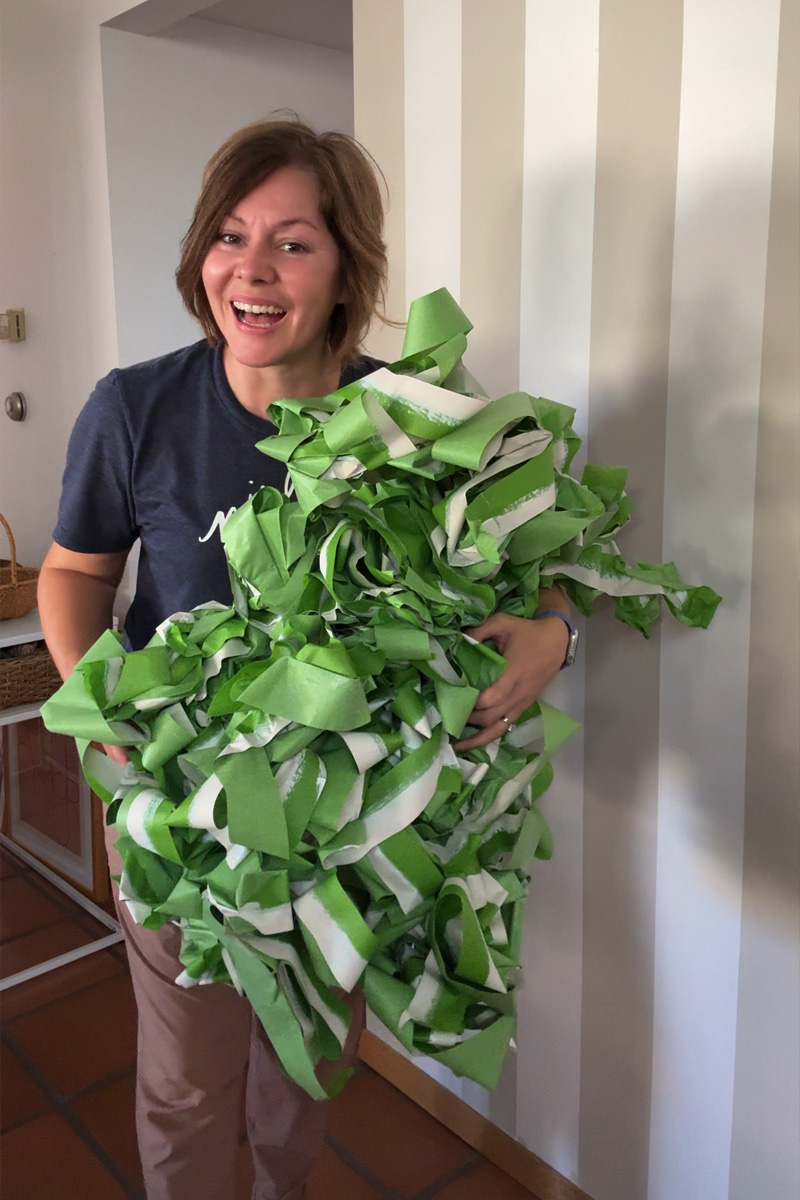
I saved all my tape from the wall and it made quite a painter’s tape sculpture – ha!
Do small touchups
There must have been some water damage in one spot near the baseboards of our wall because all the paint (both the base and the stripe color) pulled up a bit right at the tape lines. Thankfully it was no issue at all, to grab a small detail brush and do a few touchups of each color.
And because of my “painting the base color over your tape lines trick” (that’s a mouthful) the stripes were pretty much perfection and needed no touchup!
Looking for how to update your outlet covers to match your newly painted walls? Check out this post with DIY Paintable Outlet Covers!
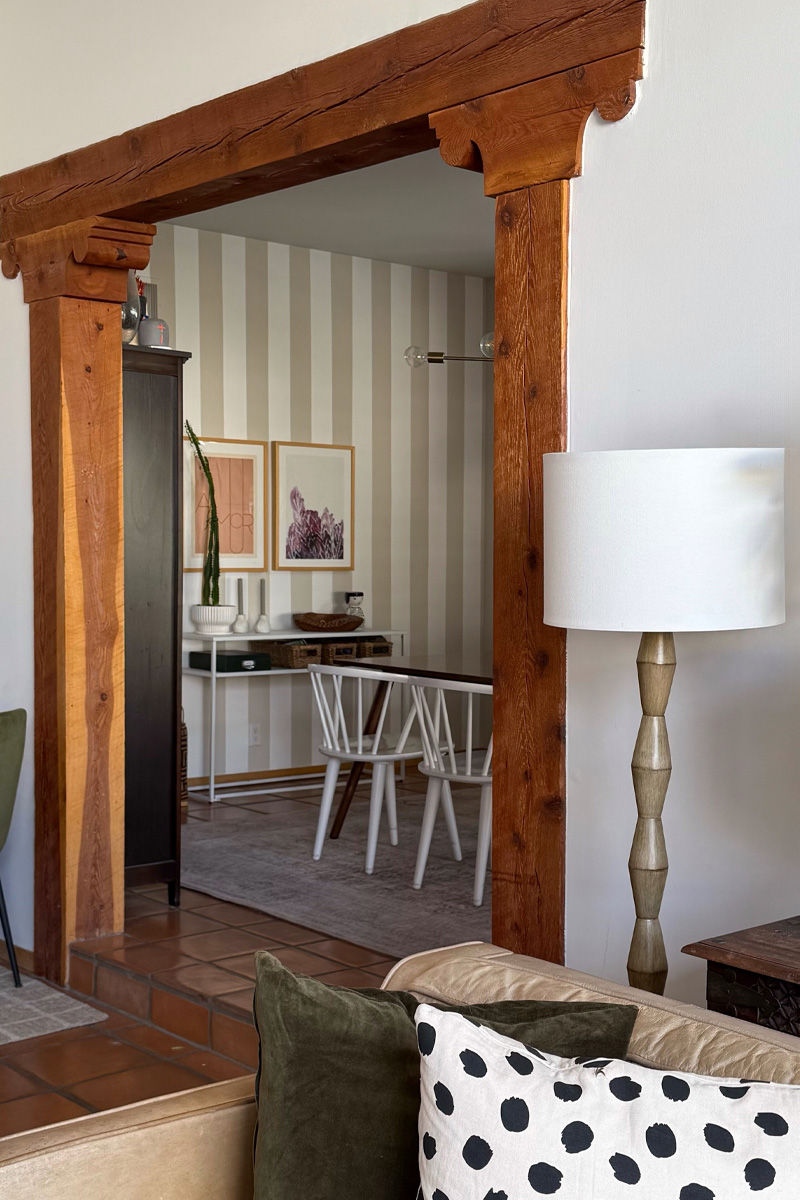
Vertical Striped Walls
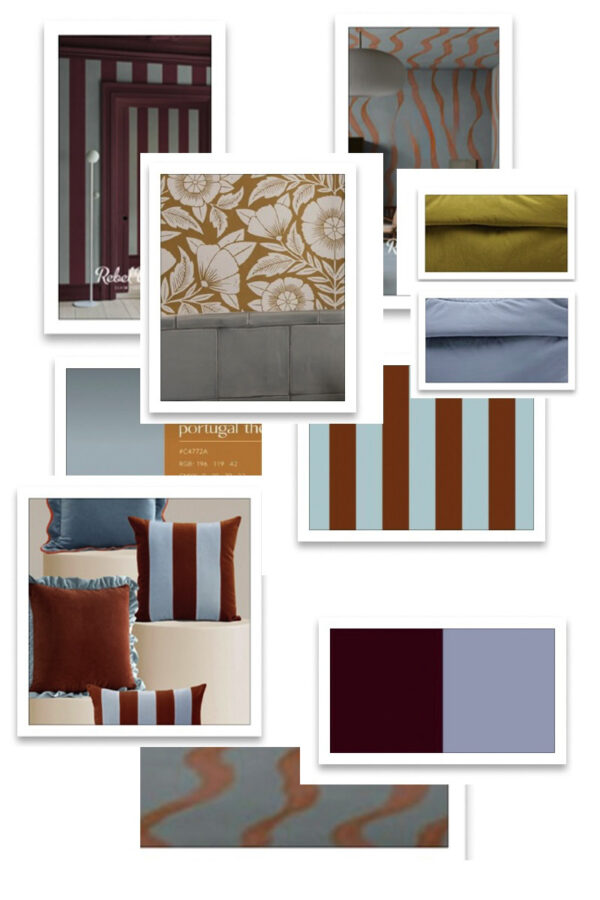
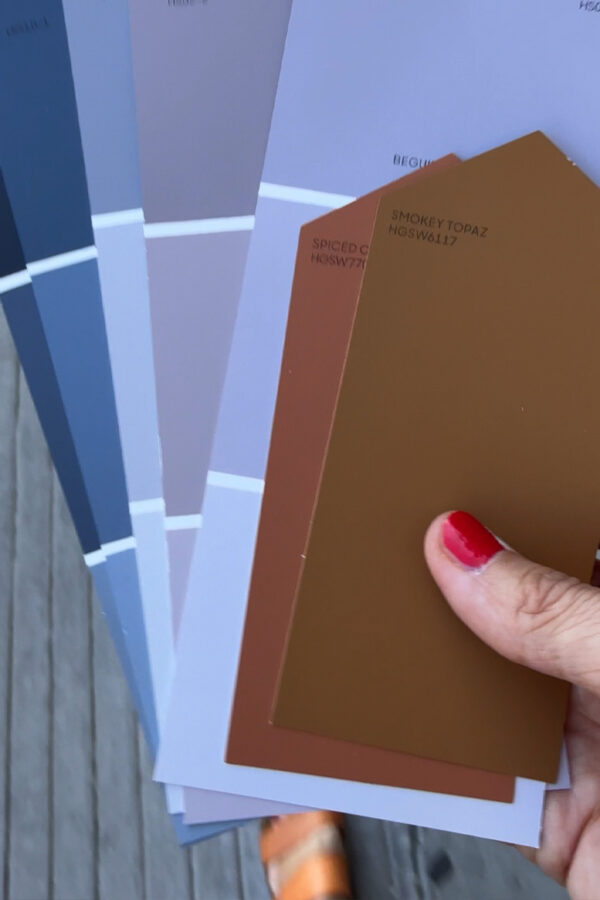
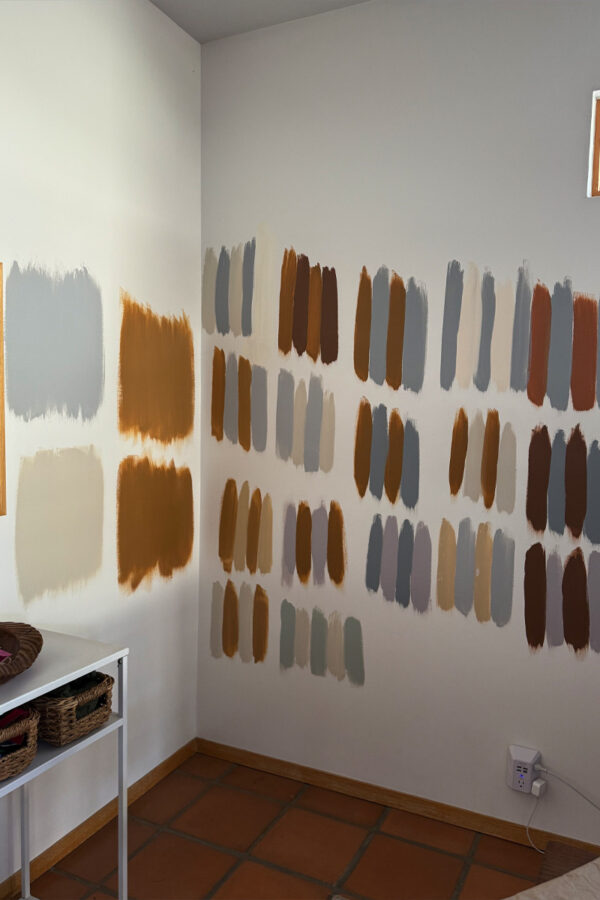
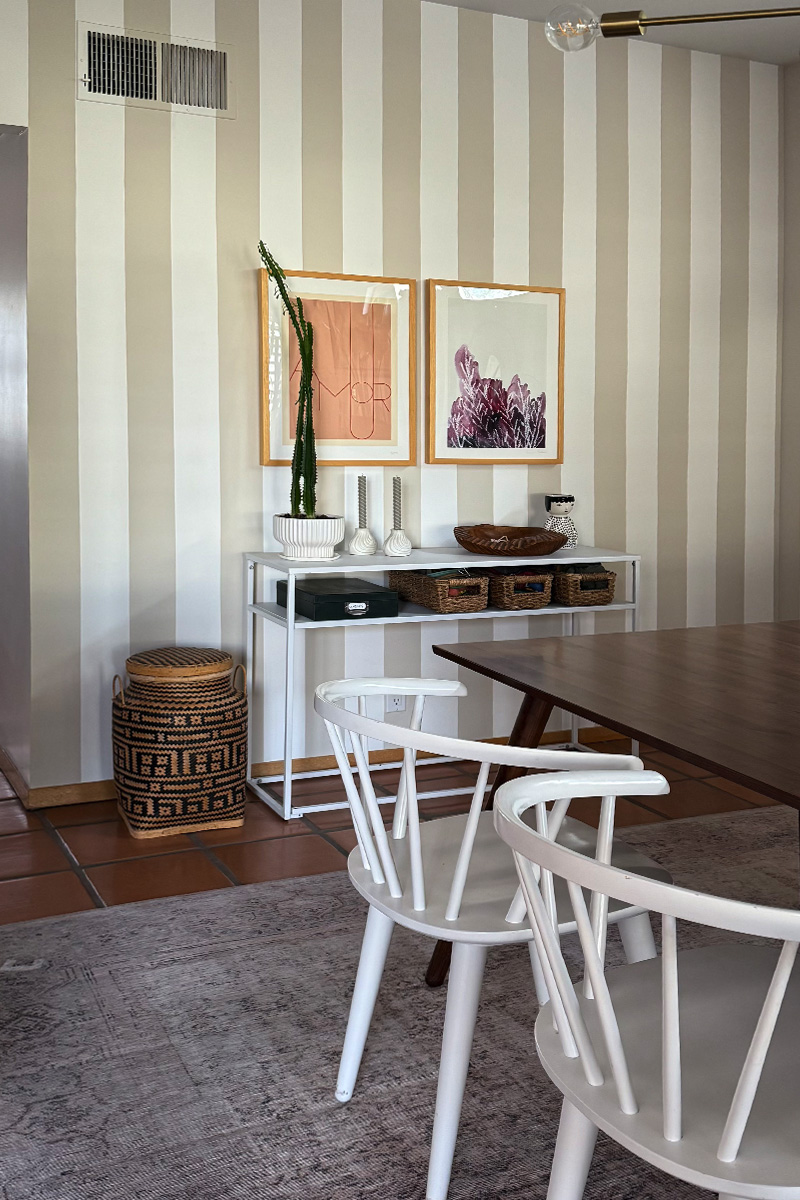
I’m just beyond thrilled with how my neutral vertical stripes turned out in our dining room. I had originally wanted to go with bold statement colors and after painting 17 color combinations (I desperately wanted a soft lavender and brown tone) I settled on the complete opposite color palette.
For my vertical stripes I used white and a soft oatmeal color (Bit of Sugar by Behr + Warm Putty by Valspar).
I also used the white paint in an eggshell and the oatmeal paint in a matte finish for a little contrast of paint sheen.
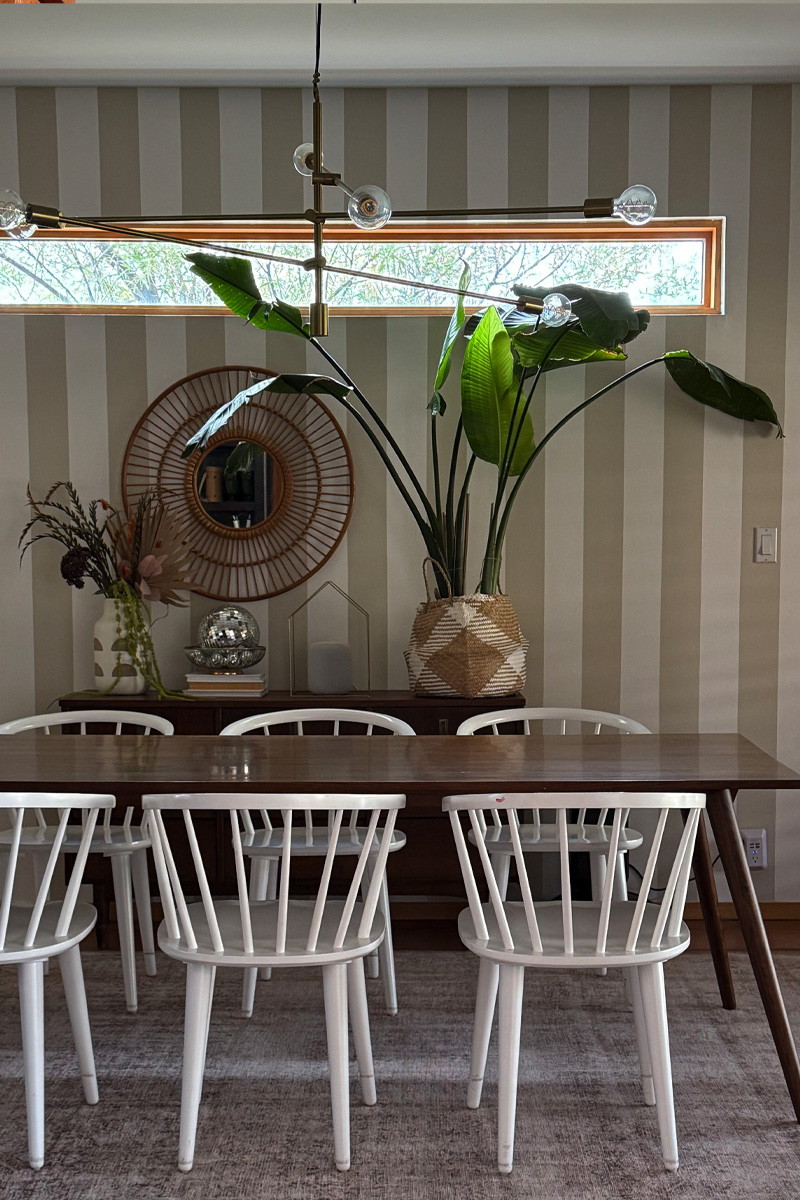
Our dining room now feels like a warm inviting hug. I never disliked the black diamond decals, but now This space is one I want to spend time in. I am thrilled with the stripe outcome!
Accent walls are a fun way to bring color or pattern to your space. If you want to see more of them check out below or go here, Accent Walls.
Looking for other creative Accent Wall ideas? Check these out…