How to Stencil a Wall with Acrylic Paint


INSIDE : Add fun graphic pattern to any room by learning how to stencil a wall with acrylic paint. Whether you are stamping or stenciling this is a great DIY project for any skill level to give your space a whole new look and feel.
This post may contain affiliate links. See full disclosure here.
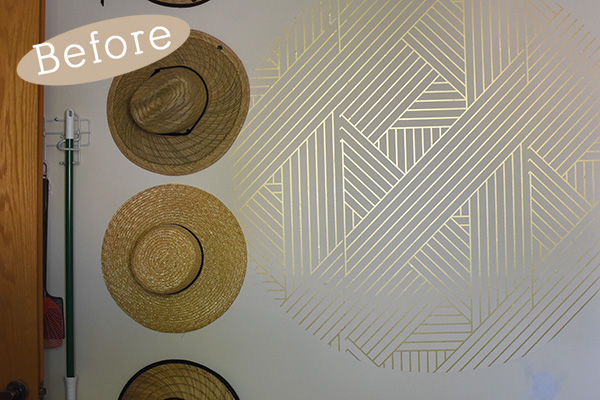
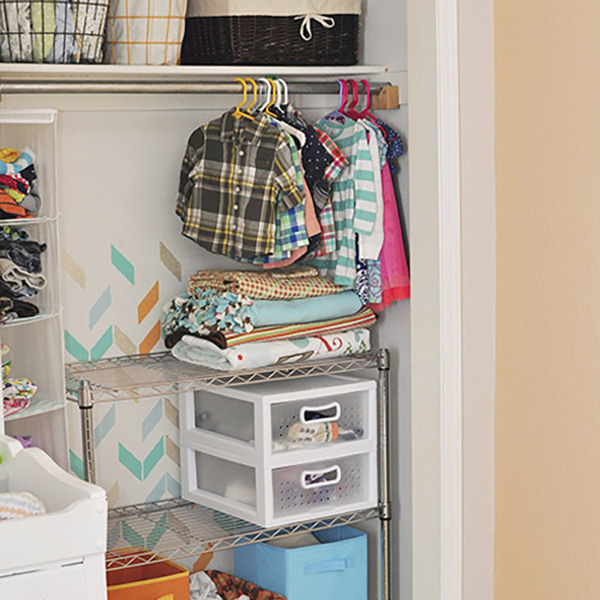
Anyone else with a random hodge-podge of a laundry room? It’s not only the place where all of our left stuff goes, but it also gets all of my leftover creative “projects” when there isn’t a better place for them. I had recently put up removable wallpaper from my office and then hung some hats on the wall. But I knew this all was a temporary fix.
Want to see how I tackled the Laundry Room Organization of this space?
We really need coat + school bag storage and it was time for a more cohesive look to the room in general. You can see the below image for my “before” shot.
Looking for more Laundry Dry Inspo?
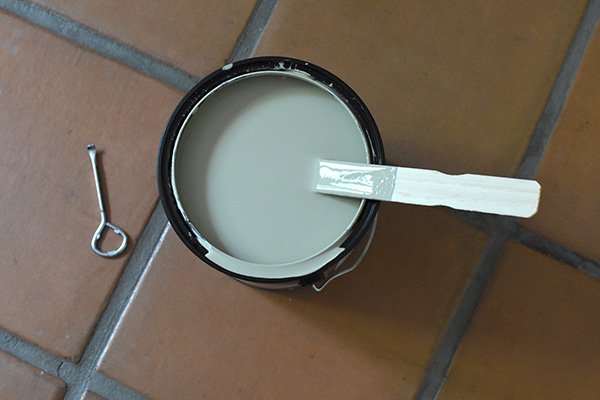
Behr Stone Walls Behr PPU8-19
I started off giving the room a fresh coat of paint. I chose a beautiful green/gray color as my main wall color. I used Stone Walls, Behr Scuff Paint. Since this is a high traffic place and the kids kick their shoes off and backpacks are thrown in here… going with a scuff paint made perfect sense to me.
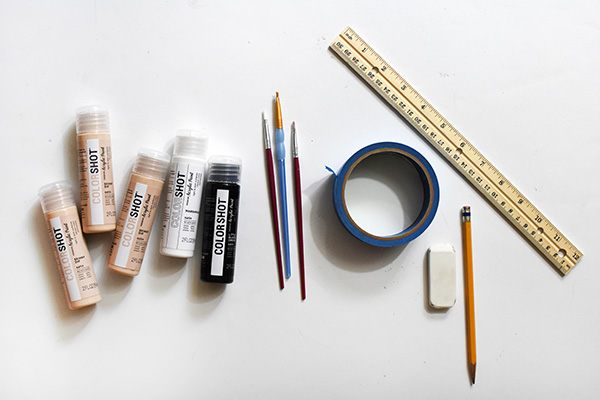
And I was excited to use Colorshot Acrylic Paints to add some major graphic accent stenciling and stamping magic!
You can read more in depth about my Interior Paint colors here.
What supplies do I need to make a Graphic Accent Stencil Wall?
Thankfully the supplies for this project were fairly simple.
- Colorshot Acrylic Paints – Skinny Dip, Marshmallow + Little Black Dress
- High Density Foam
- Large Aluminum Pans
- Sewing Scissors
- Ruler
- Level
- Painter’s Tape
- Pencil + Eraser

Working out your stamp design
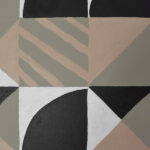
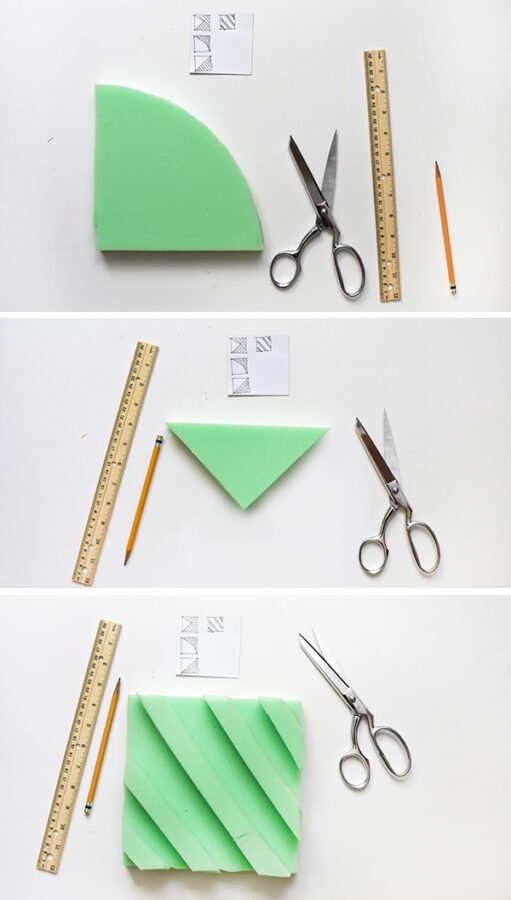
Before I started cutting any foam and doing any painting, I drew out four different stamped “tile” like square patterns. I knew that I could then flip and turn them to make nearly endless larger patterns on the wall. I brought them into photoshop to make sure I liked how it all looked, but you could also just use paper “tiles” to visualize what your design will look like.
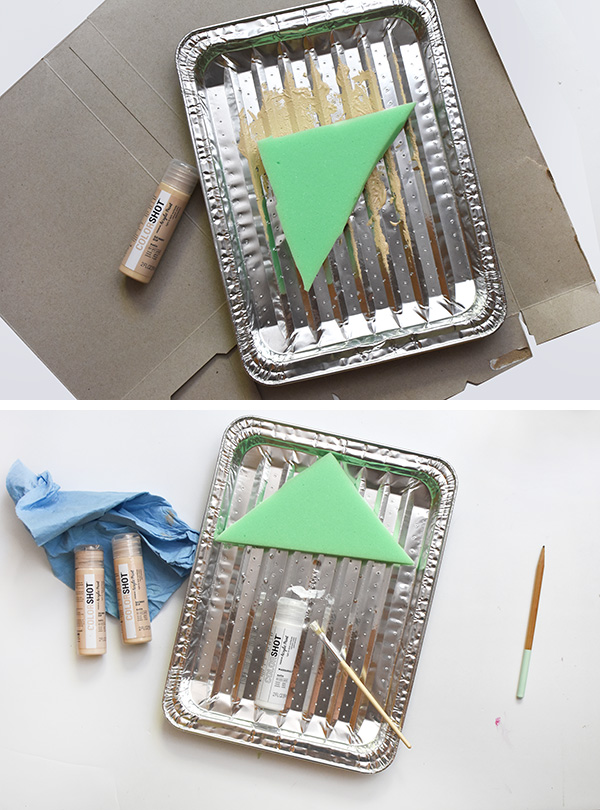
How to create a large foam stamp?
I found 14″ high density foam that was perfect for my stamping project. And based on my wall measurements, where our doors were located, etc… I decided to make each of my pattern tiles 8″ x 8″.
Mark 8″ with a pencil and ruler and slowly cut with your sharpest sewing scissors.

Foam Pattern Shapes
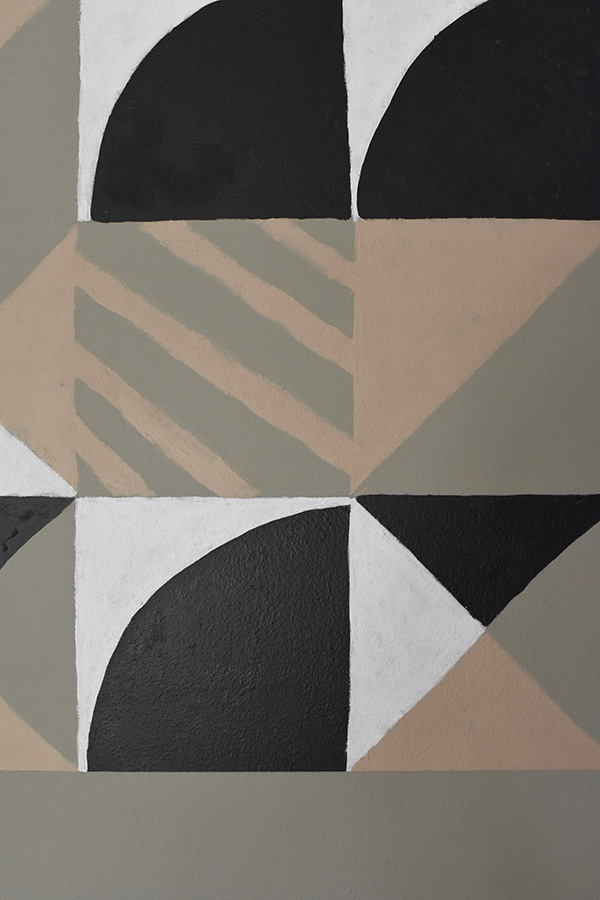
The important thing to remember when you are making a foam stencil is that you are painting with the sponge, but you can use the negative space to your advantage. Many of my patterns have multiple colors, so I was sure to plan for that when making my foam stamps.
Once my stamps were made, it was time to get painting! You want to have a container large enough to hold your paint and stencil. I used shallow aluminum trays.
I also noticed as I went that it was helpful to use a paint brush to “paint” the paint onto the foam. And once the paint was applied, I would gently stamp the foam on my tray to get any excess off.
Can You Use Acrylic Paint for Wall Stencils?
Yes, you can absolutely use acrylic paint for stenciling walls. It is an affordable, quick-drying medium that provides excellent coverage, though you may need to lightly sand any texture build-up before repainting in the future.
How to Stamp a Wall with Acrylic Paint
The very first thing I did was use a tape measure and level to very lightly draw my 8″ x 8″ squares with a pencil. This helped make sure my lines were all straight.
I started in the upper right hand of my wall and moved left with my patterns. I used Skinny Dip and Little Black Dress as one of those colors were on every design. You can see how if I would have stopped after just one stamp, it would have looked light and a little messy. Don’t give up, keep going with the process!
Next, I applied the Marshmallow White paint which really helped start to give my patterns shape.
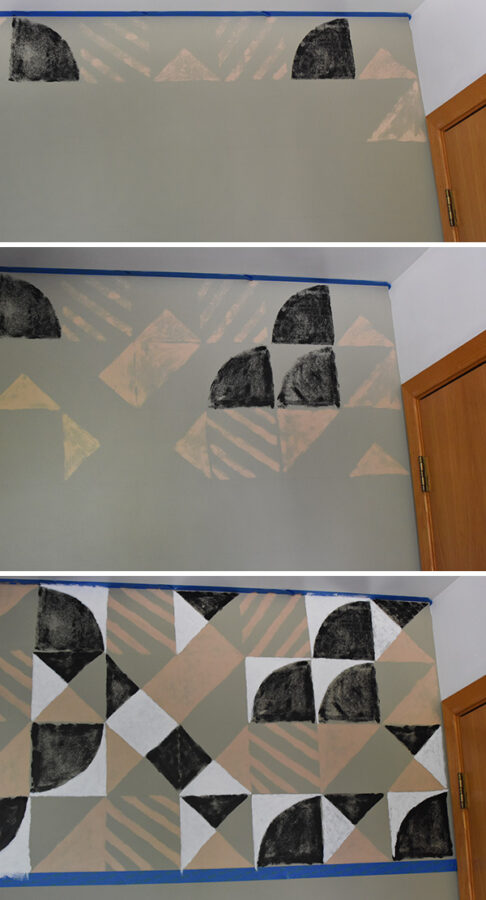
Slow refinement is the name of the game with a very graphic stencil pattern like this. I went over certain shapes a few times and used other sponges to help fill in pattern shapes a bit. Don’t be afraid to even use a small brush to help clean up lines here and there.
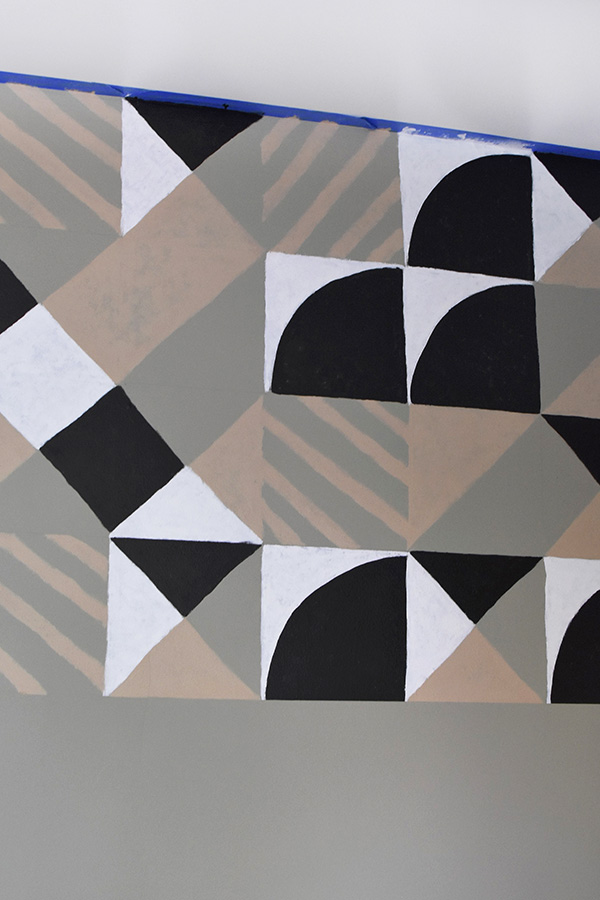
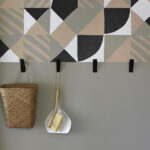
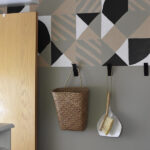
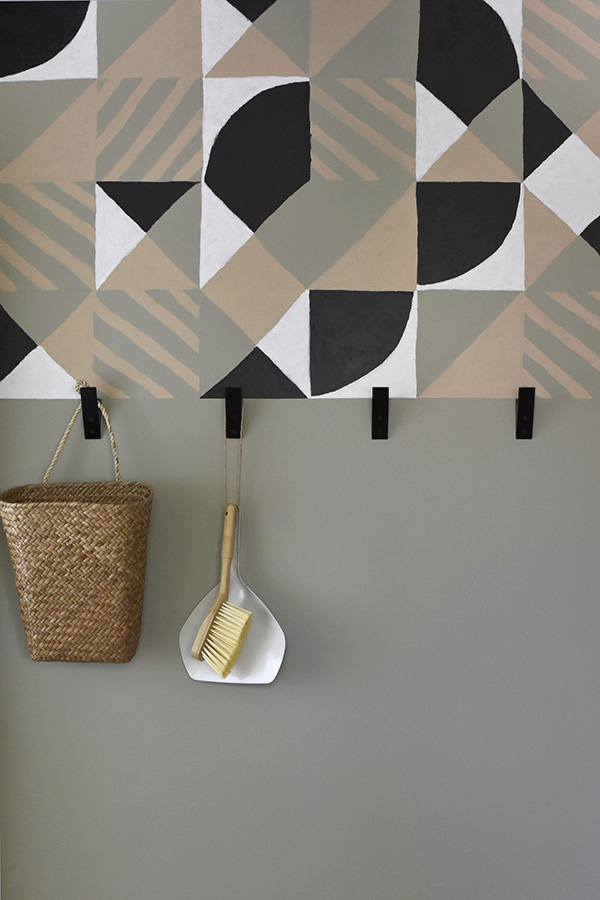
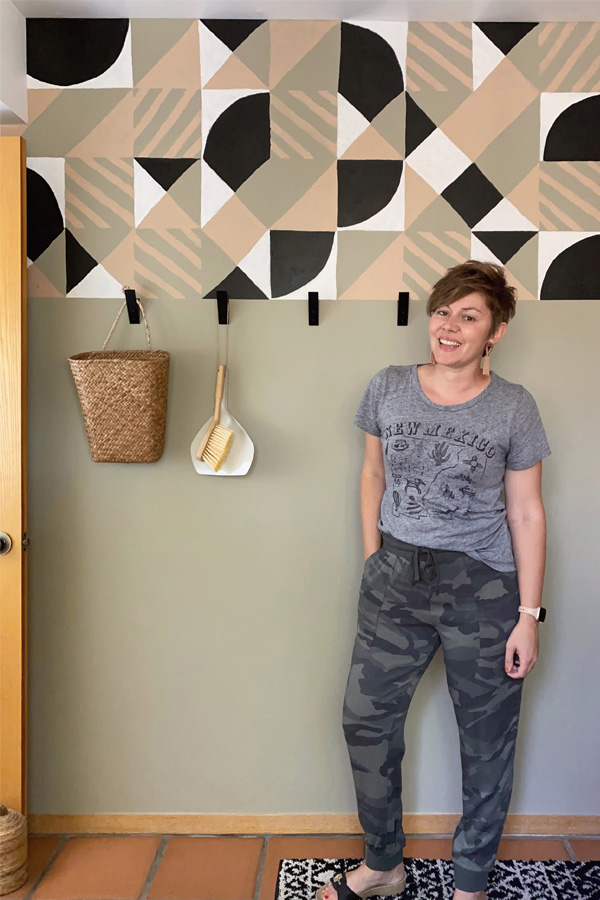
DIY Stamped Graphic Accent Wall
I really could not be more thrilled with the final end product! The lines are fairly crisp for a stamped project and I just LOVE how it looks. I loved working with Colorshot acrylic paints on making this come together. The paints were a perfect consistency and had amazing coverage.

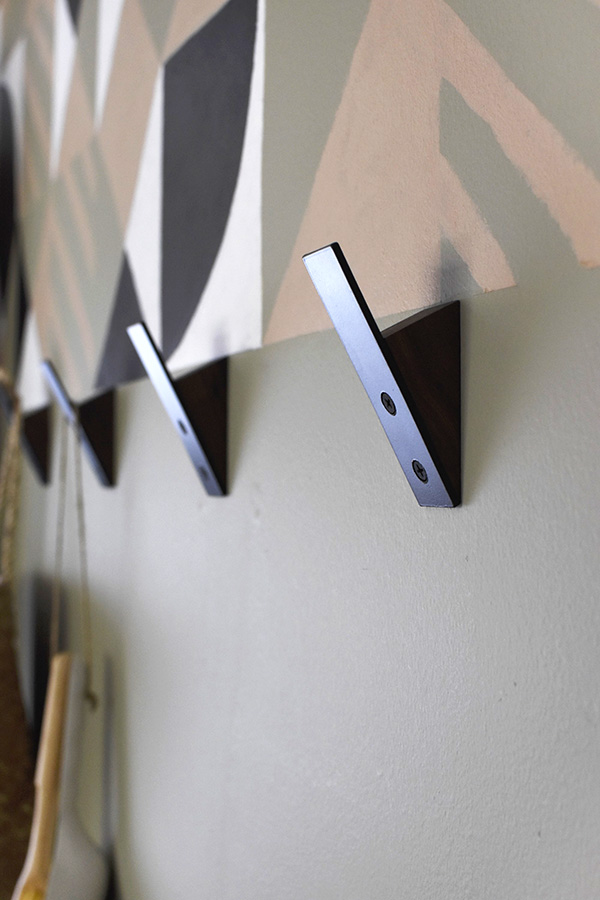
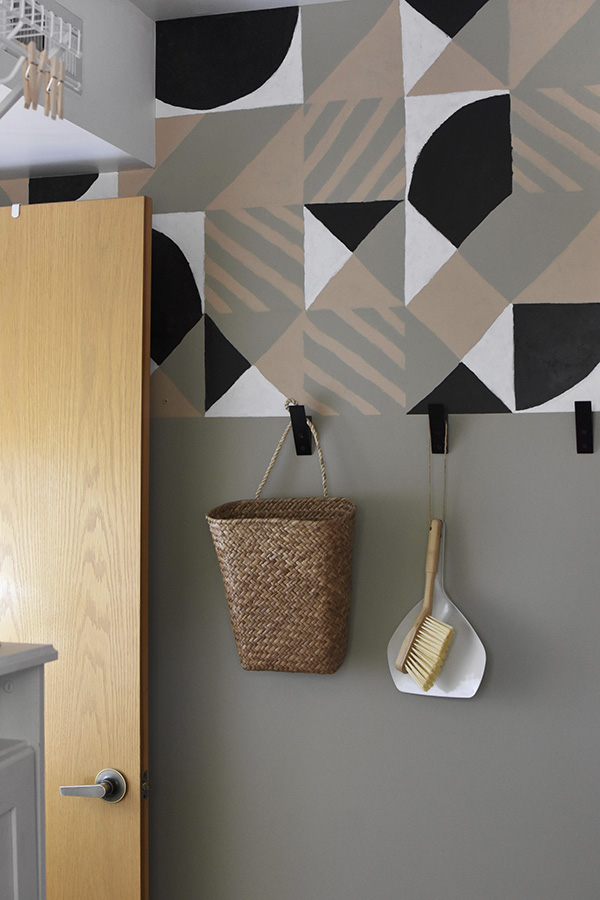
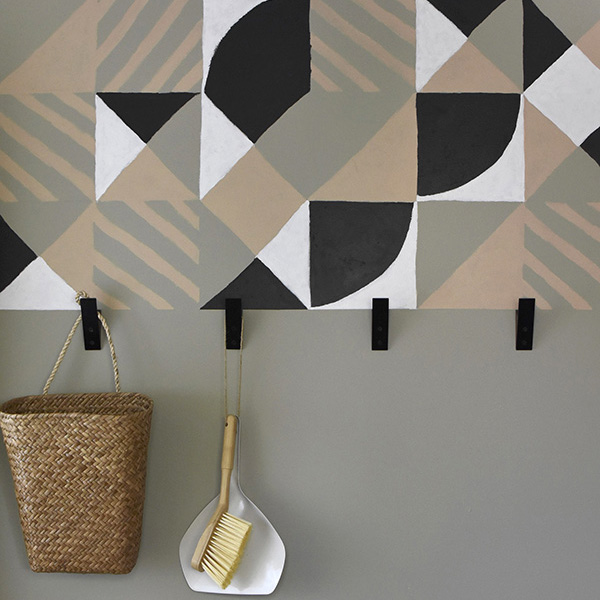
I installed four beautiful wooden hooks, which are going to be so useful in our laundry room!
This graphic look took some planning, but once I got into the rhythm of it all… it was a cinch to do.
What a great addition to our home.
If your wall is in a low traffic area (or in my case above the main “scratch area”) you probably do not need to seal it, however a topcoat is recommended if you plan to clean the surface.
Benefits of Using Acrylic Paint for Stamping
Acrylic paint is one of the most reliable and popular paints for stenciling (and stamping) due to its versatility, ease of use and durability.
Acrylic paint adheres well to many different surfaces including walls, wood, fabric, metal, canvas, and glass – making it suitable for a wide range of projects.
Traditional acrylics dry quickly, which is a major advantage for stamping. This fast drying time allows for quick layering of colors and helps prevent accidental smudging when removing or repositioning the stencil.
Being water-based, wet acrylic paint and the tools used (brushes, sponges, stencils) can be easily cleaned with just soap and water, without needing harsh chemical thinners or solvents.
And once dry, acrylic paint is permanent, water-resistant, flexible, and won’t crack, peel, or yellow over time.
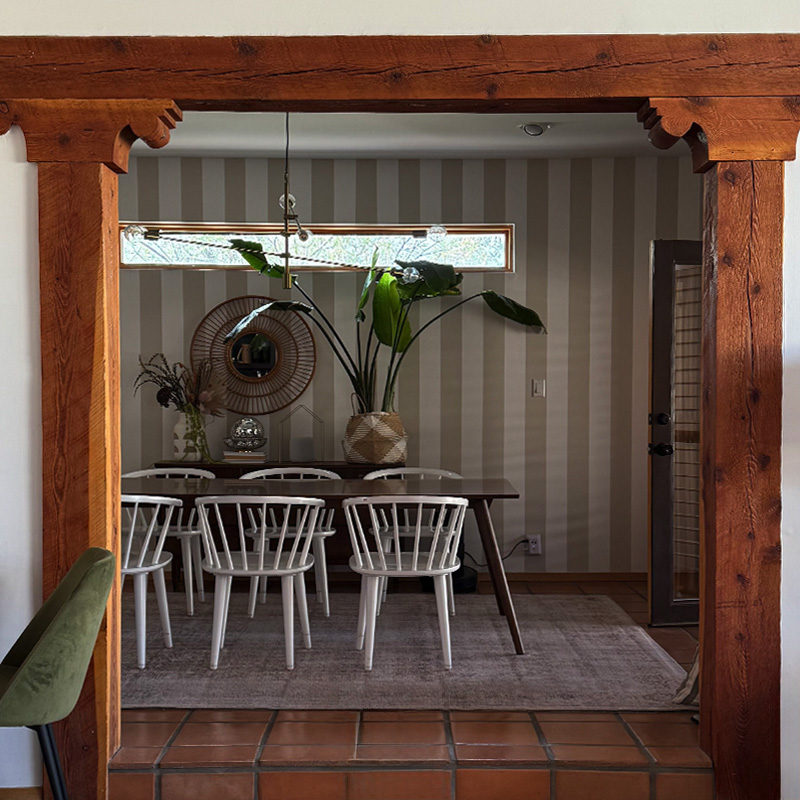
Looking for more creative Accent Wall ideas? Check these out…
How to Stencil a Wall with Acrylic Paint
How to paint stripes on your walls
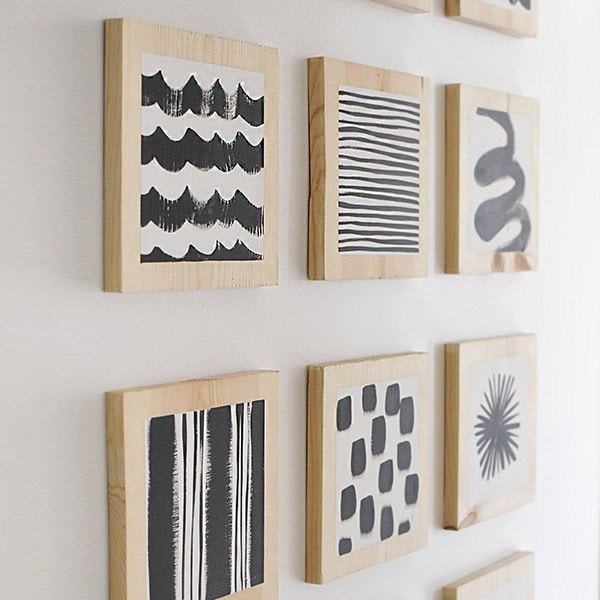
DIY Wood Block Art
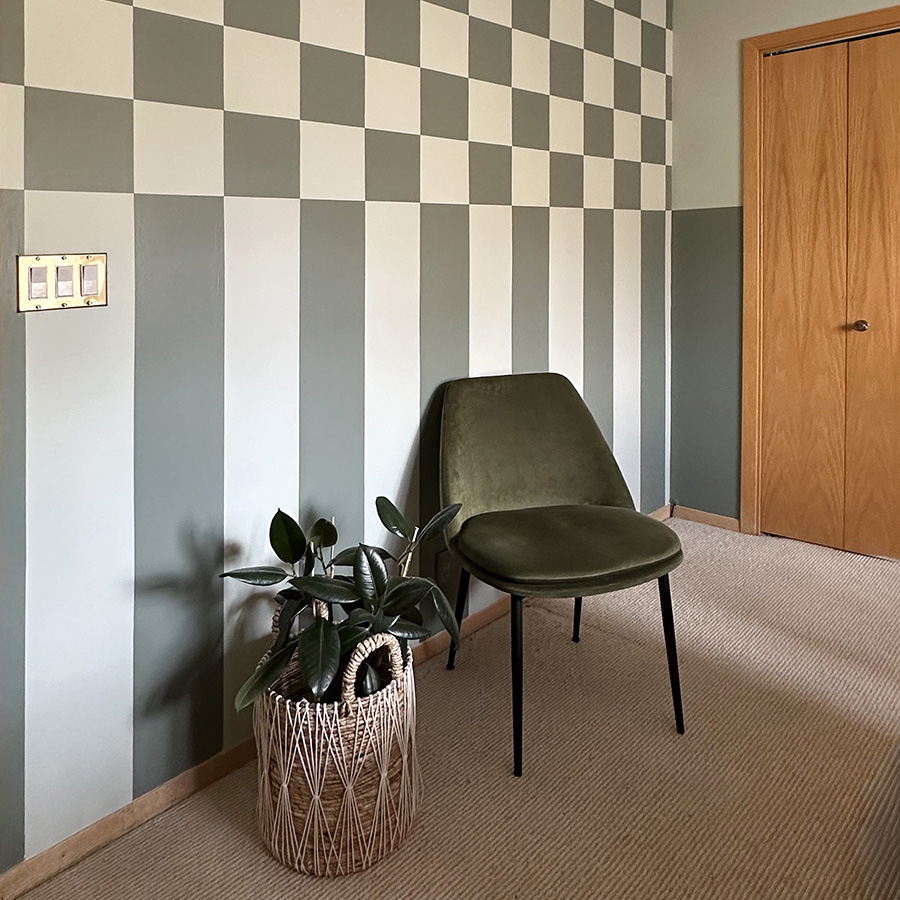
How to paint a Checker Pattern Accent Wall
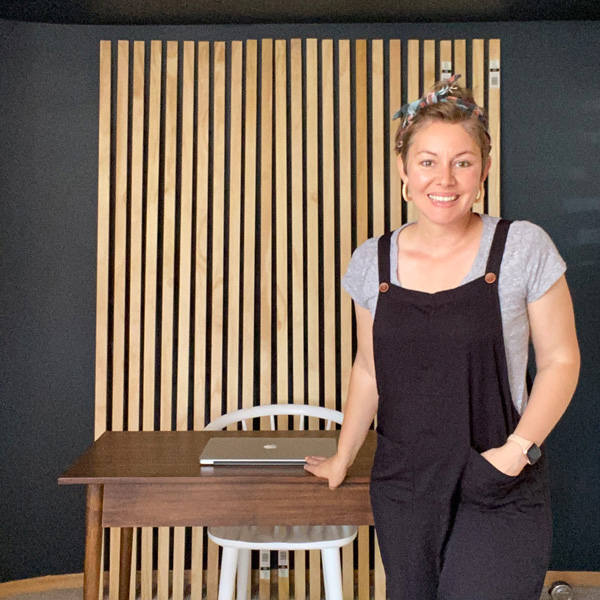
Painted Wood Slat Wall
Kid’s Closet Makeover
Thank you to Colorshot for this sponsored. All opinions are 100% mine.
I loved this tutorial! The step-by-step instructions made it so easy to follow. I can’t wait to try stenciling a wall in my living room. Your tips on paint consistency and choosing the right brush were super helpful! Thanks for sharing!
I absolutely love this idea! The stenciled accent wall adds such a fun touch to the laundry room. Your step-by-step guide makes it feel so doable. I can’t wait to try this out in my space! Thanks for the inspiration!
I absolutely love this idea for a laundry room! The stenciled accent wall adds such a fun and personal touch. I can’t wait to try this with some bright colors in my own space. Thanks for the inspiration!
I absolutely love the stenciled accent wall idea! It adds such a fun and personal touch to the laundry room. The acrylic paint colors you chose are so vibrant and refreshing. Can’t wait to try this in my own space! Thanks for the inspiration!
I absolutely love this stenciled accent wall idea! The colors you’ve chosen are so vibrant and fresh. It really adds a fun touch to the laundry room — I can’t wait to try this in my own space. Thanks for the step-by-step guide!
I absolutely love the idea of a stenciled accent wall in the laundry room! It adds such a unique touch and makes the space feel more inviting. The tutorial is really easy to follow, and the color choices are fabulous. I can’t wait to give this a try in my own home! Thank you for the inspiration!
I absolutely love the idea of a stenciled accent wall in the laundry room! The use of acrylic paint makes it feel so fresh and vibrant. Can’t wait to try this out in my space—thanks for the inspiration!
I absolutely love the idea of a stenciled accent wall in the laundry room! It’s a perfect way to add personality to such a utilitarian space. Your tips on choosing the right stencil and paint color were super helpful. Can’t wait to try this project myself!
I absolutely love the idea of a stenciled accent wall in the laundry room! The patterns you chose are so fun and vibrant, and I appreciate the step-by-step instructions. It really inspires me to tackle my own laundry space and give it a fresh new look. Thanks for sharing this creative project!
I absolutely love the idea of a stenciled accent wall in the laundry room! The tutorial was super clear and the colors you chose really brighten up the space. I can’t wait to try this in my own home. Thanks for the inspiration!
I absolutely love the idea of a stenciled accent wall in the laundry room! The design you chose is so fresh and inviting. I can’t wait to try this out in my own space—such a great way to add personality to a typically utilitarian room. Thanks for the inspiration!
I love the idea of adding a stenciled accent wall to the laundry room! The acrylic paint choices you’ve suggested really brighten up the space. I can’t wait to try this out in my own home—thanks for the inspiration!
I absolutely love the idea of a stenciled accent wall in the laundry room! It adds such a unique touch and can really brighten up the space. The step-by-step instructions were super helpful, and I can’t wait to try this project myself. Thanks for the inspiration!
I absolutely love the idea of a stenciled accent wall in the laundry room! The colors you chose are so vibrant and really bring the space to life. I can’t wait to try this technique in my own home. Thanks for the clear instructions and inspiration!
I absolutely love the idea of using stencils for a laundry room accent wall! The acrylic paint gives such a vibrant pop of color, and it really elevates the space. Thanks for the detailed instructions; I can’t wait to give this a try in my own home!
I absolutely love the idea of a stenciled accent wall in the laundry room! The combination of acrylic paint and creative patterns really brightens up the space. I’m inspired to tackle my own laundry room now—thanks for the detailed instructions and beautiful photos!
I absolutely love the idea of a stenciled accent wall in the laundry room! It adds such a unique touch and makes the space feel so much more inviting. The step-by-step guide you provided is super helpful—I can’t wait to try it out with some colorful acrylic paints! Thanks for sharing this creative project!
I absolutely love the creativity you’ve showcased in this post! The stenciled accent wall is such a fun and vibrant idea for a laundry room. The choice of colors with the acrylic paint really brings everything to life. I can’t wait to try this out in my own space! Thanks for the inspiration!
I absolutely love the idea of using stencils for a laundry room accent wall! The colors you chose are so refreshing and really brighten up the space. Thanks for sharing the step-by-step process—it’s super helpful! Can’t wait to give this a try in my own home!
This stenciled accent wall is such a fun and creative idea for a laundry room! I love how the acrylic paint adds a vibrant touch without overwhelming the space. Can’t wait to try this out in my own home! Thanks for the inspiration!
I love the idea of a stenciled accent wall in the laundry room! The acrylic paint colors you chose look fantastic and really brighten up the space. I can’t wait to try this DIY project in my own home. Thanks for the inspiration!
I absolutely love the idea of a stenciled accent wall in the laundry room! The acrylic paint makes it look vibrant and fresh. Thank you for the step-by-step guide and the helpful tips—can’t wait to try this for my own space!
This is gorgeous Amy love it!!
Thank you so much!!
Amy, It really looks awesome.
Oh, thank you so much Pat!