How to Marble using Nail Polish
INSIDE : The complete guide on how to make Marbled Crafts using Nail Polish. Create gorgeous marble DIY projects every time using these simple tips.
This post may contain affiliate links. See full disclosure here.
This post has been updated since it’s original publish date of May 2019.
I have done quite a few marbled craft projects over the course of my blog. I love how each marbled project you make is completely different from the last. Even with the same materials, same colors and many other similar variables – the outcome can take on a whole new look each time!
Looking for how to marble using shaving cream? Or what about marling with acrylic paint?
If you are looking for more information about everything involving marbling, my Marbling 101 post might be just what you are looking for.
However by far, my favorite color material to use in marbled DIY projects is nail polish.
And did you know I wrote a REAL LIFE BOOK about Marbling?!! It is available at Amazon, Target, Barnes + Noble, Biblio and Walmart – maybe more places but these were the big ones I could find.
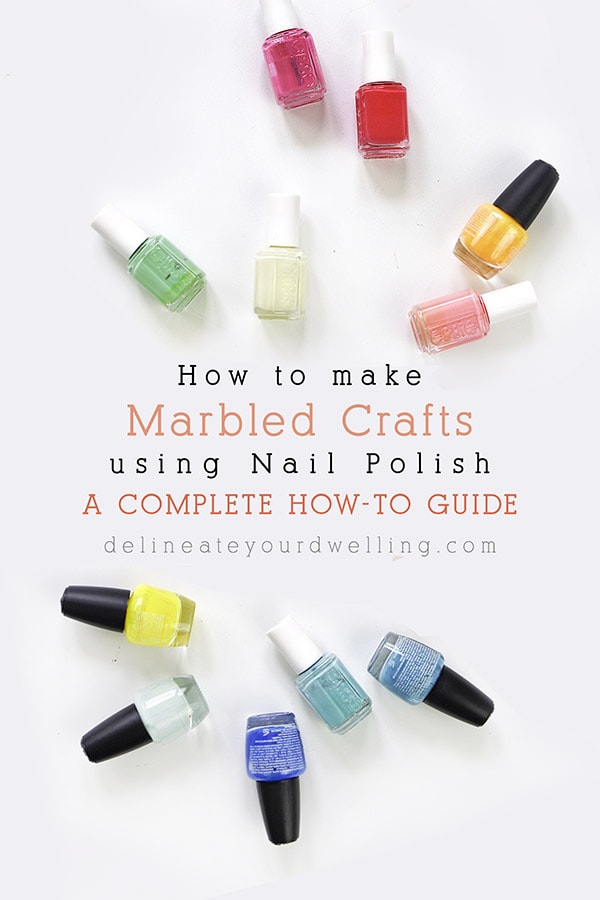
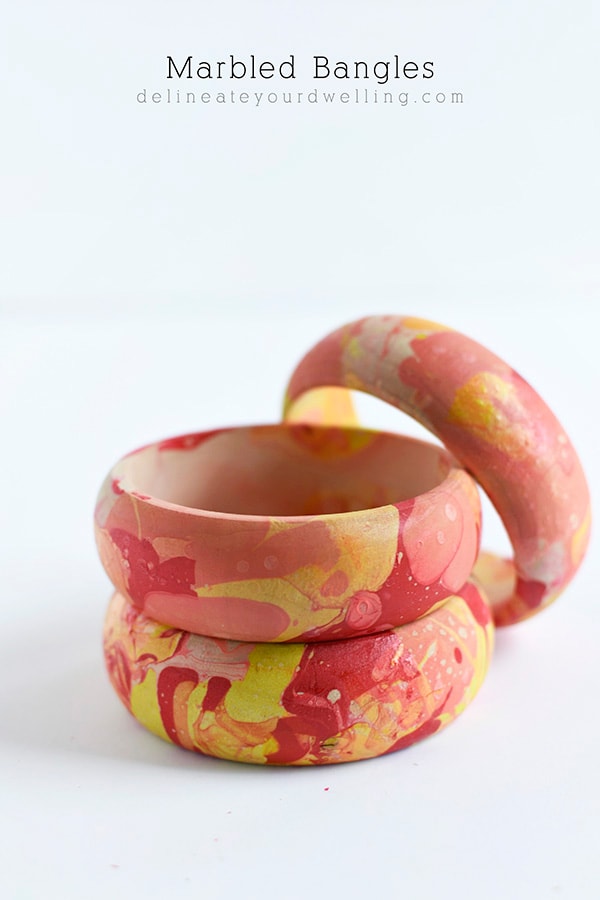
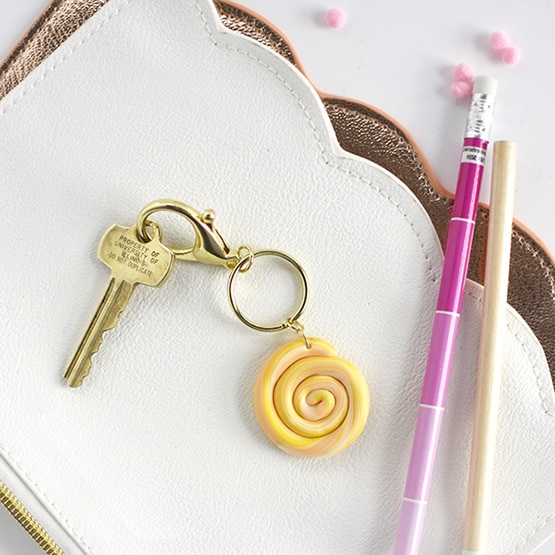
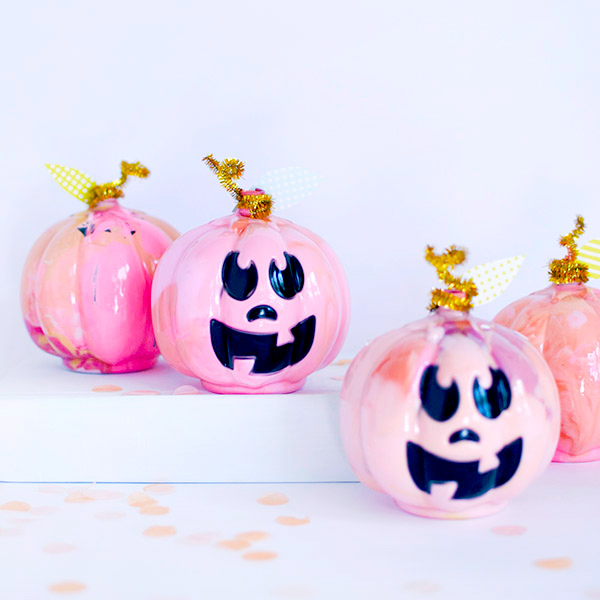
Today I am going to walk you through all the ins and outs of craft marbling by using nail polish. These colorful marbled bangles are one of my favorite nail polished projects.
What is the best nail polish to use when Marbling?
In my experience the cheaper the nail polish – the better! And what is my reasoning for that you may ask?
Well, because who wants to go out and buy an expensive jar of nail polish and then pour most of it out for crafting – ha.
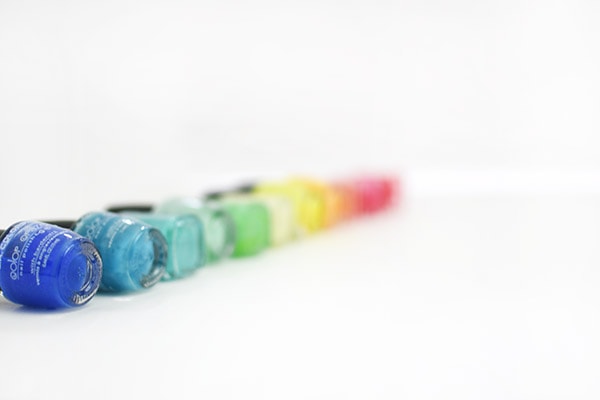
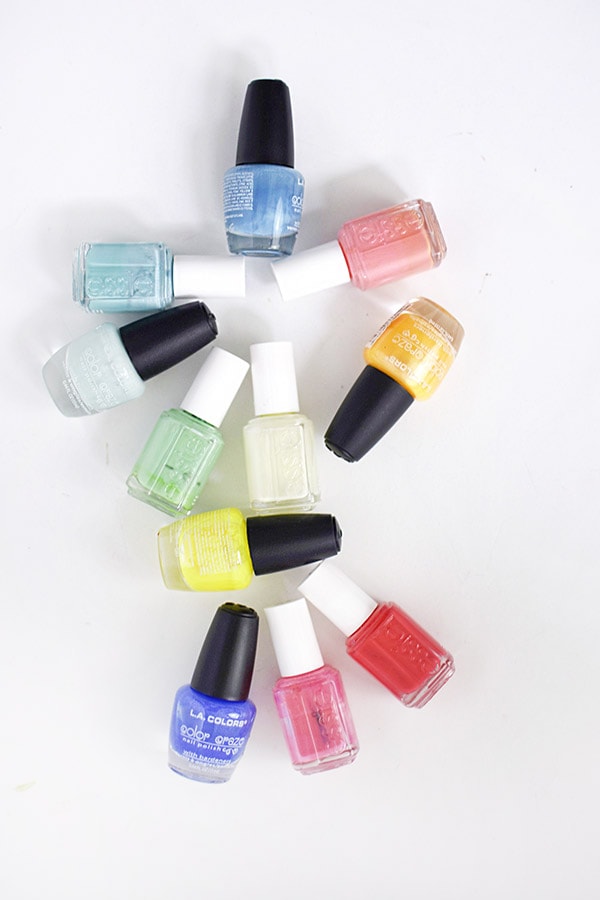
The best nail polish for marbling is a matter of personal preference, but some brands and colors are known to work better than others.
In all reality, though I have used very inexpensive Dollar Store nail polishes for most of my craft marbling projects. Those polishes have worked wonderfully.
I have also used in a pinch, some moderately priced polishes that I actually own for painting my finger nails. Those also have worked wonderfully.
I think the main objective when picking out which brand, price or style of nail polish to use for your marbled craft DIY – finding a few colors that you like is the most important item to worry about. And if you can find colors that you like for only $0.99 then that is the nail polish I would suggest purchasing.
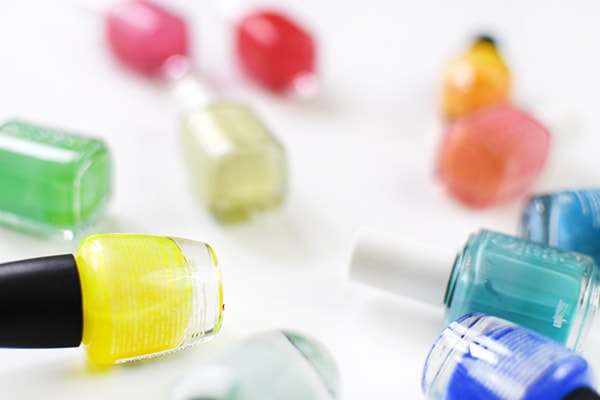
Tips for choosing marbling nail polish
- Avoid quick-dry polishes -These polishes will dry too quickly to allow you to create the desired marbled effect.
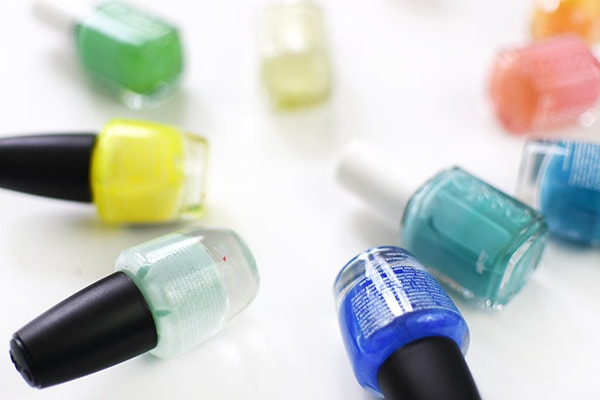
- Choose bold, pigmented colors – These colors will show up better in the finished product.
- Experiment with different brands and formulas – Some polishes work better for marbling than others.
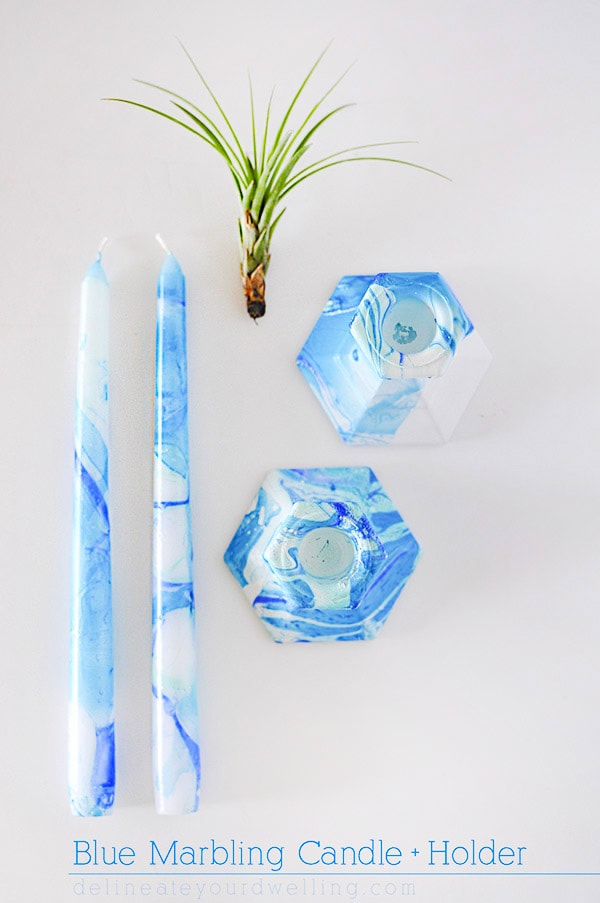
I loved how these blue marbled candle holders turned out using inexpensive blue nail polish.
What supplies do you need for nail polish marbling?
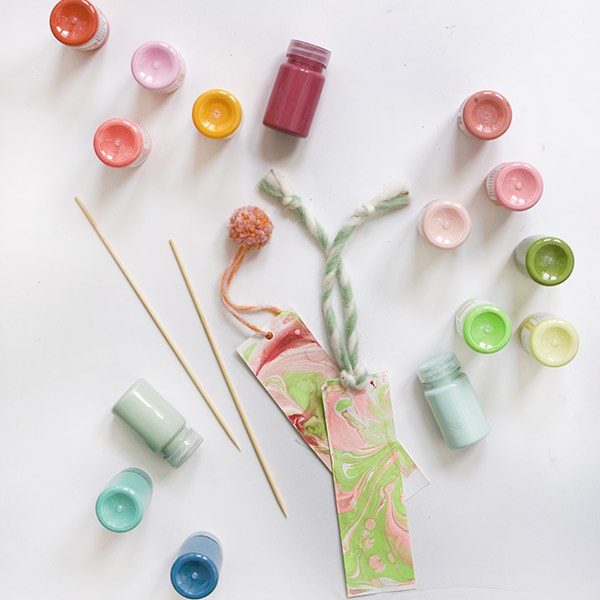
The supplies needed when doing marbled projects are fairly simple.
Grab a few of your favorite nail polish colors, a disposable tin or plastic tray, wooden skewers to mix the paints, water and your item to marble.
Does the marbling nail polish smell up your entire room?
Yes, marbling nail polish projects can easily smell up your entire room. The strong scent of the polish can be overwhelming, especially in a small space.
When you are planning your next marbling project at home, it is a good idea to open a window or door to ventilate the area. You may also want to wear a mask to protect yourself from the fumes. You can also turn on ceiling fans to create as much ventilation as possible.
Just as nail polish has a strong odor when you simply painting your fingers or toes – opening and crafting with multiple jars of open nail polish can get pretty smelly, pretty quickly.
Please take the necessary precautions to avoid the strong smells in tight quarters.
Do you have to work really quickly when marbling with nail polish?
When you are creating a marbled craft using nail polish, speed is an important factor, I have found. The longer your nail polish sits on the open water, the harder it becomes to have a thin surface to dip your object in.
As I mention in all of my nail polish tutorials, I always have everything prepped and ready to go before I start the actual marbling process.
I have my container of water and the item to be marbled. I have paper towels setup and ready to go. And then when it is time to marble, I open all the nail polish lids and remove them before I start pouring any nail polish.
I do this so that once I start to pour out nail polish, I can easily pour all the colors in just a few seconds, pick up my item to marble, dip and be done. Otherwise, the nail polish starts to dry on the top surface of the water and can sometimes result in a less appealing marbled product.
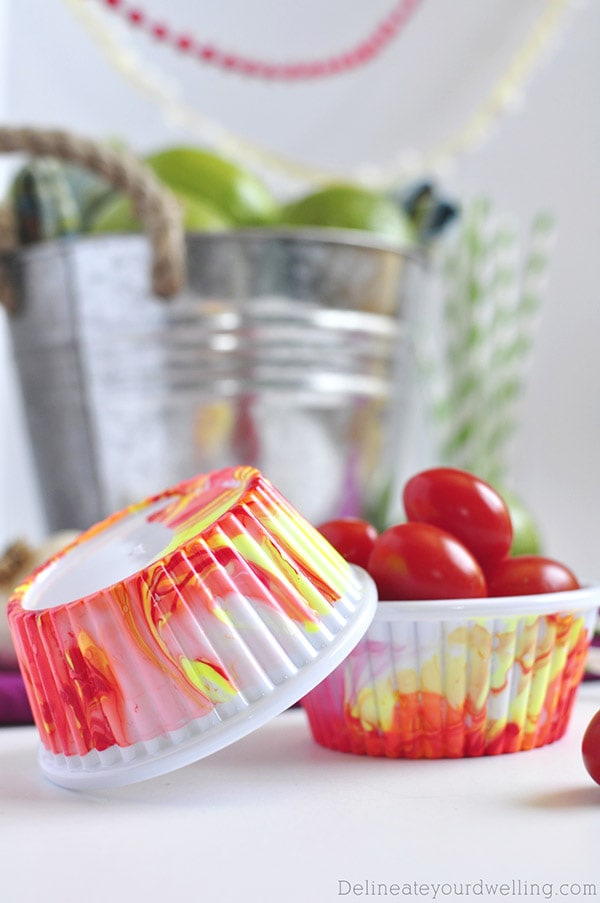
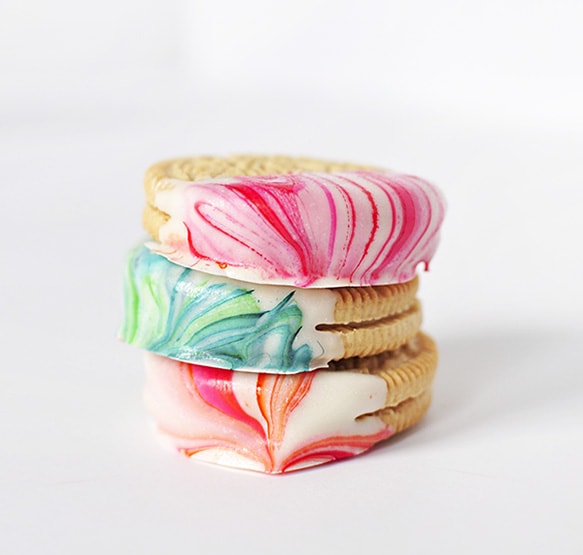
I used four different polish colors on these Marbled Party cups and speed was important for their gorgeous look.
Can you easily fix nail polish marbled projects?
That depends on what you are marbling. If you are doing a paper marbling project or marbling on something that is wooden, then there is no fixing.
However, if you are using nail polish on a smooth item like a mug or even some plastics, then you can use nail polish remover and can fix little mistakes as you go.
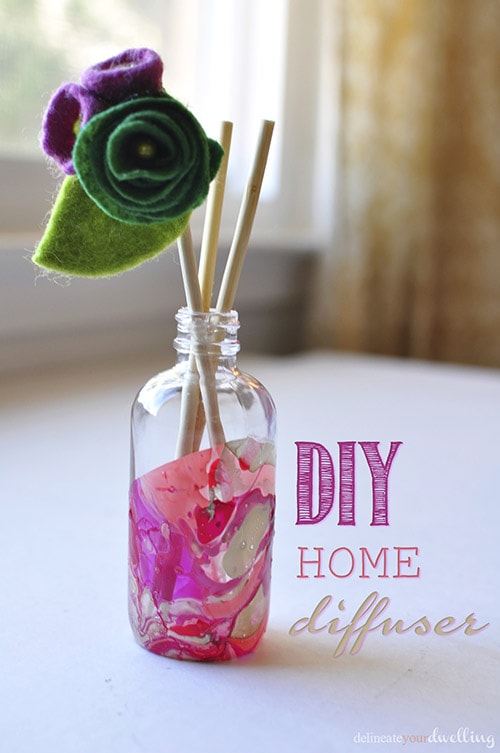
This Marbled Room Diffuser was easy to clean up a few spots with some nail polish remover!
How long is the dry time for Marbled Nail Polish projects?
Thankfully, although using nail polish can be quite smelly, the dry time is pretty fast compared to other methods. After the length of time you need for your finger nails to dry, is often as long as it can take. And depending on what material you are marbling, it can be even quicker.
You might also like:
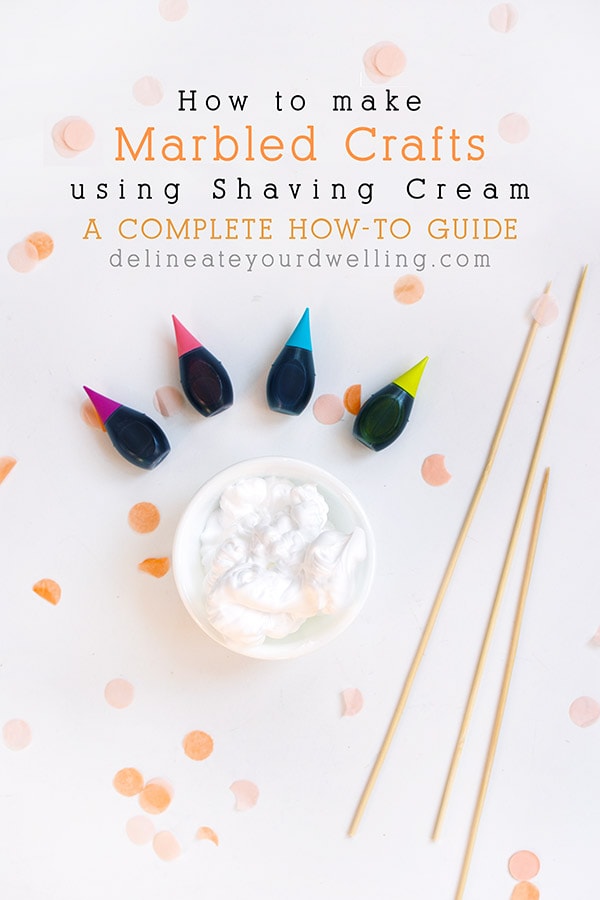
How to marble using Shaving Cream
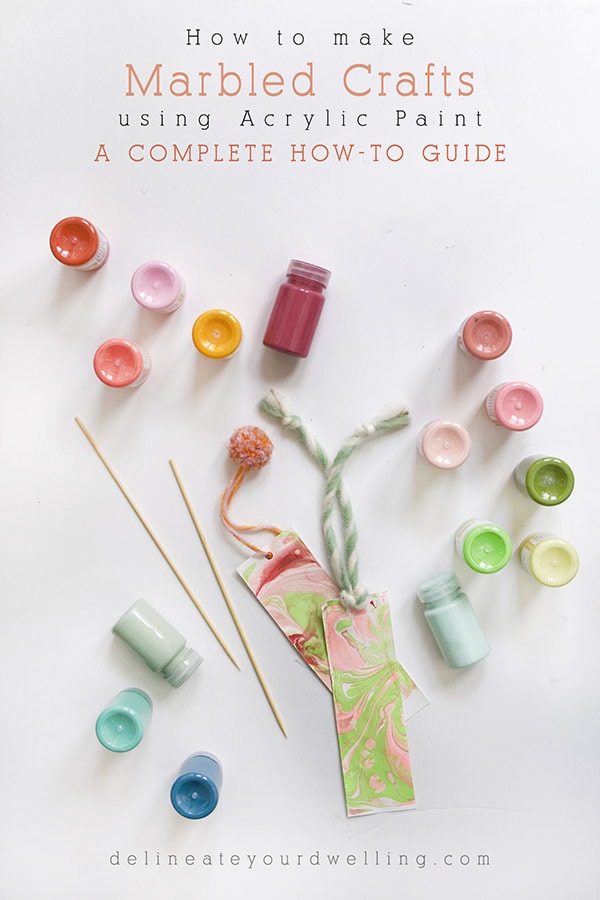
How to Marble with Acrylic Paint
Looking for even more marbled projects? Check some of these!

Can you marble items that will go in the dishwasher or microwave by sealing them somehow?
Do the items need to be sealed with acrylic spray or varnish?
They definitely don’t need to be, no. It has the finish of nail polish, which is pretty stable as is.
Does the nail polish discolor over time?
I’ve not had a single issue with the color changing over the years.