How to marble using Shaving Cream
INSIDE : The full guide on how to make Marbled Crafts using regular foam Shaving Cream. Learn to make gorgeous marble DIY projects every time using these simple tips.
This post may contain affiliate links. See full disclosure here.
You might also be interested in the BOOK that I wrote all about Marbling projects!!
I have done quite a few marbled craft projects over the course of my blogging years. I love how each marbled project you make is completely different from the last. Even with the same materials, same colors and many other similar variables – the outcome can take on a whole new look each time!
Looking for ALL the details on marbling projects? My Marbling 101 post might be just what you are looking for!
My favorite color medium to use in marbled DIY projects is nail polish. However, if you are looking for a fun and even kid friendly marbled technique, using shaving cream is a fun way to go! Today I am going to walk you through all the details of marbling by using foam shaving cream.
Can you make marbled projects with shaving cream and food coloring?
The simple answer to this questions is yes. For most of the projects and crafts that I make using shaving cream, I typically use food coloring. It does not seem to matter if you use a few drops of liquid or gel food coloring, both types of food coloring seem to work.
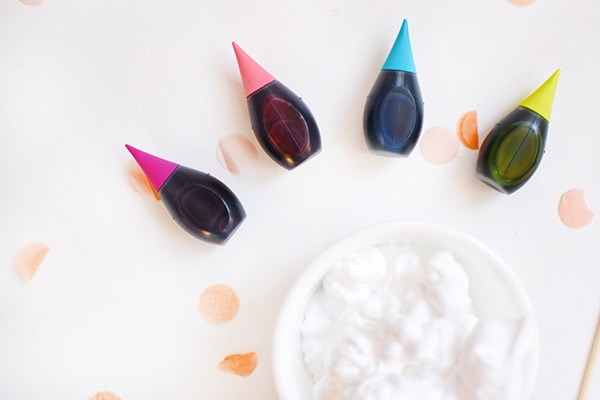
I have found that food coloring is lighter weight than say acrylic paint, therefore the food coloring dye can sit atop of the shaving cream. I especially have love these food coloring drops because of the variety of color options.
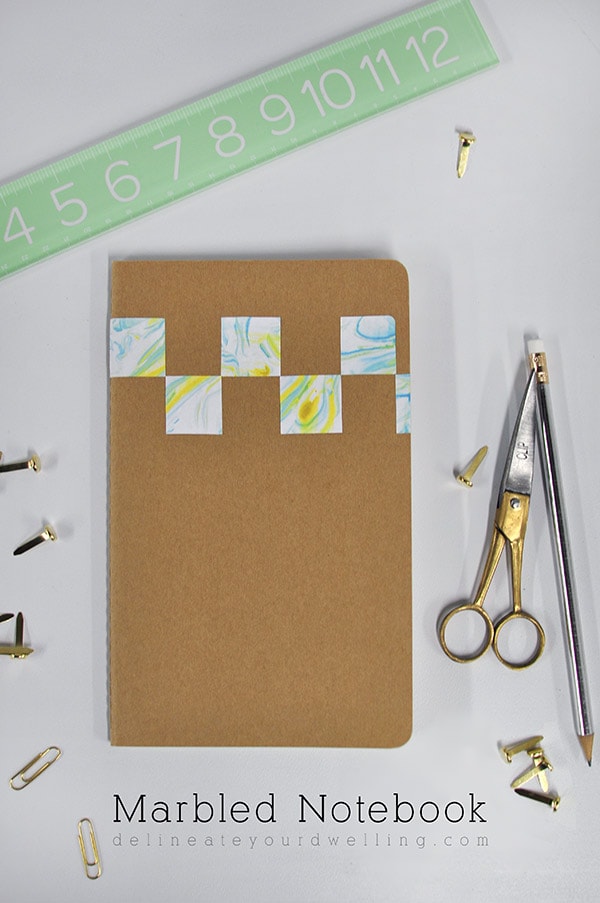
These Marbled Notebooks turned out so well using simple inexpensive foam shaving cream techniques.
What supplies do you need for shaving cream marbling projects?
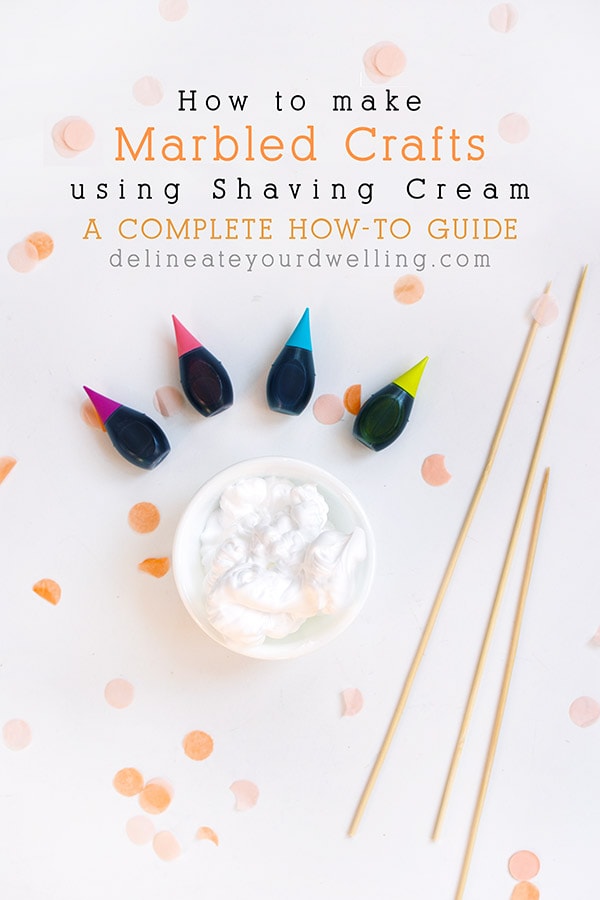
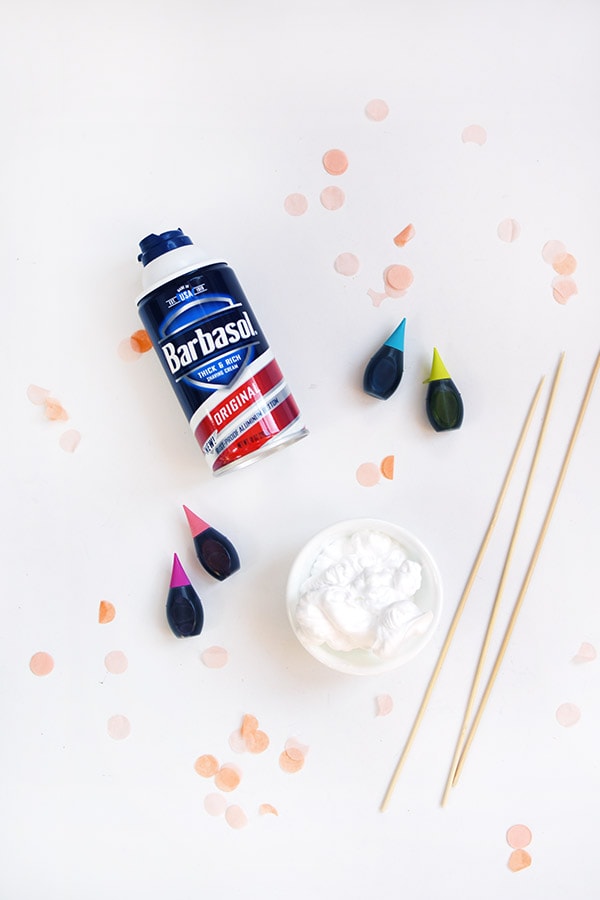
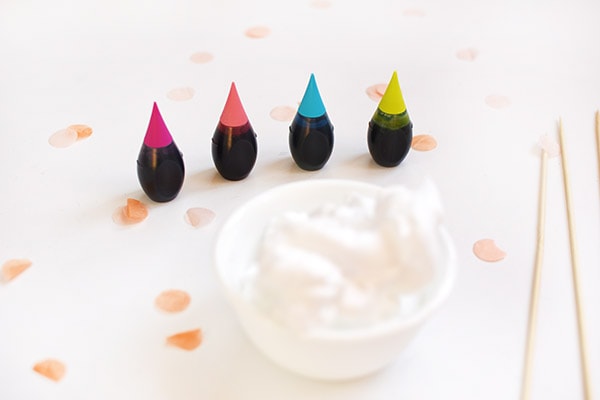
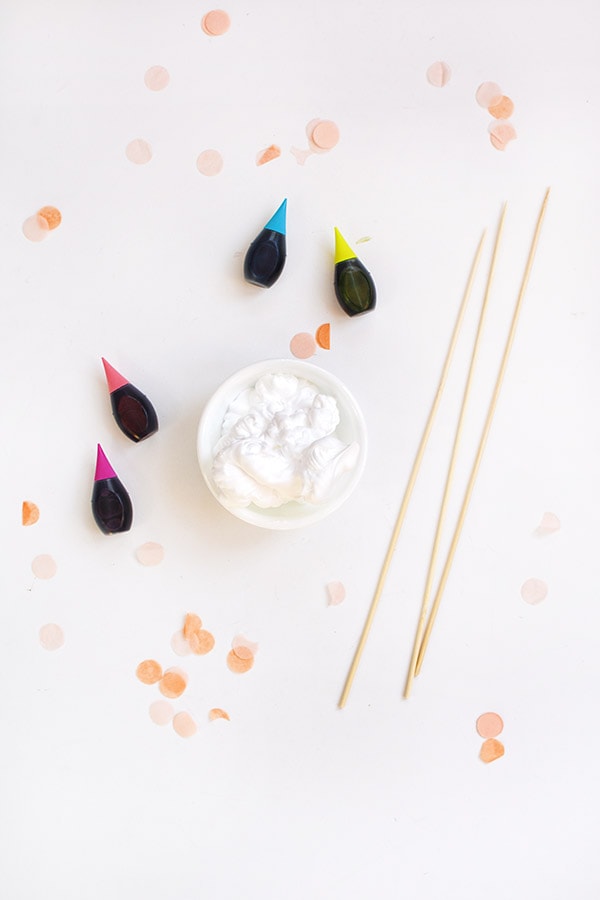
The supplies needed when doing marbled projects are often times very simple. Grab a few of your favorite food coloring gels or drops, a disposable tin or plastic tray, paper towels, wooden skewers to mix the colors, foam shaving cream and your item to marble.
How to marble using Shaving Cream
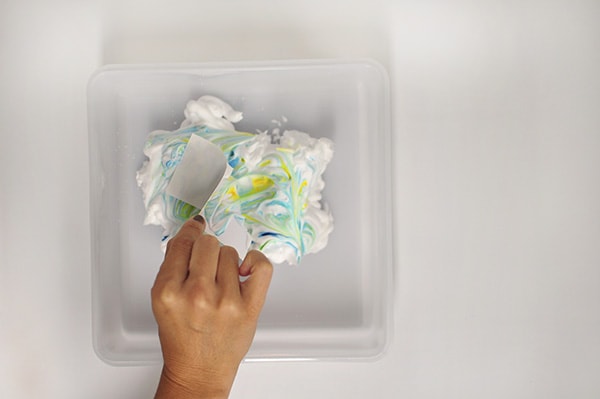
1. The basic steps for creating a marbled craft using shaving cream is to spray out foam shaving cream into a container. Make sure your container is larger enough to “dip” your marbled object in.
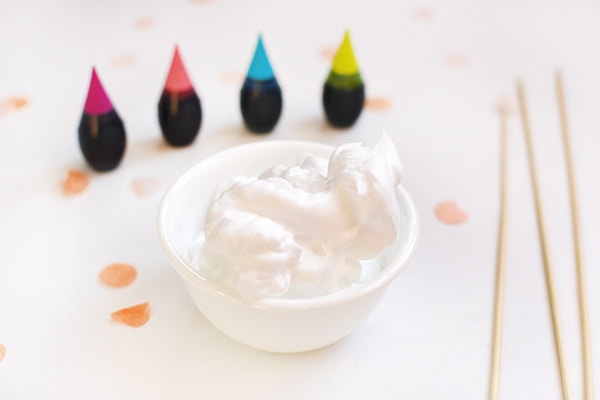
2. Once you have about 2 or so inches of shaving cream in your container, it is time to add your food coloring drops. I always try to do a few drops of each color spread out equally in the shaving cream.
3. Next, take your wooden skewer and mix the colors. Be careful to not overmix, just a few gentle swirl motions to create the marbled look.
4. Lastly, dip your object into the food coloring and shaving cream. You may gently press, to get everything covered in the shaving cream.
5. Finally, allow for the shaving cream to sit for a few moments and then using a paper towel, wipe away the shaving cream. All that should remain is the lovely food coloring marbled effect!
Can you mix shaving cream and paint for marbled crafts?
When you are creating a marbled craft using shaving cream, it is possibly to use acrylic paint instead of only food coloring. I have found that acrylic paint is so heavy that it often sinks into the shaving cream, instead of sitting gently on the top.
So, if you decide you want to try paints and shaving cream, be careful to gently pour the paints so as to keep them resting on the top, as much as possible.
Can you use Gel shaving cream for Marbled craft projects?
I would highly recommend NOT using gel shaving cream for marbled DIYs. The gel is too dense and does not seem to hold either acrylic paint or food coloring.
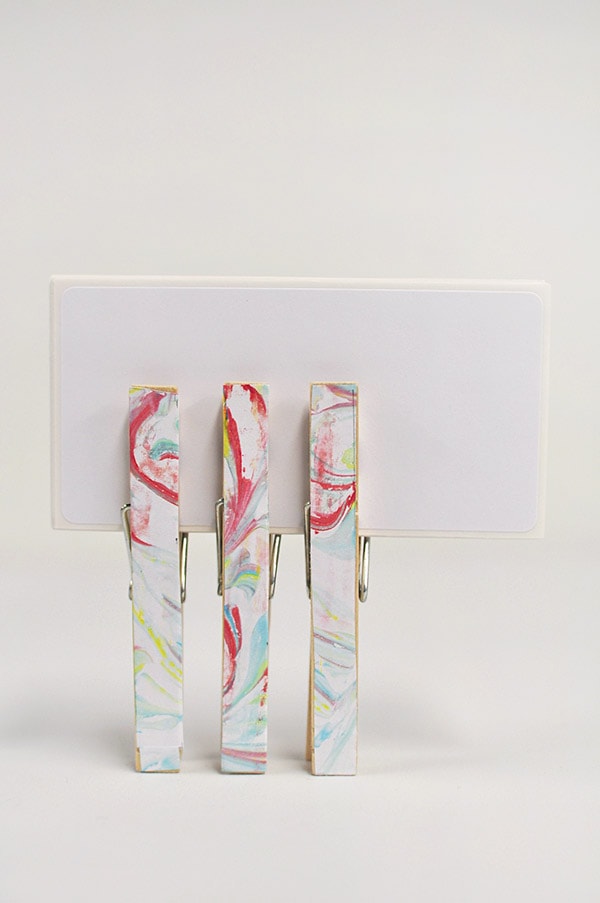
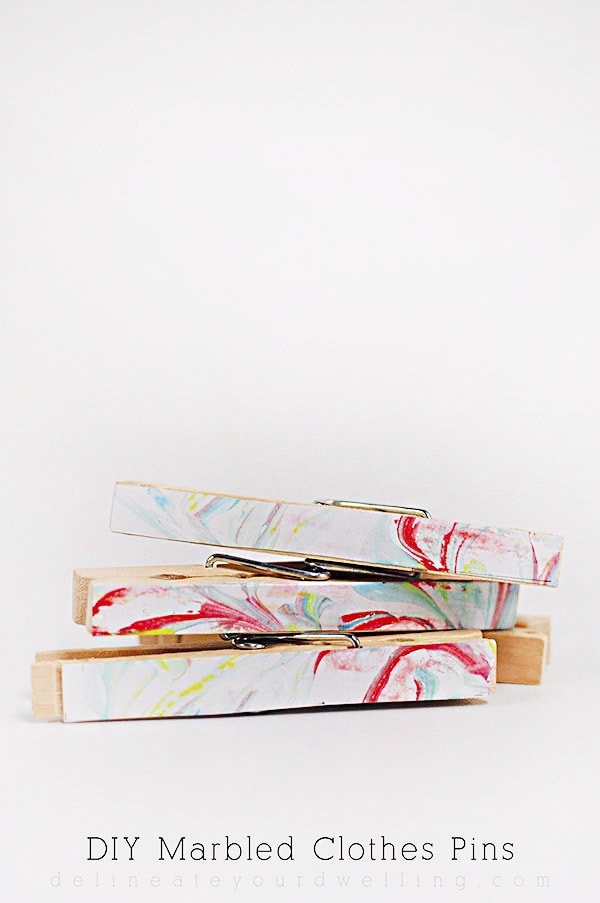
This DIY Marbled Clothes Pins is one of my favorite shaving cream projects.
How long is the dry time for Marbled Shaving Cream projects?
The dry time for a shaving cream marbled project really depends more on what item you are marbling versus the food coloring dry time. If you are marbling paper, that will probably dry much more quickly than if you are marbling a wooden object.
You might also like these marbled projects:
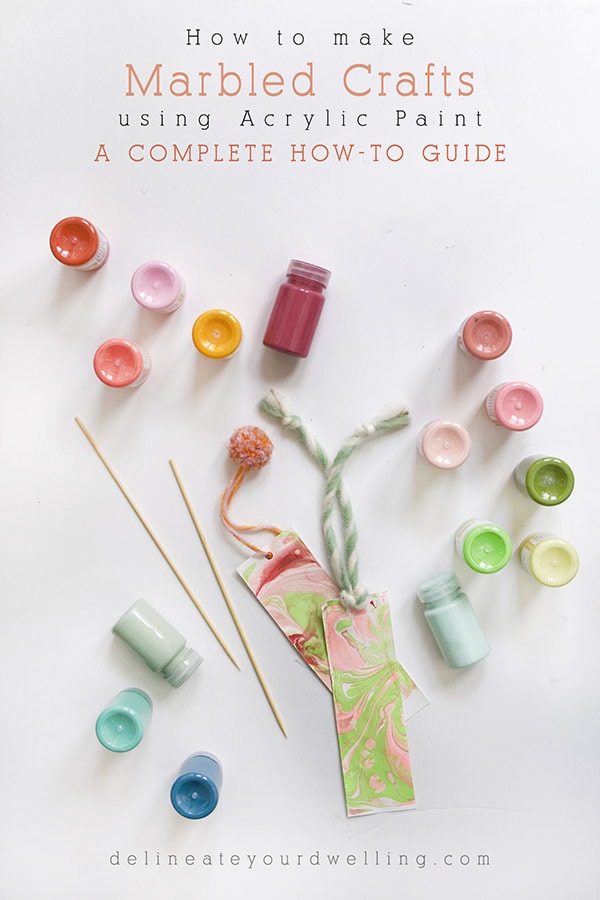
How to marble with Acrylic Paint

Fun! I have used instant-set liquid dyes and shaving cream for marbling small pieces of fabric, so the consistency of the coloring is thin/light enough to sit on the surface of the shaving cream much like food coloring but will bond to fabric better (heat set with an iron and probably don’t machine wash).