DIY Marble Room Diffuser
INSIDE : How to create a simple DIY Marble Room Diffuser with your favorite nail polish colors and a simple marbling technique. A great project for all skill levels.

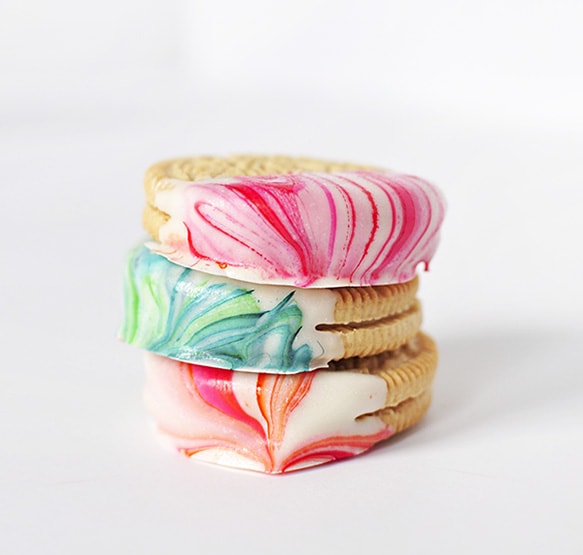
Have you noticed the marbling technique going around? I’ve done about 20 Marbling projects now!! And I was so thrilled to see how simple and easy they are to do. Today I am excited to be sharing my DIY Marble Room Diffuser project with you!
If you are looking for more information about everything involving marbling, my Marbling 101 post might be just what you are looking for!
This post contains affiliate links. See my full disclosure.

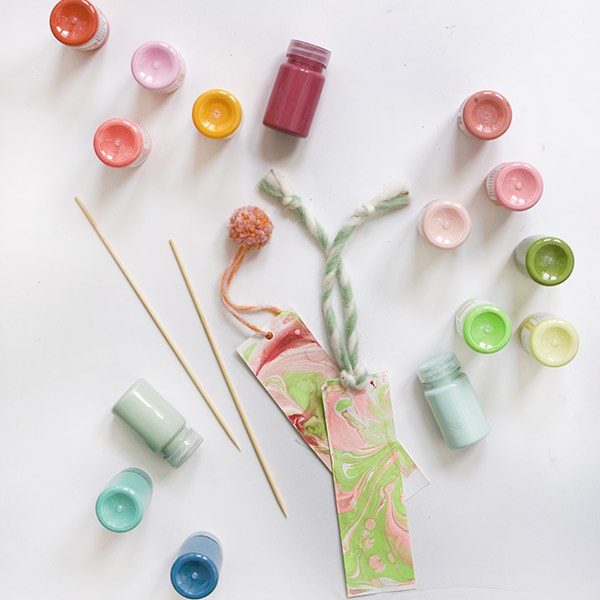
The steps on how to make a marble room diffuser are so simple. Start by filling your large plastic or tin container with water. The amount of water you use will determine how much of the jar will be marbleized.

I then sat my diffuser jar upside down on the paper bag to dry. It took maybe a little less than an hour to fully dry.
And did you know I just wrote a REAL LIFE book all about marbling crafts?? Check out my Make Your Own Marbled Creations book!!
This was my first ever marbled project and I was just so thrilled with how it turned out.
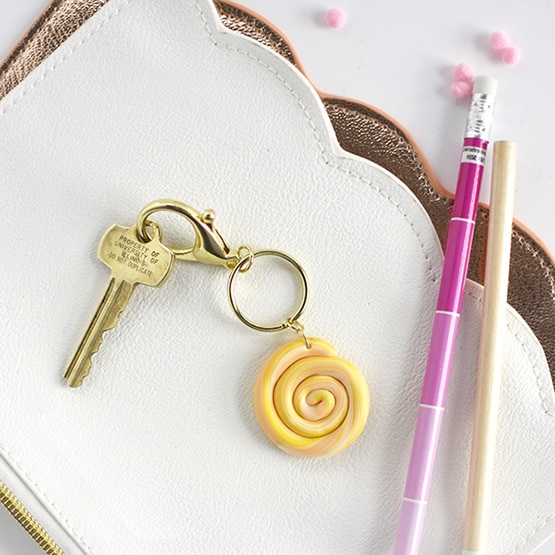
What does a room diffuser do, you might be asking? You can use your jar for anything really, but I wanted to use it as a fragrant room diffuser with wooden skewers to soak up the lovely fragrance. If you are into essential oils this might be a great application, to use it for too. I however, already had some leftover room diffuser liquid and just used that.

There you have it a simple DIY Marble Room Diffuser! Something to add a nice aroma to your room and pretty to look at, too!
Interested in my many other marbled projects? You can check out some of these!