How to Build a DIY Outdoor Bar Top (Easy Weatherproof Tabletop)
INSIDE : Learn how to build a custom DIY outdoor bar top for your patio or backyard. Follow my step-by-step tutorial, material list, tips and videos on weatherproofing for year-round durability. Create a durable, weatherproof outdoor table top for your patio in a weekend!
This post may contain affiliate links. See my full disclosure.
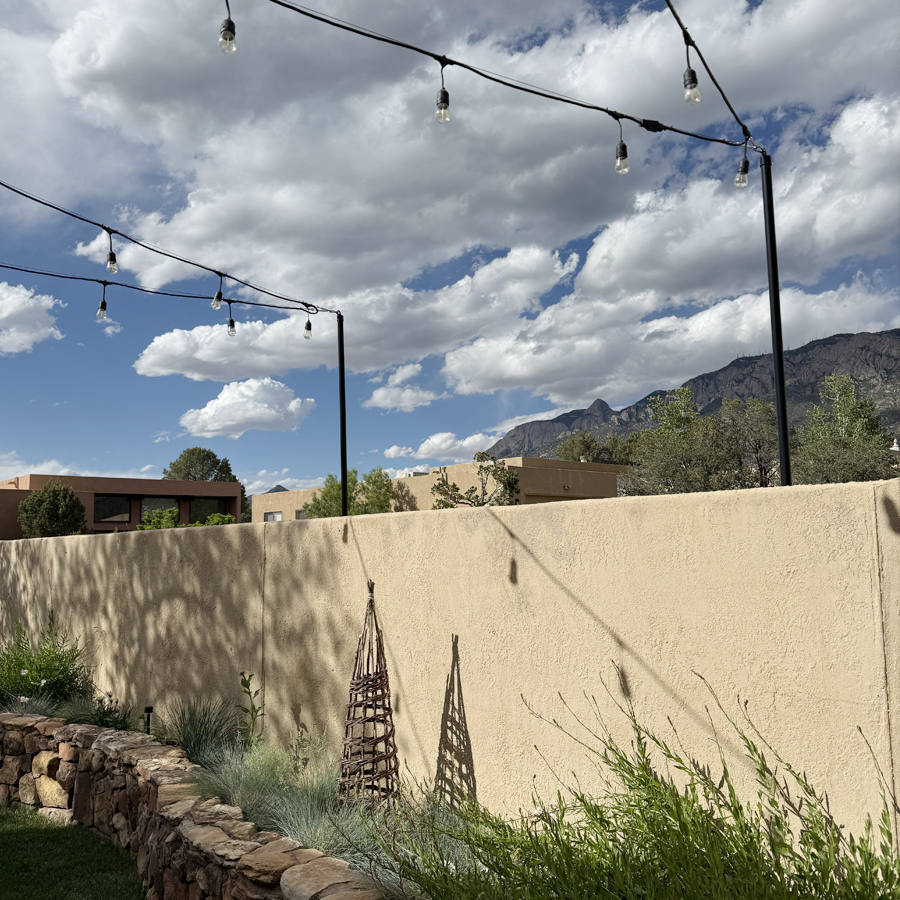
My backyard is lovely, but very small. We live in the Southwest and it’s very common to have stucco walled-in front courtyards and backyards. Our actual owned property is much larger than our walled in spaces, but these are the spaces that are more cleaned up and usable.
Slowly, we’ve been making our backyard as functional as possible, even with it being tighter quarters. If you weren’t here for the process, you might enjoy taking a peek at it, below. It’s like a night and day transformation. Check out when we added sod.
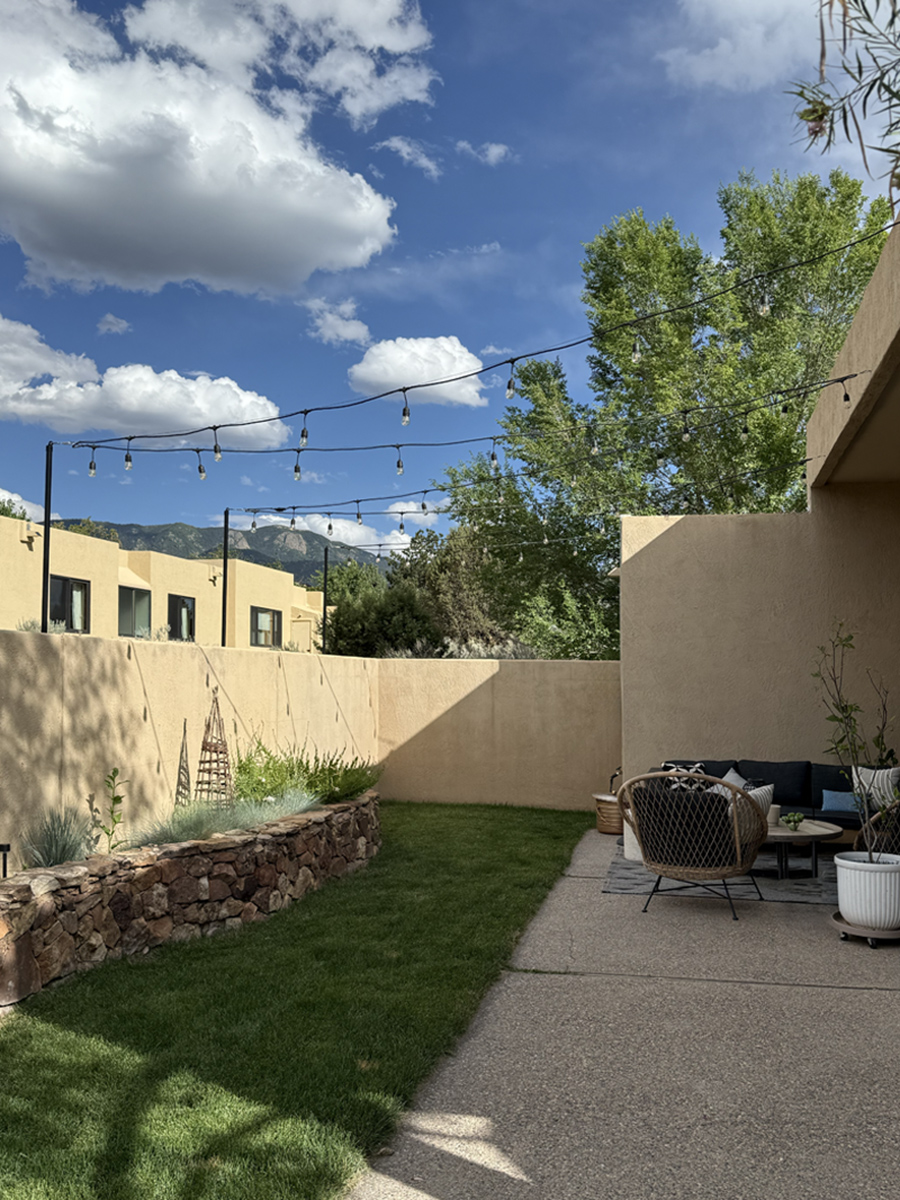
You can see the entire backyard timeline here…
One of the big organization items I did in our backyard was to purchase a metal locker (here are similar ones). It held all of my young kid’s outdoor toys like nerf guns, baseball bats, ping pong games, balls, etc… Bringing that into our space was a HUGE improvement. (Check out avideo on how that all went down on Instagram.)
DIY outdoor bar counter top on a budget
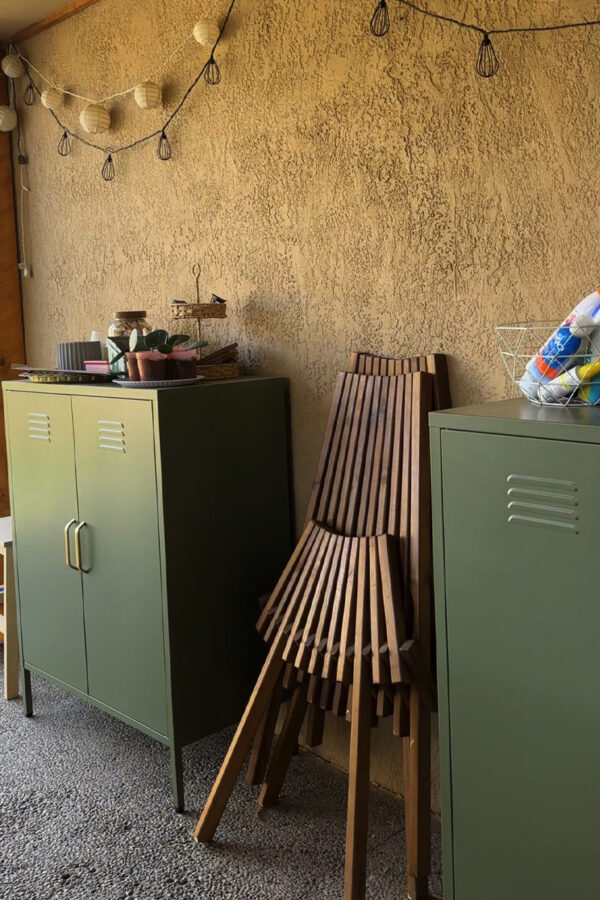
I already owned a storage locker for outdoor kid’s toys and then one day realized if I bought another matching locker, I COULD CREATE A LITTLE TABLETOP BAR across almost my entire covered backyard patio for very inexpensively!!
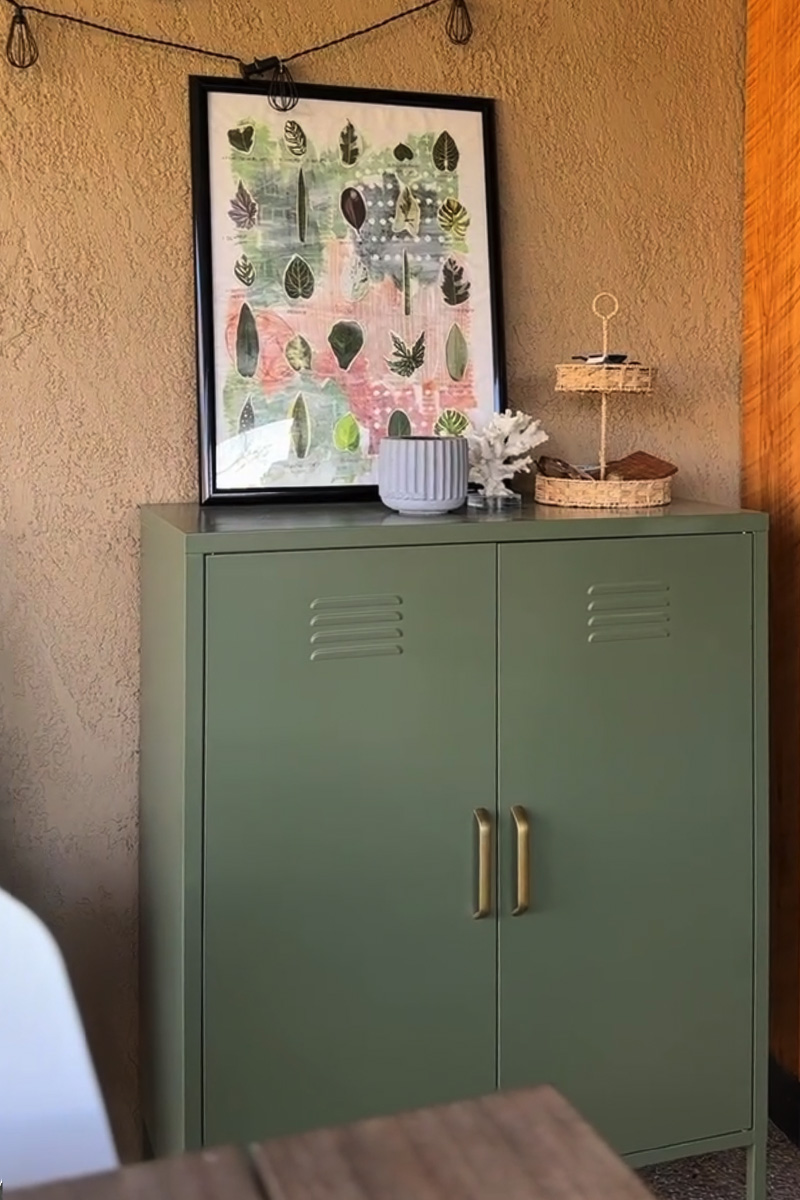
Double the storage AND create a secret spot to store our fold-up battery powered lawn mower (We have the EGO Power Self Propelled Cordless Electric Mower and we love it). It was genius and all I had to do was design it and build it.
Building a custom DIY outdoor bar top is one of the easiest ways to elevate your space, whether you need a dedicated spot for serving drinks or a sleek outdoor table top replacement to refresh an aging patio base. In my step by step guide below, I’m going to share how to build a durable, weatherproof bar top that looks custom-built, handles the elements and comes together in just a weekend.
Check out below how I designed and built one of the biggest improvements in our backyard, a tall Outdoor Tabletop (storage and party ready)!
Materials & Tools Needed for a DIY Outdoor Bar Top
- Two metal lockers
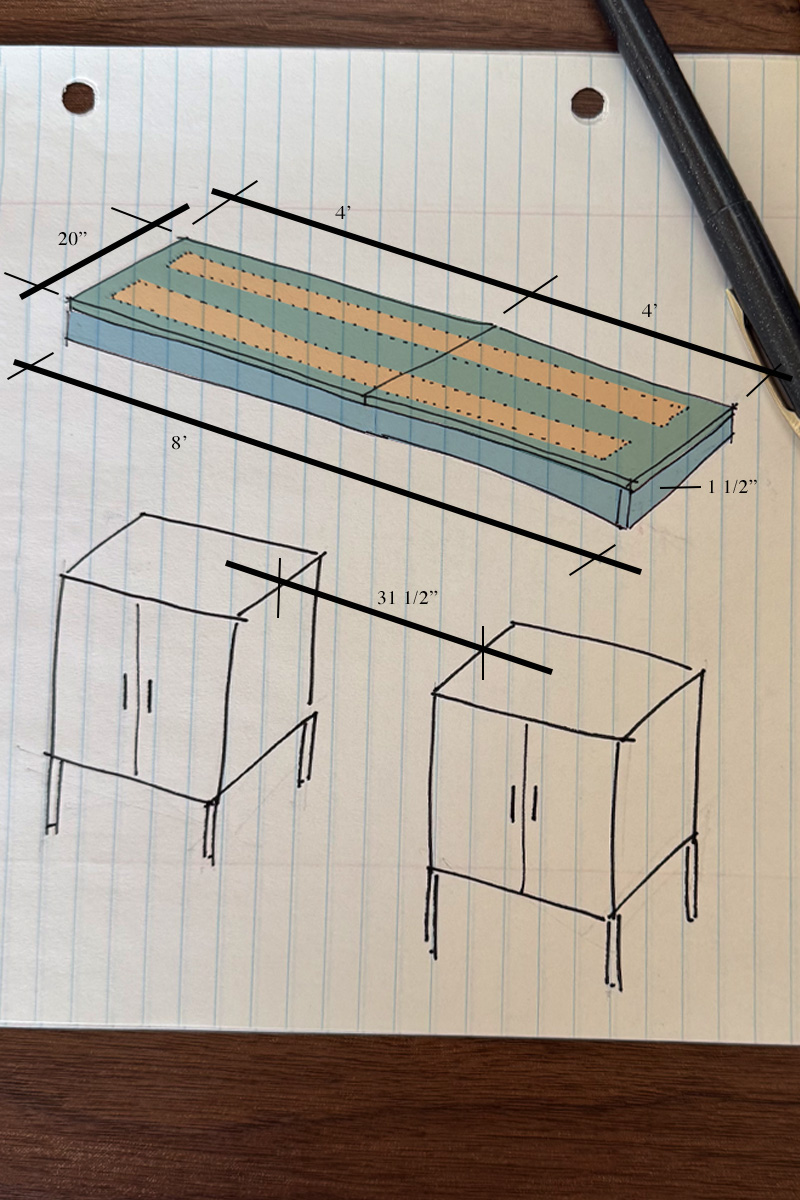
- (2) 1″x6″x8′ support pieces (in diagram below these are orange)
- (1) 1″x2″x8′ front trim piece (in diagram below these are blue)
- (1) 1″x2″x6′ side trim piece (in diagram below these are blue)
- (2) 4’x20″ tabletop pieces (in diagram below these are green)
- Various clamps
- Wood Filler
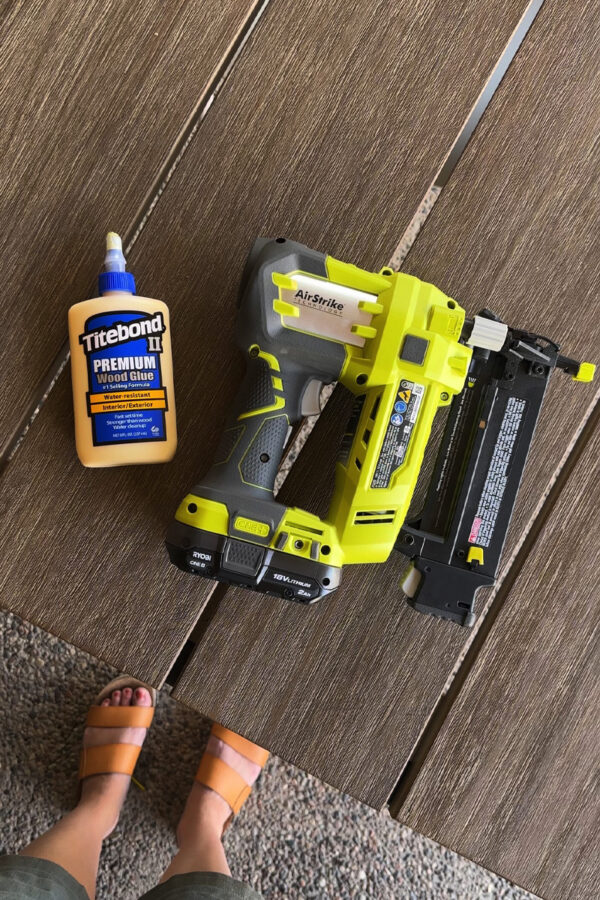
- Wood Glue
- Nail Gun
- Miter Saw
- Electric sander
- Wood Stain + cloth
- Minwax Wood Finish (Puritan Pine/Ipswich Pine) + rags
- Tension curtain rod
- Cafe curtain

How to Build an Outdoor Bar Tabletop (Step-by-Step)
The way I planned to make this a very simple and budget friendly project was to simply build a long tabletop that would sit on top of my existing metal lockers.
I have drawn a sketch of my plan below to help you visualize how I was able to do this and over such a long span. By adding the trim pieces below the tabletop (seen in blue) I was able to use them to hold the tabletop in place and to keep from moving when sitting on the lockers. It was a brilliant plan if I do say so myself!
Let’s get to building it…
Start by deciding how much space you want in-between your two lockers. I was trying to fit my foldable electric lawn mower in that space, so my entire length was 8′ with a 31.5″ gap between the lockers.
Build table top “base”
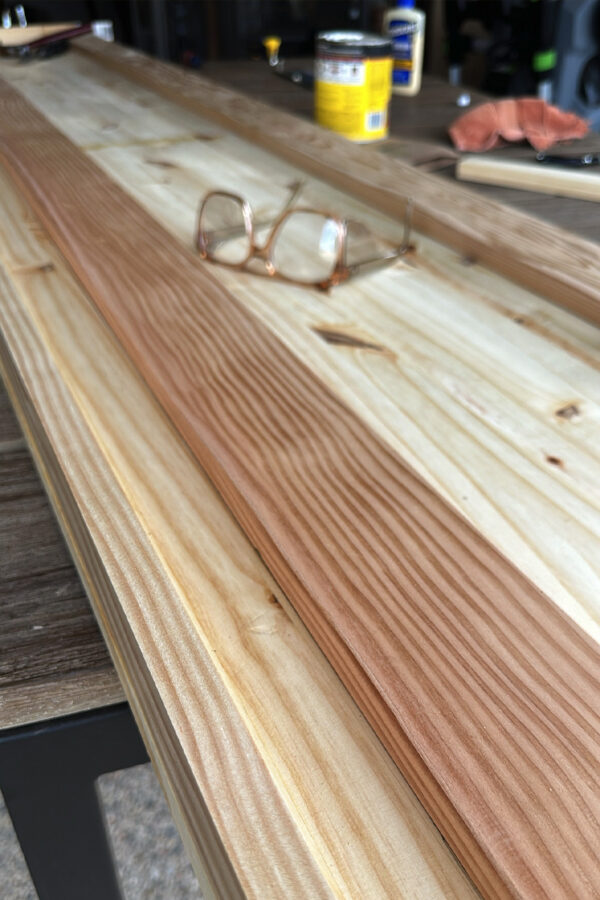
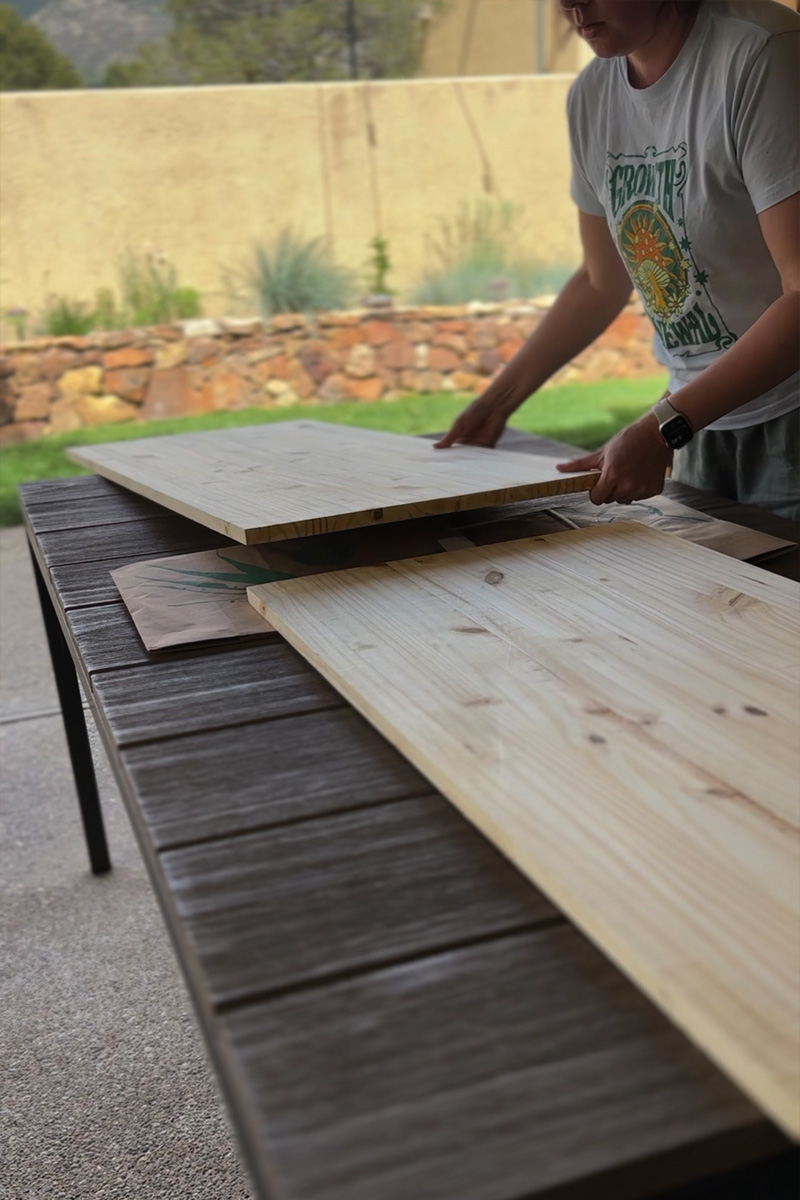
I laid my two 4’x20″ boards (green) on a flat table surface nearby and made sure to have a drop cloth underneath the center area.
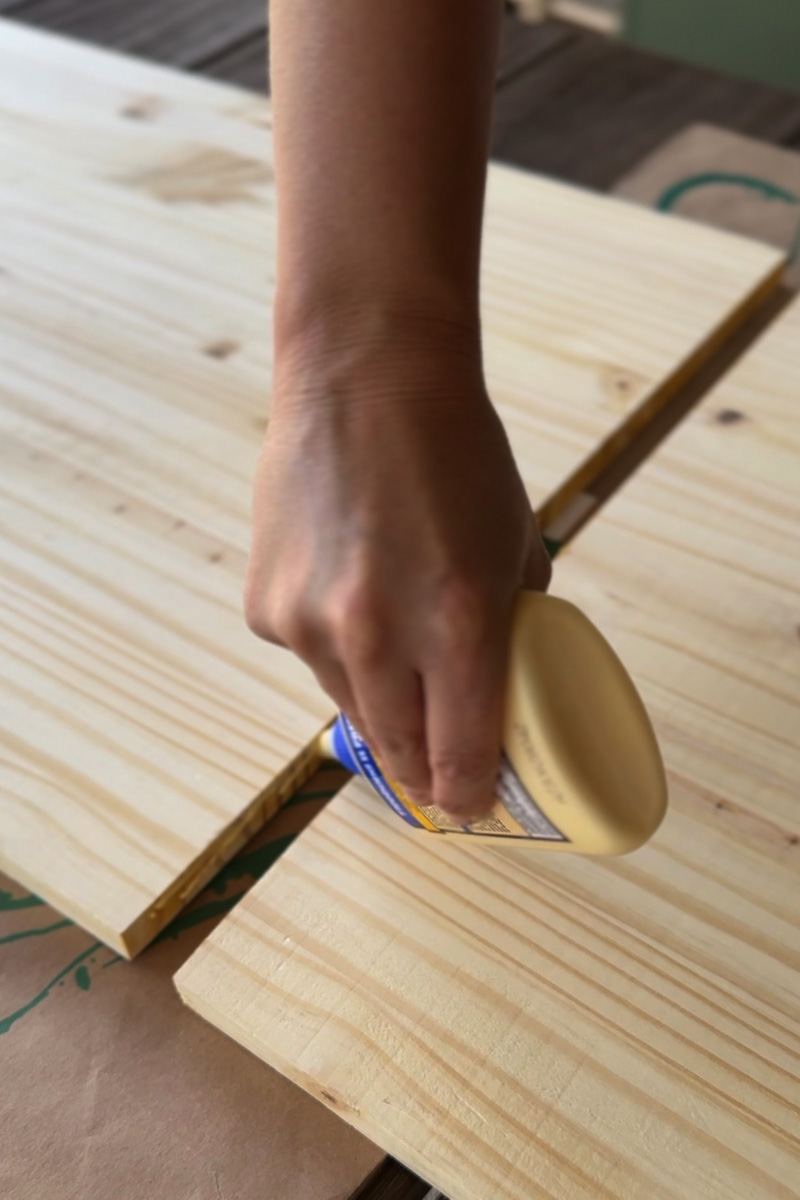
Using wood glue I added a heavy amount to the center seam, so that together they made a large 8′ piece wood. Clamp as needed.
Add table top frame
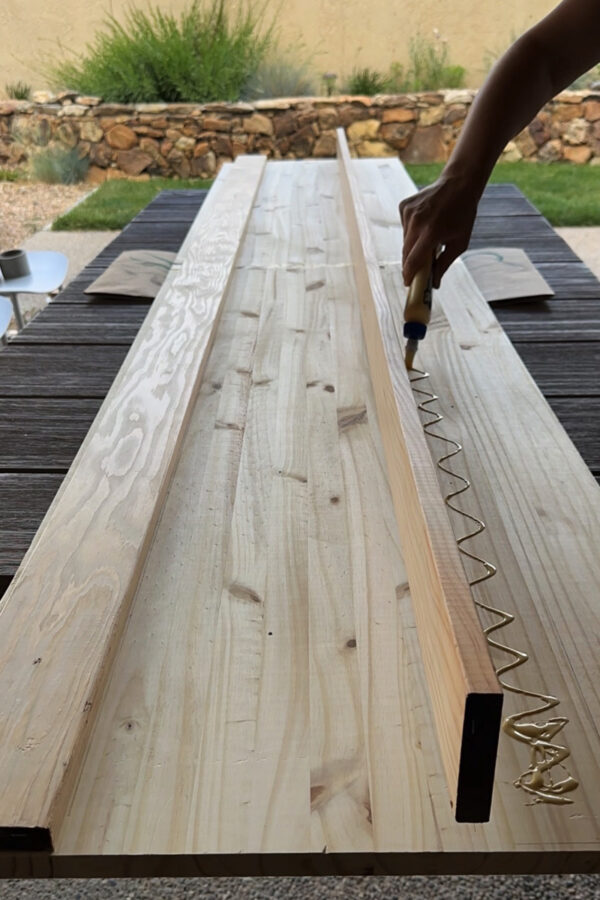
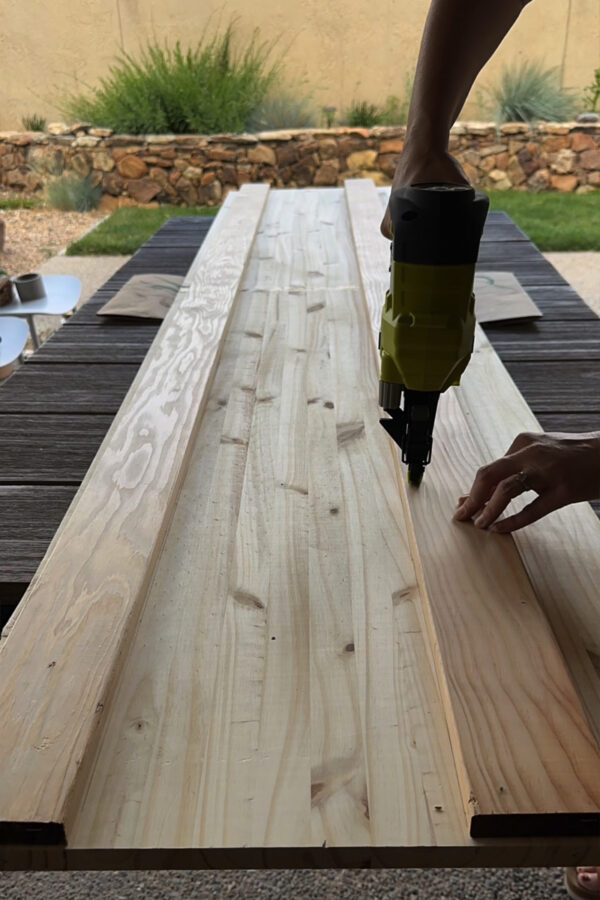
Next, cut your two 1″x8′ boards (orange) with a miter saw to be about 7.5′ long. Once those were cut, I spaced them equally on top of the new large 8’x20″ piece. Using wood glue and SHORT nails in my nail gun, secured those on.
These two long boards help provide a frame to keep the 8’x20″ board from warping as well as just providing more middle support for the tabletop in general to be able to hold heavier loads.
Add the bar top trim
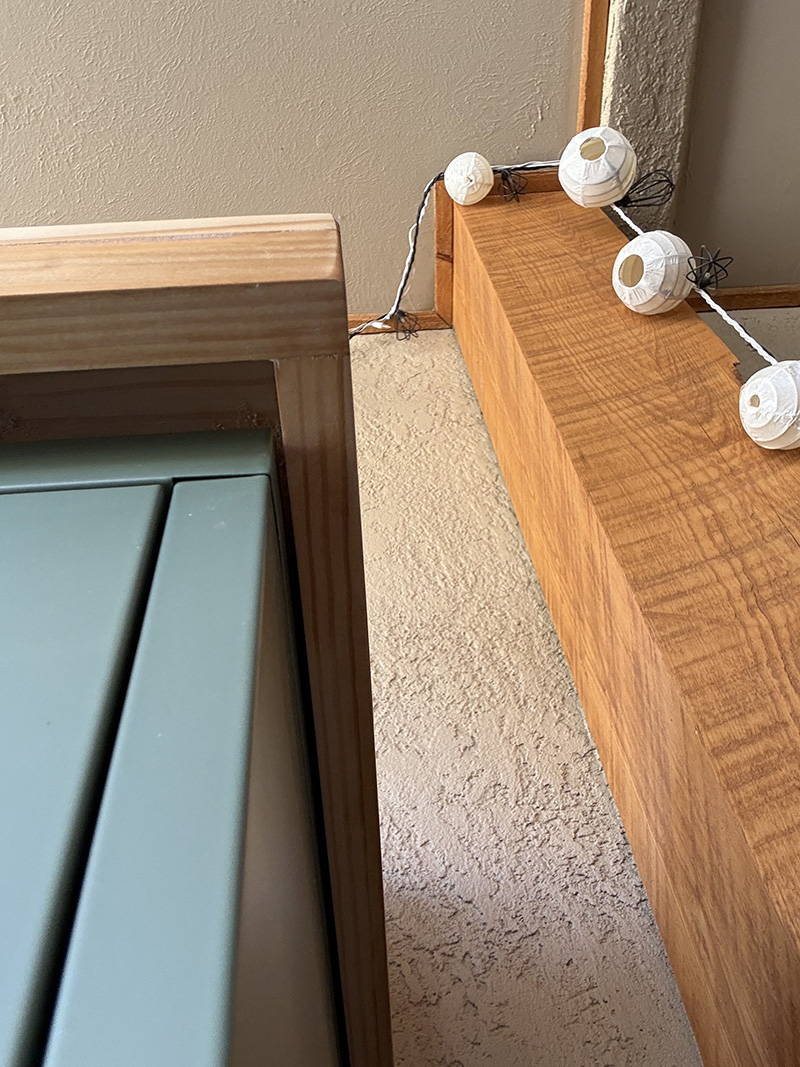
Adding the trim piece not only gives this bar top a more finished look, but it really is the piece that keeps everything from sliding around and off the metal lockers.
I positioned my 8′ trim piece (blue) right at the edge and generously applied wood glue. Use clamps to hold tightly in place as it dries.
Note, this is the front facing piece, so make sure to pick your prettiest and smoothest side for this.
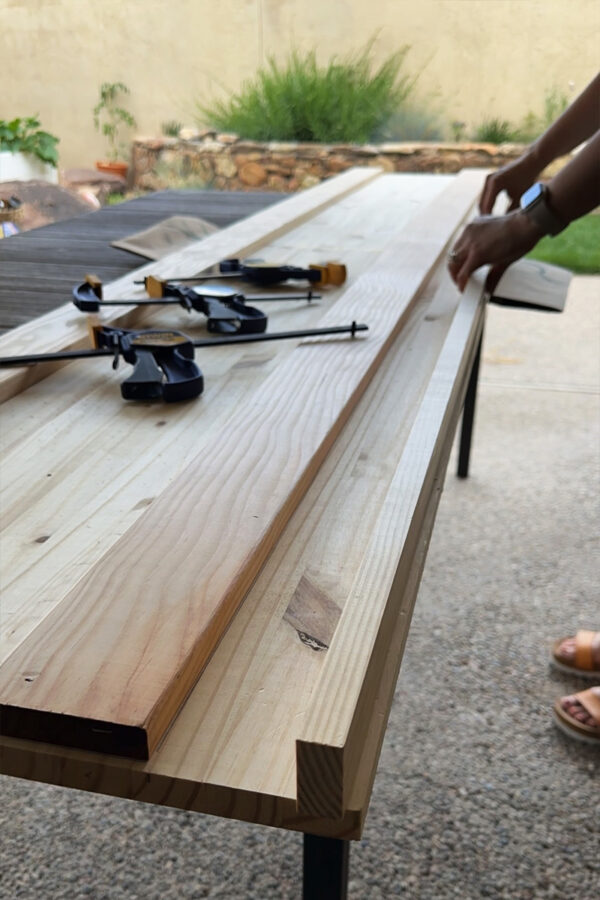
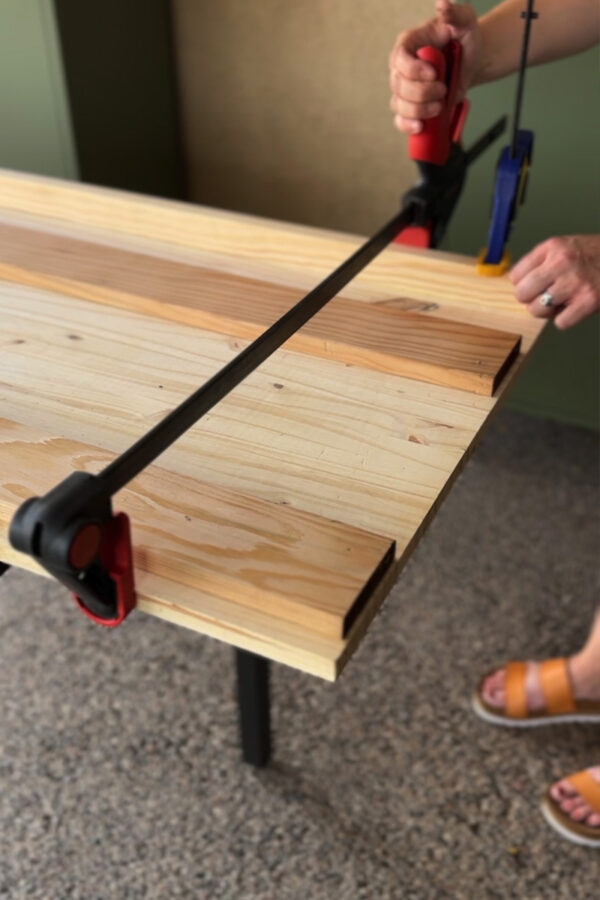
Next was wrapping the trim (blue) around the sides.
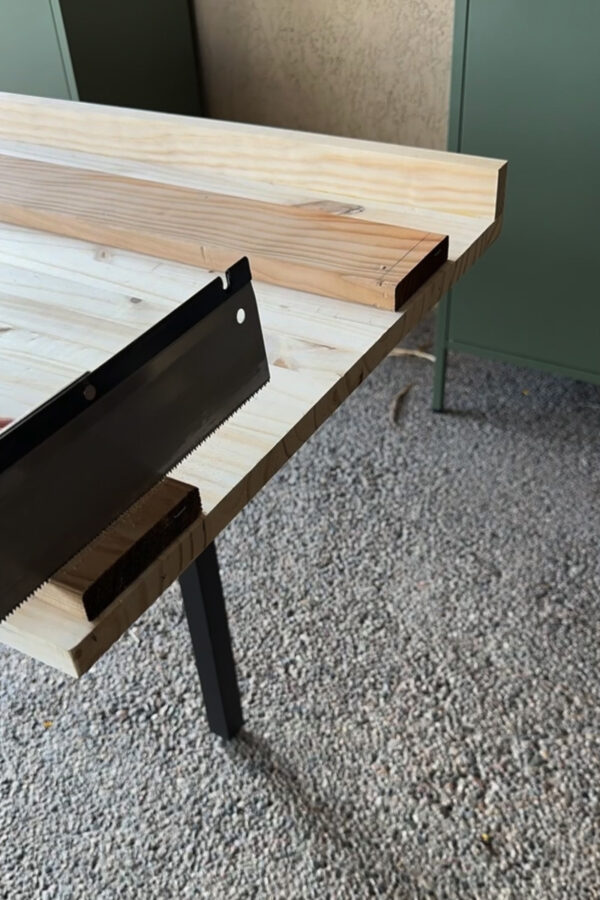
Now, let it be known that when I built my bartop I did not cut my support boards (orange) to 7.5′, I left them at 8′ and THEN had to go back and cut them shorter to make room for the trim after it was already glued and nailed down in place. This was a MAJOR hassle and exactly why I directed you all to cut them shorter BEFORE installing them. You can see I used a flat sided saw for this, but please don’t make this mistake like I did.
Once, those boards were cut shorter, I wrapped the trim around the sides and again secured with wood glue and clamps.
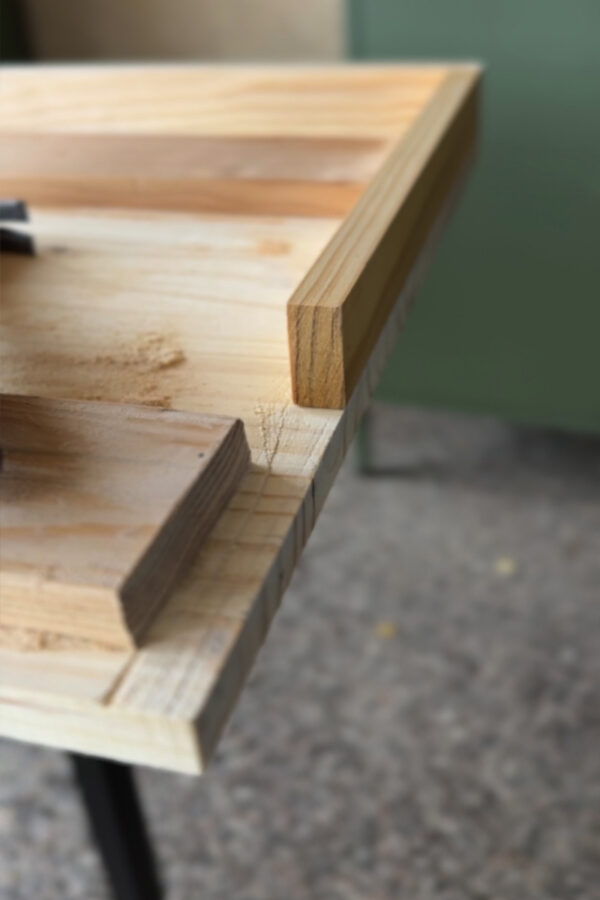
Apply Wood Filler
Once the wood glue was sufficiently dry, I filled all the gaps and holes along all trim areas with Minwax Wood Filler. I like using their stainable filler best.
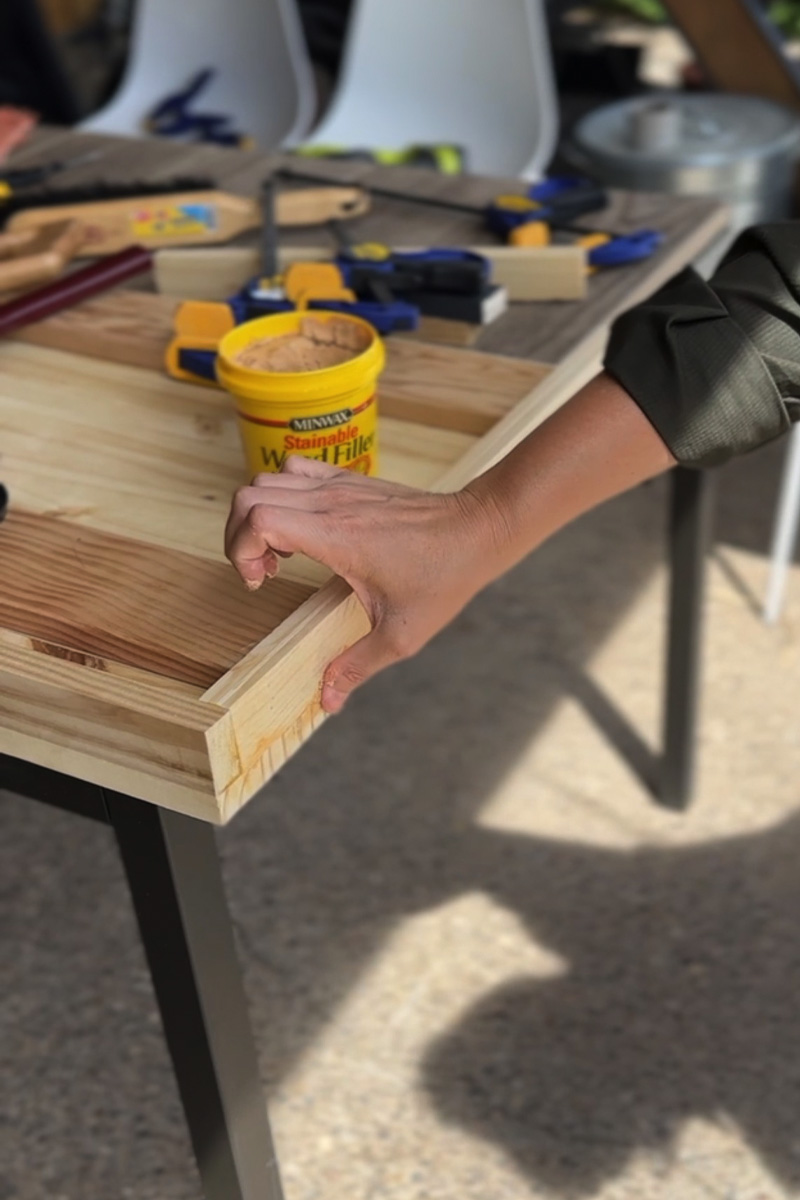
In addition to filling all holes
Best Outdoor Wood Sealer for Patio Table Tops
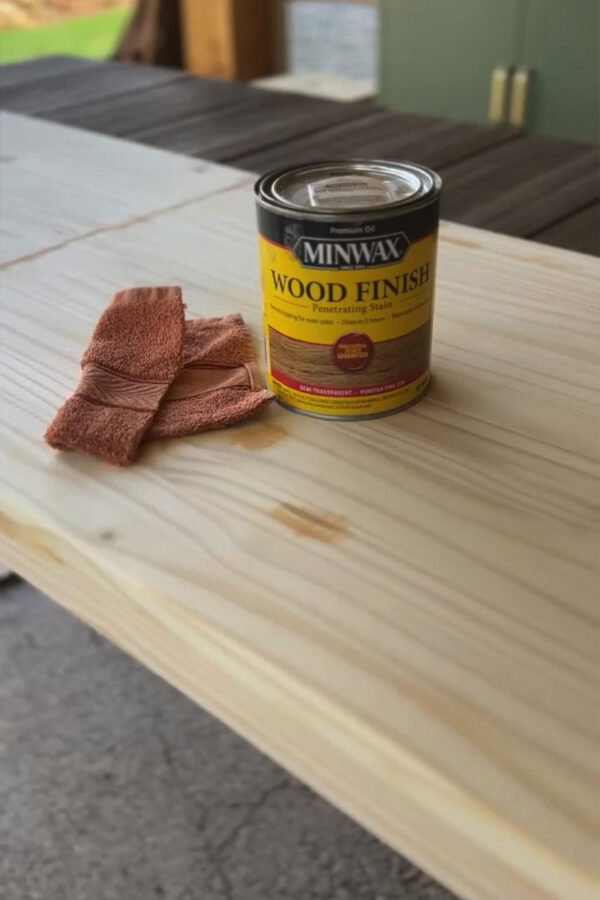
Since my bar top project would be sitting outside, I wanted to make sure I was taking care of the wood as best as possible. Whenever I stain wood, I always use Minwax Wood Finish which is a traditional oil based penetrating stain. I love that it shows off the natural wood grain, making it more rich – not just covering it up. I used Puritan Pine which I think is now called Ipswich Pine.
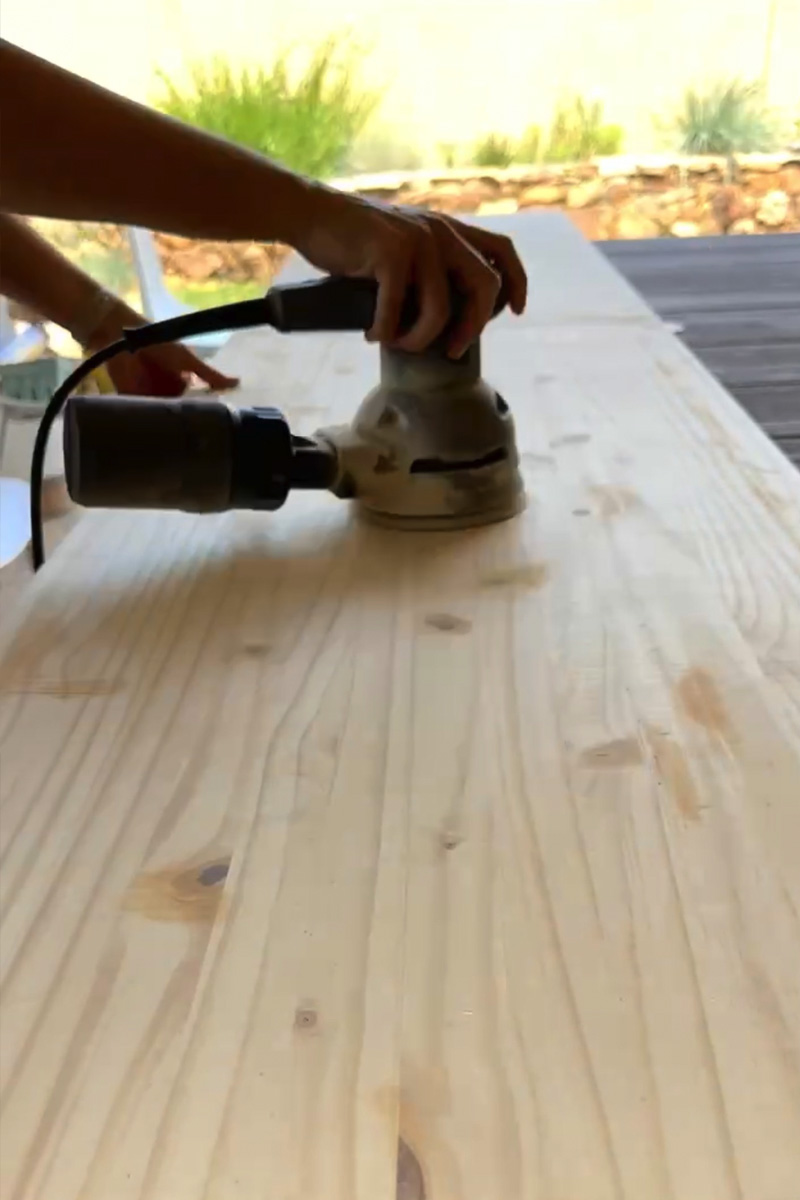
To seal your outdoor bar top, start by making such all surfaces are smooth with sanding and then thoroughly remove all dust. If you are working with soft or porous woods like pine, poplar, or maple, apply a pre-stain wood conditioner first. This crucial step prevents blotchiness and ensures the stain absorbs evenly across the entire surface.
Whenever I use stain, I ALWAYS wear gloves to protect my skin. Stir the can thoroughly rather than shaking it to help avoid air bubbles. I used an old rag to apply my stain, but you can use a bristle brush, a foam applicator or a lint-free cloth.
Always follow the direction of the wood grain and allow it to penetrate for 5 to 15 minutes depending on how deep you want the color to be – the longer it sits, the richer the tone. I didn’t want my wood to significantly dark, so I just waited about five minutes.
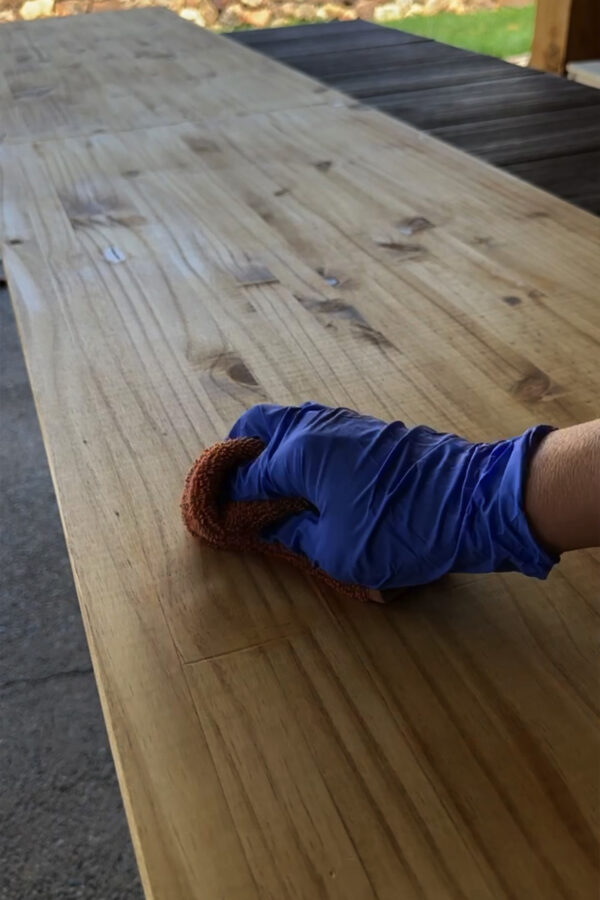
Before it dries, wipe away all excess stain completely with a new fresh, dry cloth. Leaving unabsorbed stain on the surface leads to a sticky, tacky finish that won’t dry properly which is no good at all.
After the stain had cured completely (I waited 24 hours) protect your work with a clear topcoat like polyurethane.
IMPORTANT NOTE – Since Minwax Wood Finish is oil-based, make sure your workspace is well-ventilated and safely dispose of oil-soaked rags by laying them flat outdoors to dry before discarding to prevent spontaneous combustion.
Wooden Backyard bar top
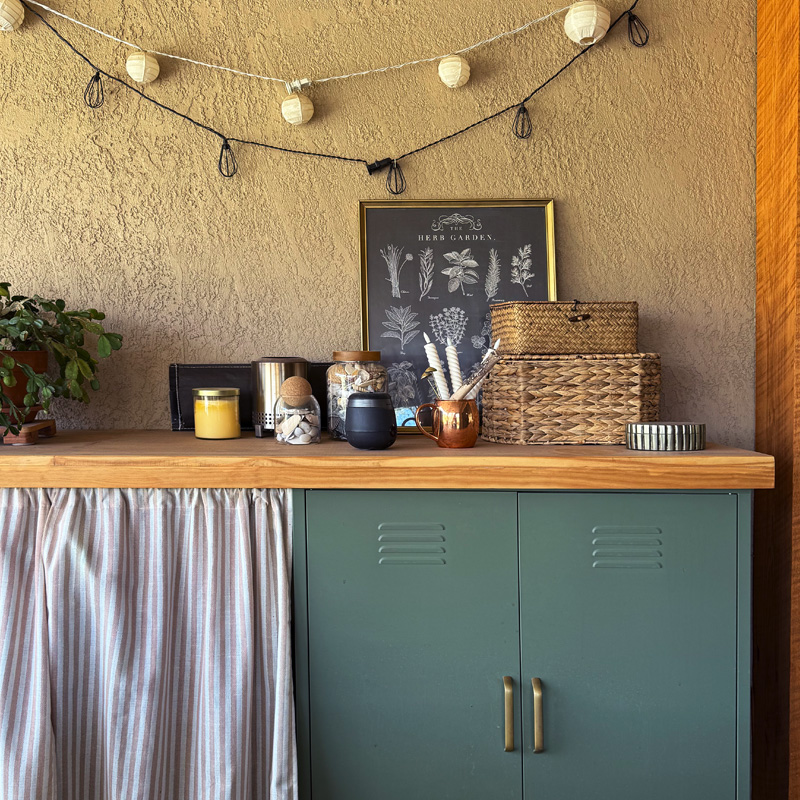
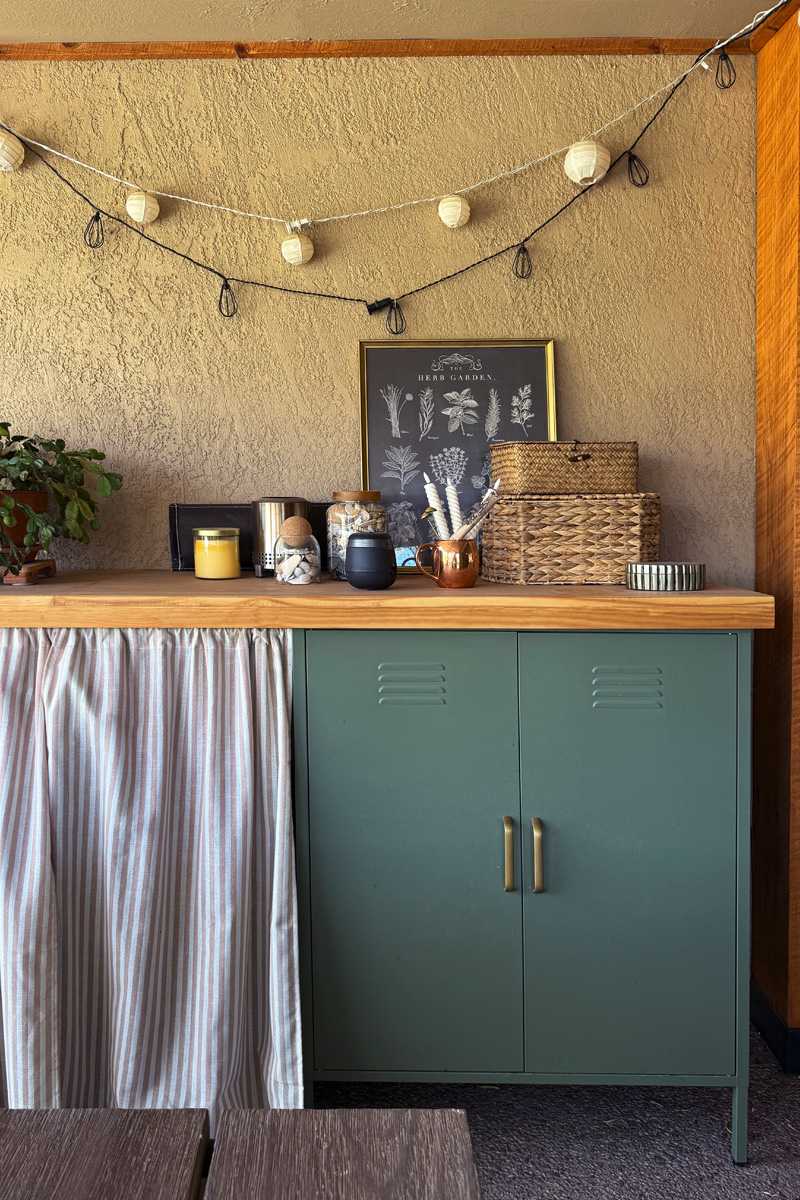
This wooden backyard bar top was a perfect weekend project. It was amazing how nice it looks and the amount of storage it provided for our yard was incredible.
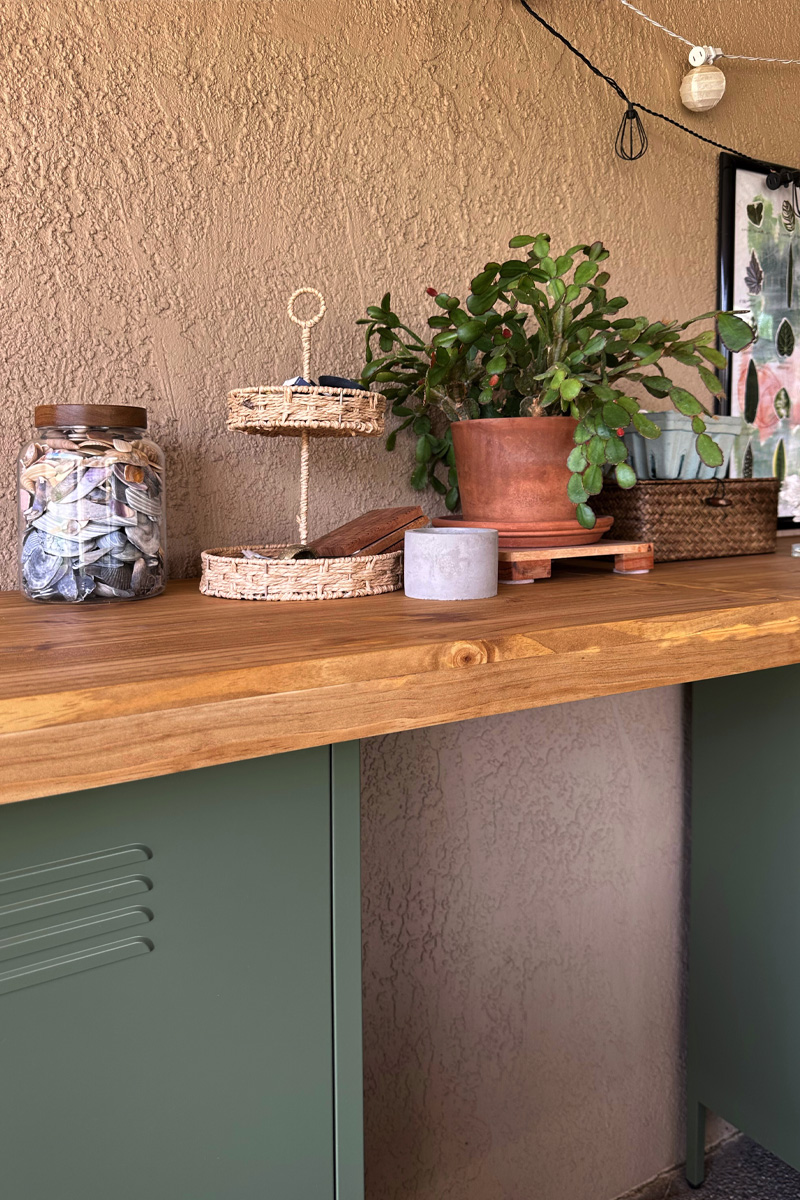
I built this bar top three years ago now and it was just this summer that I gave it a quick sanding and re-stain. So once every three years, feels like a very do-able maintenance routine for me!
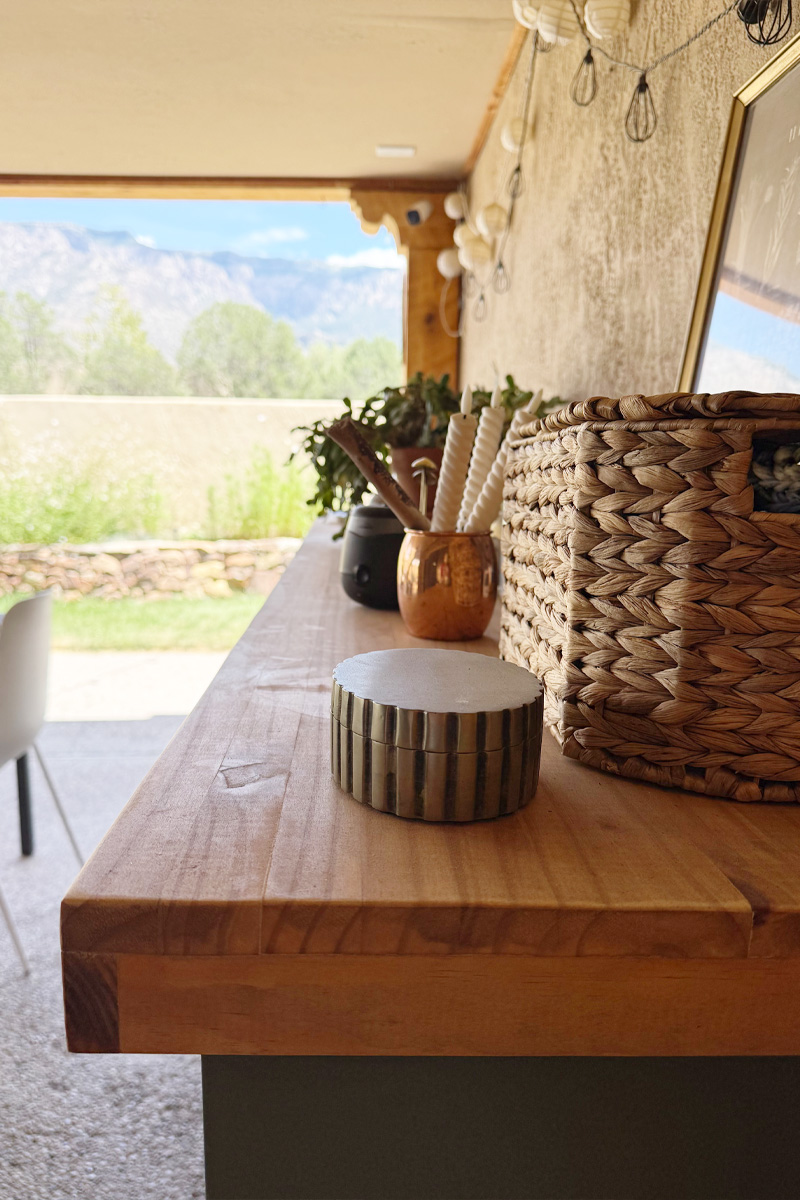
You can see the underneath view here on how the side and front trim pieces help keep the tabletop in place on the lockers. I did place old towels on the locker tops to provide just a smidge of cushion for the wood top to sit on and that has worked wonderfully.
Creating hidden storage in tabletop
Part of this project was creating more storage in our small backyard. So leaving the two metal lockers a few feet apart was to create hidden storage for our folding lawn mower.
I used a tension curtain rod and two cafe curtains to hide the mower. It adds softness and a little pattern to a very modern looking space.
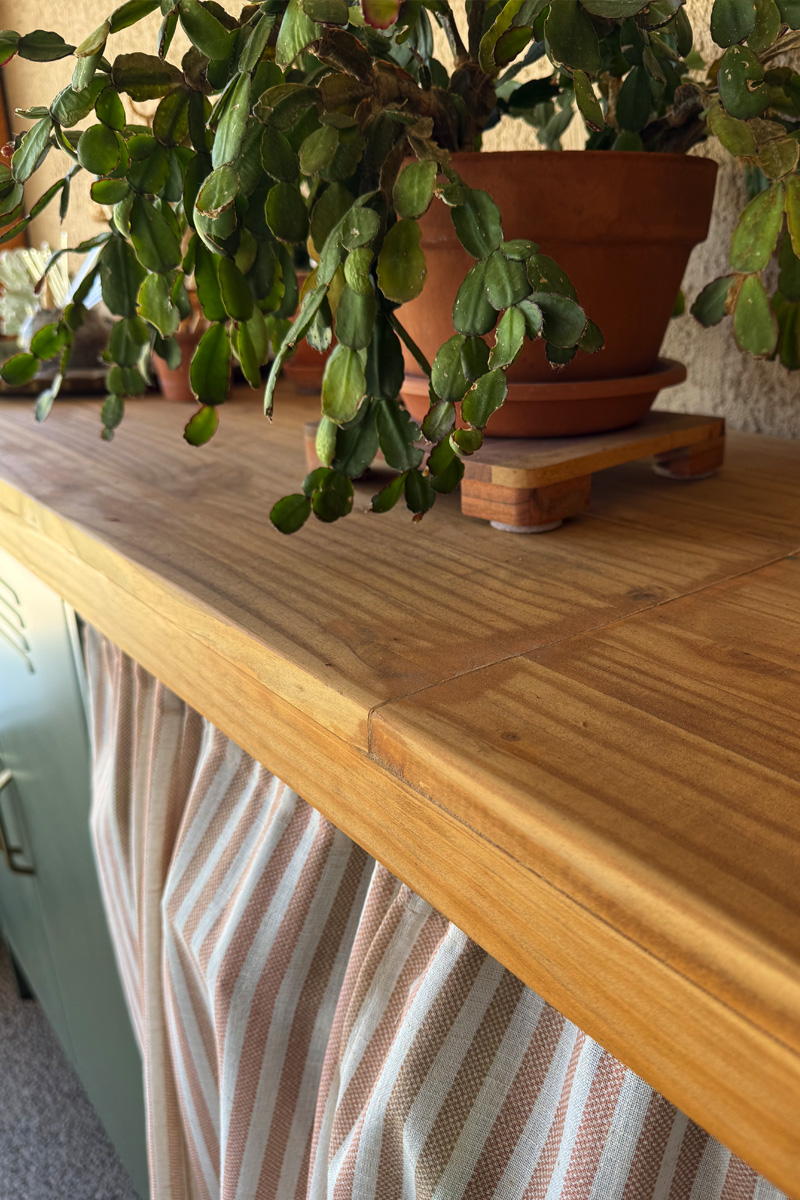
I simply hemmed the curtains with safety pins because it was an outside project and I wasn’t concerned with perfection on this step. It has held up wonderfully (although the curtains have actually changed color – ha! They were a soft sage green and white stripe, now three years later they are tan and white.).
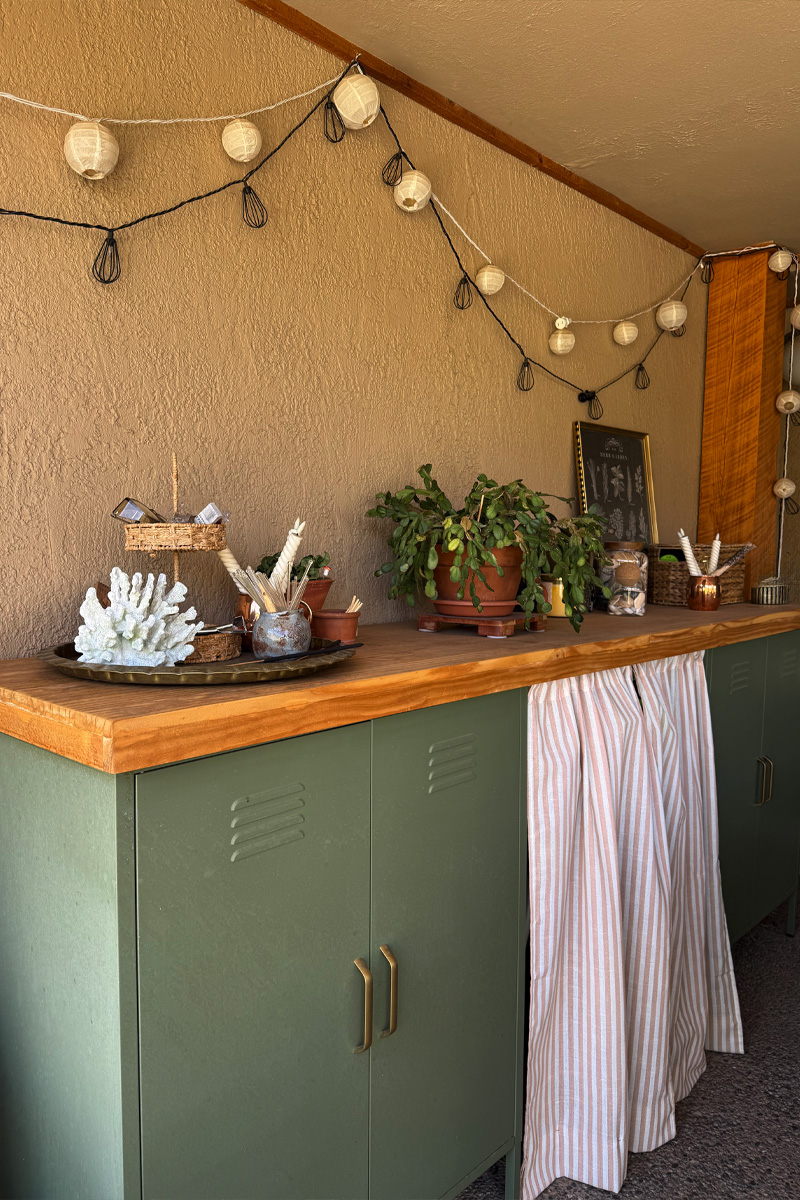
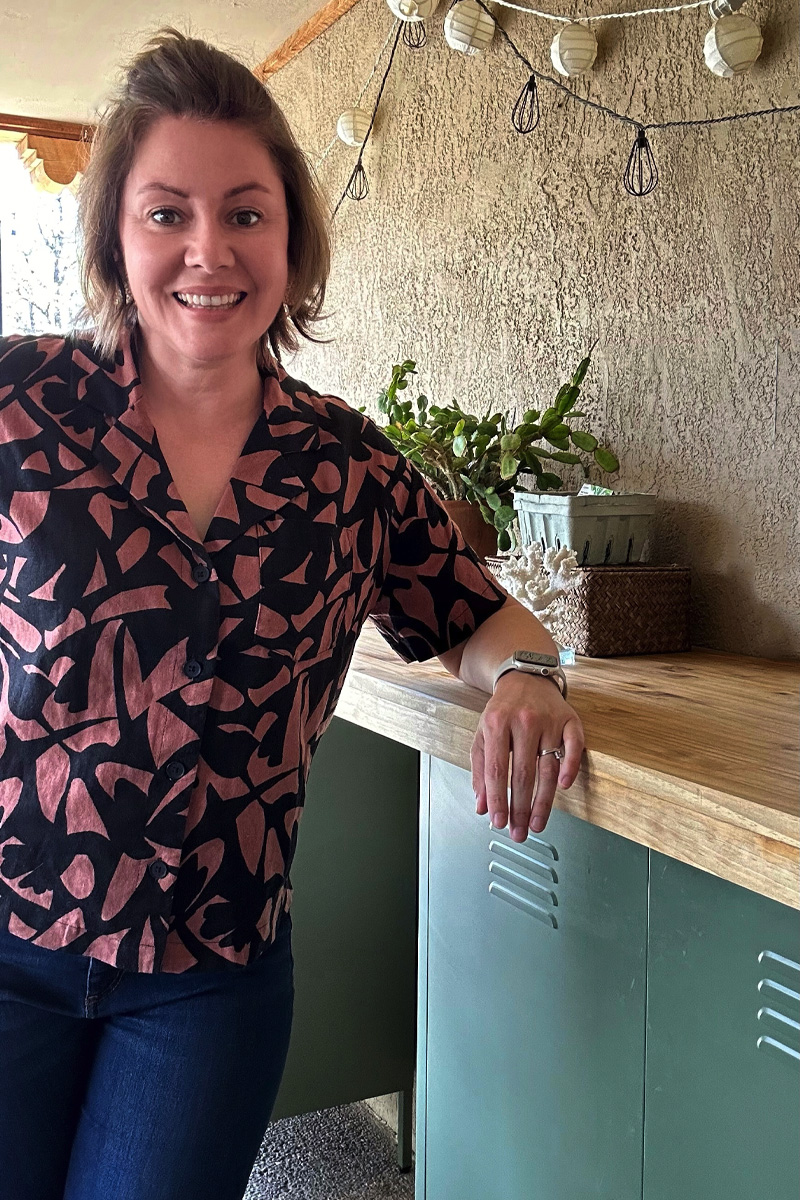
All smiles! This project was something I had dreamed about for a good long time and it was great to get it done AND for it to really look as lovely as it did. Thankful everyday that I spent just a quick weekend on this very budget friendly DIY.
Looking for even more easy DIY projects like this? Check out some of these below…