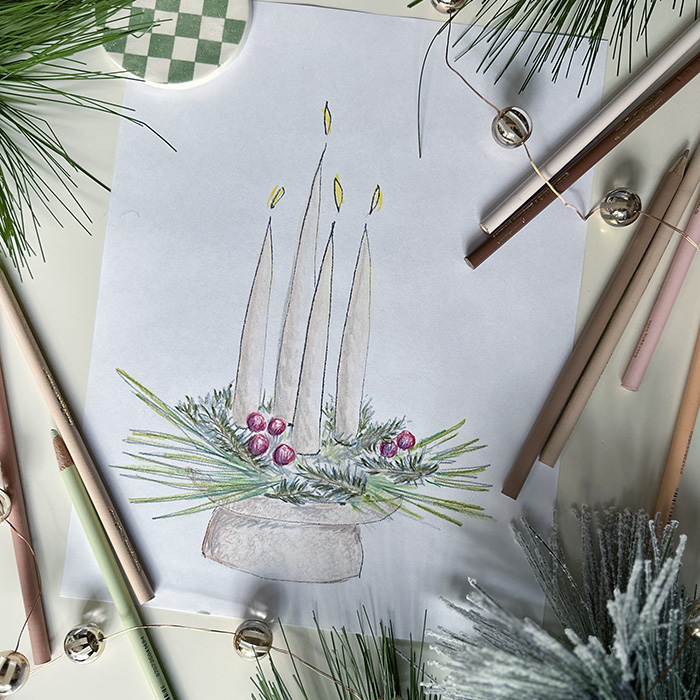
Foraged DIY Advent Wreath

INSIDE : Learn how to make a Foraged DIY Advent Wreath this holiday season using upcylced plates, baking soda and copper fittings. Celebrate the countdown until Christmas Day with this beautiful tradition.
This post may contain affiliate links. See full disclosure here.
This post has been updated since it’s original November 2022 publish date.
My church, New City, follows Advent during the Christmas holiday season and for a few years now, I have been on the lookout for a beautiful advent wreath to hold my candles. I was looking for something simple and beautiful, but had a hard time finding one that I liked. So per the usual, I decided to make one myself!
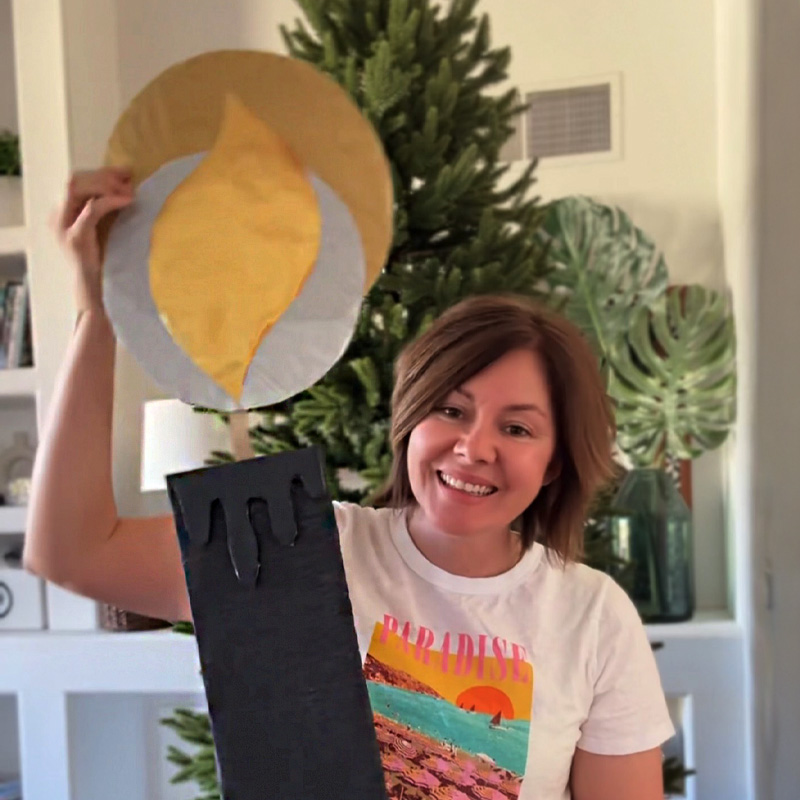
I also created this into a printable Advent Coloring page!! Hop over and get yours now.
The meaning of an Advent Wreath
The Advent wreath and the candles are full of Christian symbolism. It is a tradition that started in the 1800’s in Germany.
The circle of the wreath, which has no beginning or end, symbolizes the eternity of God and the everlasting life we find in Christ.
The candles also have special significance. In a modern Advent, there are four candles representing the four weeks of Advent : hope, faith, joy and peace.
However, in a traditional advent wreath, there are five candles : three purple candles, a pink candle and a white candle. The three purple candles symbolize hope, faith and joy. The pink candle is the final candle lit and symbolizes peace. And the center white candle is lit on Christmas Eve and is called the Christ Candle and represents the life of Christ.
Celebrating Advent is an excellent way to prepare your mind and heart for Christmas. But if you know me at all, you know – stressing about lighting a candle each week is not worth it. The state of your heart matters MOST, let go of anything that distracts from our True Light coming into this dark world.
Let’s get into how to make your very own Advent Wreath below…
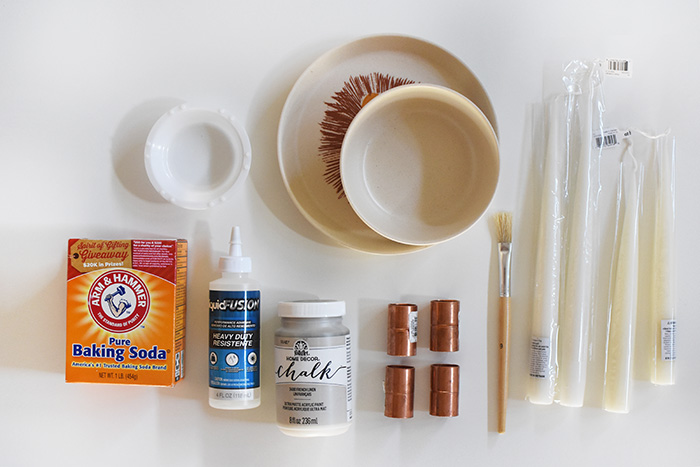
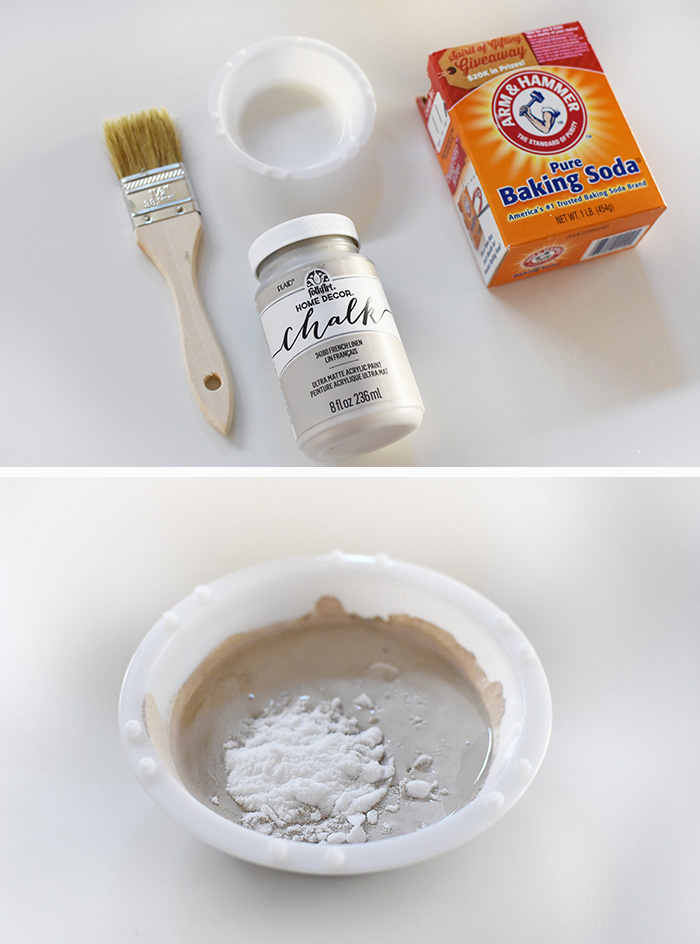
Supplies for a DIY Christmas Pedestal Advent Wreath
- Small Plate (7″)
- Small Bowl (15 oz)
- Tacky Glue
- Acrylic Paint (French Linen)
- Baking Soda
- Small Paint Mixing Dish
- Paint Brush
- (4) 3/4″ Copper Coupling Pipe Fittings (another option – make sure your candles fit properly in the fittings)
- (4) Taper Candles (you can use different sizes or colors!)
- Evergreens, Pinecones + Berries
Make an Pedestal Advent Wreath at home
To make a DIY pedestal advent wreath, you need to start first with a plate and bowl.
Turn your plate upside down and using a ruler, mark the center lines on the plate with lines all the way to the edge. Repeat this step on the underside of the bowl as well. This helps you line up the bowl and plate in the center.
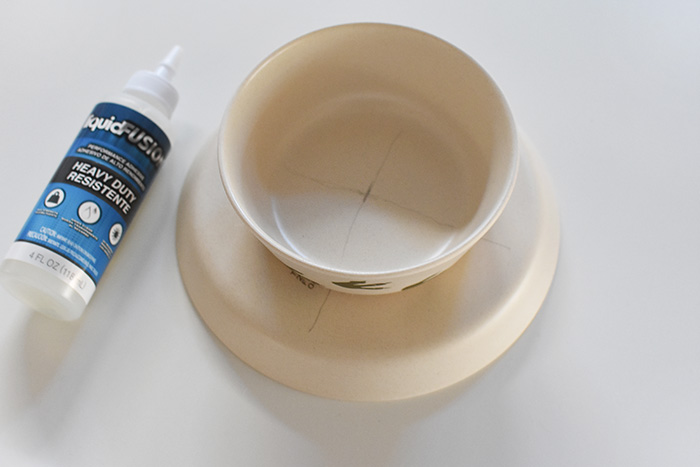
Once you have your two center marks made, add glue to adhere them together. I used Liquid Fusion, but any strong glue will work.
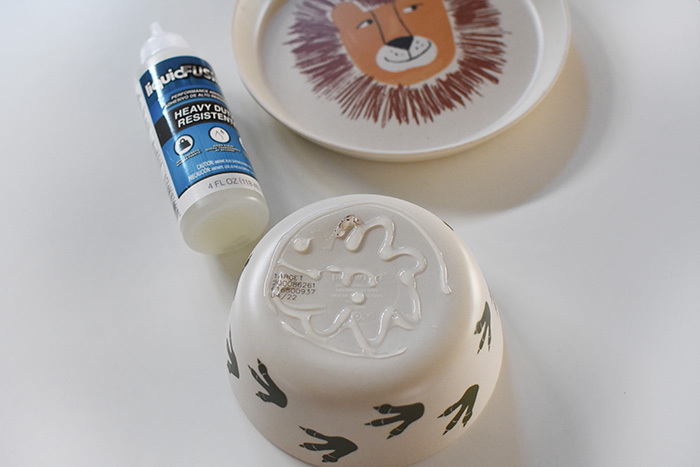
Once the two pieces have completely dried, you have your pedestal shape built!
Baking Soda Paint Advent Wreath
Now it’s time to add the baking soda paint texture to give your wreath a more professional “store bought” ceramic look. You can read more about the baking soda and paint technique in this post. In my opinion, this painting technique is incredible for giving virtually anything a more “finished” look.
One thing I have learned with painting with baking soda is the more layers, the better. Some people do exact measurements for their paint to baking soda ratios, however I find it just as easy to pour your acrylic paint into a container and add baking soda until you like the consistency it creates.
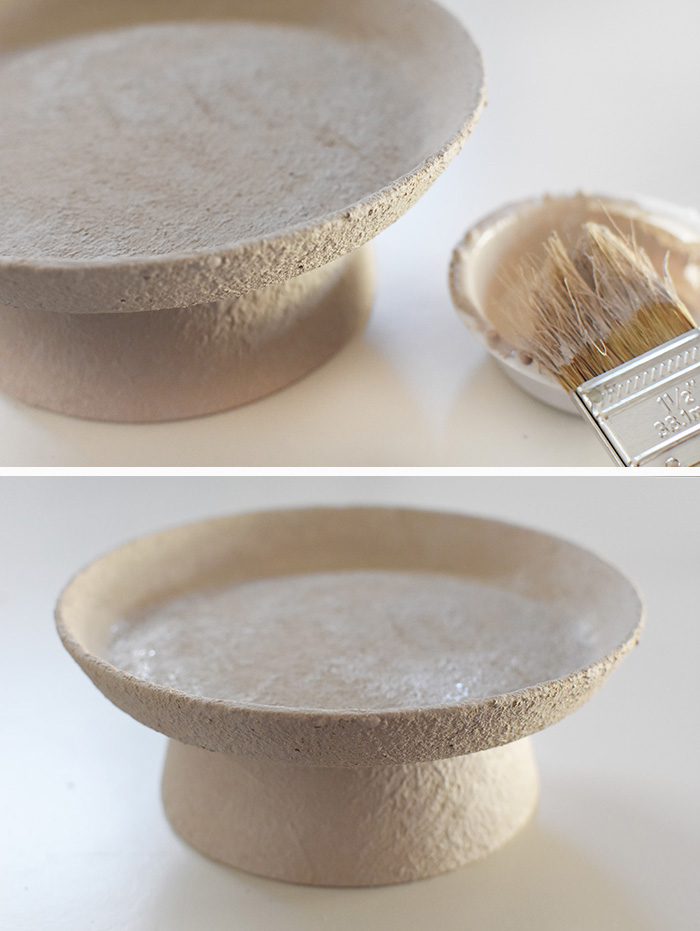
For the first layers, I use a little less baking soda to help with even coverage. You can see below how adding just one layer gives very minimal texture.
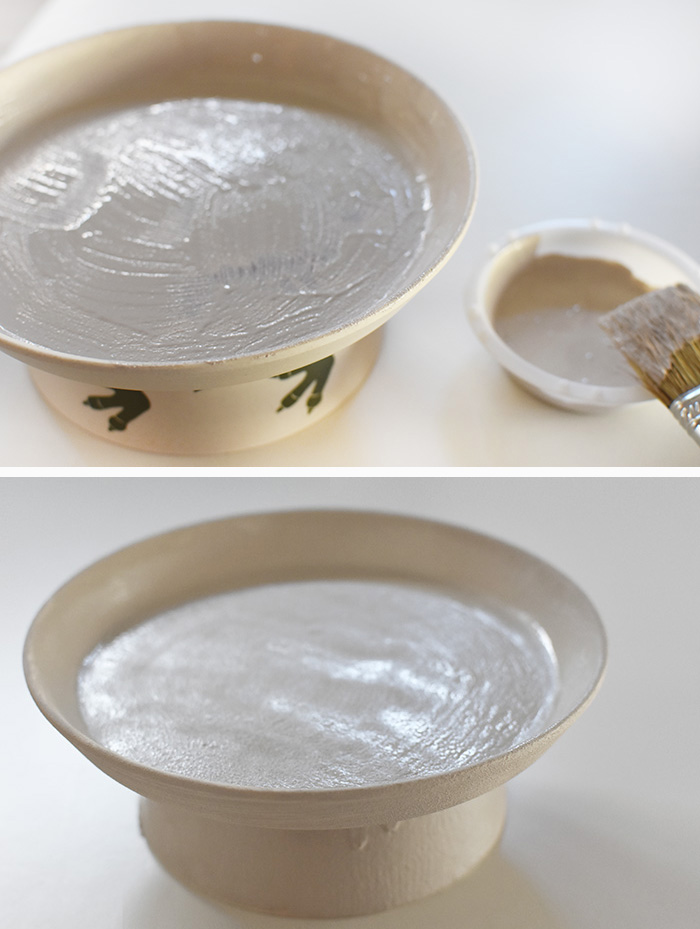
As I get to the third coat, I like having more texture (more texture = more baking soda). You can add as many coats as you like, but I think three coats is just about right.
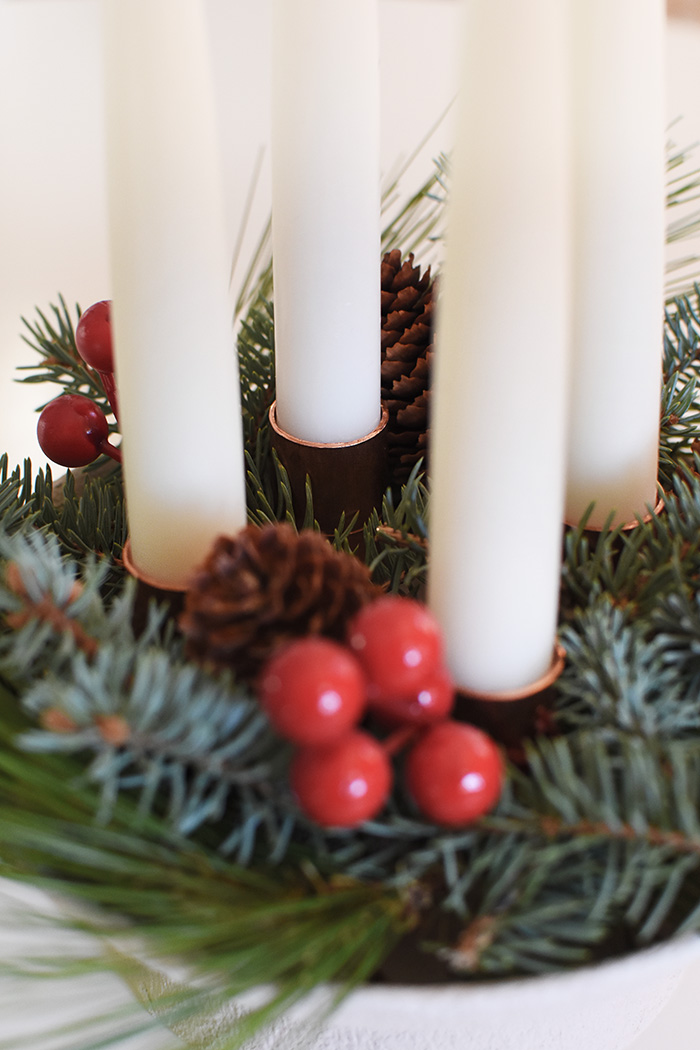
Adding Copper Candle Fittings
After the baking soda texture has completely dried, you can start to place your copper coupling fittings (another option). These are what will hold your candles up properly.
NOTE : Make sure your candles fit snuggly in the copper fittings before gluing. I brought my candle with me to the hardware store, just to make sure.
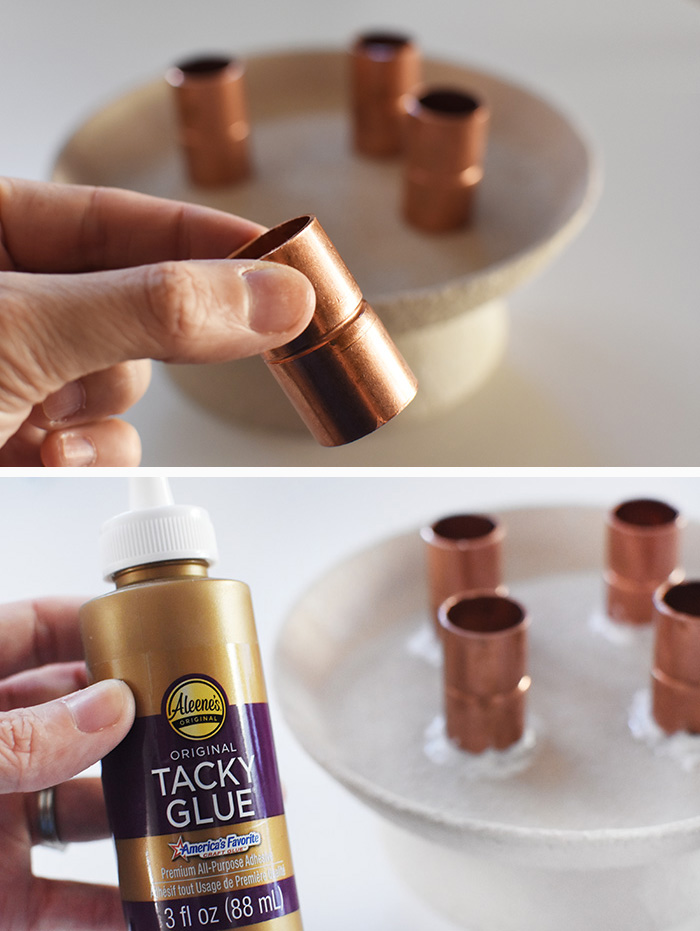
I switched to Tacky Glue for this step, as the Liquid Fusion wasn’t adhering to the baking soda adequately. Tacky Glue dries clear, so be liberal with the glue.
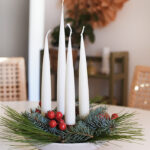
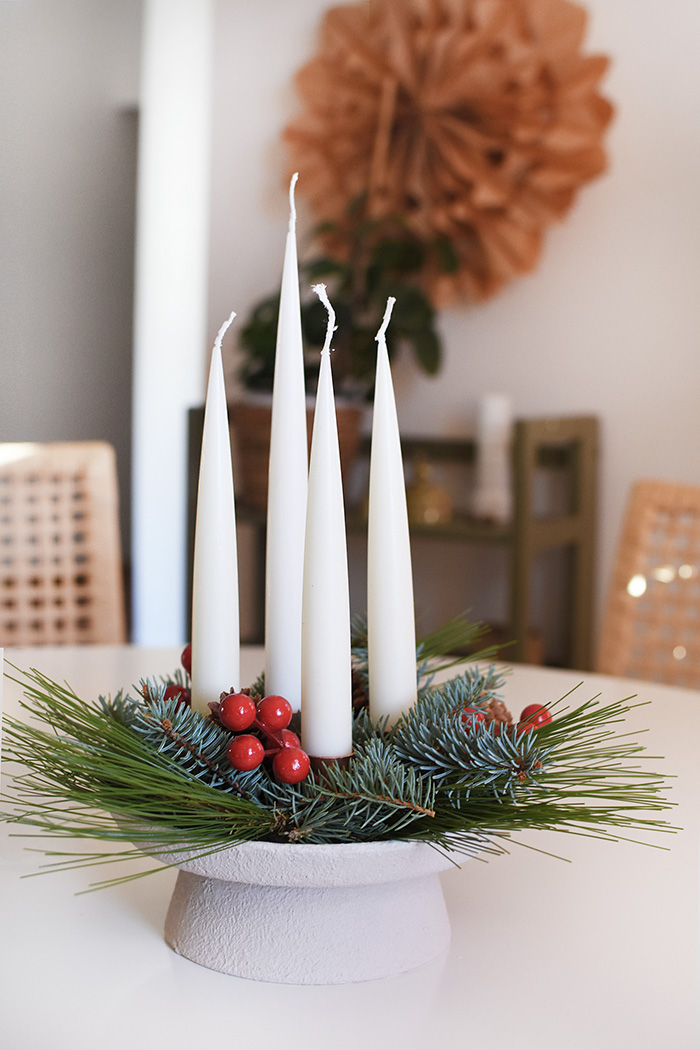
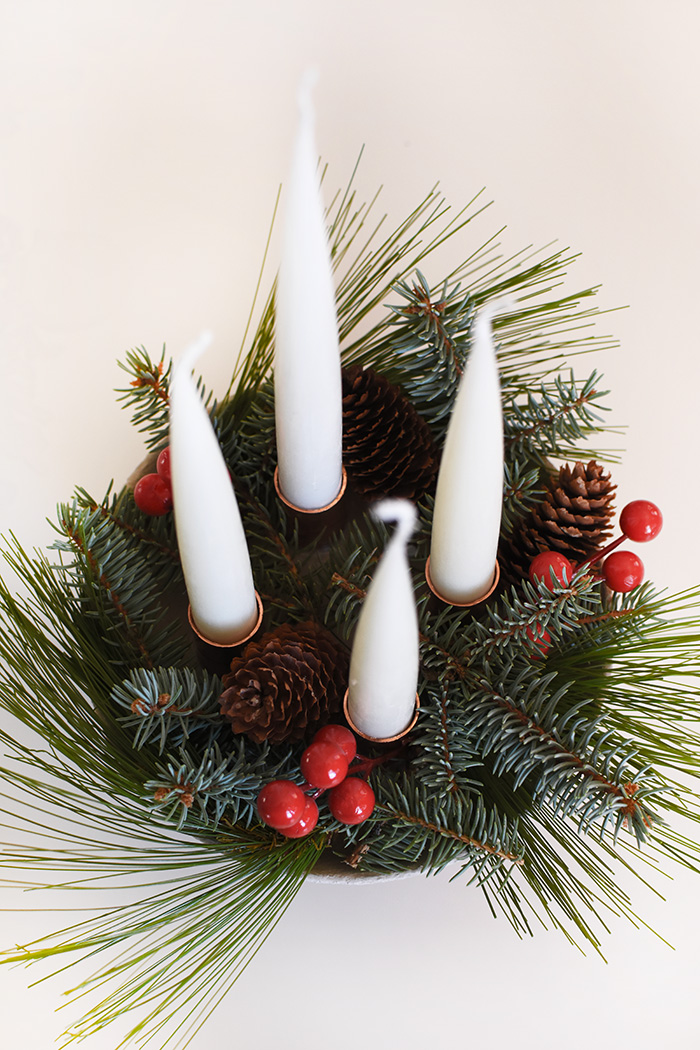
Foraged Advent Wreath
The final step to this project, is foraging for greenery to fill in my advent pedestal wreath. I walked around our yard and collected pinecones and two types of evergreen boughs.
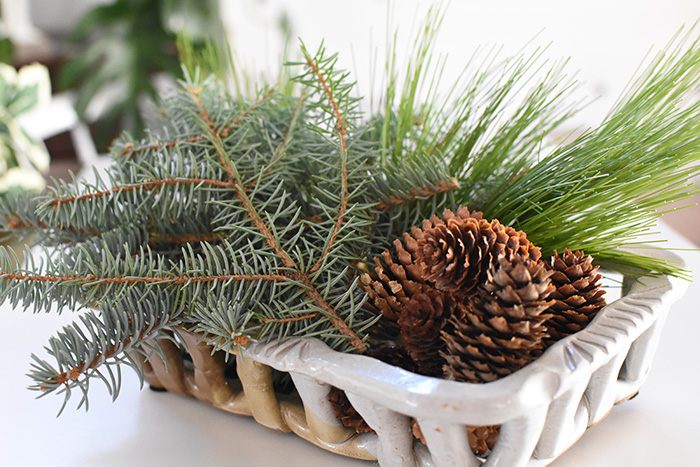
Simply tuck these in and around the copper fittings for your final look.
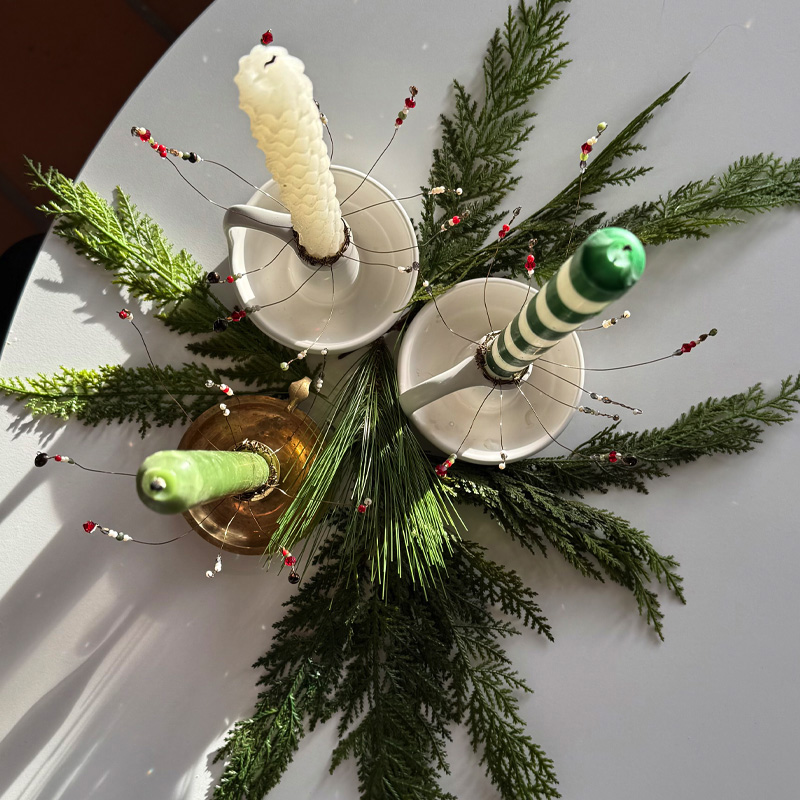
You could also use faux greenery, pinecones or berries for this step, if you want to keep the greenery for longer than a season. See below for some ideas on these…
Shop the supply list now :

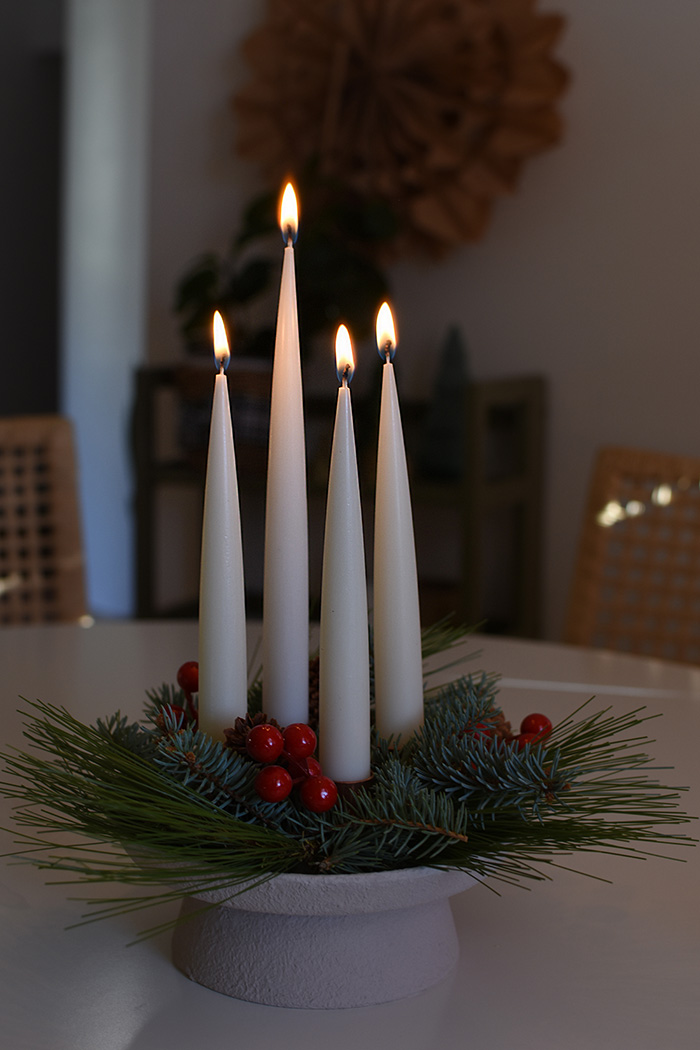
Lit Christmas Advent Candles
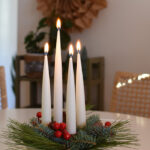
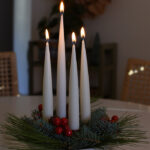
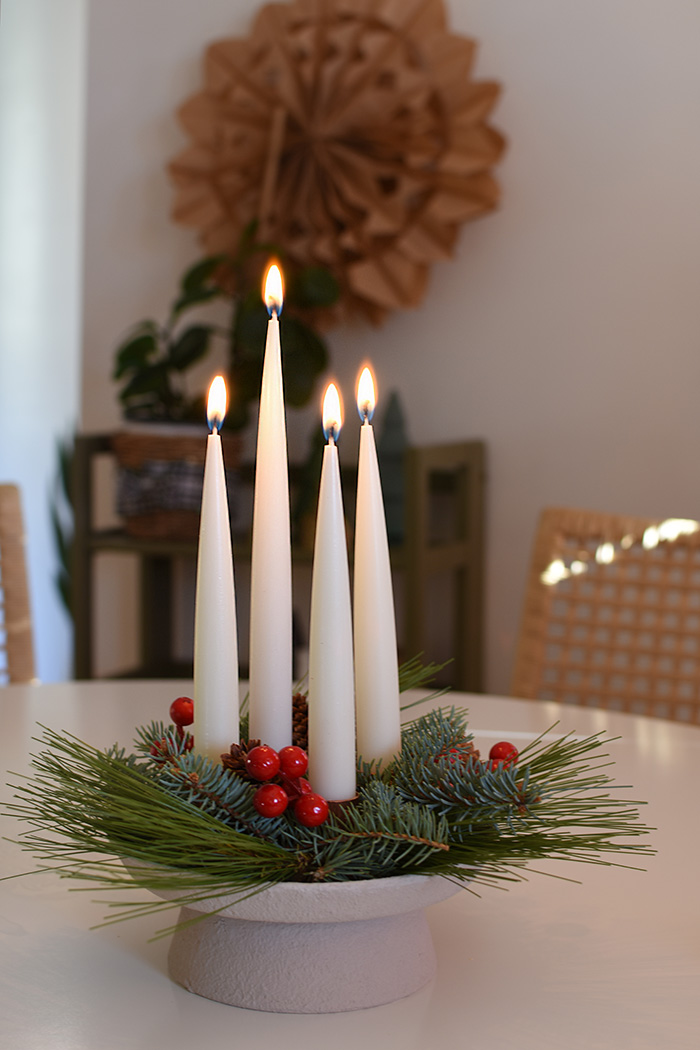
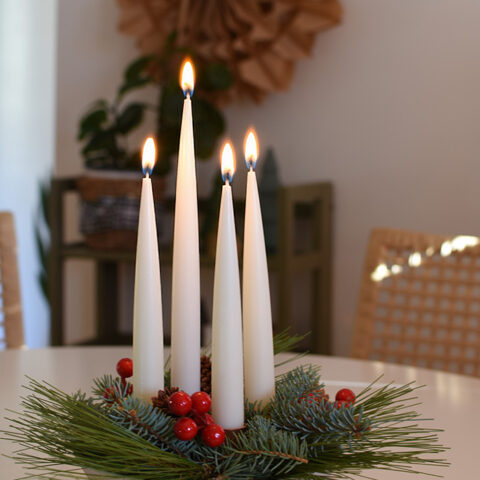
Traditionally, each Sunday starting with the last Sunday of November, one candle is lit. This weekly lighting continues until Christmas week. (I lit all four candles for the pictures, but will only plan to burn one at time.)
Looking for other beautiful DIY Advent Wreath ideas?
My friend from Idle Hands Awake has a lovely pedestal Advent Wreath.
My friends from The Merry Thought have a gorgeous Hanging Advent Wreath.
Advent Wreath Candle Holder
I can’t wait to celebrate Christmas this year with my family as we anticipate Christ’s birth using our new Advent Wreath Candle Holder.
If you are looking for other beautiful holiday decor ideas, you might like these…
Looking to buy a beautiful premade Advent Wreath? You might like these…
Foraged DIY Advent Wreath
Learn how to make a Foraged DIY Advent Wreath this holiday season using upcylced plates, baking soda and copper fittings. Celebrate the countdown until Christmas Day with this beautiful tradition.
Materials
- Small Plate (7″)
- Small Bowl (15 oz)
- Liquid Fusion Glue (or Tacky Glue)
- Acrylic Paint (French Linen)
- Baking Soda
- Small Paint Mixing Dish
- Paint Brush
- (4) 3/4″ Copper Coupling Pipe Fittings (make sure your candles fit properly in fittings)
- (3) 8″ White Taper Candles
- (1) 10″ White Taper Candle
- Evergreens, Pinecones + Berries
Instructions
- Turn your plate upside down and using a ruler, mark the center lines on the plate with lines all the way to the edge. Repeat this step on the underside of the bowl as well. This helps you line up the bowl and plate in the center.
- Once you have your two center marks made, add glue to adhere them together. I used Liquid Fusion, but any strong glue will work.
- Once the two pieces have completely dried, you have your pedestal shape built!
- Now it’s time to add the baking soda paint texture to give your wreath a more professional “store bought” ceramic look.
- One thing I have learned with painting with baking soda is the more layers, the better. Some people do exact measurements for their paint to baking soda ratios, however I find it just as easy to pour your acrylic paint into a container and add baking soda until you like the consistency it creates.
- For the first layers, I use a little less baking soda to help with even coverage. You can see below how adding just one layer gives very minimal texture.
- As I get to the third coat, I like having more texture (more texture = more baking soda). You can add as many coats as you like, but I think three coats is just about right.
- After the baking soda texture has completely dried, you can start to place your copper coupling fittings. These are what will hold your candles up properly.
- I switched to Tacky Glue for this step, as the Liquid Fusion wasn’t adhering to the baking soda adequately. Tacky Glue dries clear, so be liberal with the glue.
- The final step to this project, is foraging for greenery to fill in my advent pedestal wreath. I walked around our yard and collected pinecones and two types of evergreen boughs.
- Simply tuck these in and around the copper fittings for your final look.
- Enjoy!
Notes
Make sure your candles fit snuggly in the copper fittings before gluing. I brought my candle with me to the hardware store, just to make sure.
Check out a few more creative Holiday ideas…
I love your idea, especially since I have a small space in my small apartment. I’d like to suggest you might want to check the order and meanings of the candles. Advent is a season of preparation and quiet reflection for many people. The first two candles lit are purple ones, symbolizing hope and peace. The third candle is pink (or rose-color). Its symbolism is to give us joy during our time of preparation for the Savior. Its old, traditional name in Latin is the “Gaudate Candle,” and the Sunday is known as Gaudate Sunday, “gaudate” meaning “joy.” Then for the last Sunday before Christmas we go back to the final purple candle. In churches where vestments are worn, the clergy may wear rose-colored vestments for that day’s service. The old English custom is to use blue rather than purple. Thanks for a great article! I’m going out to my kitchen to scrounge up a plate and bowl. 🙂