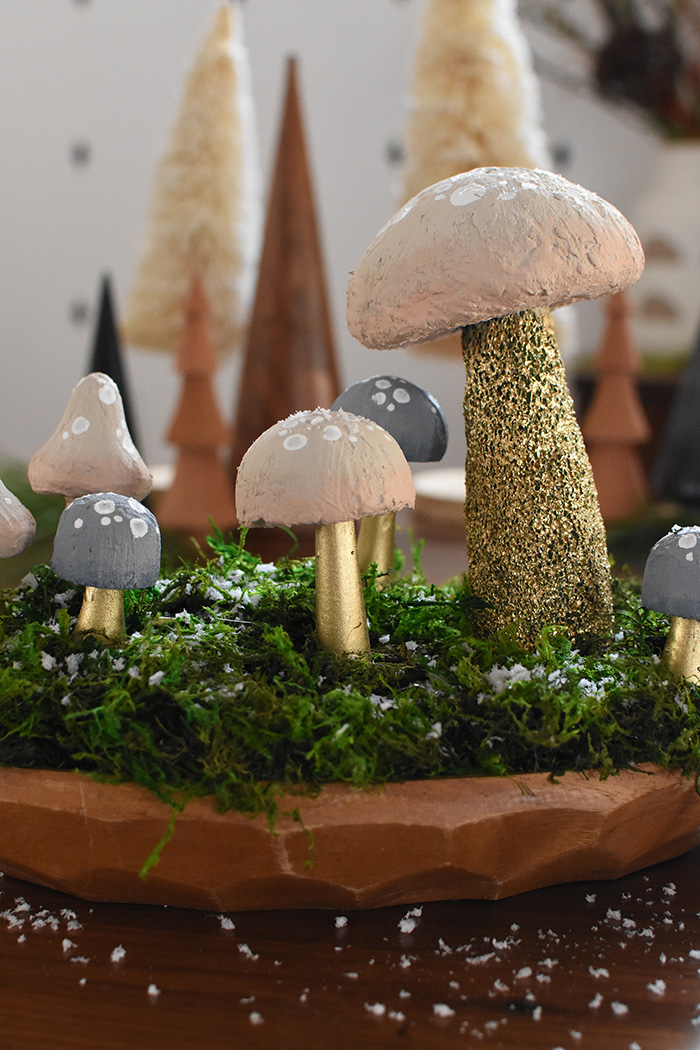
DIY Christmas Mushroom Centerpiece
INSIDE : Learn how to make the MOST adorable DIY Christmas Mushroom Centerpiece to set out this holiday season! This tutorial shows you how to craft a mushroom from styrofoam and wooden pegs, as well as paint simple wooden mushrooms.
This post may contain affiliate links. See my full disclosure.
I am straight dead with holiday cuteness today. I have long been a fan of mushrooms. I think it’s their connection to nature and the woods, both things which are very close to my heart.
So, when I started seeing mushroom ornaments popping up all over the place this holiday season – I just knew I had to make myself a Christmas Mushroom project of some kind!
- Looking to simply buy a Mushroom Ornament? I’ve got you covered there.
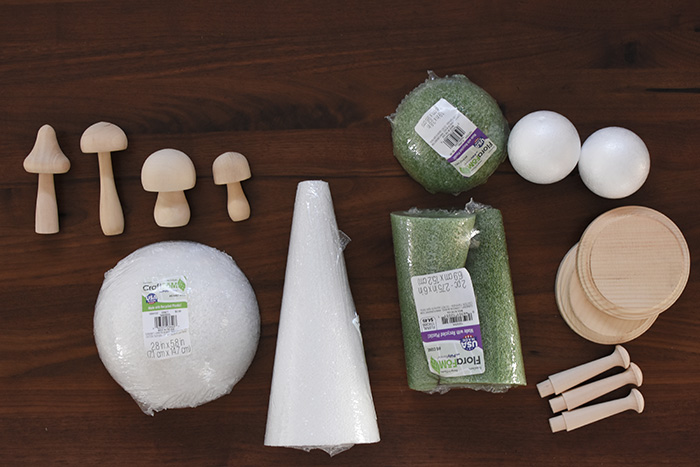
What supplies do I need to make a Christmas Mushroom Centerpiece?
The supply list for these DIY Mushrooms is long, but you can make a more simple variation of these if you do just a few mushrooms attached to a wood board or plate.
- Set of wooden Mushrooms
- Styrofoam Cone
- Styrofoam Circle
- Styrofoam Half-Circle
- Wooden Peg
- Wooden stands
- Small saw or serrated knife
- Acrylic Paint (Peach, Blue + White)
- Aluminum Foil
- Rustoleum Gold Spray Paint
- Baking Soda
- Paint Brushes
- Qtips + Small Pounce Sponges
- Newspaper
- Toothpicks
- Hot Glue
- Thrifted Bowl or dish
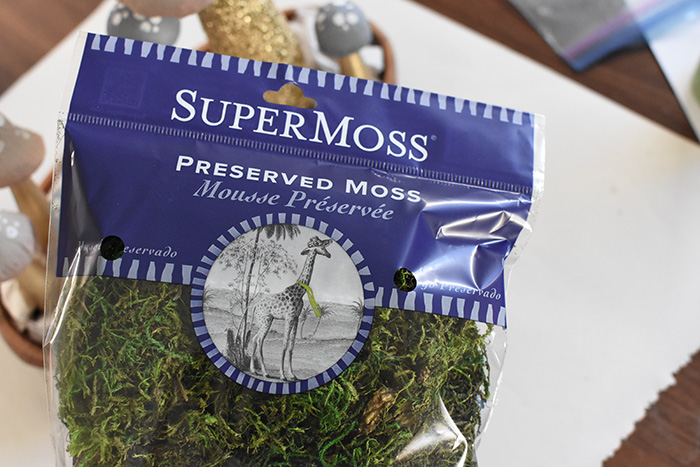
- Moss
- Fake Snow
LOOKING FOR OTHER FUN MUSHROOM IDEAS? CHECK SOME OF THESE OUT…
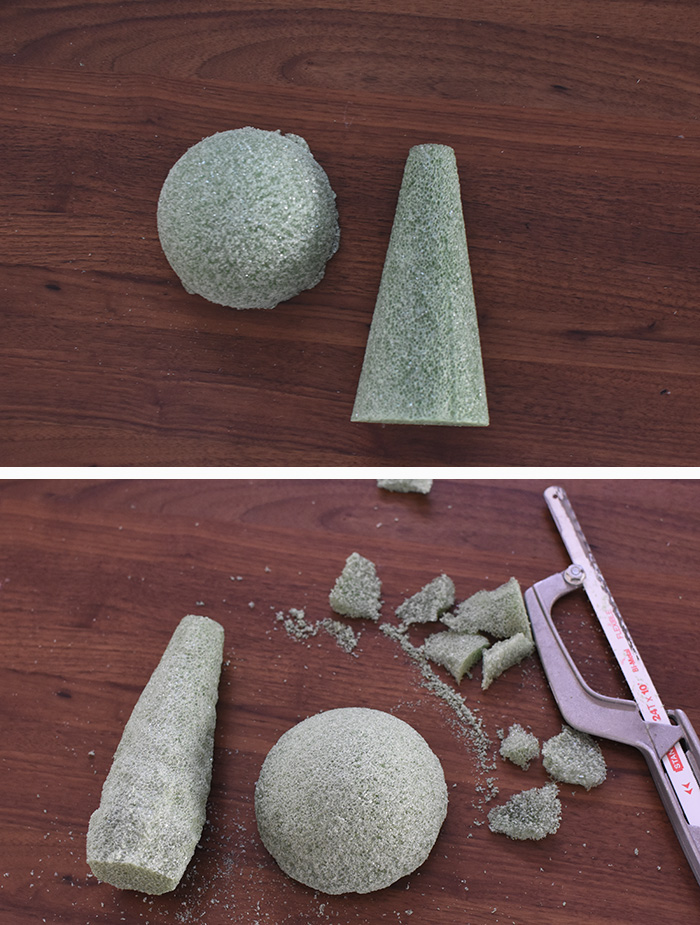
How to make a Mushroom from Styrofoam
To make a DIY mushroom from styrofoam, you need to start with a styrofoam cone and a styrofoam half circle.
Next using your hands, slowly squeeze and smoosh your cone. As you work around the cone, feel free to use a small knife or hand saw and slightly cut down the base of the cone so it resembles more a mushroom stem. I wanted a bit of a curve to my stem, so I tried squeezing the stem on one side more until it had the look I was after.
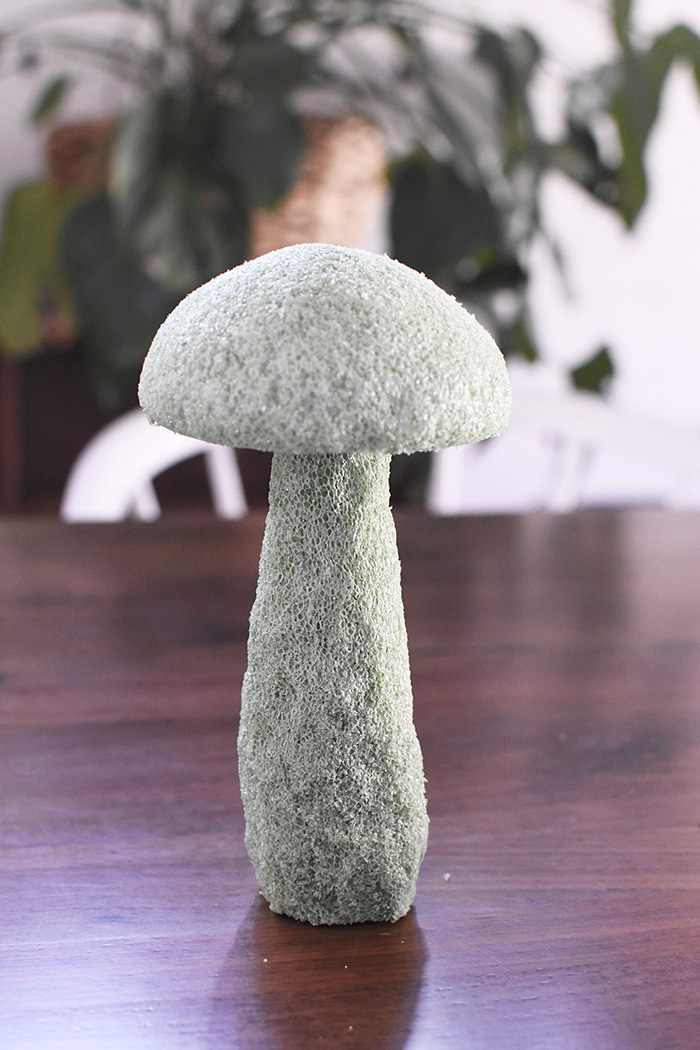
To create your styrofoam mushroom top, take the half circle in your hand and “roll” the top along a hard flat surface (I used the table top). I wanted it to not be perfectly circular. I also bent in the sides a bit here and there for a more organic look.
Once you are happy with how your styrofoam mushroom step and top look, simply hot glue them together. I tried putting the top on a slight angle for a more realistic look, also.
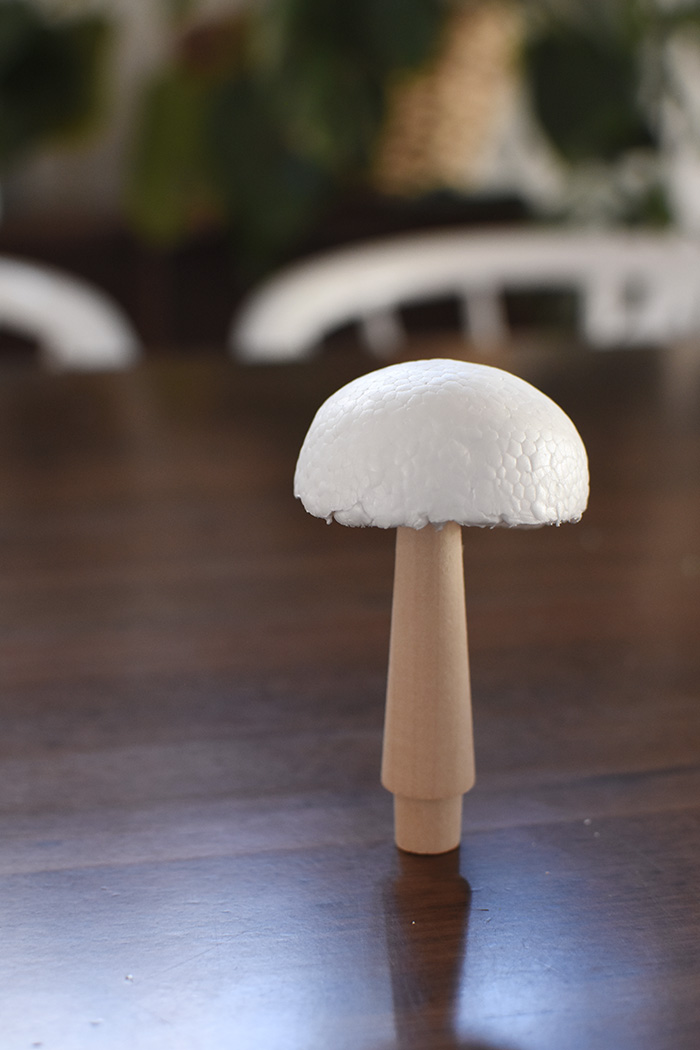
How to make a DIY Mushroom from a Wooden Peg
To create a mushroom from a wooden peg and styrofoam ball, you will need a small saw. Start by sawing your styrofoam ball in half and set one piece aside.
Then, cut off the rounded end of your wooden peg.
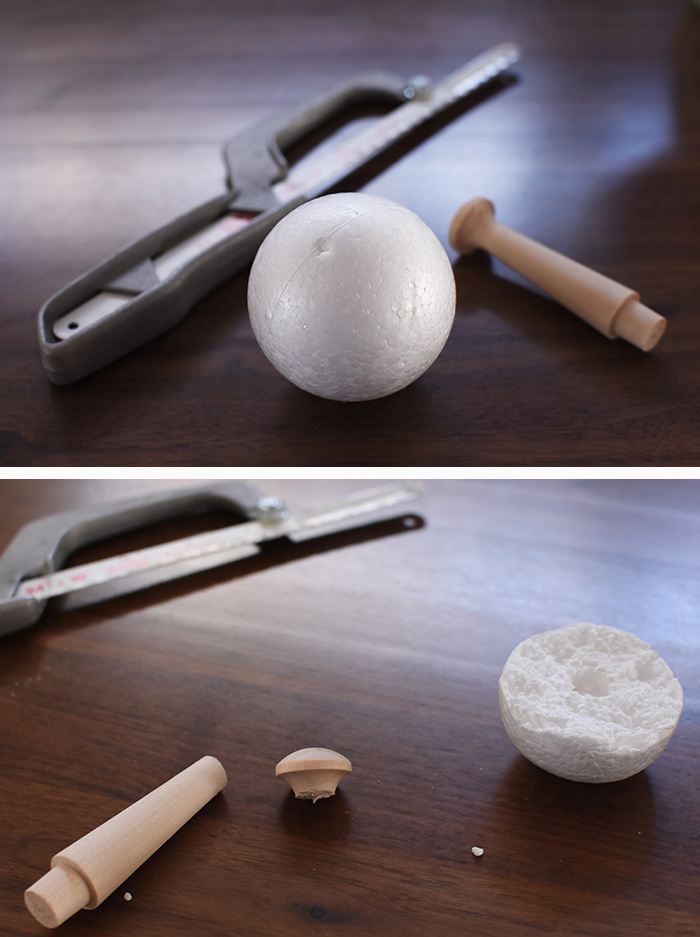
Next “roll” the styrofoam top around on the table to help give it a more mushroom top looking shape.
Then, using the wooden peg’s top, create a hole on the flat surface of your ball. Add hot glue and secure them together!
Painting DIY Mushrooms with Baking Soda Paint
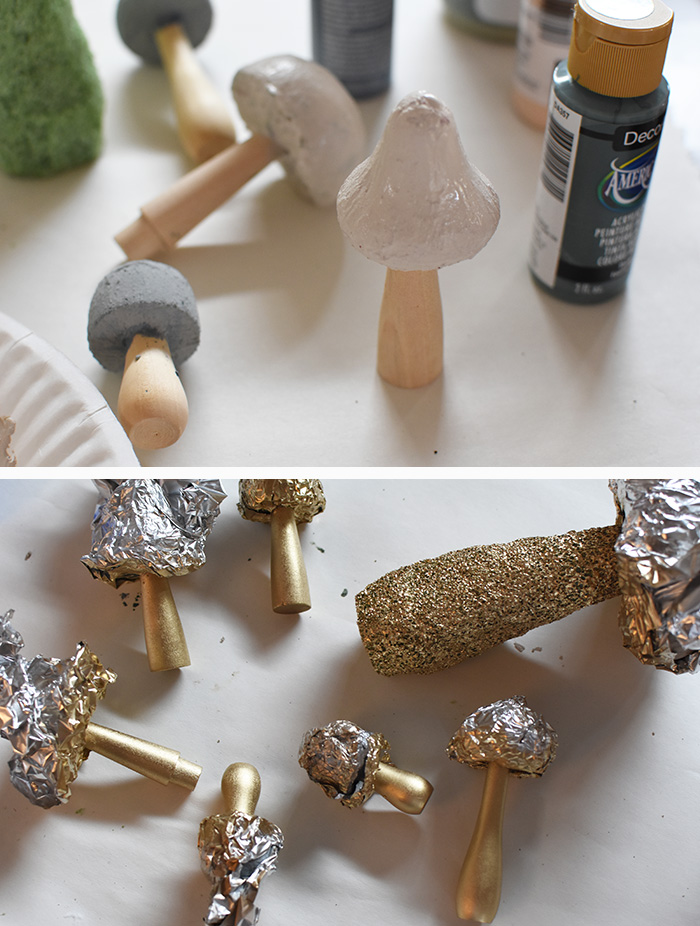
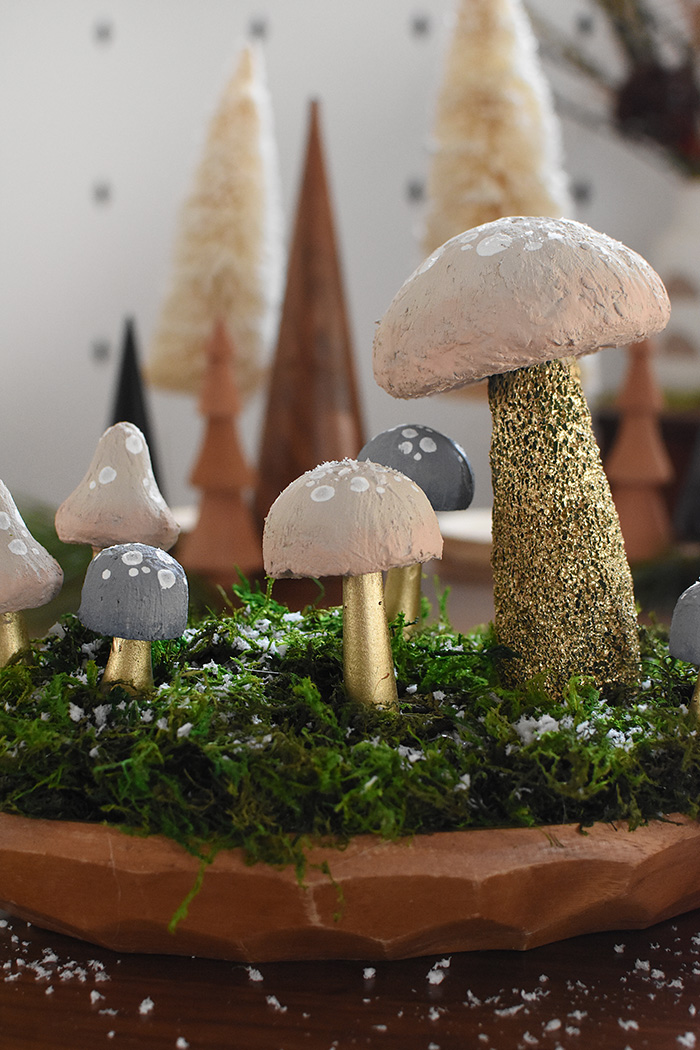
I went through many color options before finally selecting my mushrooms to be a soft dusty blue and peach/beige/griege color with metallic gold stems.
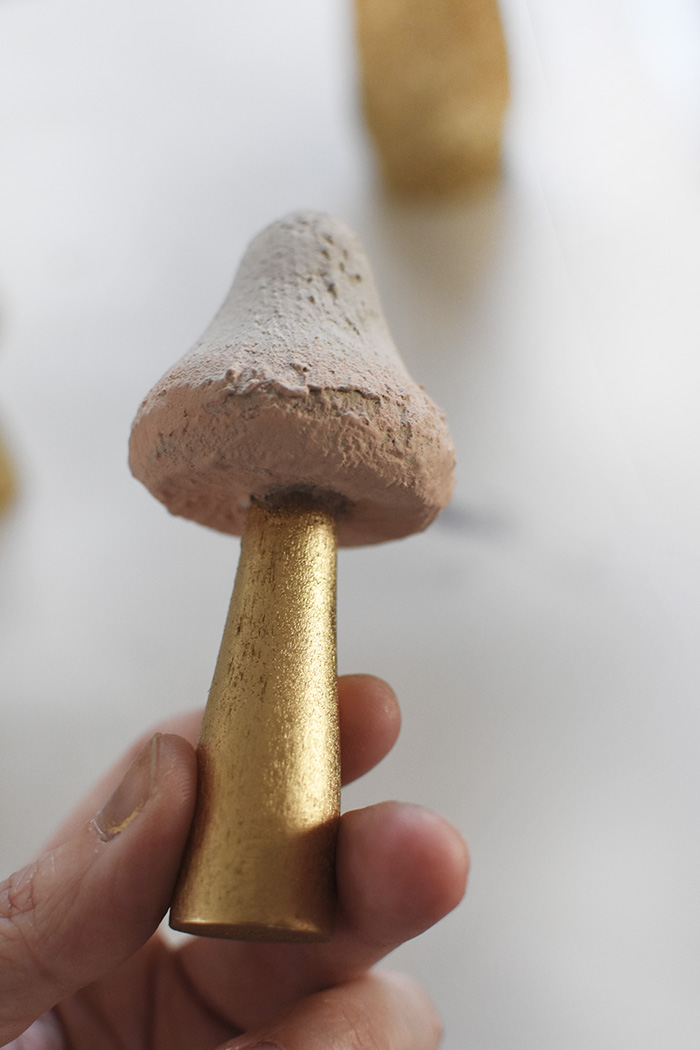
To add more texture and I think a realistic Woodsy Mushroom look, I added baking soda to my acrylic paint. Learn how to do the Baking Soda and Paint Technique here.
Once the mushroom tops were fully dry, I wrapped them in aluminum foil and took them outside for a beautiful coat or two of Rustoleum Gold Spray Paint.
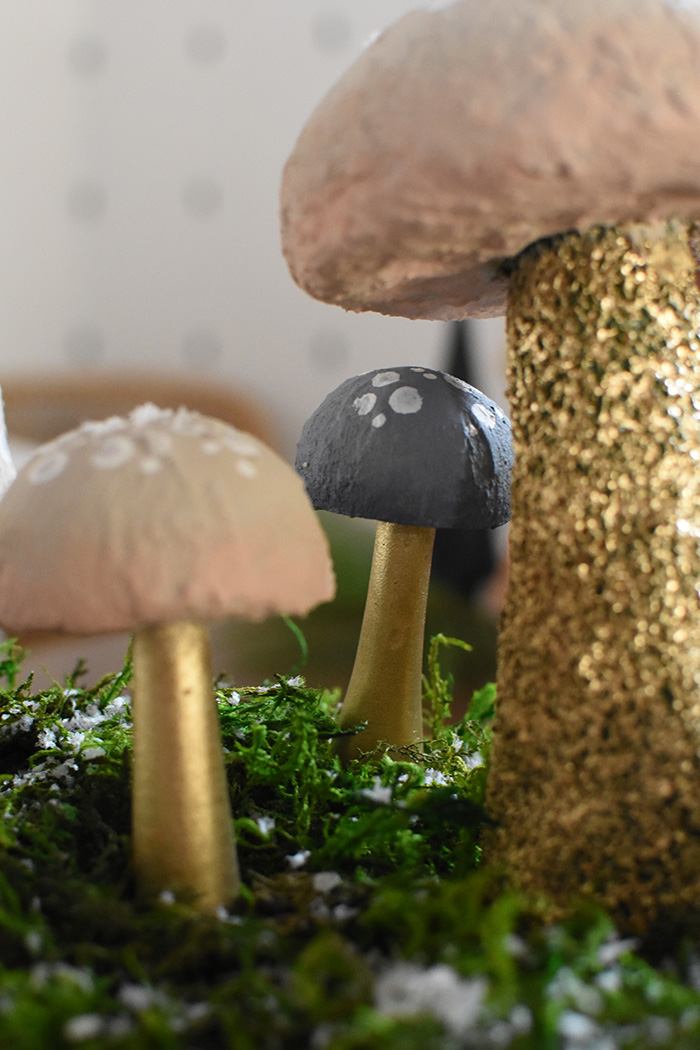
Because I’m a little bit extra, I took a slightly darker shade of peach (and blue) and painted the underside of my mushrooms, as well as just a tiny bit of the bottom edge to give some shadow. This is not essential, just extra fun.
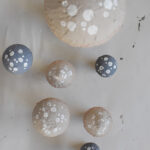
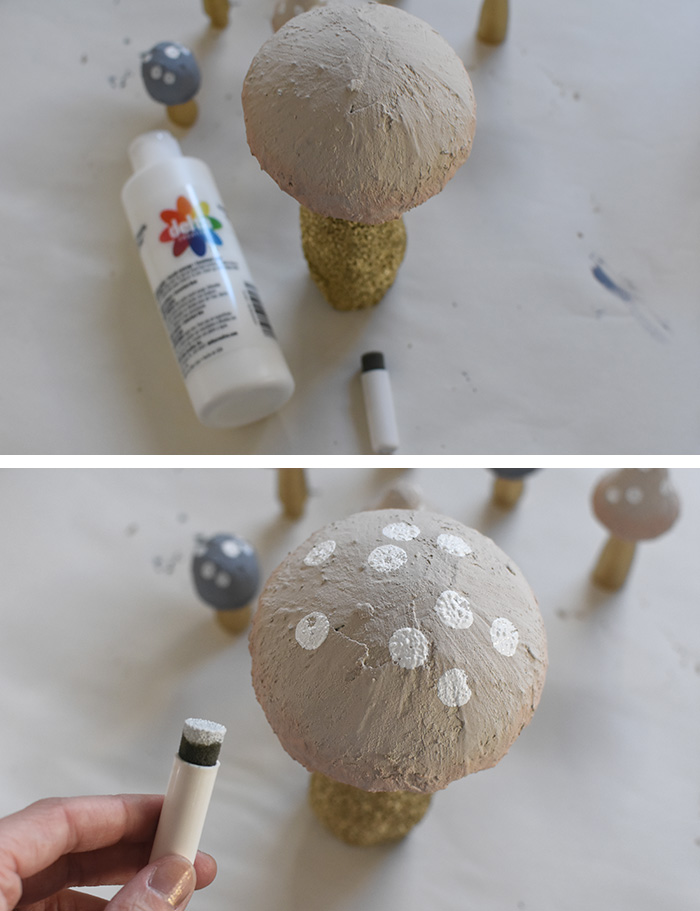
Adding Spots to Mushroom Tops
Adding spots to the tops of your mushrooms is such a fun step! I did a mix of small, medium and larger spots in white acrylic paint.
I used a pounce sponge to create the biggest of the spots, qtips for the medium sized spots and I just painted on small little dots with a small paint brush for the tiniest ones.
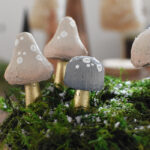
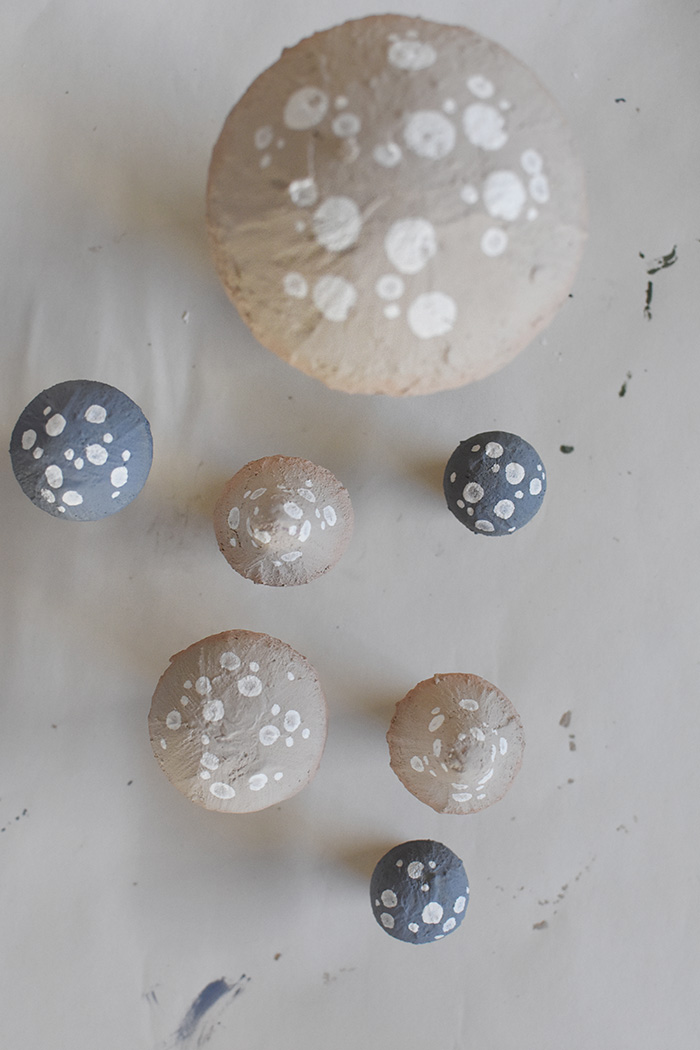
Toadstool Polka Dot Mushroom Tops
I loved the mix of sizes of the toadstool mushroom tops and thought it was fun to see them with all their polka dots on, too. It was really starting to take on it’s woodsy mushroom forest vibe about now.
Creating a Mushroom Table Centerpiece
Now that my mushrooms had been built and painted, it was time to start creating the centerpiece portion of the project. You may want to just do a few mushrooms and hot gluing them to a wooden cutting board or even a plate might be ideal for you.
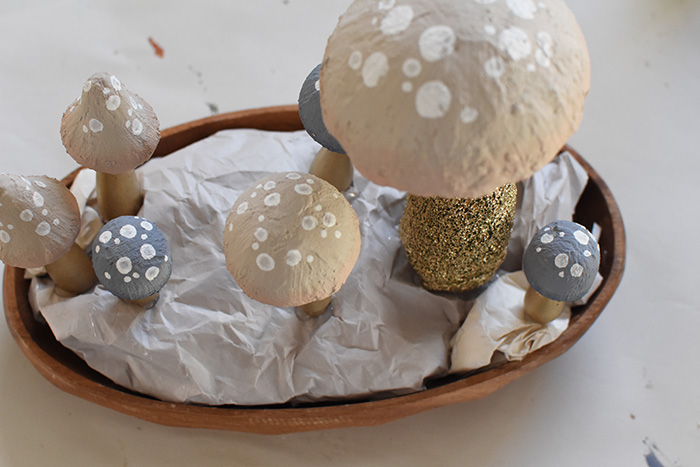
I started my crumbling up a piece of newspaper to fill in my thrifted centerpiece bowl. I added just a few dabs of hot glue here and there to keep it mostly in place.
Next, I cut a few toothpicks in half and hot glued them to the bottom of each of my mushrooms. NOTE : On the larger two mushrooms, I hot glued three toothpick ends to create a “tripod” type situation. This helped give the heavier ones more stability to stand up.
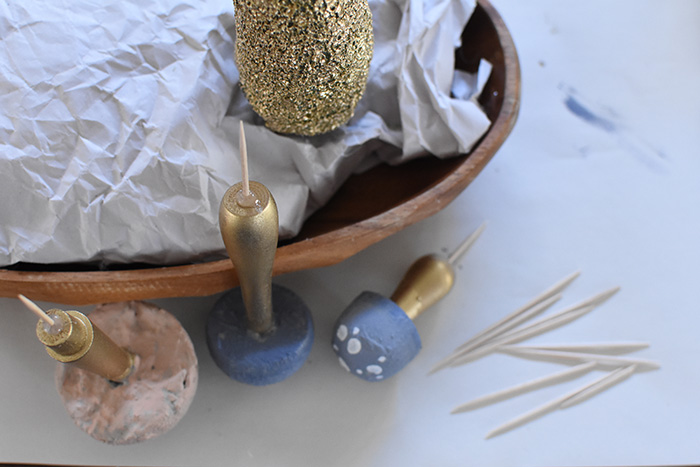
Next, add a TON of hot glue to your toothpick and the bottom of your mushroom and begin to place them into your newspaper/bowl.
This step takes a bit of patience as you figure out how much glue is needed to keep everything in place, but rest assured… you will be adding moss overtop of this, so use as much glue as you need.
Adding Moss to Mushroom Centerpiece
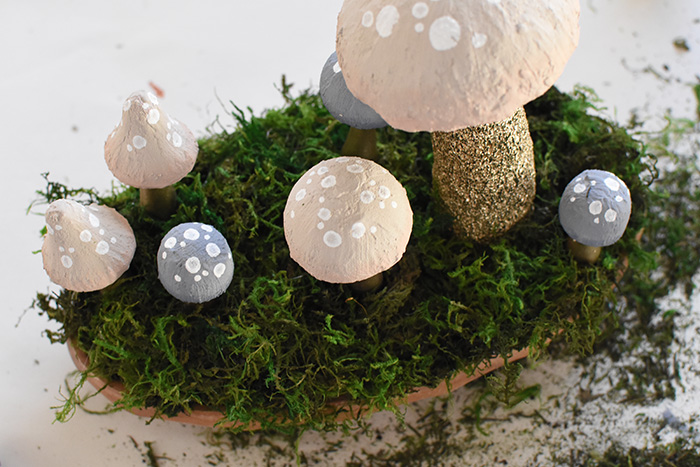
I added this preserved moss to cover my newspaper and give my holiday mushroom centerpiece a more woodys nature feel.
I started on one corner, added some hot glue to the newspaper and placed the moss ontop. It was a slow going process so that the glue didn’t dry before I could add in the moss, but well worth it.
Once I covered the entire area in moss, I added a few more areas here and there that you could see through to the newspaper. Do as many layers of moss as needed.
I also liked the look of some moss trailing over the wooden bowl just a little bit.
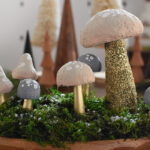
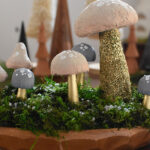
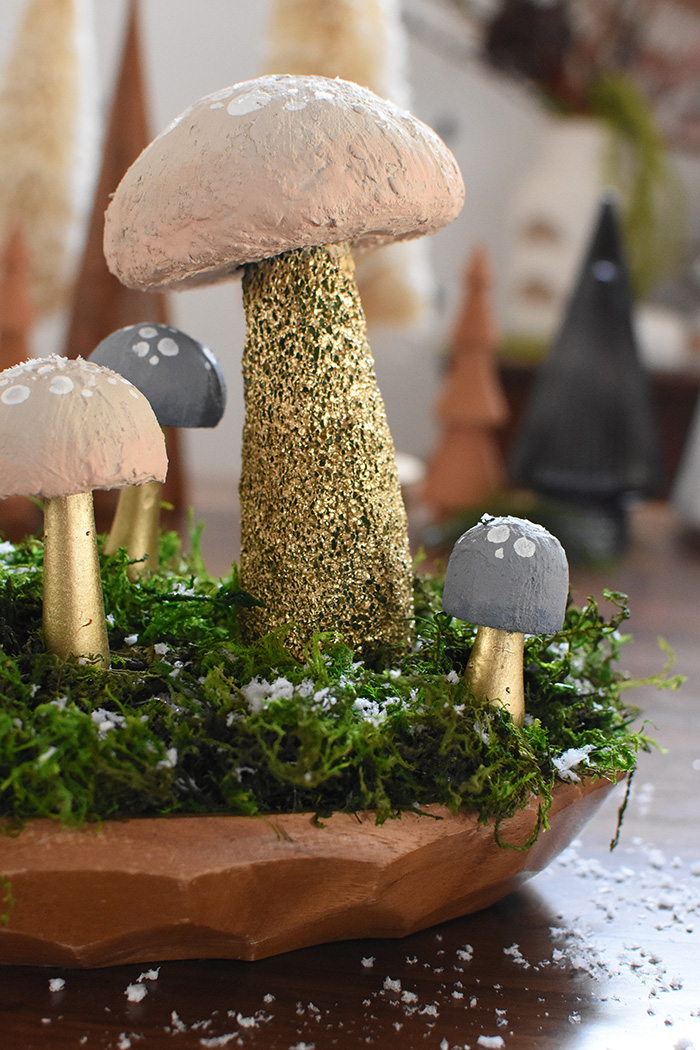
Winter Mushroom Centerpiece
To create a winter mushroom centerpiece, the only thing I still needed was SNOW! I lightly sprinkled some faux snow I already had on hand. In my mind I was going to also add twinkle lights, but after the snow was sprinkled on… it really felt like this was the perfect winter touch.
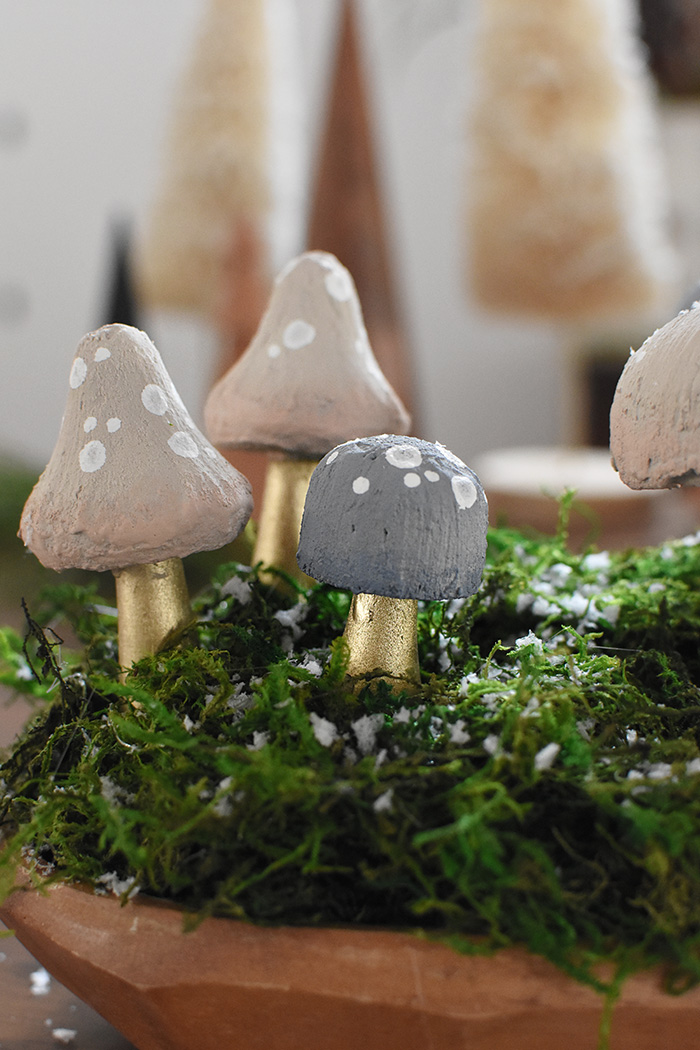
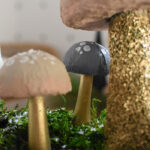
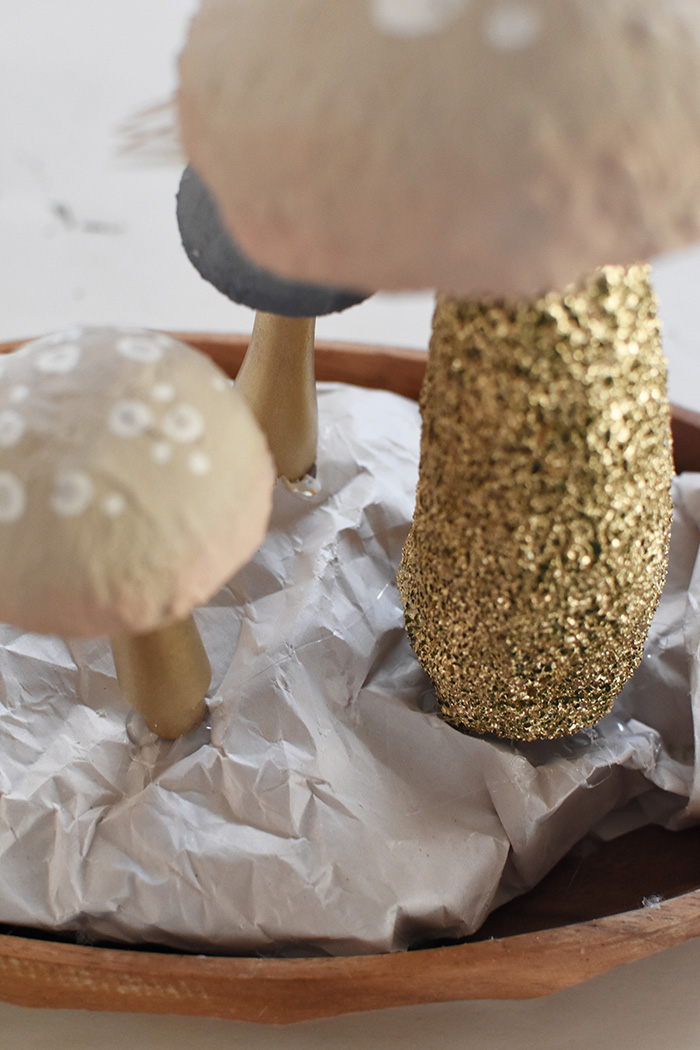
I loooooove how the styrofoam looks with the gold spray paint on it. It looks like a real Shitake or Champignon mushroom stem!
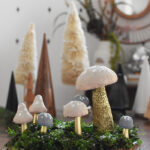
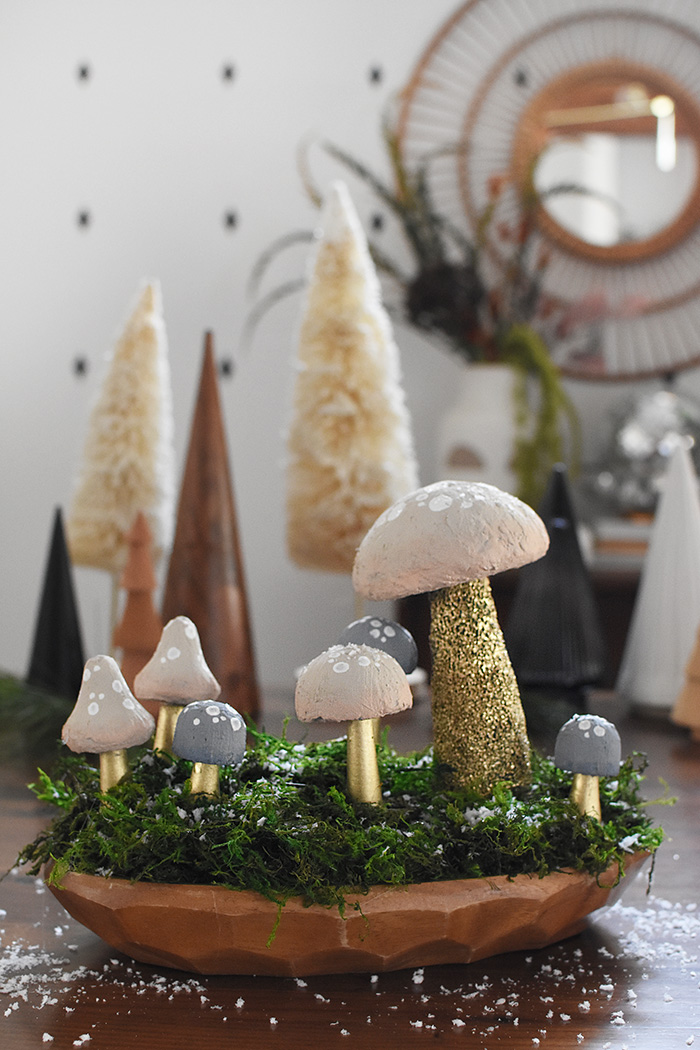
Christmas Forest Mushrooms
And although there are probably no real blue mushrooms, I love the little Christmas Forest Mushroom vibe this entire thing creates! If you made more traditional red, brown, tan or cream mushrooms they would be equally as lovely for a fun Christmas look.
What are the mushrooms that look like Christmas trees?
Morel mushrooms are cone-shaped and sort of resemble Christmas trees. They look like a brain with ridges and pits. Their caps may be tan, brown, ivory or a tawny yellow color.
Christmas Mushroom Ornaments
This beautiful project would also very easily be made into Christmas Mushroom Ornaments, too. Instead of gluing them to a wooden bowl centerpiece, you could add ribbon to the mushroom top and hang on a tree.
Holiday Mushroom Centerpiece
And I still may add in some twinkle lights to give this a little more of a Holiday Mushroom look.
If you liked this Christmas Mushrooms, you might also like these other Holiday Craft projects!
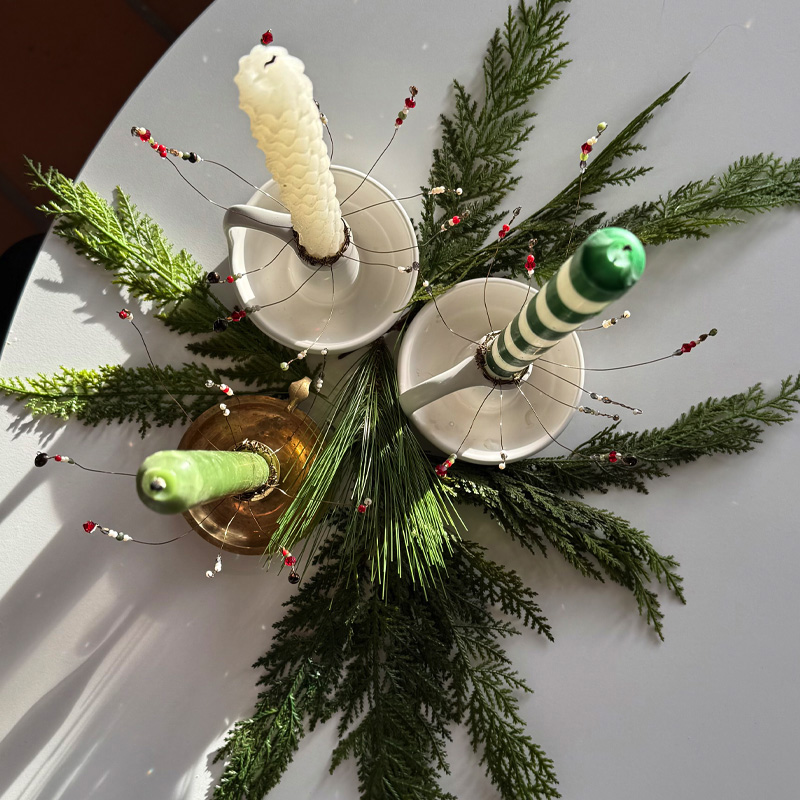
DIY Christmas Beaded Candle Cuff