Clay DIY Shadowbox
INSIDE : Learn the steps to creating a Clay DIY Shadowbox to hang on your wall. Select clay colors that match your home decor and have fun with this Shadowbox project.
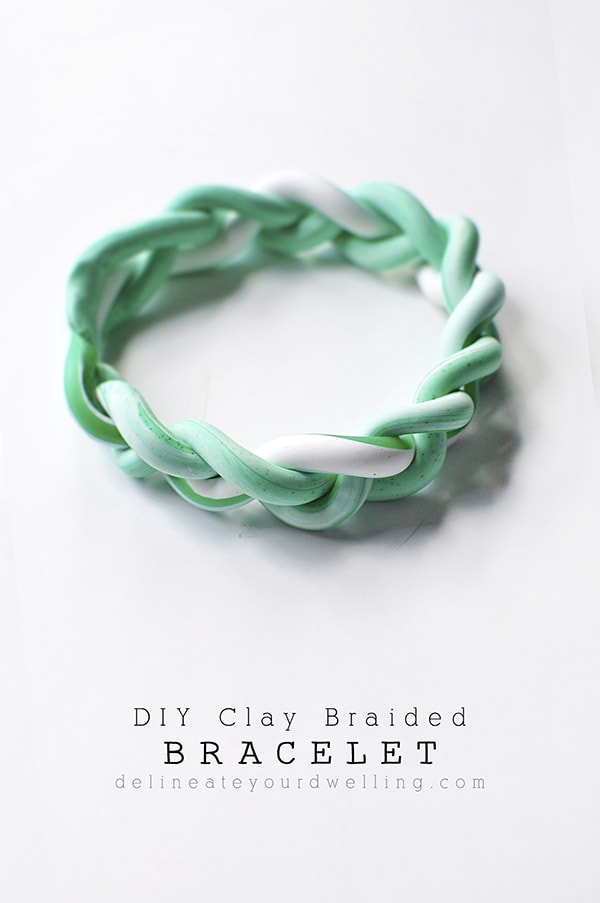
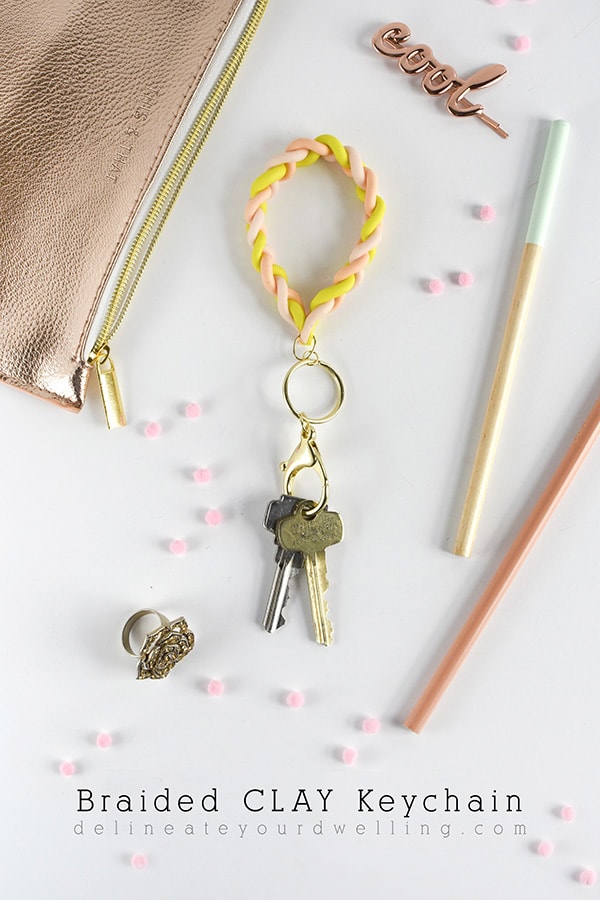
I have been a long time lover of working with clay. I have done numerous baked polymer clay projects, even more air dry clay projects and even last week participated in a clay making challenge. This week I am coming at you with an easy Clay DIY Shadowbox because when you find something you like, why deviate – ha!
This post may contain affiliate links. See full disclosure here.
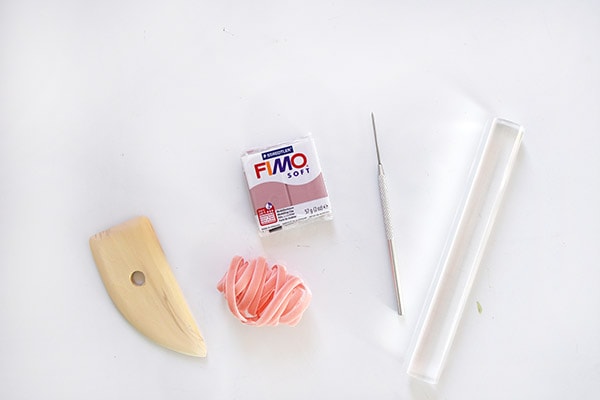
What supplies do I need to make a DIY Shadowbox?
Acrylic Roller
FIMO Clay – Colors of your choosing
Clay Tools
Balsa Wood
Mini Wood Saw
E6000
Ribbon
How to make a DIY Shadowbox frame out of clay:
I started off my shadowbox DIY project with a quick sketch of what I had in mind. Due to the amount of clay I had available, I slightly altered my plan, but it was helpful to see how many long and short pieces I would need in total.

Next, I separated the clay into sections to create each of the shadowboxes edges. I ended up needing two long pieces, three medium pieces and one short piece.
I warmed the FIMO clay in my hands to soften it and then began to create the appropriate lengths of each coil. Once I had all my coils, I laid them out in the basic shape they would be to make sure everything was going to fit properly.
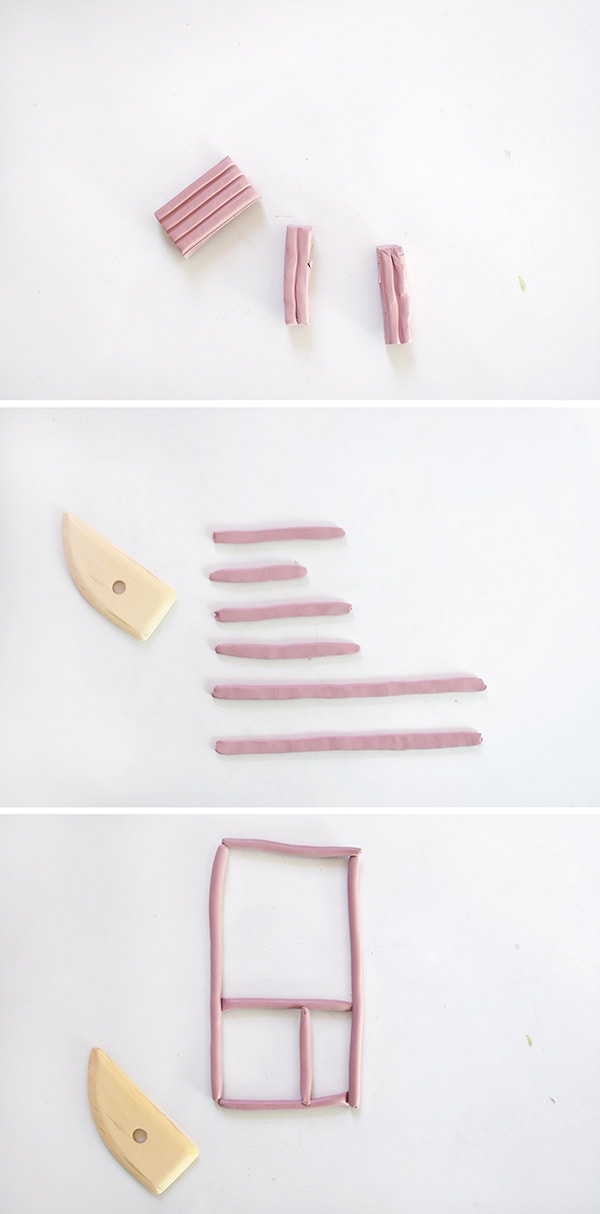
Next, I took each of those rounded coils and began to slightly flatten them. I was going for an organic, not perfect look. However if you were wanting a more perfect straight line for your shadowbox then you could spend more time on this step.
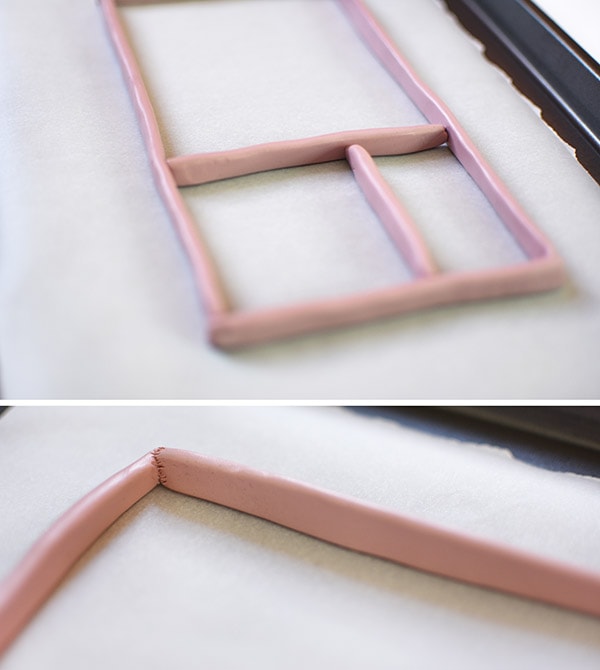
At all the clay joints, I used my sharp clay tool and made a cross hatch pattern to help join the clay together better. Then I added a very thin flat piece of clay over those edges as an extra layer of adhesion.
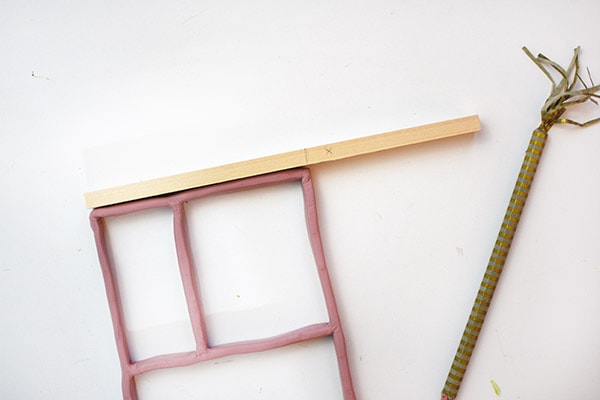
After my FIMO clay was done baking, per the instructions on the clay, I pulled out two pieces of Balsa wood and measured where my cuts needed to be.
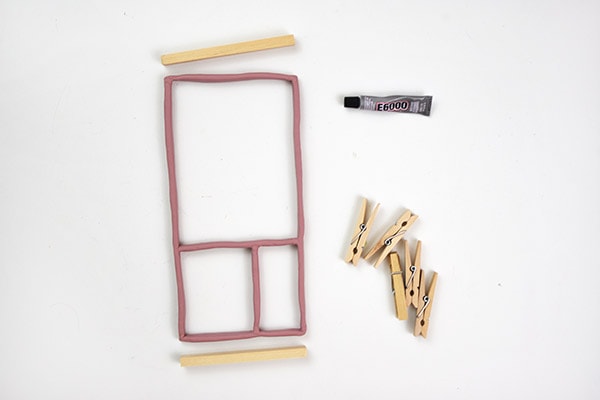
After cutting the wood, I adhered them to my shadow box using E6000 glue. I used clothespins to help hold the wood in place until it was dry.
The addition of the balsa wood was both aesthetic and I thought it would provide extra strength to my shadow box when hanging.
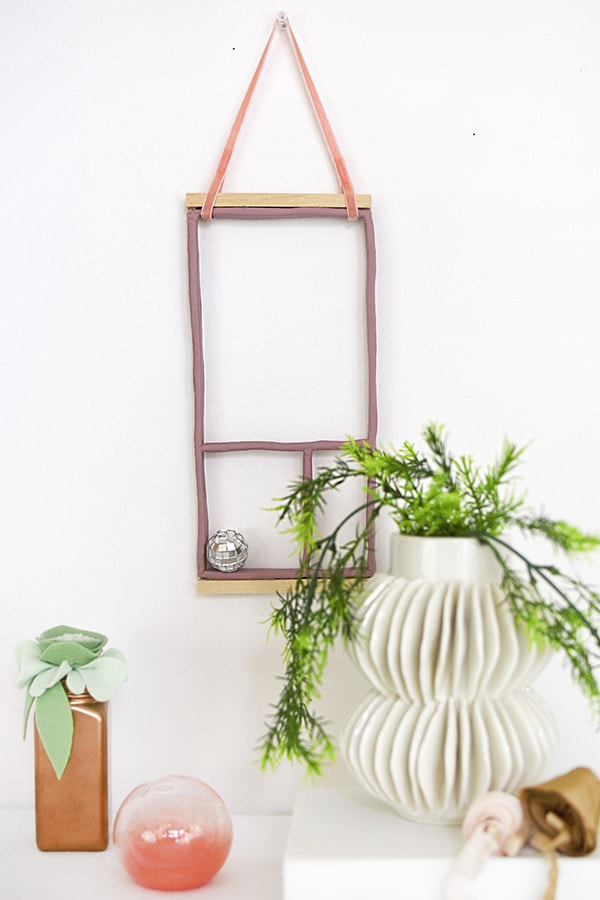
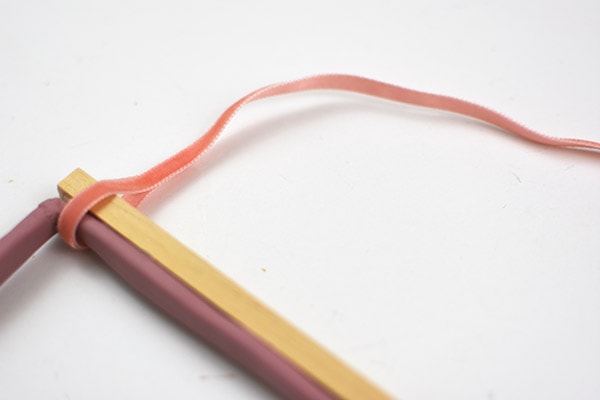
The addition of a simple ribbon to hang my DIY box on the wall and the project was finished!
What to put in a DIY Shadowbox?
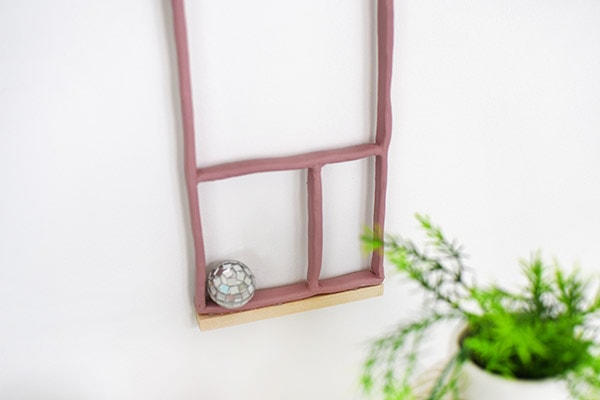
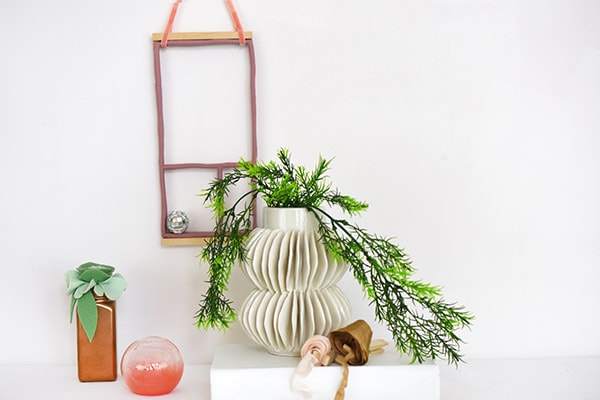
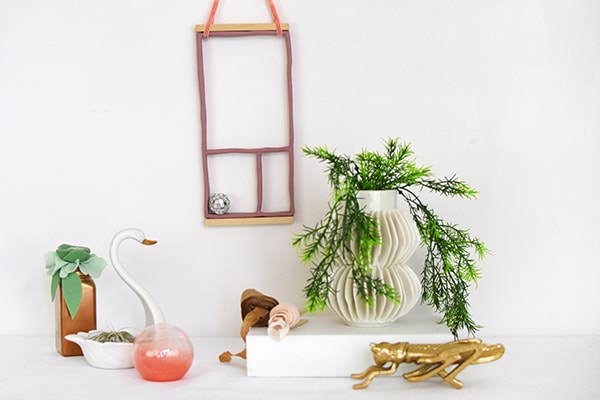
My homemade shadowbox is very narrow, so I simply put a tiny little disco ball in mine. I also thought an air plant would be a fun addition. However, if you made your shadow box wider, you could put all types of items in it : photographs, small vacation momentos, small floral arrangements, etc!
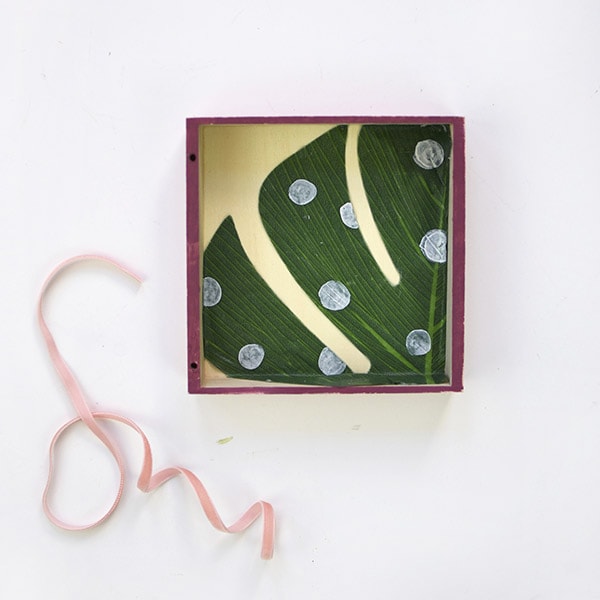
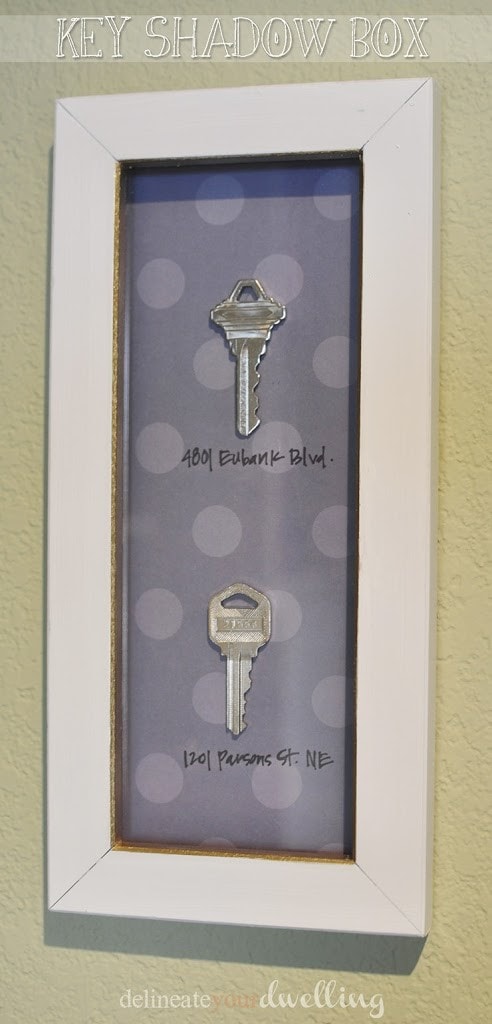
You might be asking what are other DIY Shadow box ideas? Well, you have come to the right place because I have done a handful of other projects very similar to this. I created a Handpainted Marble box, I used a shadowbox and created a fun office supply art piece and I used a square box for a Mosaic Heart puzzle wall hanging.
I hope you decided to try this easy Shadowbox project for yourself! Be sure to tag me on social media and share how yours turns out. Instagram Facebook
If you liked this clay project, you might like some of the other projects I have done:
You might also like some of these creative craft box projects!