Flower Wall Hanging
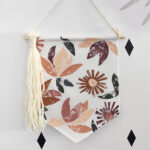
INSIDE : Learn how to create a lovely DIY Stamped Flower Wall Hanging to put in your home. Add a simple yarn tassel and it is ready to add fun and fashion to your walls.
This post may contain affiliate links. See full disclosure here.
Now that we are spending endless hours at home, I have had some more free time to craft with my kiddos. My sweet friends, Sara and Melissa of Alice and Lois made this simple stamped lemon tote and I realized we could make something similar!
My kid’s both followed their tutorial and made adorable canvas tote bags. My daughter stamped peaches on her bag and my son stamped a star and “US ARMY”. Ha, they are both so them – it makes me laugh.
I got so excited about the project and before you know it, my plans were turning very extra. So, I decided to do a full blog post about it!
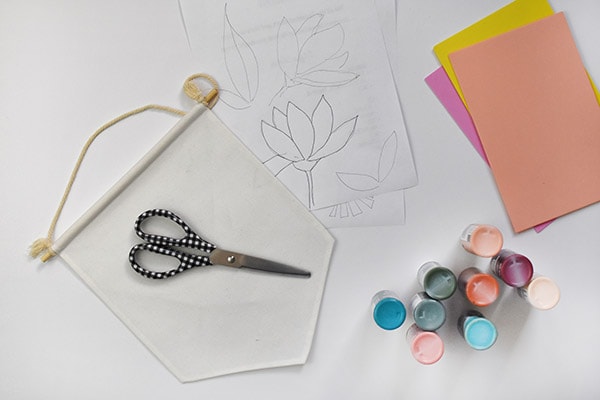
What supplies do I need to make a Flower Wall Hanging?
Foam Sheets
Scissors
Pencil
Acrylic Paint
Paper Plate
Sketch Paper
Canvas Wall Hanging
Hot Glue
Optional : Cream colored Yarn
How do I make a Stamped Flower Wall Hanging?
I started my designing by first sketching out some flowers on paper with pencil. It was helpful to have a plan for what types of flowers I wanted to stamp, before I actually started marking them out on the foam.
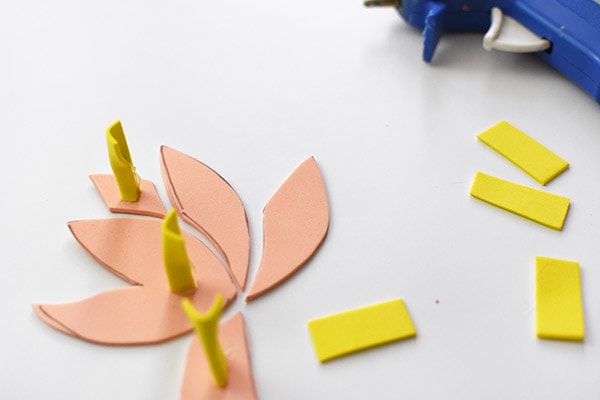
Once I knew the basic shapes, I cut them out of my paper and onto the foam sheets. If you already know what your design will look like, you can skip the paper step and go straight to the foam.
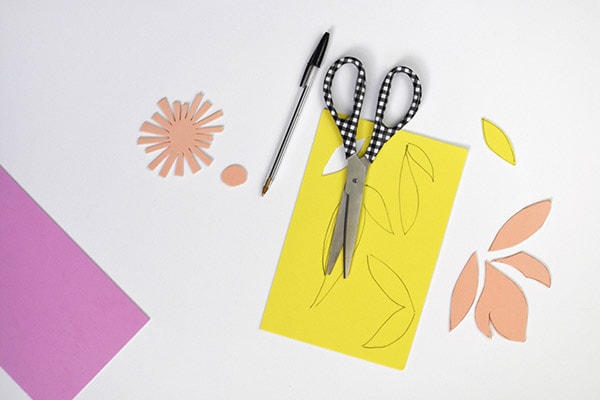
After my foam flower shapes were cut out, I quickly cut small rectangles of foam and hot glued them together and then onto the backside of my flower pieces. These acted like the handles to my stamps… otherwise the foam would have been impossible to dip into paint and onto the canvas without making a huge mess.
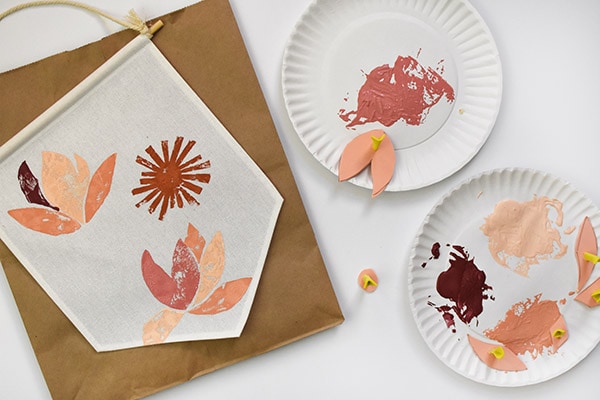
Using paper plates, I added a few different shades of peach, coral, blush and burgundy acrylic paint to use for the flowers. NOTE : I wanted different parts of the flowers to have different colors, so instead of one big flower stamp, I had multiple stamps for different parts of the petals.
Be sure to think about layering your paints, as well. I was sure to do the main portion of the flower first and then after it had dried, I added the flower’s center.
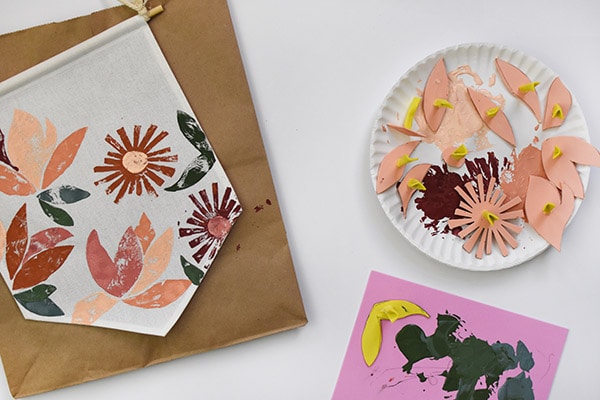
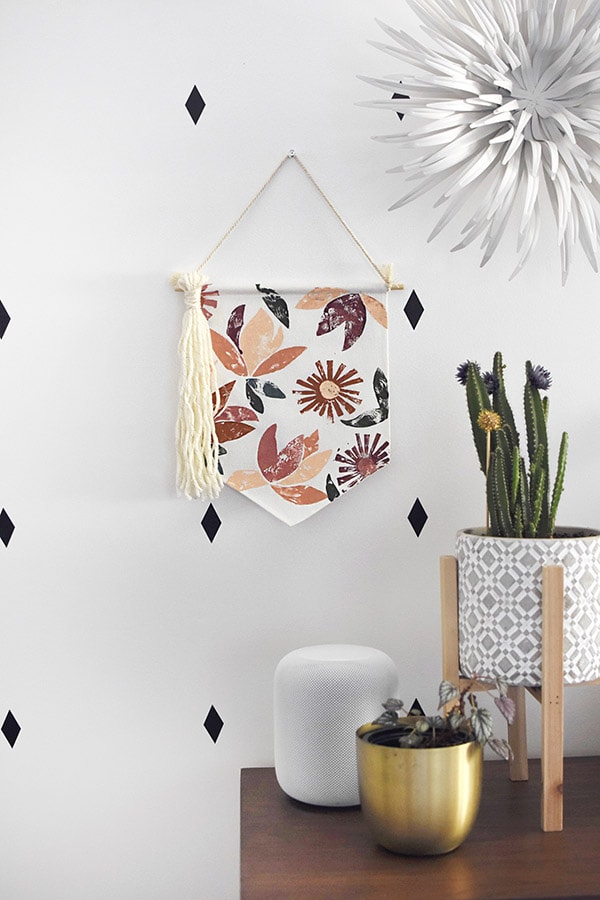
It was such fun to see the canvas flag banner fill up with all the colorful flowers! Next, I used a few different shades of green and added in some leaves.
DIY Flower Stamped Canvas Wall Decor
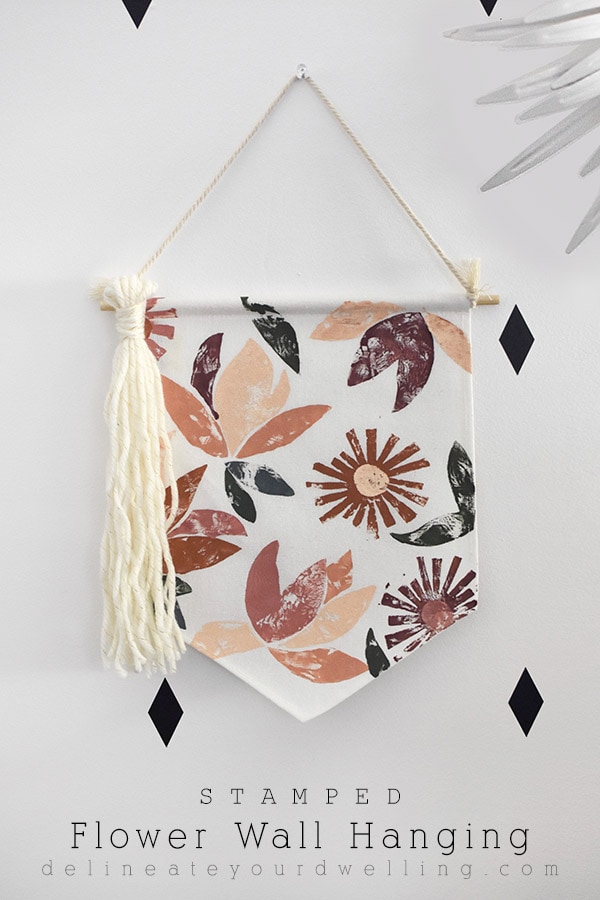
Once everything was fully dry, I decided to add a big cream colored yarn tassel. If you need help making tassels, check out how I did mine at my Lounge Tassel Pillow post.
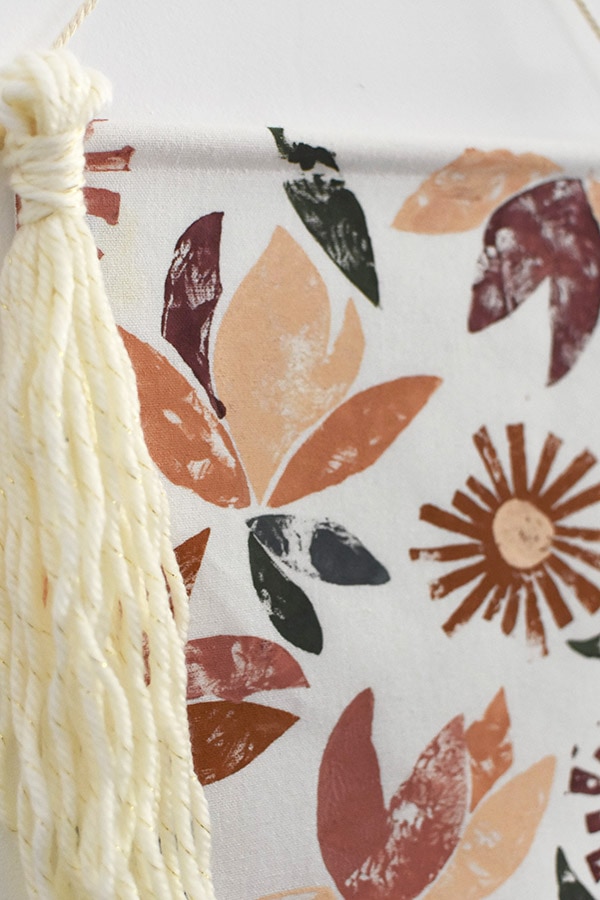
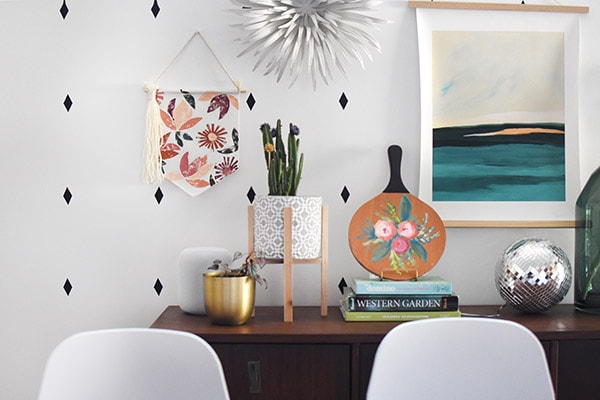
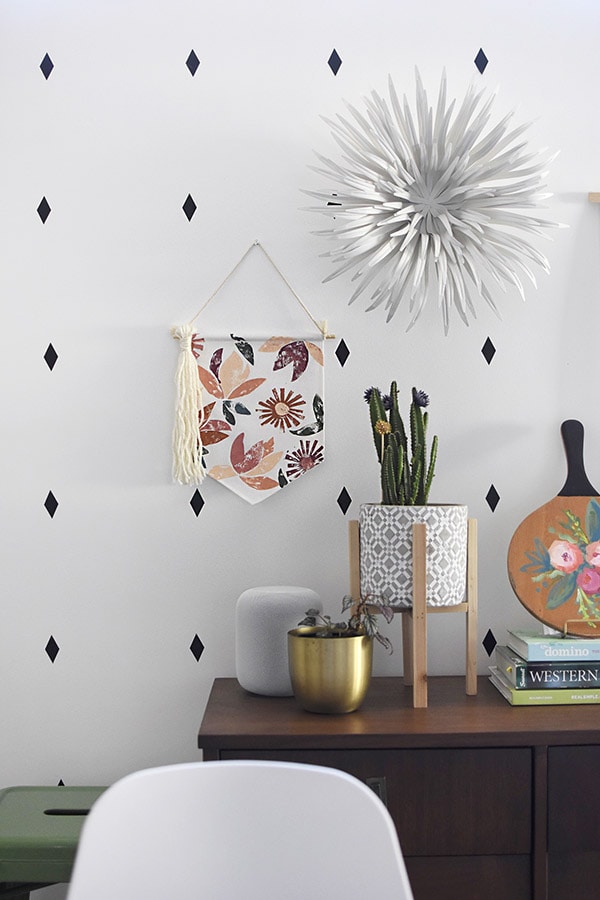
I really love how this fun project turned out. And it looks so perfect in my dining room! I think the colors really pull in the wood from my wooden Abstract Flower painting.
Stamped Flower Wall Decor
I don’t do a lot of stamped painting typically, but I really loved the messy almost vintage look it gave this project. And the yarn tassel is the perfect finishing touch!

And if you love this project, like I do, don’t forget to pin this image below and save it for later! I would love to see what your stamped project looks like.
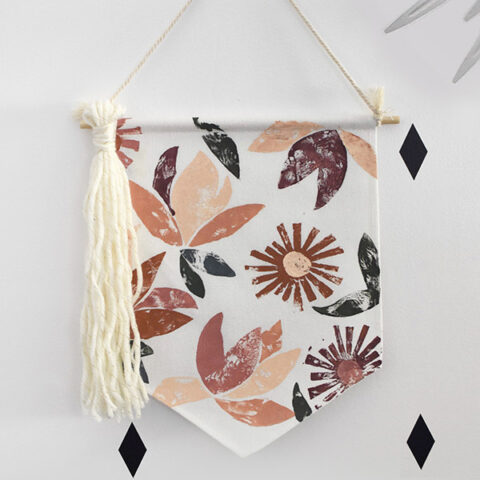
Stamped Flower Wall Hanging
Learn how to create a lovely DIY Stamped Flower Wall Hanging to put in your home. Add a simple yarn tassel and it is ready to add fun and fashion to your walls.
Materials
- Foam Sheets
- Scissors
- Pencil
- Acrylic Paint
- Paper Plate
- Sketch Paper
- Canvas Wall Hanging
- Hot Glue
- Cream colored Yarn
Instructions
- I started my designing by first sketching out some flowers on paper with pencil. It was helpful to have a plan for what types of flowers I wanted to stamp, before I actually started marking them out on the foam.
- Once I knew the basic shapes, I cut them out of my paper and onto the foam sheets. If you already know what your design will look like, you can skip the paper step and go straight to the foam.
- After my foam flower shapes were cut out, I quickly cut small rectangles of foam and hot glued them together and then onto the backside of my flower pieces. These acted like the handles to my stamps… otherwise the foam would have been impossible to dip into paint and onto the canvas without making a huge mess.
- Using paper plates, I added a few different shades of peach, coral, blush and burgundy acrylic paint to use for the flowers. NOTE : I wanted different parts of the flowers to have different colors, so instead of one big flower stamp, I had multiple stamps for different parts of the petals.
- Be sure to think about layering your paints, as well. I was sure to do the main portion of the flower first and then after it had dried, I added the flower’s center.
- It was such fun to see the canvas flag banner fill up with all the colorful flowers! Next, I used a few different shades of green and added in some leaves.
- Once everything was fully dry, I decided to add a big cream colored yarn tassel. If you need help making tassels, check out how I did mine at my Lounge Tassel Pillow post.
And if you want to check out a few other yarn crafts, look no further:
Ring Yarn Art
Yarn Wrapped Twig Wreaths
DIY Ombre Basket Yarn Handle
Printed Letter Tote Bag
Flower Wall Hanging with Yarn Tassle
Colorful HOME Sign
Pom Pom Throw Blanket
Lounge Tassel Pillow