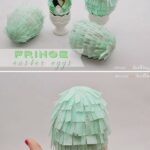
Easter Fringed Egg
INSIDE : Learn how to make gorgeous tissue paper Easter Fringed Eggs! Set them out on display at your Spring Table or hide them during your Egg Hunt.
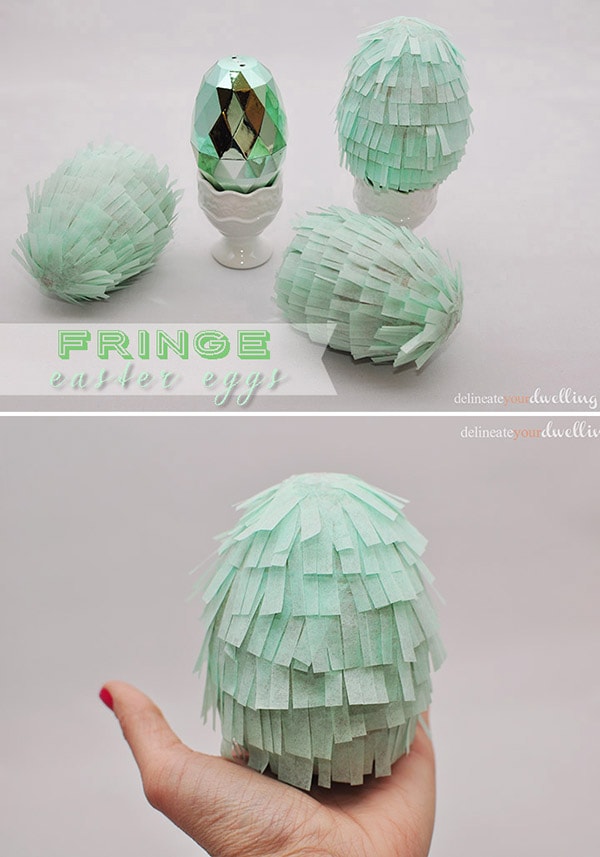
This post may contain affiliate links. See full disclosure here.
This post has been updated since it’s original April 2014 publish date.
Today I am sharing the last of my DIYs for that party, DIY Fringe Easter Eggs! The color and texture of these fringed eggs are just too perfect.
And don’t forget to hop over and see how I created the main focal point, a Newspaper Chalkboard Wall with adorable mini Easter Cups.
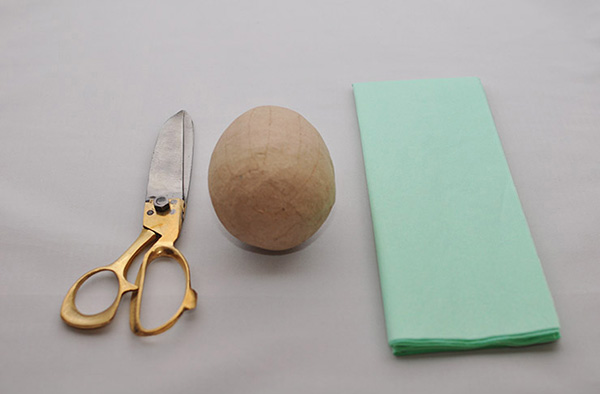
Tissue Paper Fringe Egg supplies
- Paper Mache Easter Egg (mine was about 3″ tall)
- Mint Colored Tissue paper
- Scissors
- Mod Podge
- Paint Brush
How do I make Tissue Paper Easter Eggs?
I used a similar tissue paper technique for my New Year’s Eve backdrop. To start these fun fringed tissue paper eggs, cut the tissue paper into strips about 2″ wide in length – small widths if you are using a normal sized egg.
Next, make narrow slices all along the strip. You could also use fringe scissors to help speed up this process.
Apply a light coat of Mod Podge on the top and bottom of the egg and then cover with a small section of your fringed tissue paper.
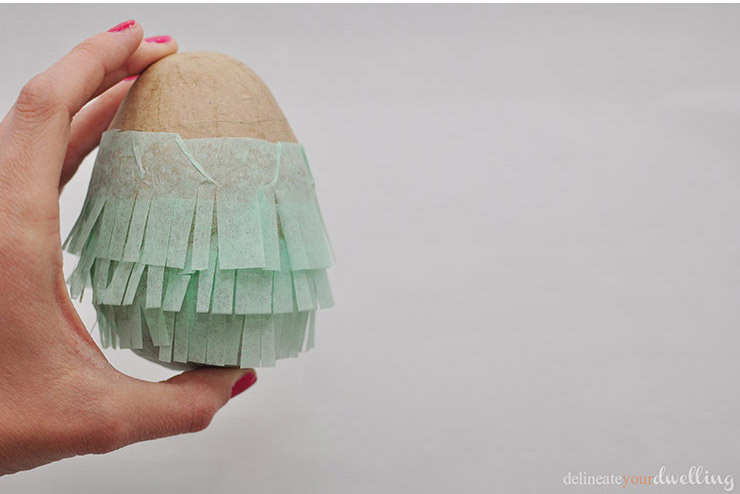
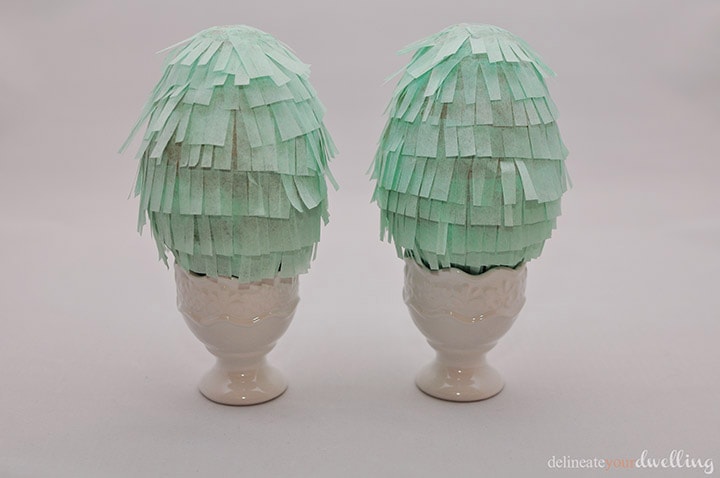
Starting at the bottom of your egg, continue applying mod podge and slowly layering on the tissue paper strips. Work your way up the egg, as you go until you reach the top.
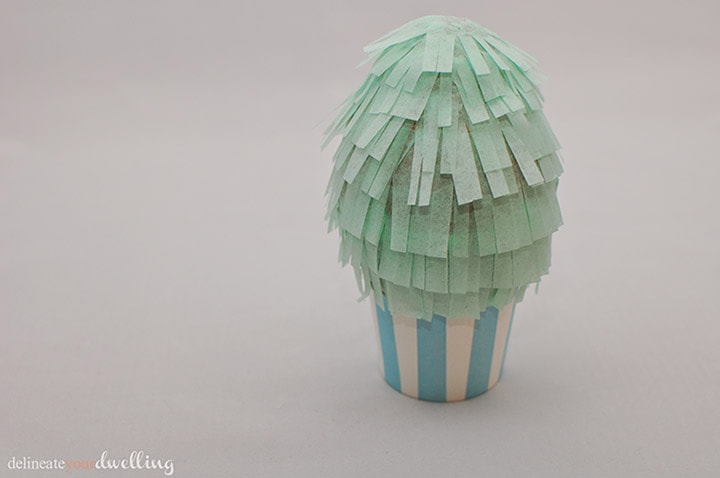
Easter Tissue Paper Fringed Egg
The finished product is a lovely textural Fringed Tissue Paper Easter Egg!
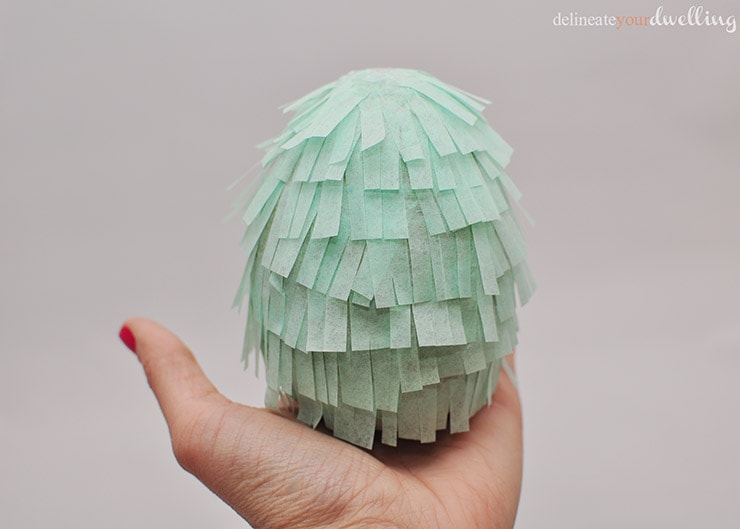
Easter is such a special and important day. I had such fun putting this small party together to celebrate the occassion!
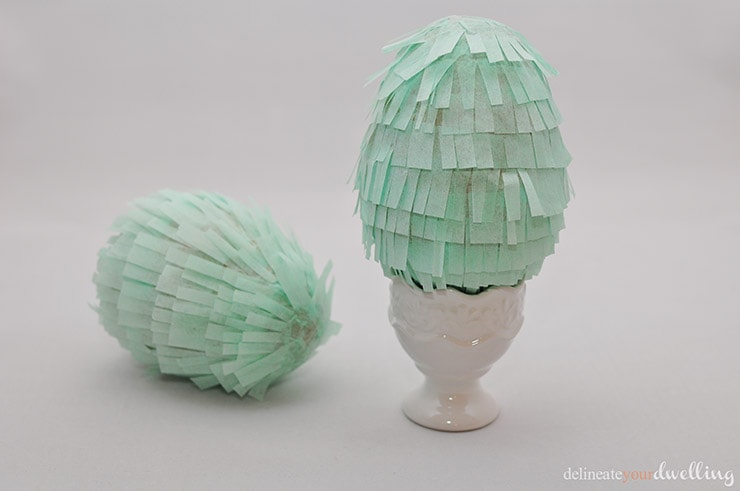

Easter Tissue paper Fringe Egg
Learn how to make gorgeous tissue paper Easter Fringed Eggs! Set them out on display at your Spring Table or hide them during your Egg Hunt.
Materials
- Paper Mache Easter Egg (mine was about 3″ tall)
- Mint Colored Tissue paper
- Scissors
- Mod Podge
- Paint Brush
Instructions
- To start these fun fringed tissue paper eggs, cut the tissue paper into strips about 2″ wide in length – smaller widths if you are using a normal sized egg.
- Next, make narrow slices all along the strip. You could also use fringe scissors to help speed up this process.
- Apply a light coat of Mod Podge on the top and bottom of the egg and then cover with a small section of your fringed tissue paper.
- Starting at the bottom of your egg, continue applying mod podge and slowly layering on the tissue paper strips.
- Work your way up the egg, as you go until you reach the top.
- Enjoy!
I hope you all take some inspiration from these fun ideas.
Looking for some other fun Easter craft projects? Check out these below.

