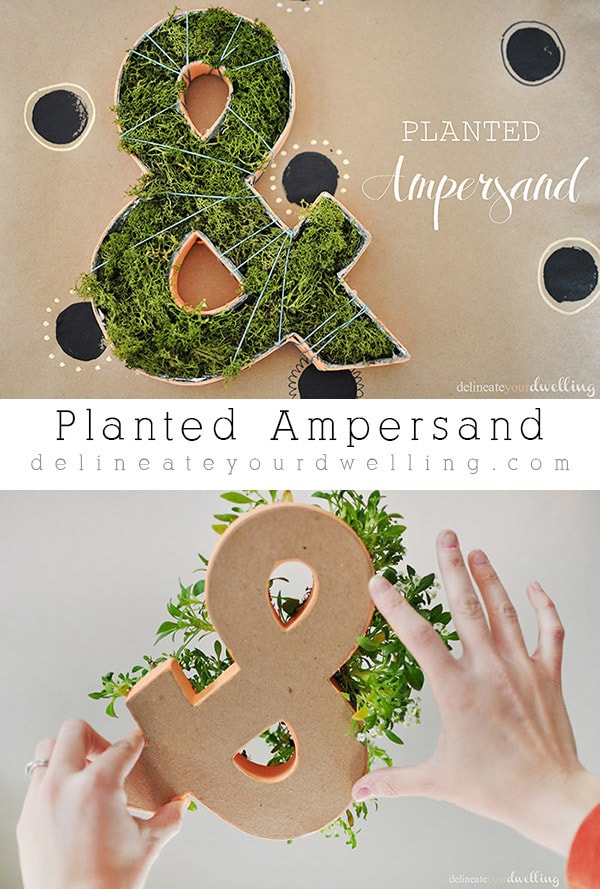
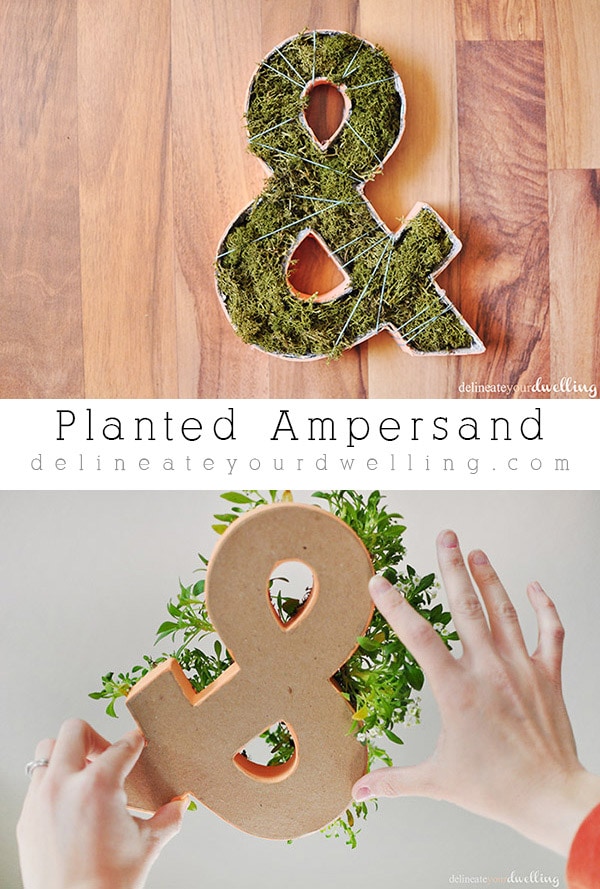
How to make a Planted Ampersand


INSIDE : Learn how to create a gorgeous moss spring decor statement with this fun craft! How to make a Planted Ampersand and have fun along the way.
This post may include affiliate links. See my full disclosure.
This post has been updated since it’s original March 2014 publish date.
Last week I shared my fabulous Tiny Prints inspired Garden Party. It was so fun to collaborate with TP (that’s what you call them when you’re buds like we are). I filled that party to the brim with fun and easy garden DIY’s so I wanted to share a few of them with you! Today, I will be sharing How to make a Planted Ampersand.
What supplies do I need to make a Paper Mache Ampersand plant?
Paper Mache Ampersand
Moss
Blue Embroidery String
Peach acrylic Paint + brush
Hot Glue
Optional : High Grit Sand paper
What are the steps to creating a Planted Moss Ampersand table decor piece?
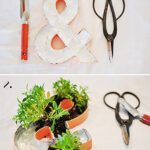
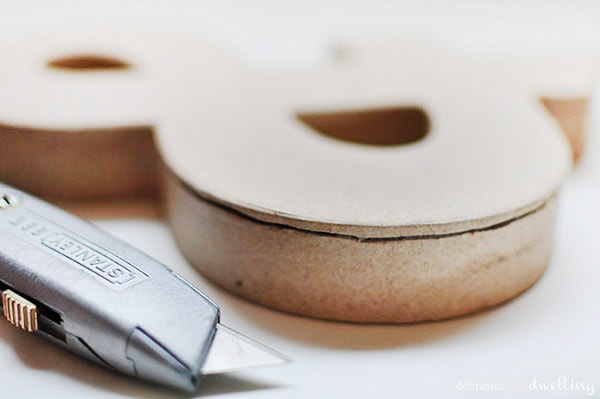
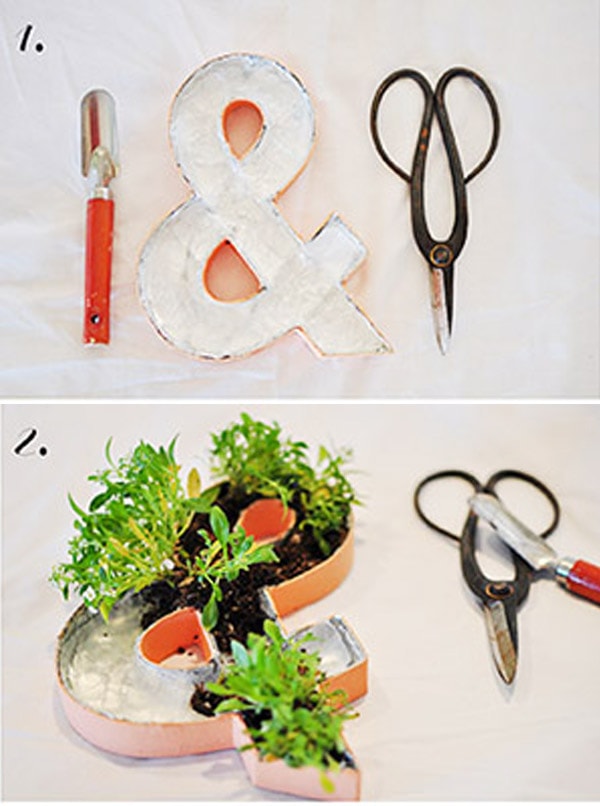
Start by getting a plain paper mache Ampersand from your local craft shop. Then, using a box knife, VERY GINGERLY cut the top off. Please be careful with those fingers on this step!!
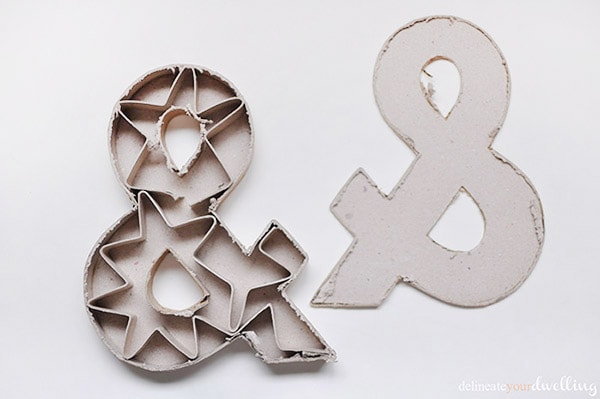
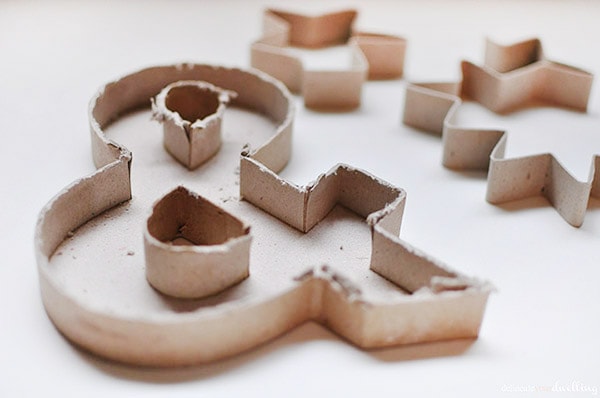
Once the top was off, this what was inside. So interesting, right?
Remove the inside support pieces and you have created your empty vessel or container for the moss.
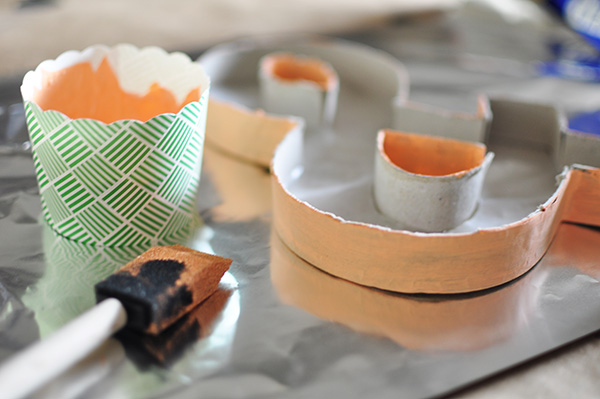
Painting a Moss Decor piece
Adding real plants
2. I used sweet little white Alysum plants and started filling in the planter.
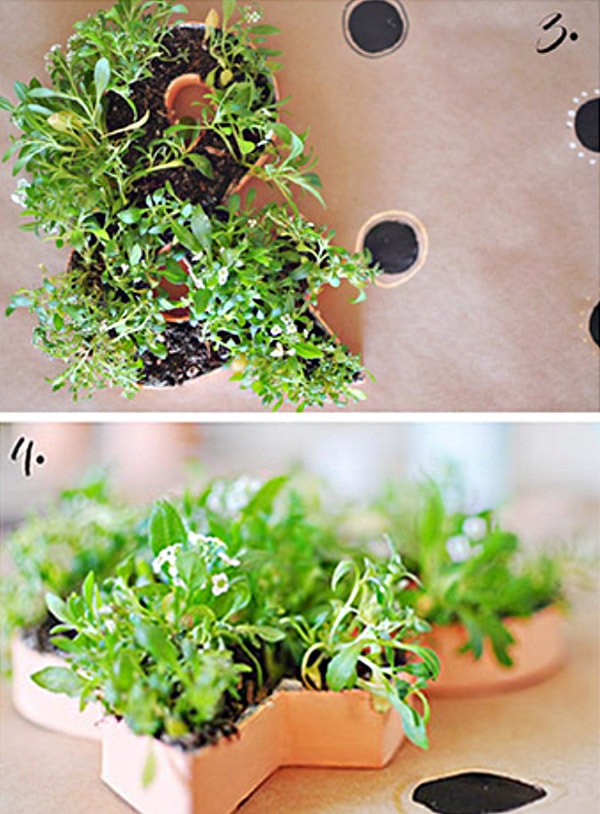
From underneath, I loved the little plants peeking out.

Adding Moss to your Paper Mache vessel

The day before my garden party, I had to throw my sweet Alysum plants into the trashcan. They took a turn for the worse and were looking like wimpy pancake Alysum. Certainly not party worthy.
So, “Plan B” was put into action… a Moss filled Ampersand wrapped with Blue Embroidery String!
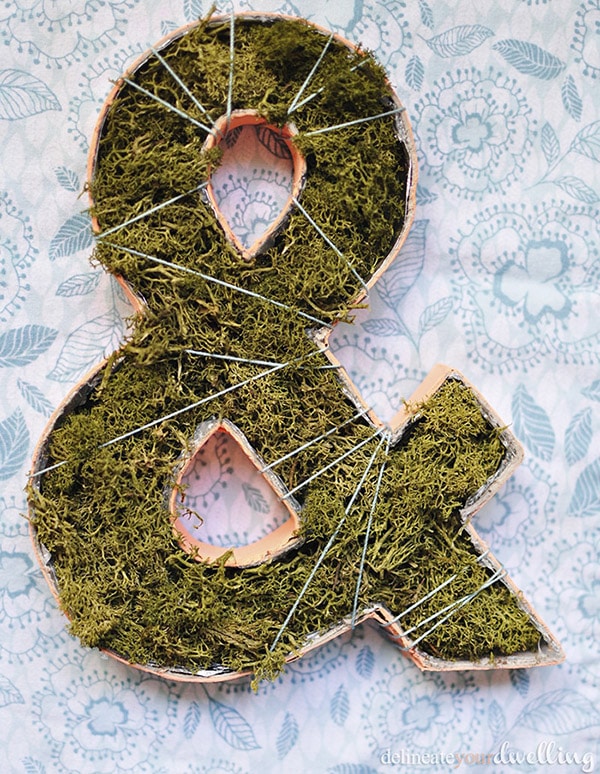

Even though this project took a turn for the worse since the plants died and I had to start over, I am so pleased with how it turned out in the end. Now I have this Planted Ampersand displayed on my mantel and don’t need to worry about watering it!
Looking for other fun Spring related craft projects?
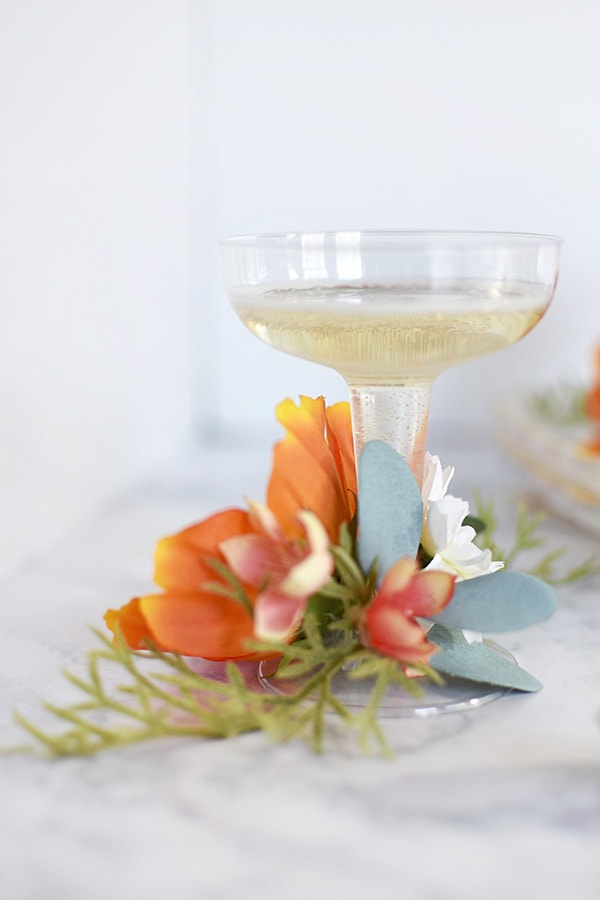
Floral Champagne Saucer Glasses
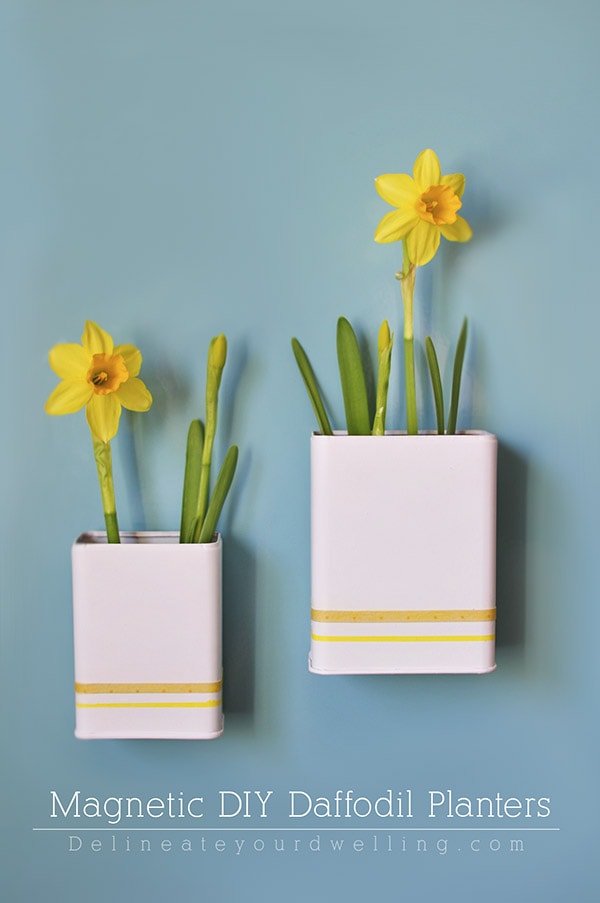
Magnetic DIY Daffodil Planters
Wow! I wish my craft fails would turn out like yours did! Such a cute idea as a little planter, but even better with the moss. Now you’ll be able to enjoy indefinitely! Thanks for sharing at my Creative Ways Link Party!
Blessings,
Nici
Thanks so much, Nici. This is one of my favorite projects… and fails, ha!