DIY Metallic Easter Eggs
INSIDE : Learn how to create simple DIY Metallic Gold Plastic Easter Eggs using spray paint and chalk markers! The finished result is trendy, fun and so easy.
This post contains affiliate links. See my full disclosure.
This post has been updated since it’s original 2015 publish date.
Spring is officially here and Easter is on it’s way! Honestly, what a wonderful time of the year… although, I heard some of you are STILL getting snow and that just is plain wrong. Hopefully I can cheer you snow folks up with my pretty DIY Metallic Easter Eggs today!
Fake Speckled Egg Decor
A few weeks ago, I found a box in my closet and it was labeled, “Spring.” I opened up it and found all kinds of spring projects and plastic eggs from last year. I also found a few random items that I never got around to using. These simple speckled eggs were going to be transformed last year, but lucky me I get to play with them this year!
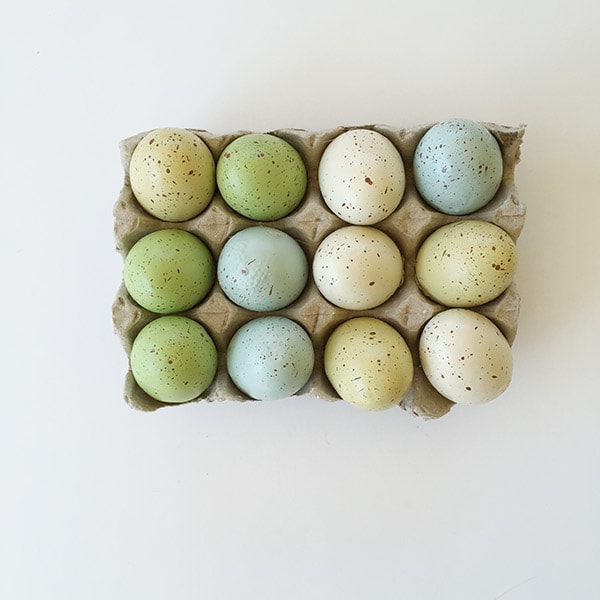
What supplies are needed for Metallic Easter Eggs?
- Fake eggs (can be white plastic, wooden, etc…)
- 3 Spray paints ( Vintage Copper, Khaki Beige + Gold)
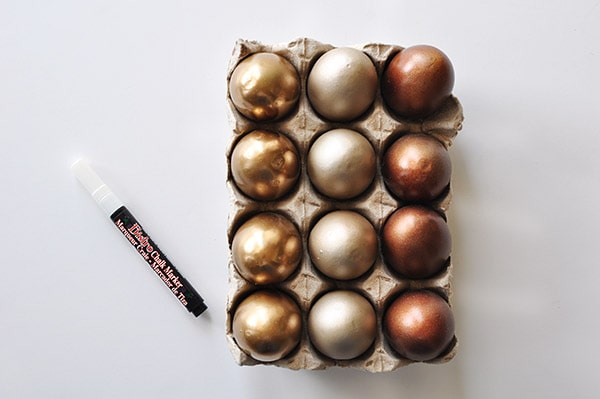
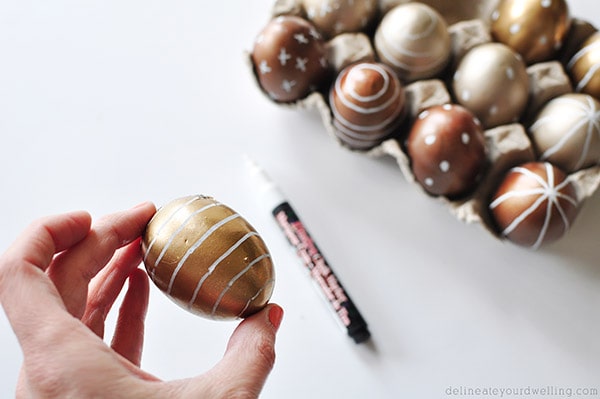
- Fine Point Chalk Marker


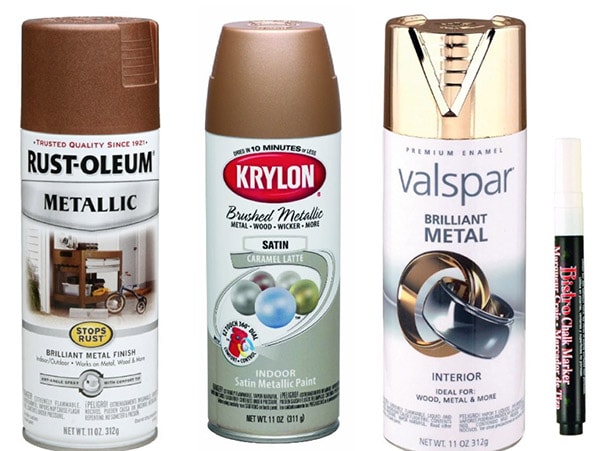
How to make DIY Metallic Easter Eggs?
When you are wanting to paint an Easter Egg, first be sure to work in a well ventilated area and give a nice coat of spray paint to each of the faux eggs.
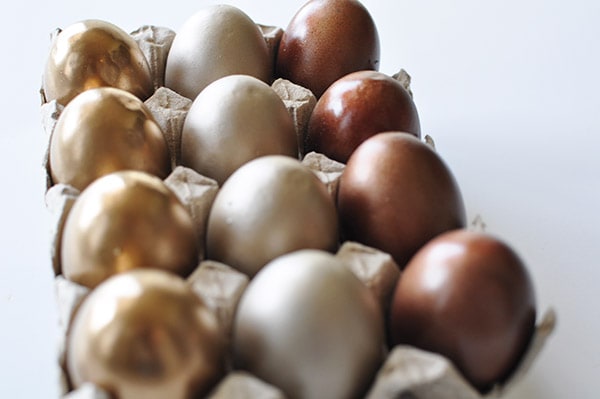
I painted four eggs in each of my spray paint colors. They each took a few coats to get a nice even coverage. I loved these colors, they reminded me of antique or vintage metal easter eggs.
Adding Chalk Paint to Easter Eggs
After the eggs are fully dry, it’s time to do some decorating!
The good thing about using this Chalk marker is that it provides a nice clean matte white line. And if you make a major whoops mistake, you can use a damp cloth and it will wipe right off.
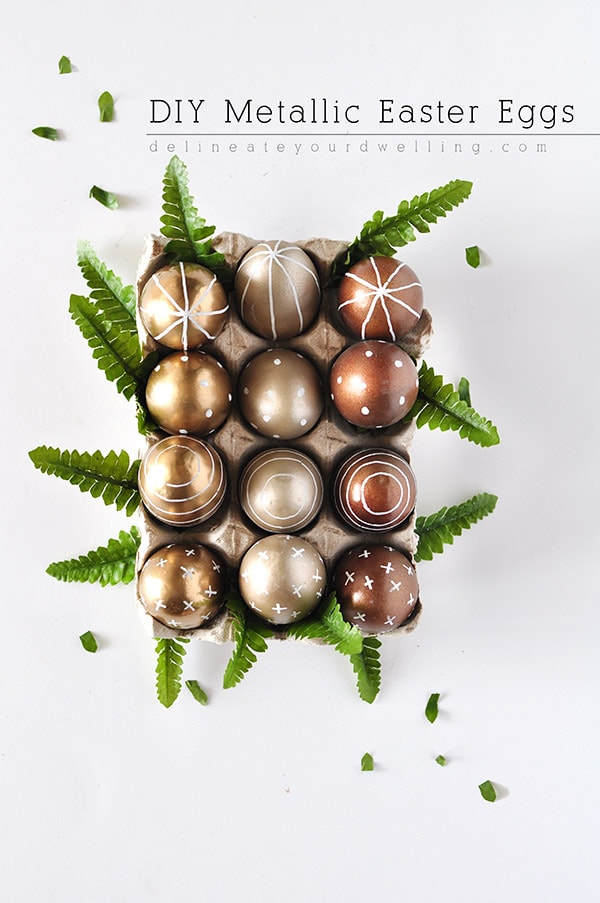
Minimalist details on Metallic Eggs
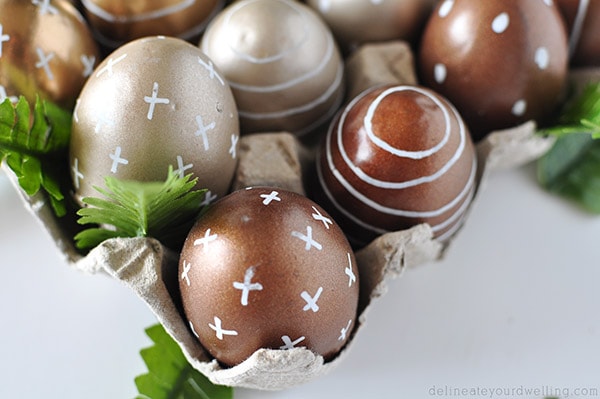
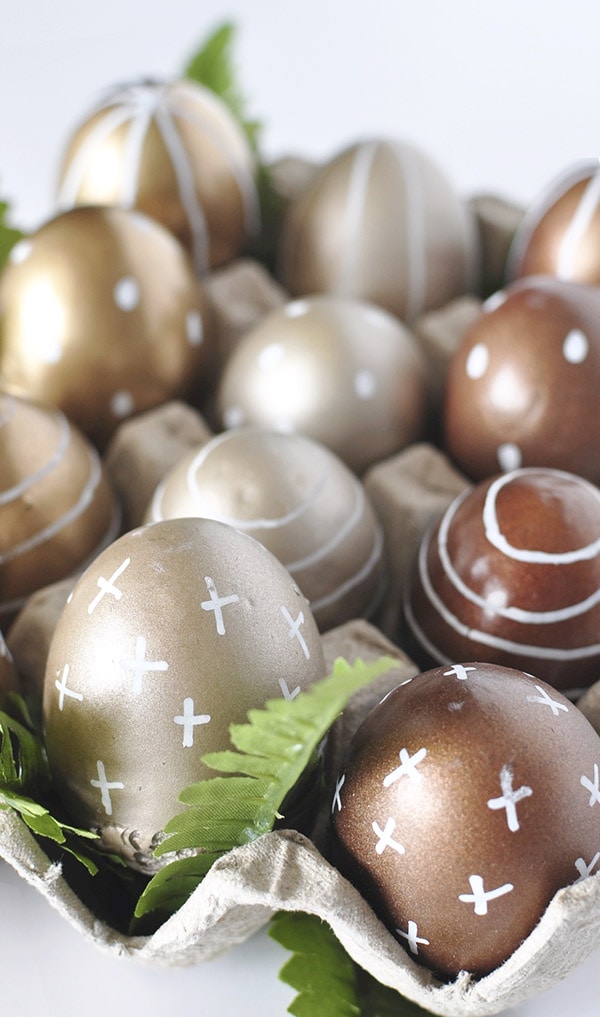
I painted/drew four different designs on the eggs. One design was a small cross pattern, a horizontal stripes, fun polka dots and simple vertical stripes.
I kept trying to decide on a favorite pattern but I am not quite sure if I can! I loved how each of them turned out.
I am leaning towards the polka dots and horizontal stripes.
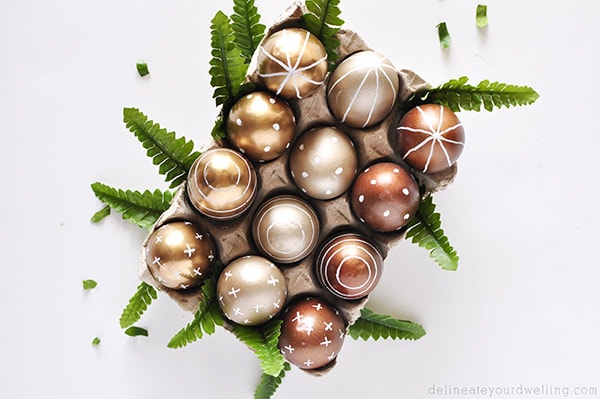
Easter Eggs in cardboard carton
Once the eggs are completely dry, you can style them any way you like! I tucked some faux fern greenery under a cardboard egg carton and just loved how it looked.
Have you tried drawing on your Easter Eggs before? What about drawing on your eggs with chalk, ha?
If you are still looking for more creative ideas, check out a few of my past Easter Egg DIYS.
Published Fruit Eggs in Rachael Ray Magazine
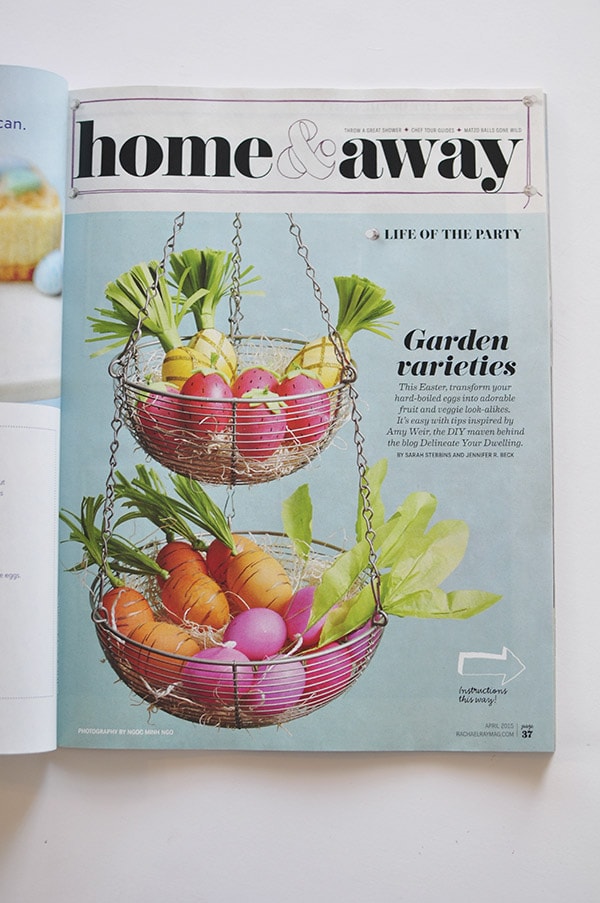
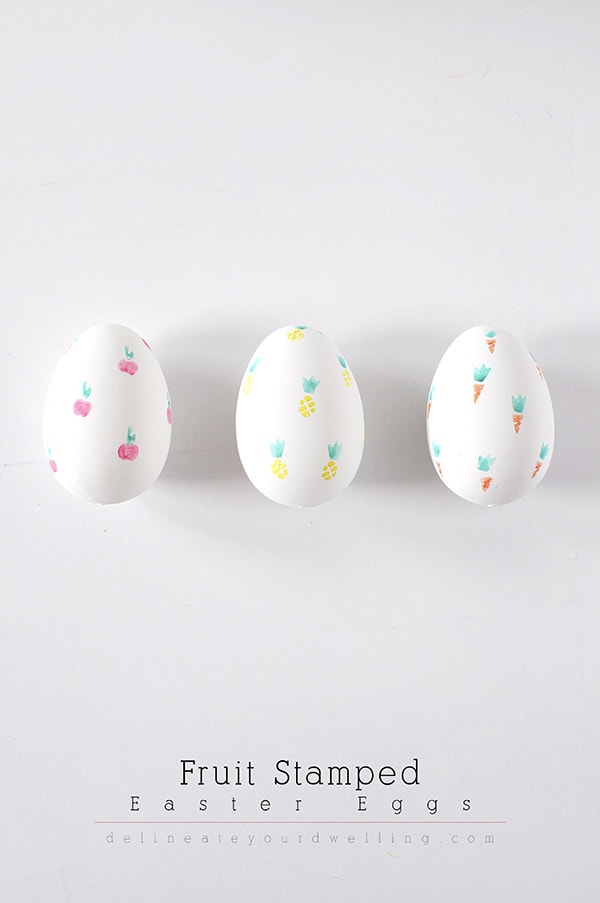



I adore these Amy! Going to share them on my Facebook page. Happy Easter to you. Sue ~ @SuzyHomemakerUK
Thank you for sharing, Sue!! Happy Easter to you, too.
Thanks for sharing with us for The Sunday Brunch Magazine, we look forward to sharing your work, Bel & Eliza xx
These are so adorable! I just did my chick on my wooden tags in this color…i am loving it!
pinned and stumbled!
I hope you had a great Easter!!
Jess
Hi there! VIsiting from the Inspiration^2 link party. These eggs are so beautiful! I love that you used different shades.
Oh my goodness! Now these are DARLING!
Aw, thanks so much Shannon!
Well, Amy, these are just way too cute! I love the color palette that you used, so chic! I think I need some metallic eggs now… 😉 Thanks for linking up with us at Best of the Nest!
Oh, thank you Jennifer! It’s not my typical Spring colors, but I sure love how these metallic eggs turned out! I’ll definitely be linking up again at your party.
These look adorable. Almost like Christmas ornaments
The color mix is great! And yes I have actually tried drawing on them before. I used permanent markers on blown out eggs. They turned out nice (not quite as cool as this). It is really the fixed palette that makes these great.
I love these! Thanks for linking up to the Creative Collection! I’m sharing these today on Facebook!
Wow, these are so cool!! Now you’ve got me wishing I wasn’t all done with my Easter decor, lol!! Pinning, for sure 🙂
Aw, thanks for the pin Cindy!
Love these!!
Thanks so much, Shyla!
I love these! Metallic looks great on eggs. I also made some Easter eggs this past weekend- please check them out! http://www.babybugjournals.com/my-baby-journey
Thank you so much, Lindsay! Your eggs look great, too!
These are stunning! The brown ones look good enough to eat! Love the colours together. Great DIY as usual!
Thank you, Gilly!! Such a complement coming from you.
Oh my goodness, these are stunning!! Thanks so much for letting me include them in my round up. You are awesome my friend!
You are too kind, Kathy! Thank YOU for including them. =)