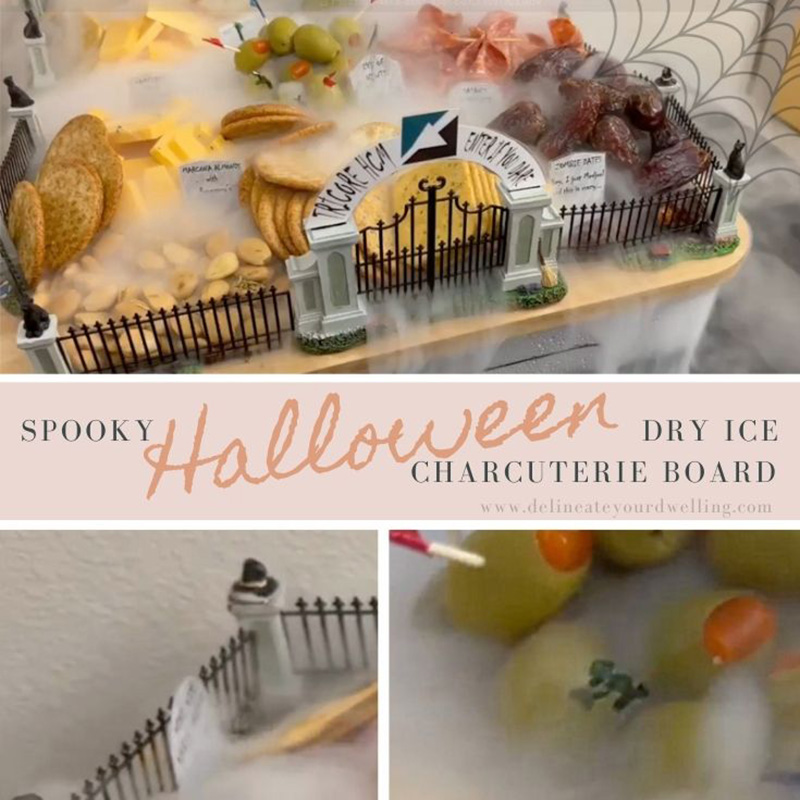
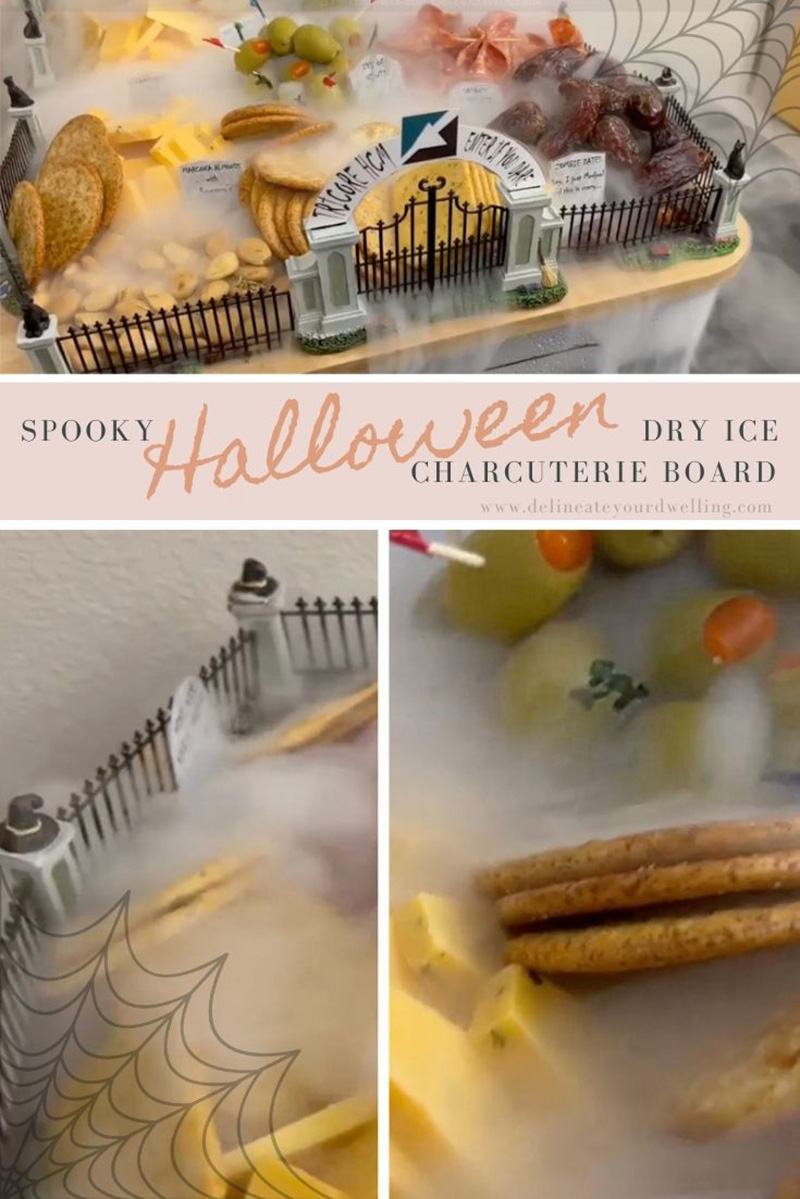
Dry Ice Halloween Charcuterie Board

INSIDE : Learn how to be the best ghoul at the party with this over the top Dry Ice Halloween Charcuterie Board perfect for displaying all your favorite treats!
This post may contain affiliate links. See full disclosure here.
The best part of any holiday in my opinion is the food. Just because Halloween is known for being a holiday of candy and treats, doesn’t mean you can’t celebrate with a wonderful charcuterie spread of meats, cheeses with a side of spooky.
Let’s get into how to make this incredible dry ice Halloween Board for your next party with friends!
Supplies needed for a Spooky Charcuterie Board
- Meats (salami, pepperoni, capacola)
- Cheeses (swiss, mozzerella)
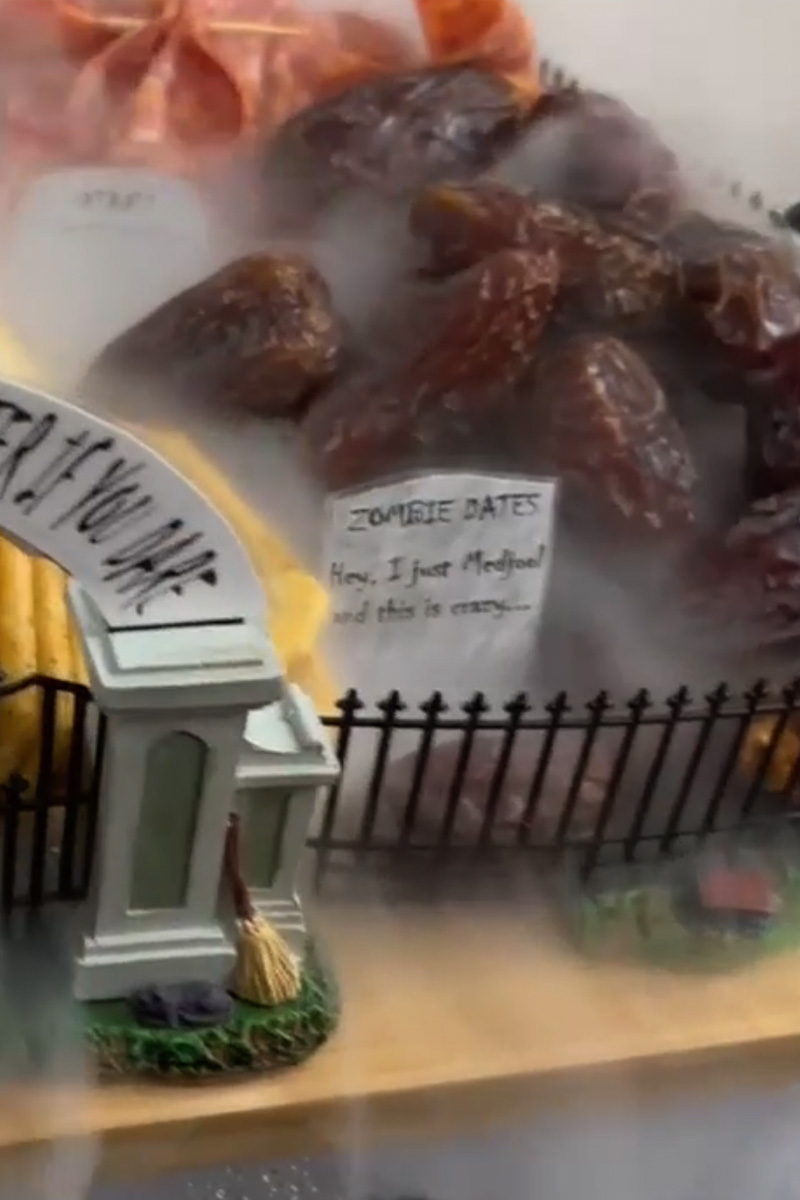
- Fencing
- Model Columns
- Misc. Halloween figurines (Black crows, witch hates, black cats, etc…)
- Containers with Lids
- Electric Drill

My old landscape architecture co-worker, Jesse Scott created this incredibly creative charcuterie board and wanted me to share it with you! He is one of the most creative guys I know and this fun project is just one example of that.
Now, let’s get into how to make this cool snack board.
How to make a dry ice Halloween Charcuterie Board
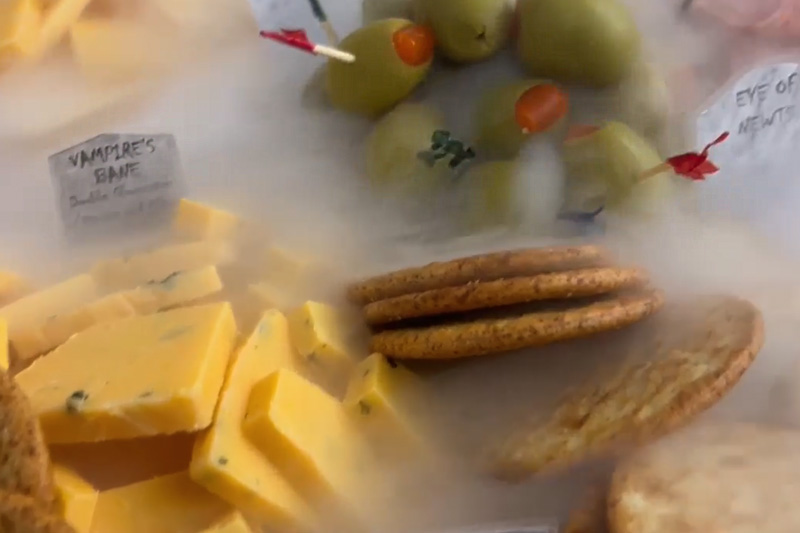
The genius idea behind making a dry ice charcuterie board is that the dry ice stays BELOW the food, so there is no contamination.
Start by drilling holes with an electric drill in your container’s wood top. These holes will allow for the dry ice smoke to infiltrate through the lid and give the spooky look you can see in the photos.

Once you have the holes drilled in the top, you can start to set up your charcuterie board!
What are good foods to add to a charcuterie board?
When making a charcuterie board, it’s helpful to create visual appeal with color and height. You can create different heights by adding some items to small dishes or bowls. And adding in bits of greenery like fresh herbs (rosemary and thyme are fun options) helps to break up having food only set out.

Here are some great foods to put on your next board…
- Meats
- Mild: Prosciutto, Sopressata
- Spicy: Salami, Chorizo
- Smoked: Ham, Pancetta
- Cheeses
- Hard: Parmesan, Manchego
- Soft: Brie, Camembert
- Blue: Gorgonzola, Roquefort
- Consider a variety of milk types: Cow, sheep, goat
- Fruits & Veggies
- Fresh: Grapes, Strawberries, Raspberries, Cherries, Figs, Pear Slices, Apple Slices
- Dried: Apricots, Dates, Figs
- Marinated
- Olives
- Artichokes
- Nuts
- Almonds
- Walnuts
- Pecans
- Pistachios
- Crackers
- Water crackers
- Baguette slices
- Crostini
- Spreads
- Honey
- Jam (fig, apricot)
- Mustard
- Hummus
- Pickles
Adding dry ice to charcuterie board
Once you have all your foods set out and any labels or signs added, you are ready for the next step of this spooky setup – adding the dry ice.
PLEASE NOTE — Always wear thick, insulated gloves when handling dry ice. I prefer using tongs or other insulated tools whenever possible so as to not even risk it. Dry ice can give quick frostbite, so please please be careful as you set this up.

Using tongs, place your dry ice in the plastic containers and once you’ve added all you need, place the board overtop. The dry ice smoke should slowly start to seep out the drilled holes in your container’s top giving off an eerie spooky look!
If you are looking for more fun Halloween decor ideas, check out some of these!
Halloween Boho Neutral Tombstone

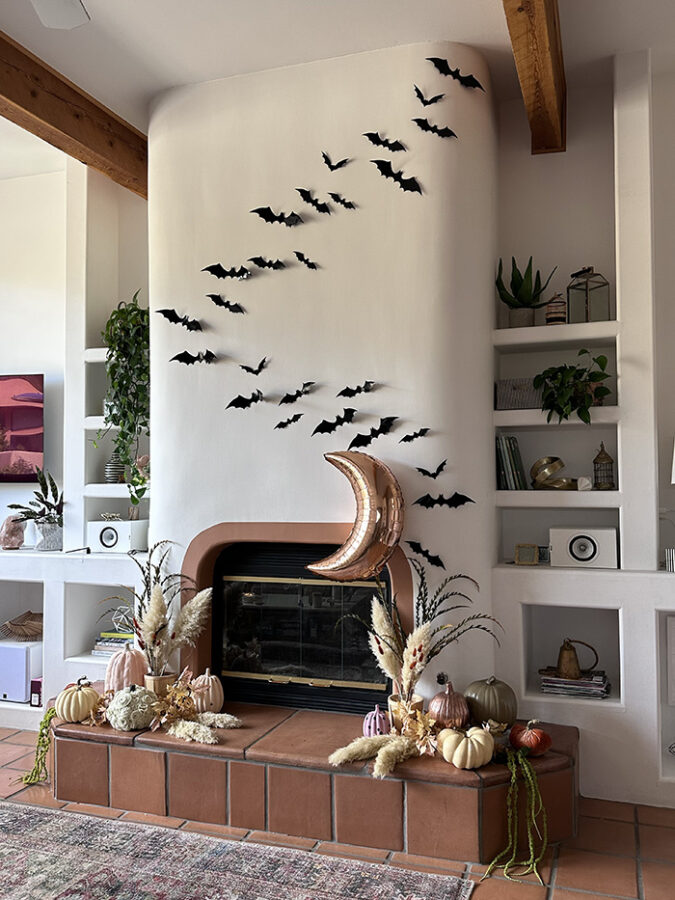
Fall Boho Bat Fireplace Display
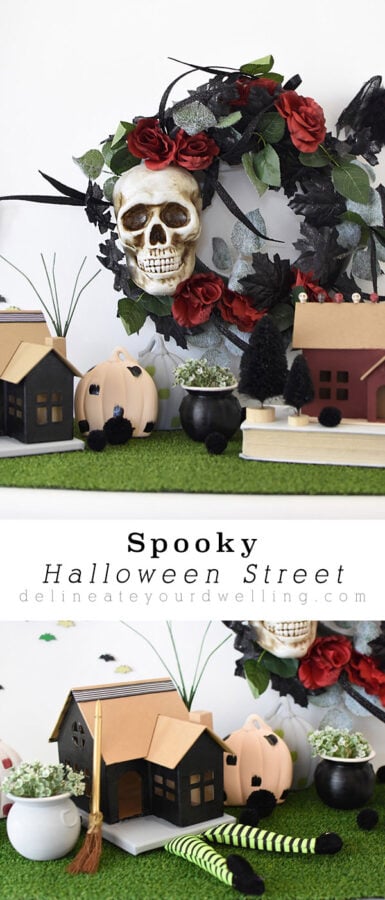
Or you may like these creative Halloween and Fall ideas…