Halloween Boho Neutral Tombstone

INSIDE : Learn how to turn a spooky creepy gravestone into a fun Halloween Boho Neutral Tombstone. Halloween doesn’t have to always be dark and scary, it can be light bright and airy!

This post may contain affiliate links. See full disclosure here.
Here is my question, why does Halloween always have to be spooky, scary and black? I’m here for some lighter cheerful Halloween decor! If you are into that also, you may like some of these…
Ready to turn those less than lovely gravestones into happy bohemian pieces? Let’s get started!
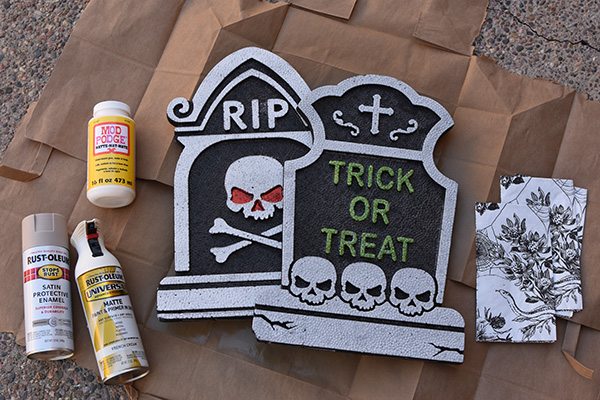
What supplies do I need to make a neutral Styrofoam Tombstone?
- Styrofoam Tombstones (I got mine from the Dollar Store)
- Spray Paint (Ivory Silk + French Beige)
- Mod Podge
- Piece of Paper
- Cardboard
- Vintage black and white napkins (Cobweb Napkins would be cute, too!)
- Green Chalk Paint
- Dried Grasses or Dried Flowers
- Twine
- Hot Glue
- Paint Brush
- Scissors
- Pencil
Foam Tombstones DIY
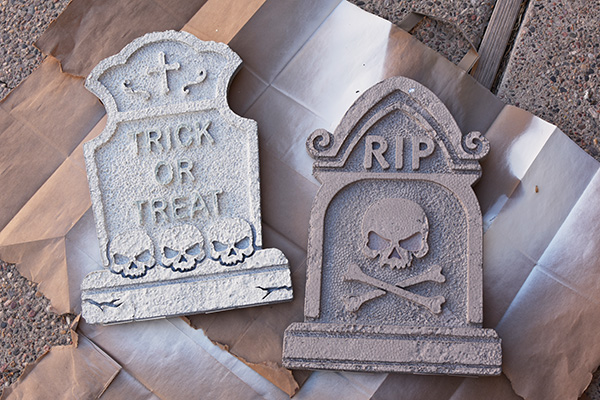
To give your foam tombstones a completely new DIY look, start by covering them with more neutral colors. I used Ivory Silk and French Beige for mine.
Each gravestone took two or three coats and I was careful since they are made of foam, to not hit them too hard with the spray paint – light coats of paint are perfect. If you go too hard, the spray paint can almost eat away at your foam.
Next up was covering all the parts of my tombstones that I didn’t care for… which was most of them, ha!
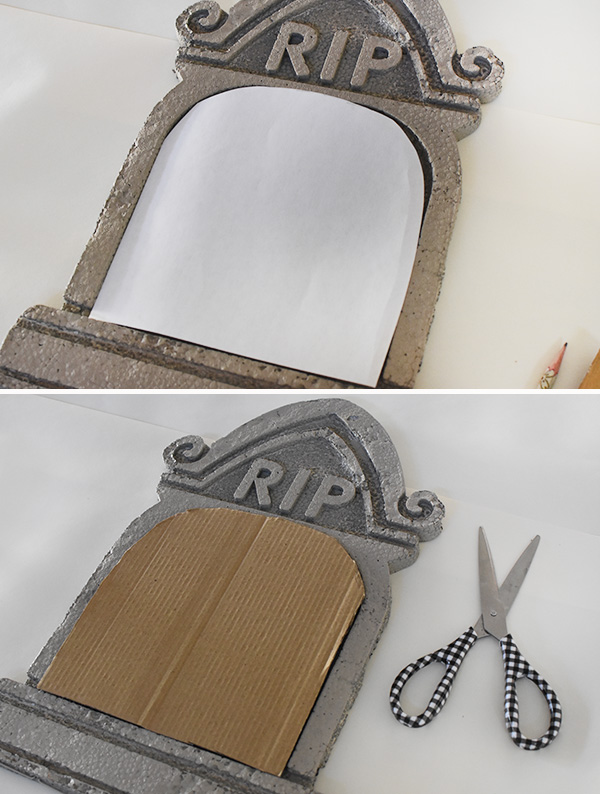
Using a piece of paper and a pencil, trace the basic shapes of what you will be covering. I didn’t want to have a skull and cross bones, so I decided to cover the entire inside portion of my gravestone.
After you have your template cut out from paper, trace that onto a piece of cardboard and cut that out, as well.
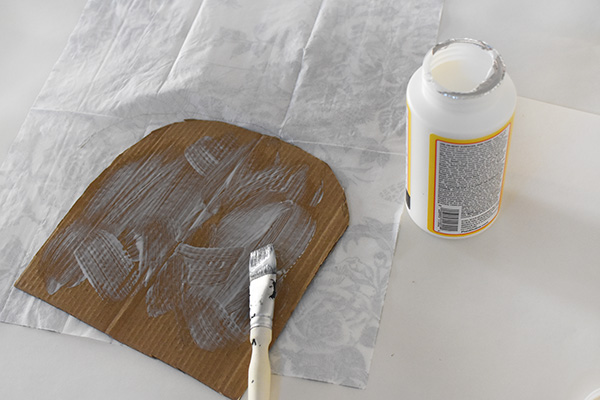
You have a few different options at this point. You could paint your cardboard a plain color, draw or write something on it, or in my case – I covered mine with a fun vintage feeling Halloween Napkin.
Add a generous amount of Mod Podge to your cardboard cut out and place it face down on the backside of your napkin.
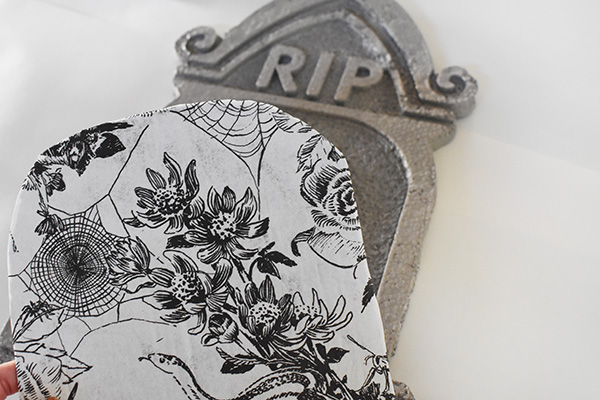
Once the mod podge has fully dried, you can cut off the excess napkin and you have yourself a lovely tombstone cover!
I added hot glue to the backside of the cardboard and stuck it to the tombstone.
Looking to add in some fun Bat decorations to your home this year? Check these out…

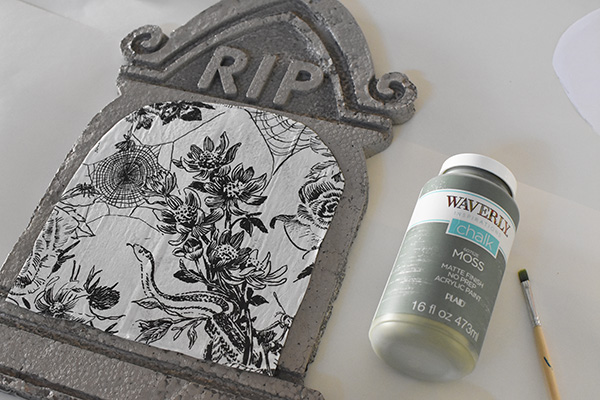
If you would like to add any other color embellishments, this is the perfect time to do so.
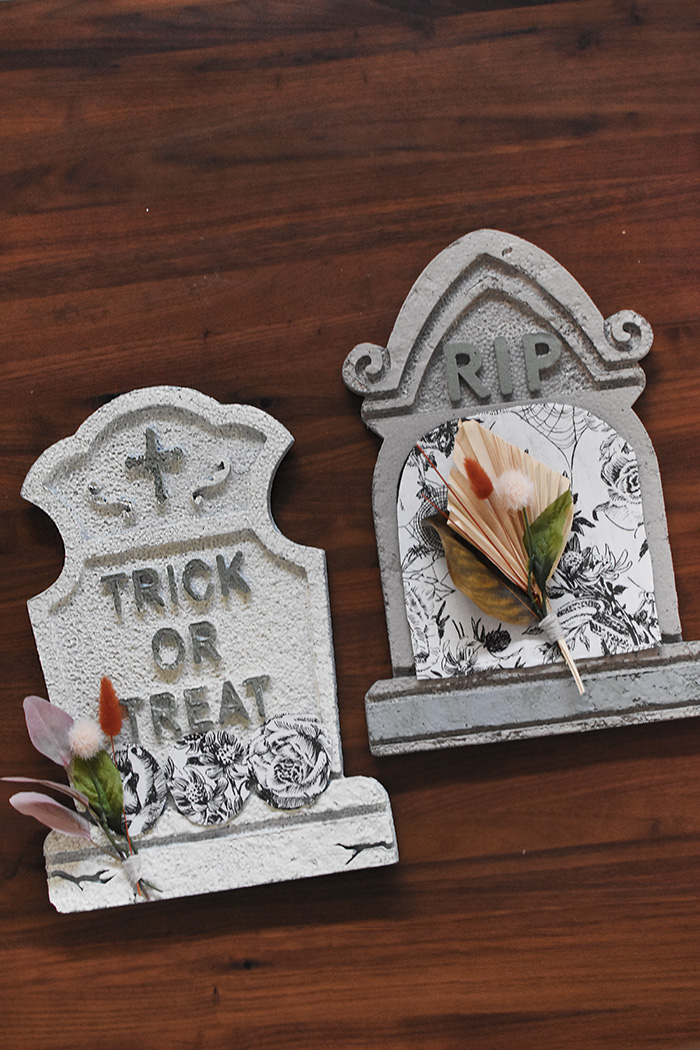
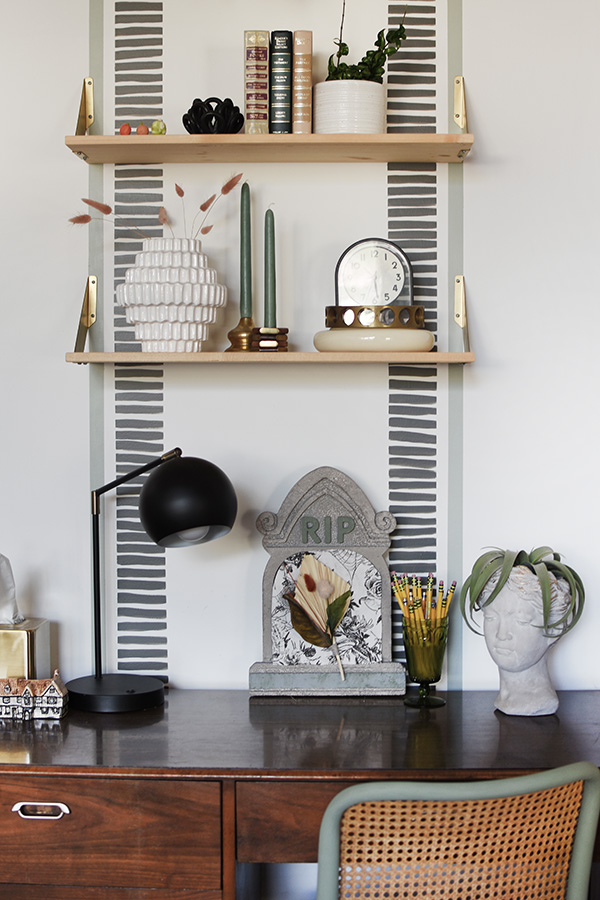
I used some green chalk paint and highlighted the “RIP” and on my other tombstone, the “Trick or Treat” wording.
Boho Neutral Tombstone
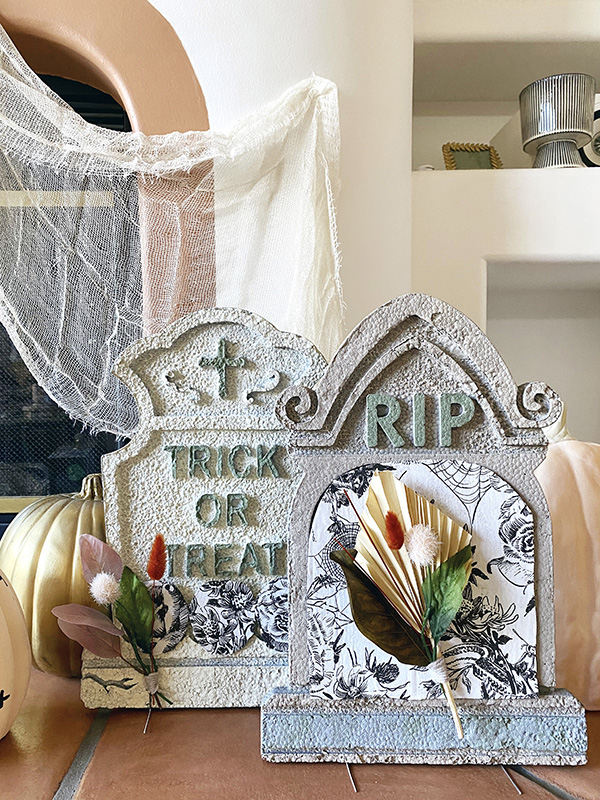
Bringing in a fun bohemian feel to these neutral tombstones was the final step!
Using dried grasses, flowers and some twine I made two small arrangements and added them to the gravestones.

Halloween Boho Neutral Tombstone
Learn how to turn a spooky creepy gravestone into a fun Halloween Boho Neutral Tombstone. Halloween doesn’t have to always be dark and scary, it can be light bright and airy!
Materials
- Styrofoam Tombstones (I got mine from the Dollar Store)
- Spray Paint (Ivory Silk + French Beige)
- Mod Podge
- Piece of Paper
- Cardboard
- Vintage black and white napkins (Cobweb Napkins would be cute, too!)
- Green Chalk Paint
- Dried Grasses or Dried Flowers
- Twine
- Hot Glue
- Paint Brush
- Scissors
- Pencil
Instructions
- Start by spray painting your tombstones with neutral colors. I used Ivory Silk and French Beige for mine. Each gravestone took two or three LIGHT coats of spray paint.
- Next using a piece of paper and a pencil, trace the basic shapes of what you will be covering on the tombstone. I didn’t want to have a skull and cross bones, so I decided to cover the entire inside portion of my gravestone.
- After you have your template cut out from paper, trace that onto a piece of cardboard and cut it out.
- Add a generous amount of Mod Podge to the cardboard cut out and place it face down on the backside of the napkin.
- Once the mod podge has fully dried, you can cut off the excess napkin and you have a lovely tombstone cover!
- Then add hot glue to the backside of the cardboard and stick it to the tombstone.
- If you would like to add any other color embellishments, this is the perfect time to do so. I used some green chalk paint and highlighted the “RIP” and on my other tombstone, the “Trick or Treat” wording.
- Using dried grasses, flowers and some twine make two small arrangements and added them to the gravestones for the final touch.
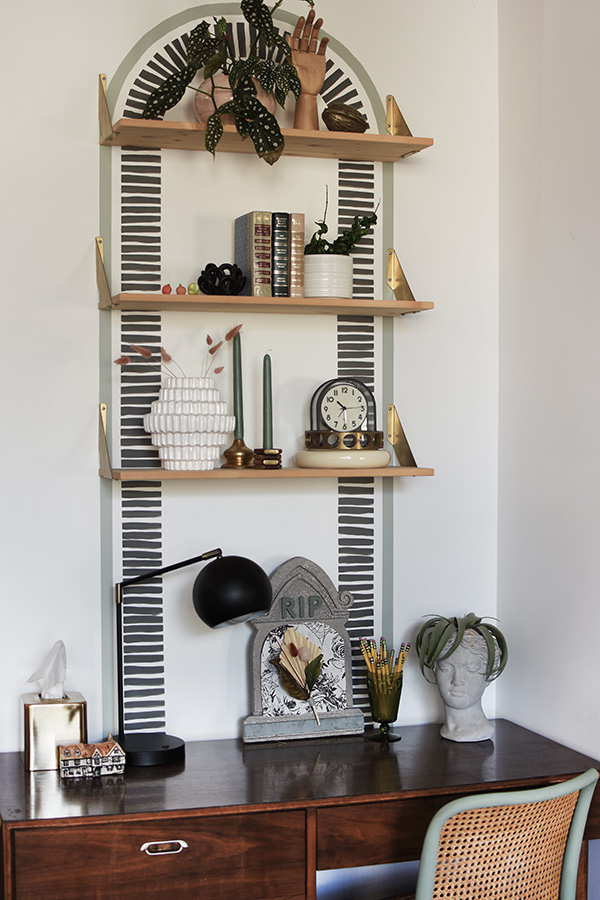
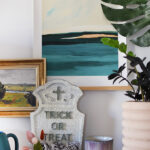
I ended up putting my RIP tombstone on the desk in our living room. The colors of it against my painted arch are just perfect!
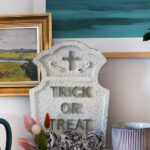
Neutral Trick or Treat Gravestone
I also made this fun neutral Trick or Treat Gravestone. It had three skulls at the bottom, isn’t it so much happier now?!
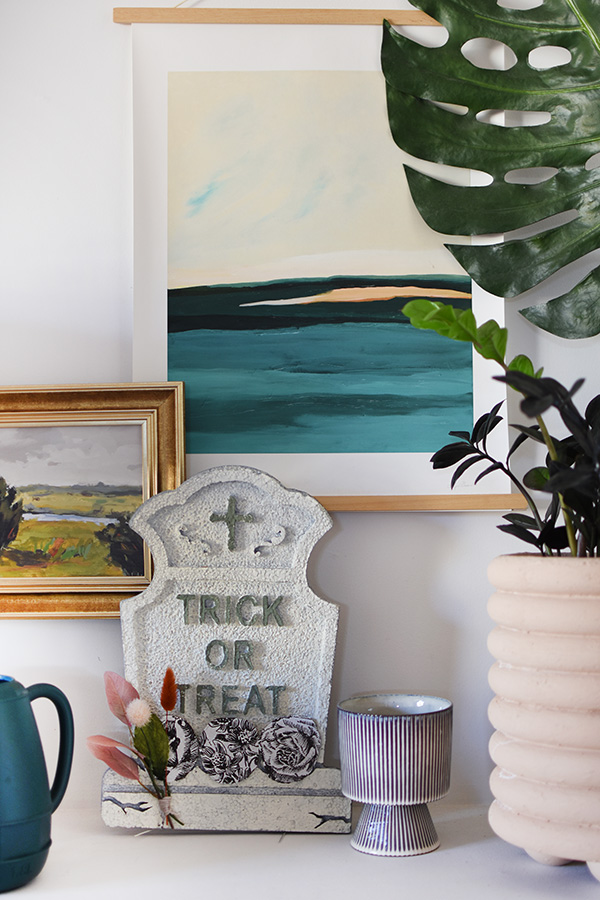
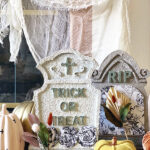
Paired with some cobwebs or mummy wrappings, these spray painted tombstones are the perfect non-spooky Halloween decor pieces!