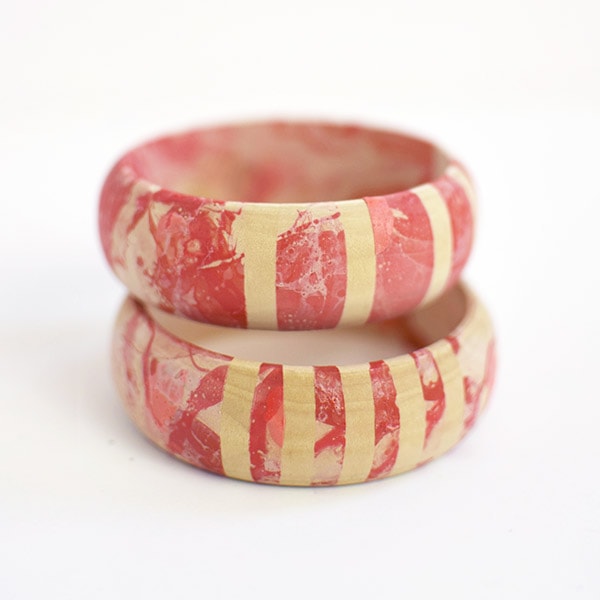
DIY Marbled Bracelets

INSIDE : See the quick and easy tips for these fun DIY Marbled Bracelets, a great colorful craft project for any skill level using easy nail polish techniques! You will love their finished gorgeous look.

Colorful Marbled Bangle Bracelet

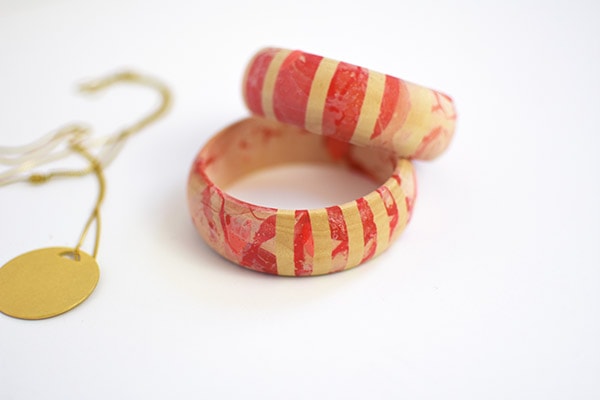
I loved this technique so much, that I created two different but equally beautiful bracelets! One was a full marbled look and the other I added some pattern to the marbling.

I’ll share how to do both styles in the tutorial below!

Pattern marbled Bracelets

This post may contain affiliate links. See my full disclosure.

This post has been updated since it’s original March 2018 publish date.

I love nothing more than a quick DIY jewelry project!  And these two wooden bracelets have to be one of my favorites to work with.  They are big enough to really make an impact, but simple in their design that they don’t have a gaudy look.  Today I am sharing how to DIY Marbled Bracelets for your next night out!

Colorful bracelets on arm
If you are looking for more information about everything involving marbling, my Marbling 101 post might be just what you are looking for!

What supplies are needed to marble a bracelet?

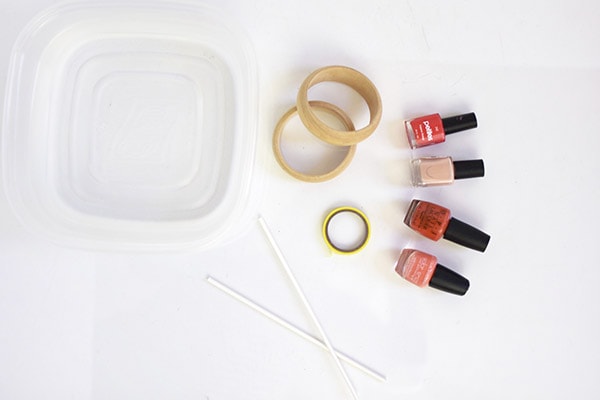
Marbled Bracelet Supplies

How to make a marbled a bracelet

Start by filling your Tin Container with water deep enough to fully submerge your bracelet.  

Nail polish and tin container

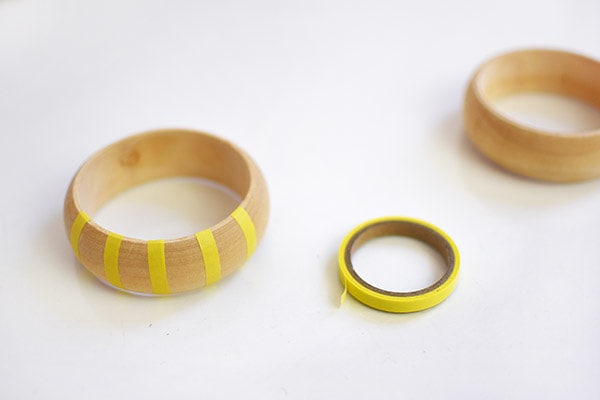
If you are wanting to add pattern to your bracelet, apply your patterning tape along a portion.  I only taped off about a quarter of each bracelet. Once the tape is applied, run your fingernail across each seam to ensure a tight seal.

If you are going for the full dipped look, you can skip this step.

Wooden Bracelets with tape

Next, open all your nail polishes prior to starting. Otherwise, your nail polishes can start to dry out sitting in the water while you are unscrewing other bottle’s lids.

Slowly dripping and quickly pour out dots of nail polish to the water.  This might be my favorite part.

Nail polish in a tin container

Using a stirrer, slightly mix the paints and then immediately dip and pull out your bracelet. Set aside on a paper plate or wax paper to dry.
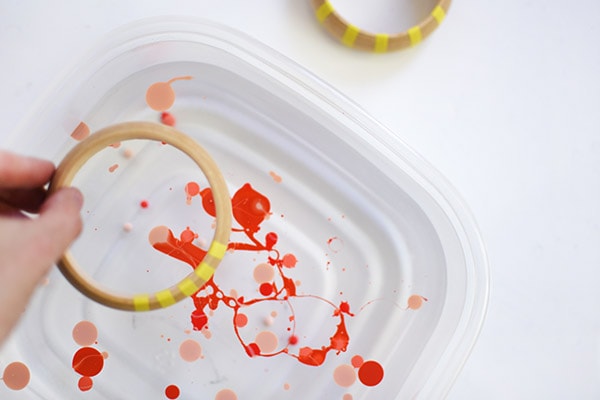
Dipped Marbled Bracelet

Even if you are making the patterned bracelet, follow those same steps. Quickly dip in your bracelet to the nail polish and pull out. Set aside on a paper plate or wax paper to dry.

Dipped Bracelets

Due to marbling wood, you will need to allow for it to fully dry out.  

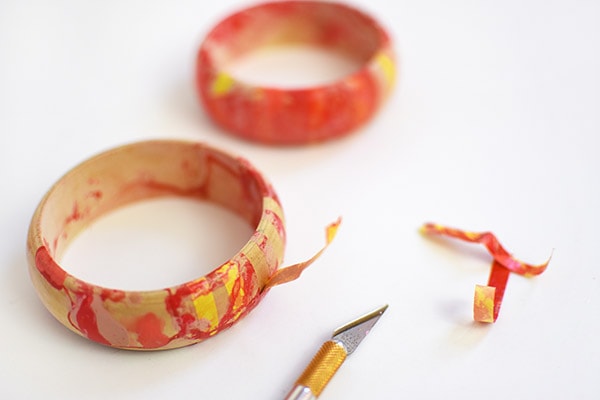
On the pattern bracelet, after it has fully dried, use an x-acto knife to gently cut along the edges of the tape and remove.

Bracelets with tape removed

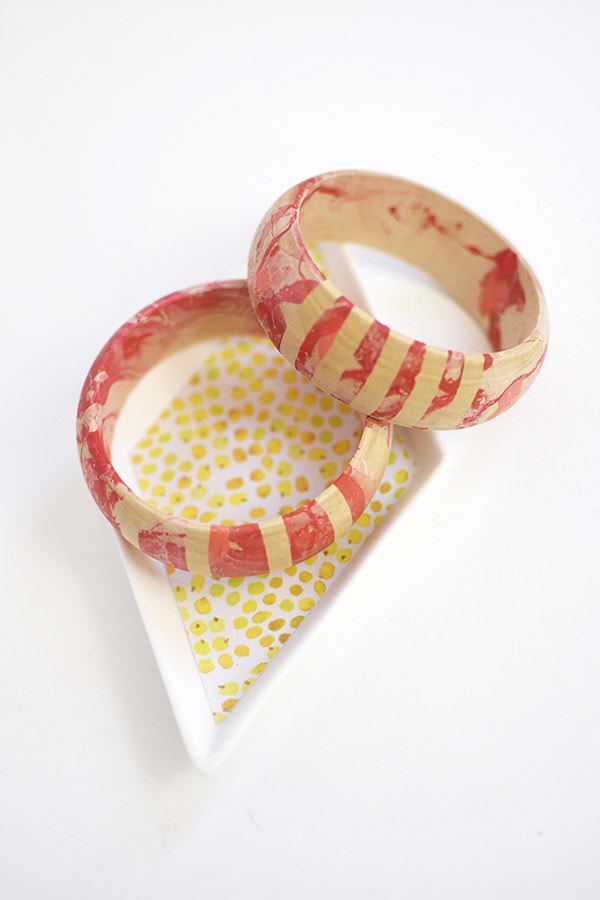
Wooden Colorful Bracelets

The final product is a gorgeously marbled wooden bracelet!

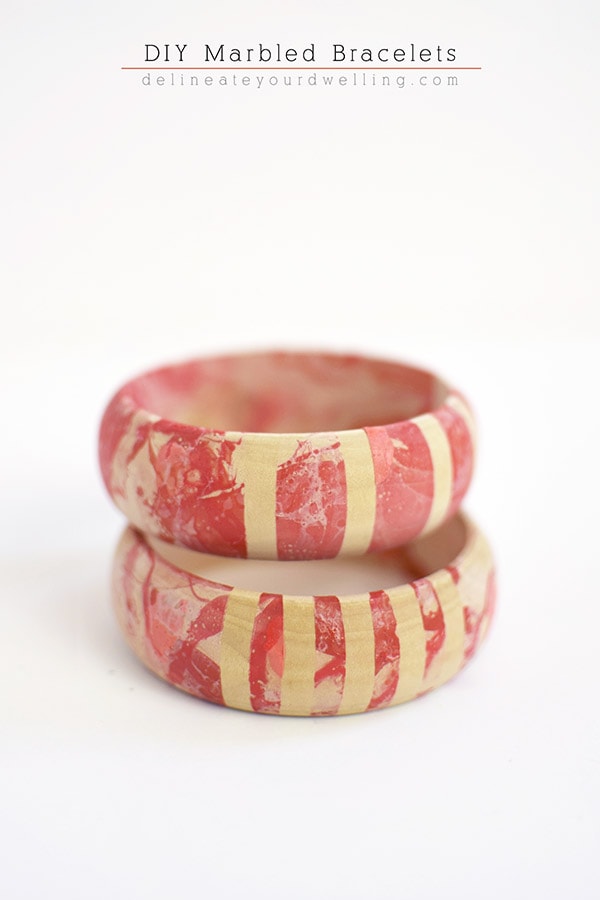
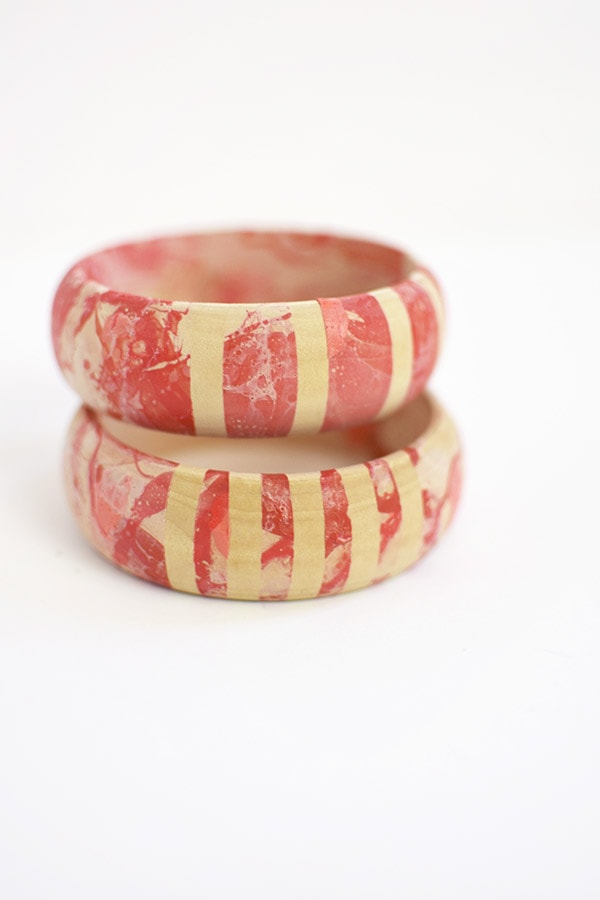
I love the stripes in addition to the marbling.  It Is just such a fun technique I can’t get enough of it.
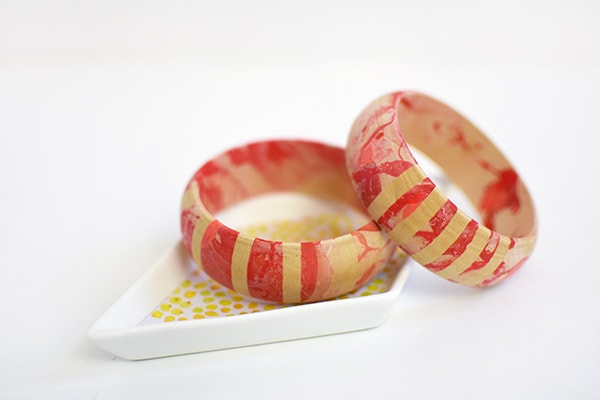
Marbled Bracelets stacked

The fully dipped bracelets once dry, are just so lovely. There isn’t any tackiness to them from the nail polish and I love the rich color of them!

Colorful wooden bracelets

Do you love DIYing jewelry as much as I do?  What have you made?

Colorful Marbled Bangles

And if you like these bracelets, you are going to love my Easy Painted Wooden Bracelet and my Striped Washi Tape Bangles.

Bracelets on display
1-DIY-Colorful-Marbled-Bracelets

Colorful Marbled Bracelets

Yield: Makes 4
Prep Time: 30 minutes
Total Time: 30 minutes
Difficulty: Easy
Estimated Cost: $15

How to make simple Colorful Marbled Bracelets using easy nail polish techniques! You will love their finished gorgeous look.

Materials

Instructions

  1. Start by filling the tin container with water deep enough to fully submerge your bracelet. 
  2. Next, open all the nail polish lids and quickly have fun dripping and adding dots of nail polish to the water.
  3. You may use a wooden skewer to gently swirl the nail polish to create more a marbled look, but you must do this step quickly if you can.
  4. Then, take the bracelet and dip it quickly in and then out of the water and polish. 
  5. Set your bracelet aside on a paper plate or wax paper to fully dry.
  6. Once the bracelet is dry the nail polish is no longer tacky and you are able to enjoy it.

Notes

- Unscrew the nail polishes that you plan to use prior to starting. Otherwise, your nail polishes can start to dry out sitting in the water while you are unscrewing other bottle’s lids.

Did you make this project?

Please leave a comment on the blog or share a photo on Instagram

Three Bracelets on a dish

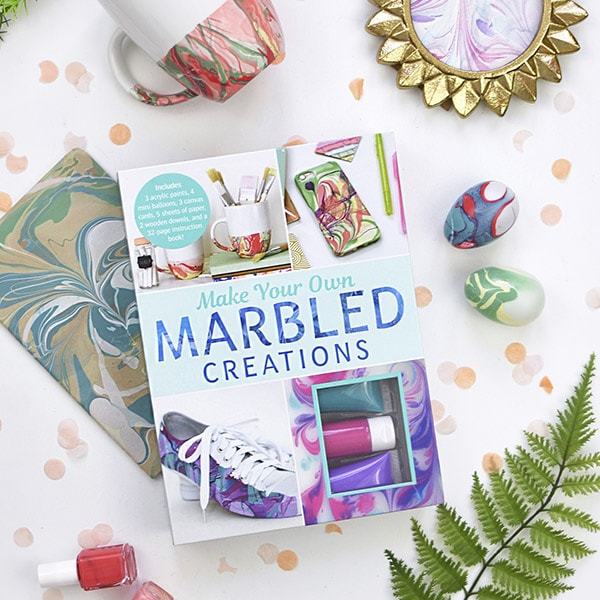
Interested in my many other marbled projects?  You can check out some of these!SaveSave

1 2 3 4 5

Leave a Reply

Your email address will not be published. Required fields are marked *