DIY Embossed Metal Christmas Garland
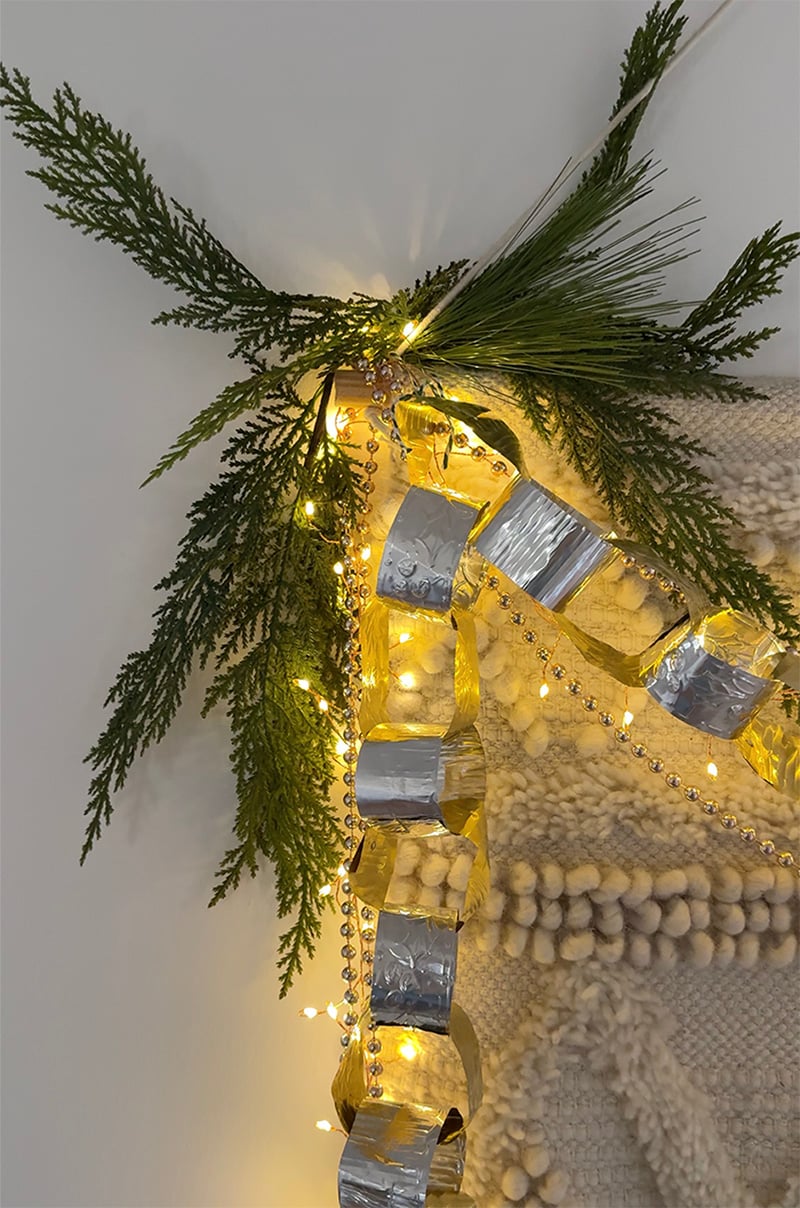
INSIDE : Learn how to make a beautiful DIY embossed metal Christmas garland using simple materials. Add vintage flair to your mantel, tree, or holiday decor!
This post may contain affiliate links. See full disclosure here.
Has anyone else noticed that chunky felt chains are HOT right now?!! I think a few of my friends online helped sell out stores from their entire supply of felt. If you didn’t know, now you do – it’s a big trend.
And since I love to take a trend and put my own spin on it, I decided to take the pressed metal trend and combine it with the felt chain trend. Welcome to my Embossed foil Christmas chain of sorts!
What supplies do I need to make a metal chain garland?
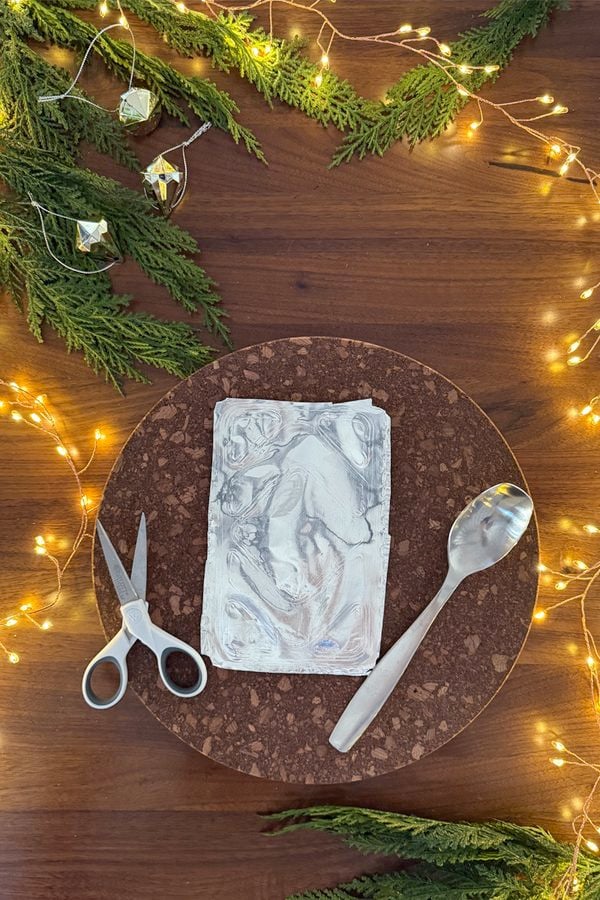
- Sheet metal gold + silver (recycled leftover containers also work great!)
- Scissors
- Spoon
- Embossing Design Tool (or a pencil works)
- Stapler
- Ruler
- Stack of magazines or a cork trivet for embossing

Making a metal holiday garland
The great thing about crafting is that you can completely customize projects to fit your style and needs. I decided not only did I want to try making a paper chain out of tin, but I also wanted to try my hand at embossing designs and patterns on it.
A two for one type project is what I was going for here! Lets’ get into how to make this DIY pressed tin garland below.
Step 1 : Flatten your metal
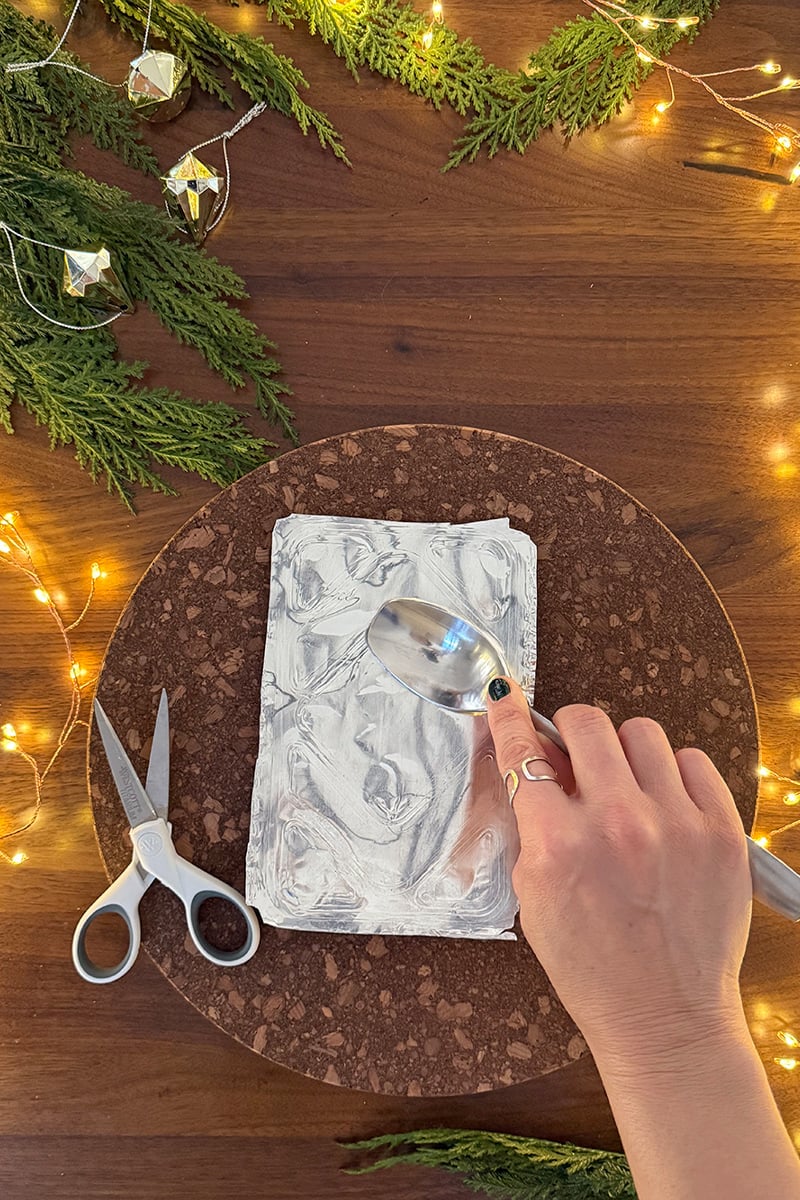
To start this craft project, the first step is to prep your metal. Whether you bought metal strips or are using a leftovers / takeout container, you need a nice flat material starting off.
I found cutting off beveled edges from my takeout container with strong scissors worked best.
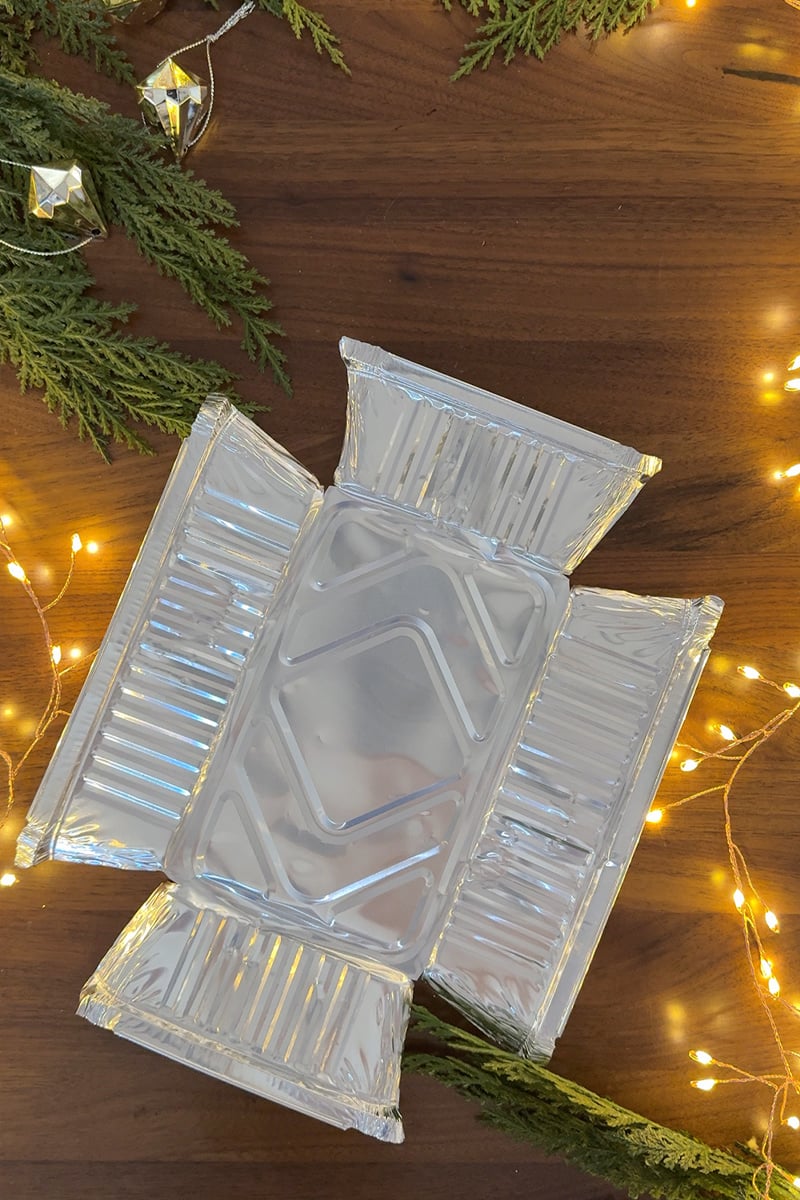
Then I used the backside of a soup spoon to smooth out any bumps or indentations.
Step 2 : Cut metal to size
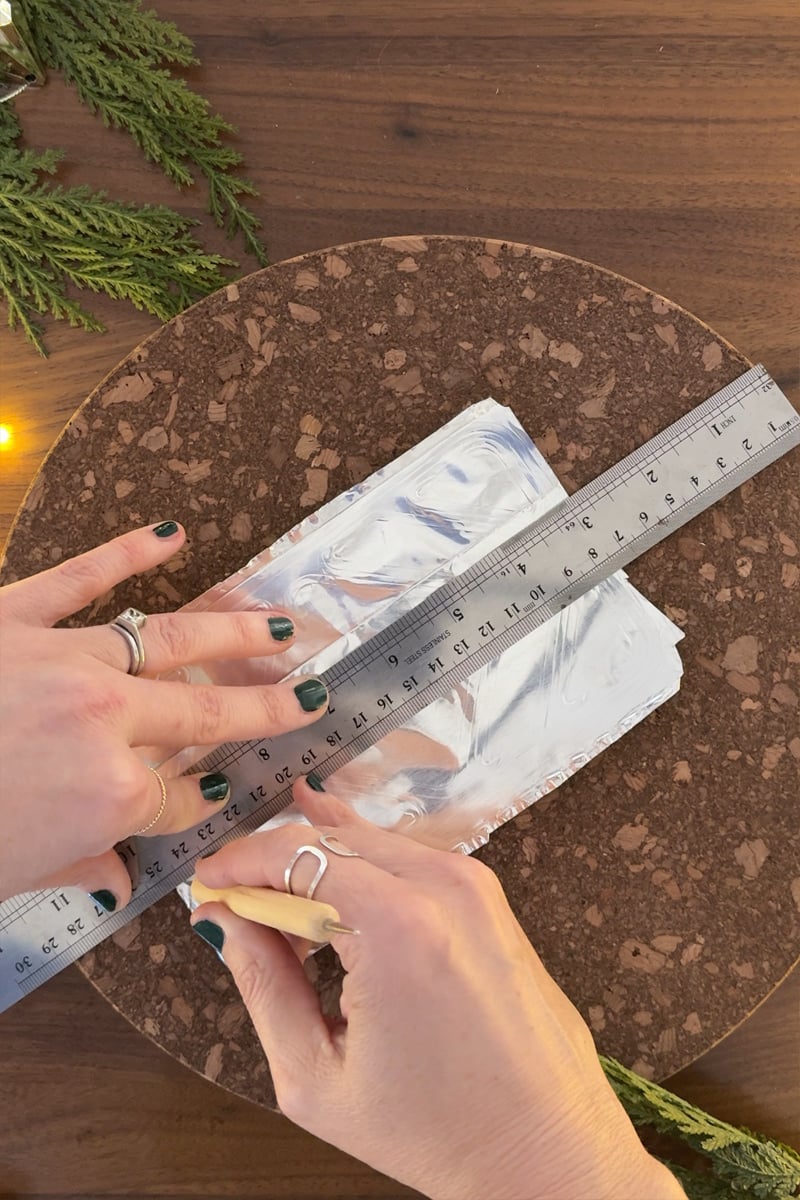
Once all my metal was smoothed out, you can cut it to the desired width and length. I made my strips about 2″ wide and about 8′ long, but this is completely up to your preference.
I used my embossing tool to mark and then used strong scissors and cut accordingly, then set aside.
Step 3 : Emboss metal with designs
Whether you decide to use a simple pencil, pen or embossing tool – it honestly doesn’t matter. There are a few ways you can go about creating your designs.
1- You can emboss metal by hand by creating any pattern or design that your little heart desires.
2- You can trace a design that you’ve either already drawn on paper OR that you printed off and cut down to size.
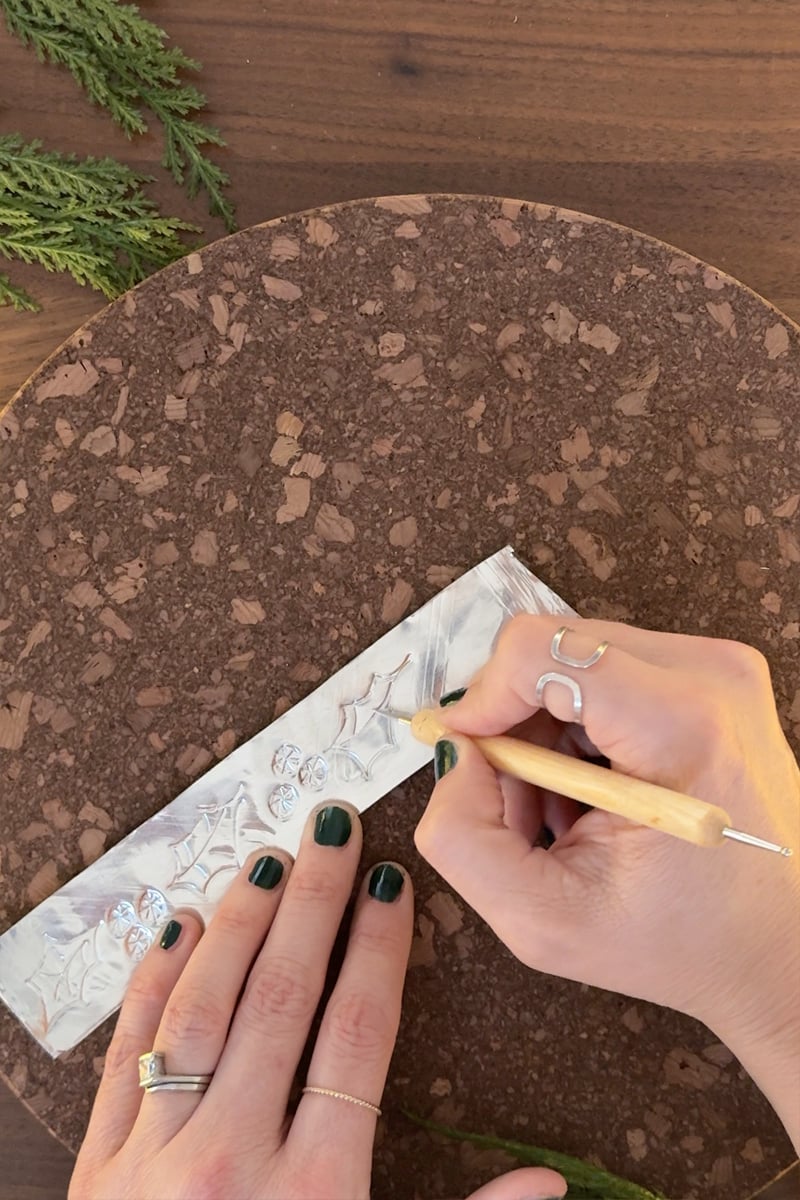
Either method that you use works just fine. Just know that you should emboss on the backside and backwards if you are creating lettering.
Also hugely recommended is that you have a stack of magazines, cork trivet (that’s what I used) or fabric over cardboard. This helps give some give to your design when using the pencil/stylus tool.

Step 4 : Staple metal chain together
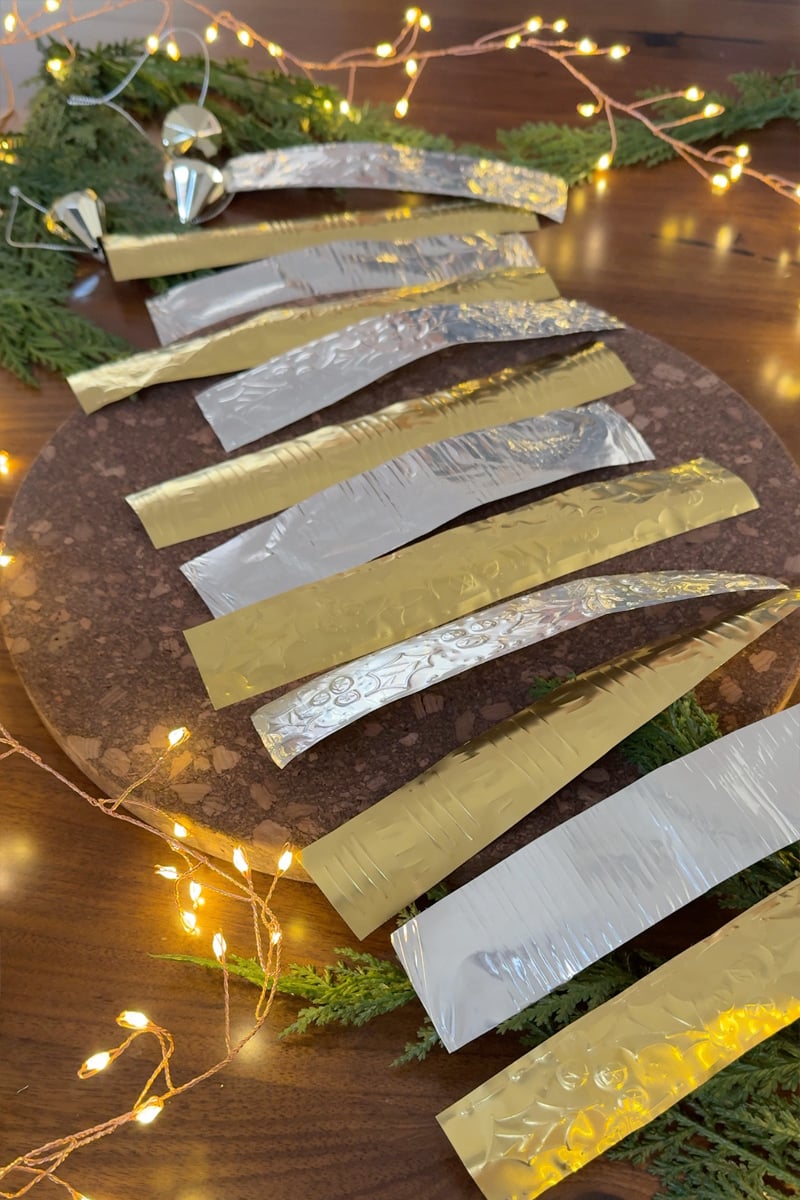
Once you have all the embossed strips completed, it’s time to make your chain! I used a stapler to hold the metal strips together.
Make a circle with your first piece and staple. Then, place your next strip through that first piece and create another circle that’s stapled.
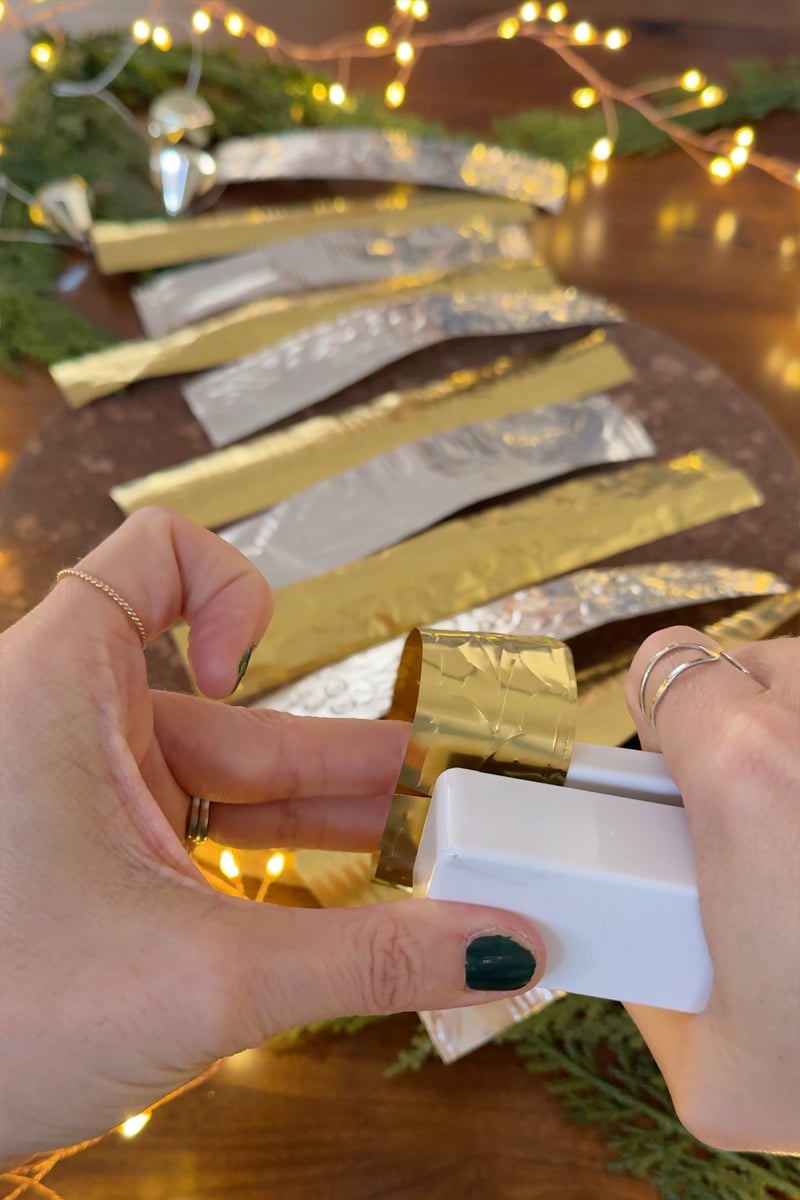
Keep repeating this pattern over and over under you have used all your metal strips.
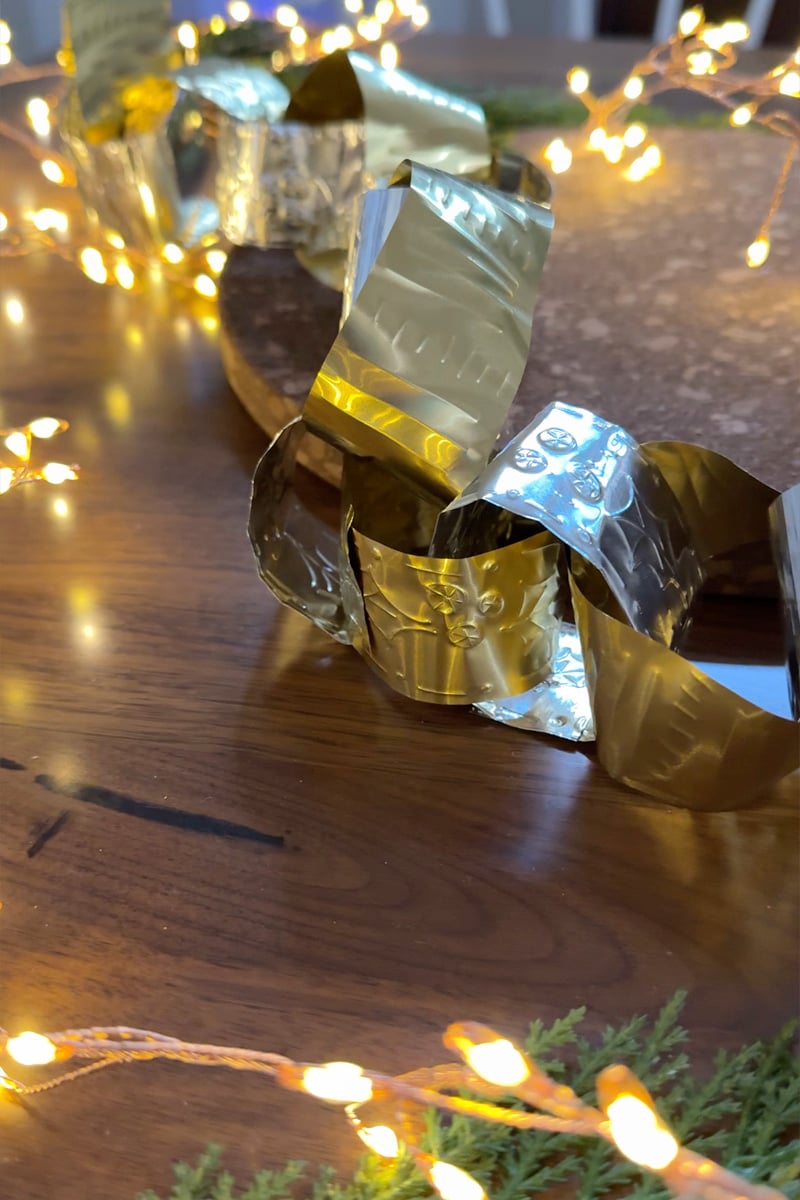
Step 5 : Hang metal garland
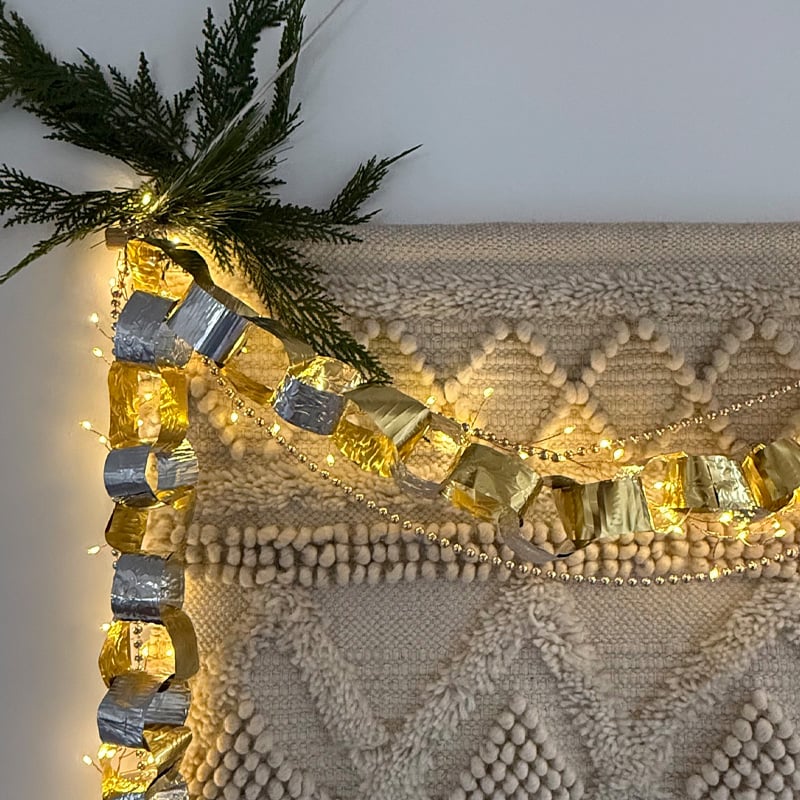
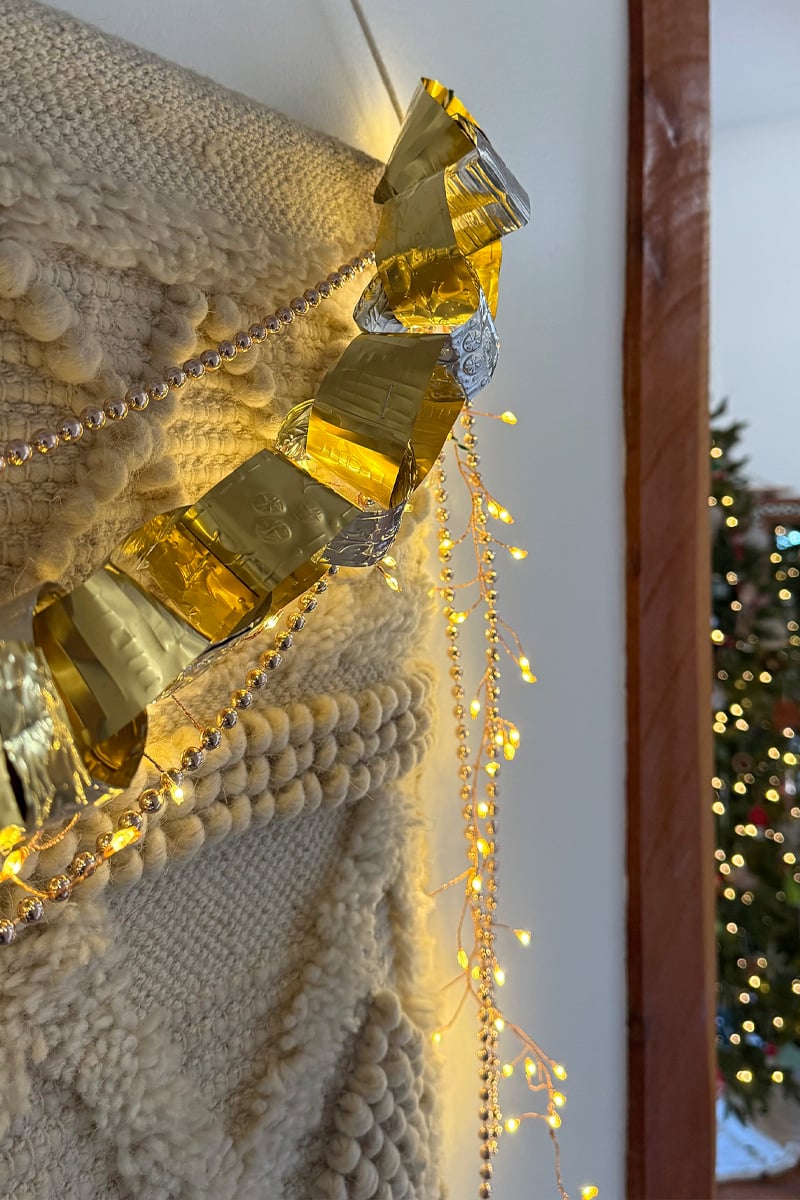
I hung my metal chain garland across a large tapestry we have hanging on the wall, but this would be great to tuck into existing garland across your mantel, place as a centerpiece on your dining room table or even hang on your Christmas tree!
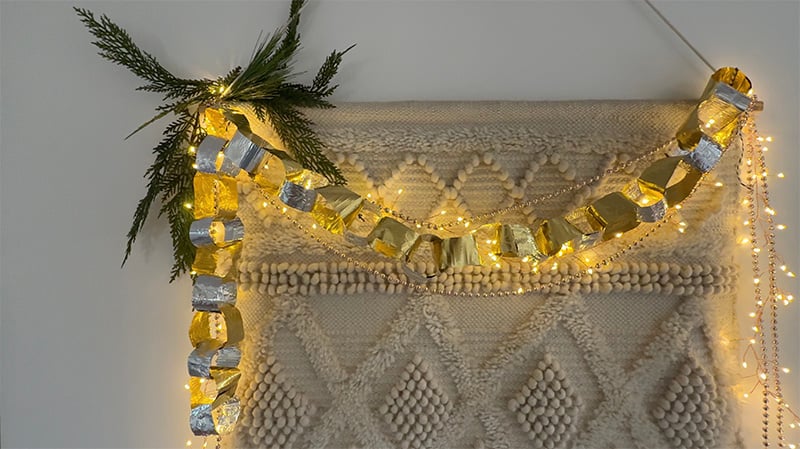
It’s a fun garland to add a few additional layers to like twinkle lights and even strung pearls.
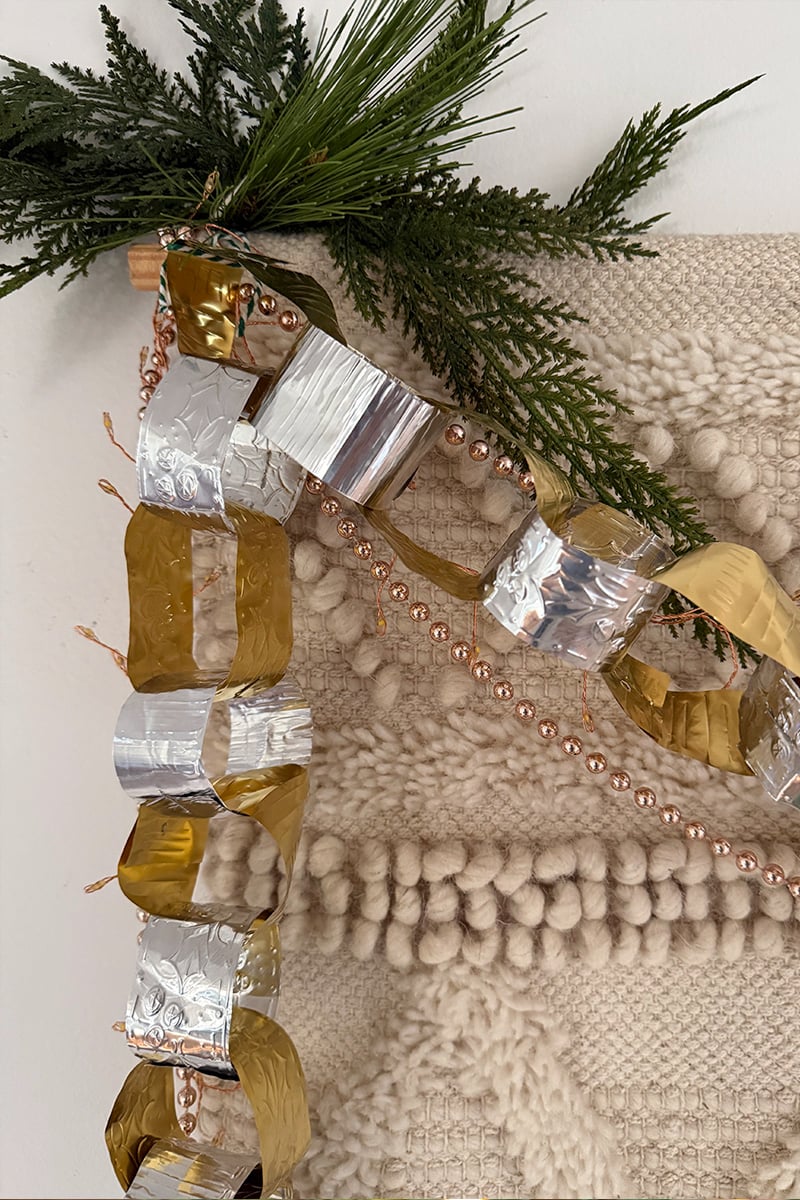
But I must say, the twinkle lights really make it for me!

Looking for some more fun Holiday craft ideas? Check out some of these…