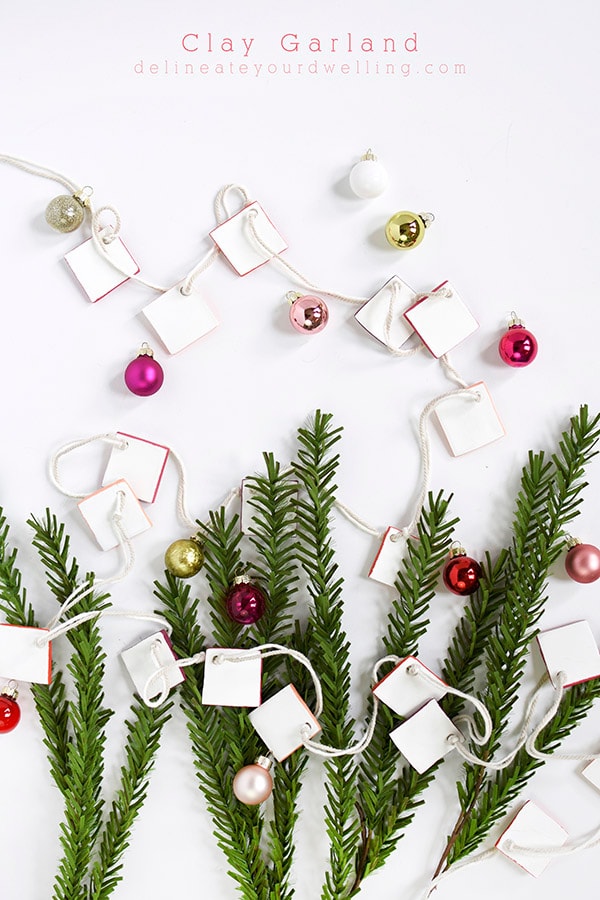
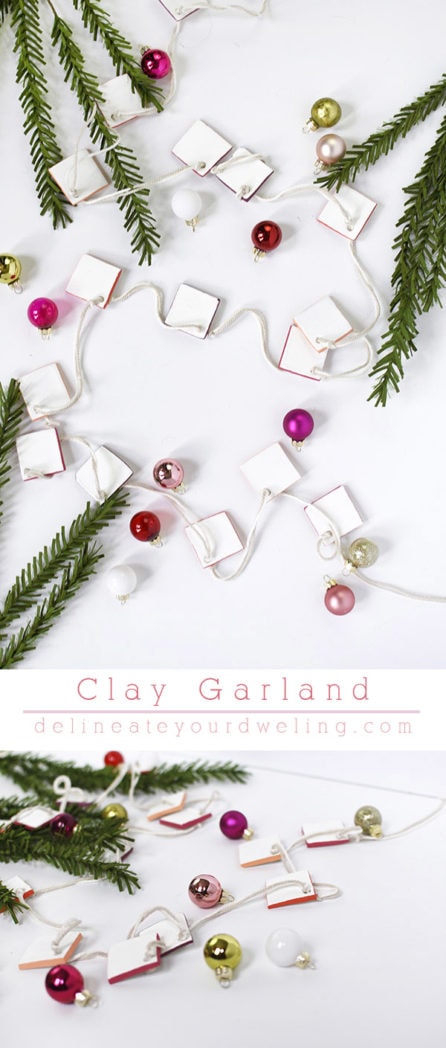
DIY Clay Garland

INSIDE : Learn how to create the most lovely DIY Clay Garland for your holiday and Christmas decor this year. Add color to the edges to customize for your home.
This post may contain affiliate links. See full disclosure here.
This post has been updated since it’s original December 2017 publish date.
This year I am going for lots of simple homemade holiday decor around my home. I wanted to start off my homemade decor with one of my most favorite supplies air dry clay! Today I am sharing my darling DIY Clay Garland which is currently on my tree.
Looking for some other fun Clay Ornament ideas? Check out my Clay Peace Sign Ornaments!
What supplies do I need to make DIY Clay Garland?
- Air Dry Clay
- Clay working tools
- Straw
- String
- Acrylic Paint
- Ruler
- Paint Brush
- Sandpaper

How do I make a garland out of clay?
To make a garland out of clay, first off, roll out your air dry clay to create a smooth clean surface. Make sure it’s thin, but not too thin to make it brittle.
I really like this air dry clay as the white is very white (not the Crayola brand as shown above in my supply image).
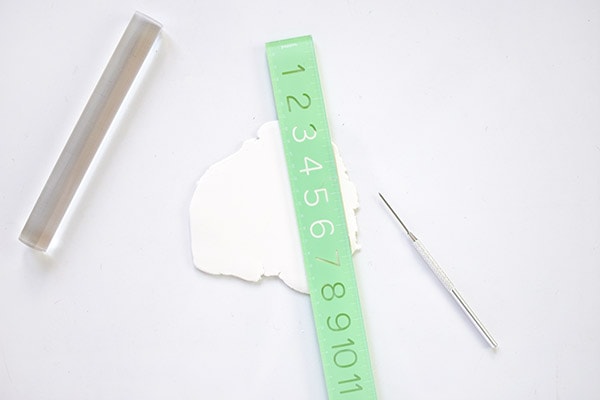
Using a straight edge ruler and a cutting tool, cut your clay out into square shapes. Do your best to keep the edges straight and clean, but you can sand them down a bit once they are dry.
As the clay begins to dry a bit, use a paper straw to create holes to later string up your garland. If your clay is still fairly wet, you’ll have a harder time making the holes.
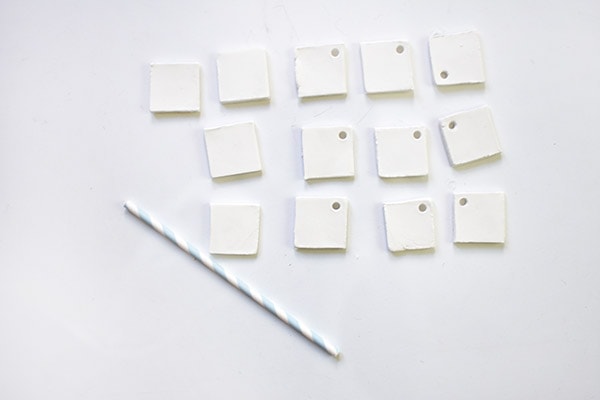
Depending on how long you want the garland, keep making those squared clay shapes!
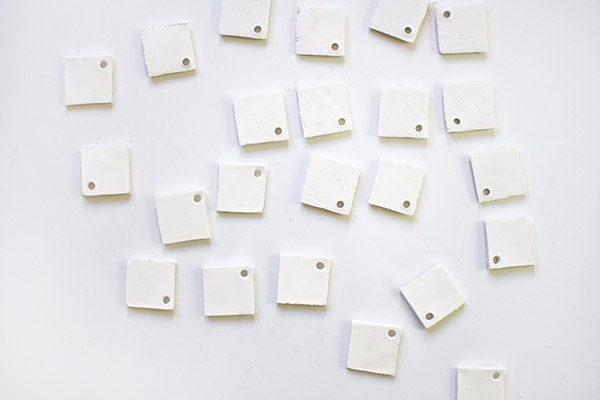
Once my clay had dried 24 hours, I used a small piece of sandpaper to clean up the edges and remove any odd imperfections.
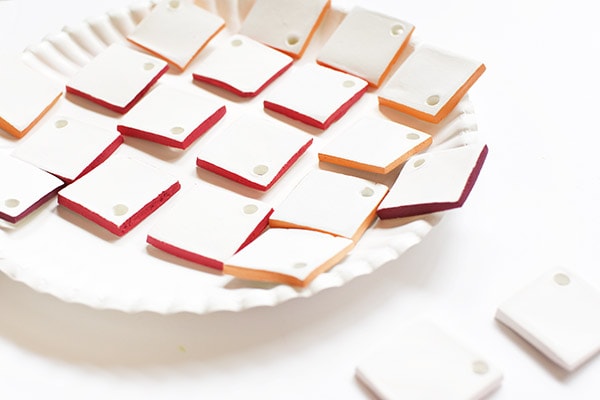
Add color to your clay garland
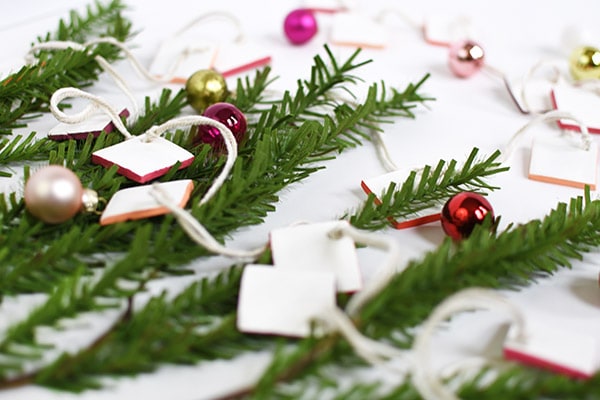
Then it was time to add some color. I polled my readers on IG stories and everyone voted I paint the edges of my clay, so that’s what I did!
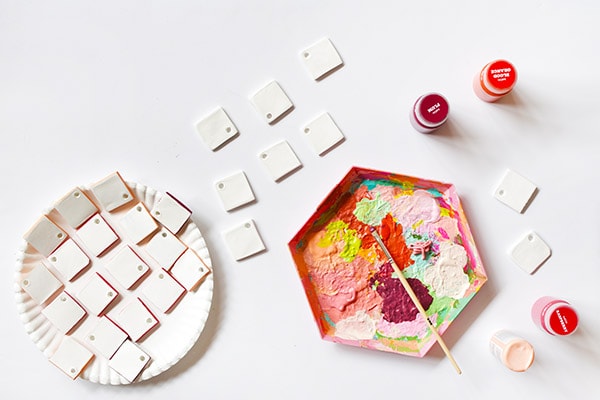
I used a combination of peach, tangerine, cherry pink and a lovely plum / berry color.
Adding string to your clay garland
Once everything has dried, all that is left is stringing your garland! I tied a small knot on each side of the clay so that they wouldn’t move around once I hung them up.
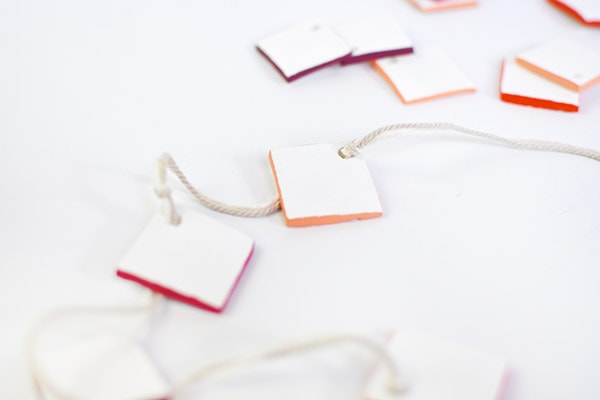
It took a bit of time because of all the knots, but I once I was all done, I was happy I had taken the time for that step.
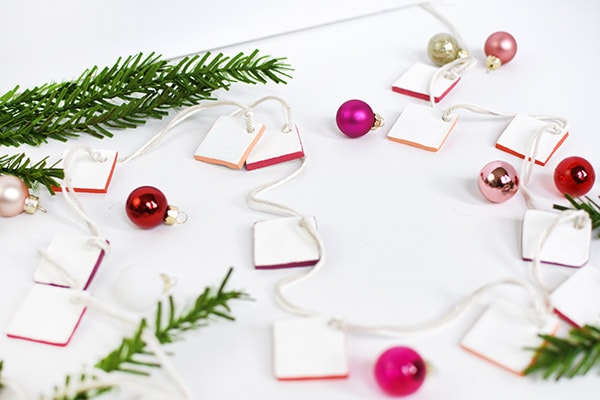
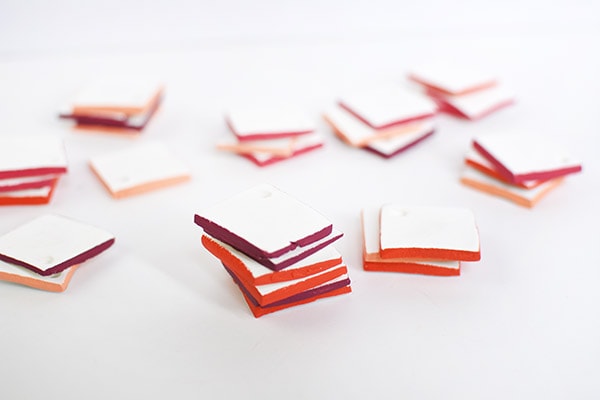
Now, my clay squares stay right in place and the garland looks so good!
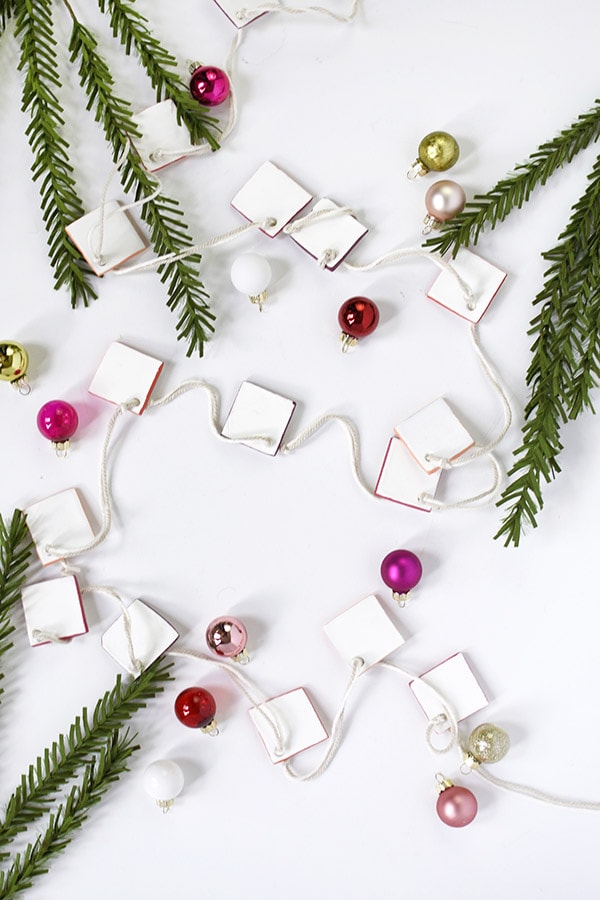
I love that they are mostly white with just a subtle pop of color… so perfectly my style.
Looking for more garland ideas? Learn how to make DIY Dried Persimmon Garland for Christmas, check this post out.
And extra bonus, I made so many clay squares that I was able to string them around my entire tree!

Be sure to pin this fun DIY for next year!
Looking for MORE Air Dry Clay projects? Hope you are inspired by them!
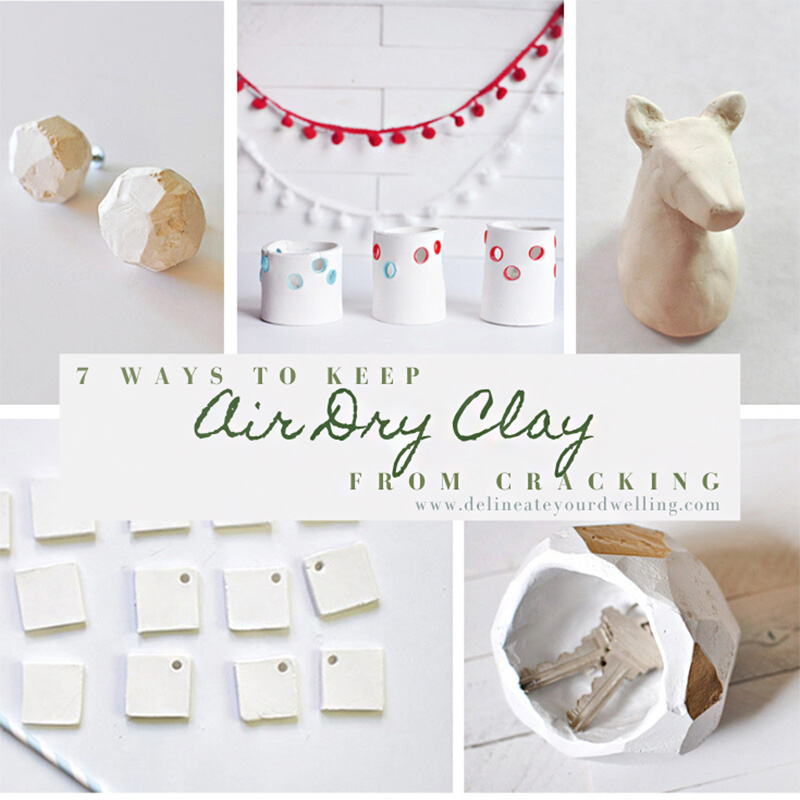
TIPS, TECHNIQUES + TRICKS FOR USING AIR DRY CLAY.
Colorful Clay Animal Heads | DIY Clay Garland | Geometric Place card Holders | Clay Rings | Clay TDAY Banner | Colorful Clay Animal Heads | Geometric Clay Jar | Fourth of July Tea Light Holder


HOW ADORABLE IS THIS IDEA. You’re an air clay wizard!!